Drawing
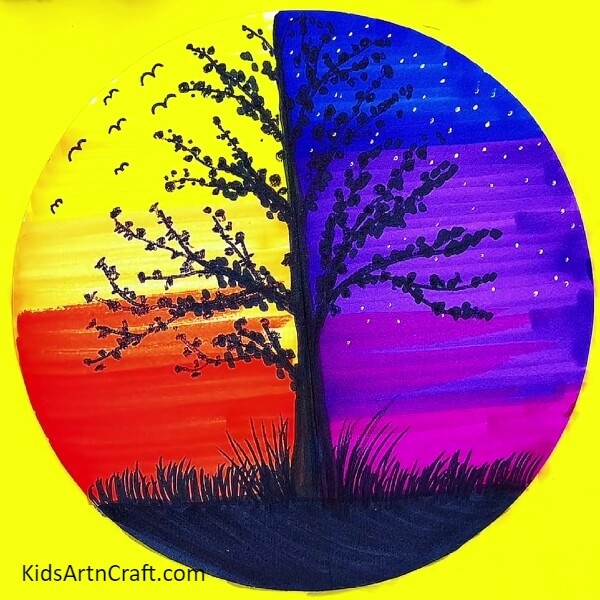
Tree Day And Night Sketch Pen Drawing Artwork

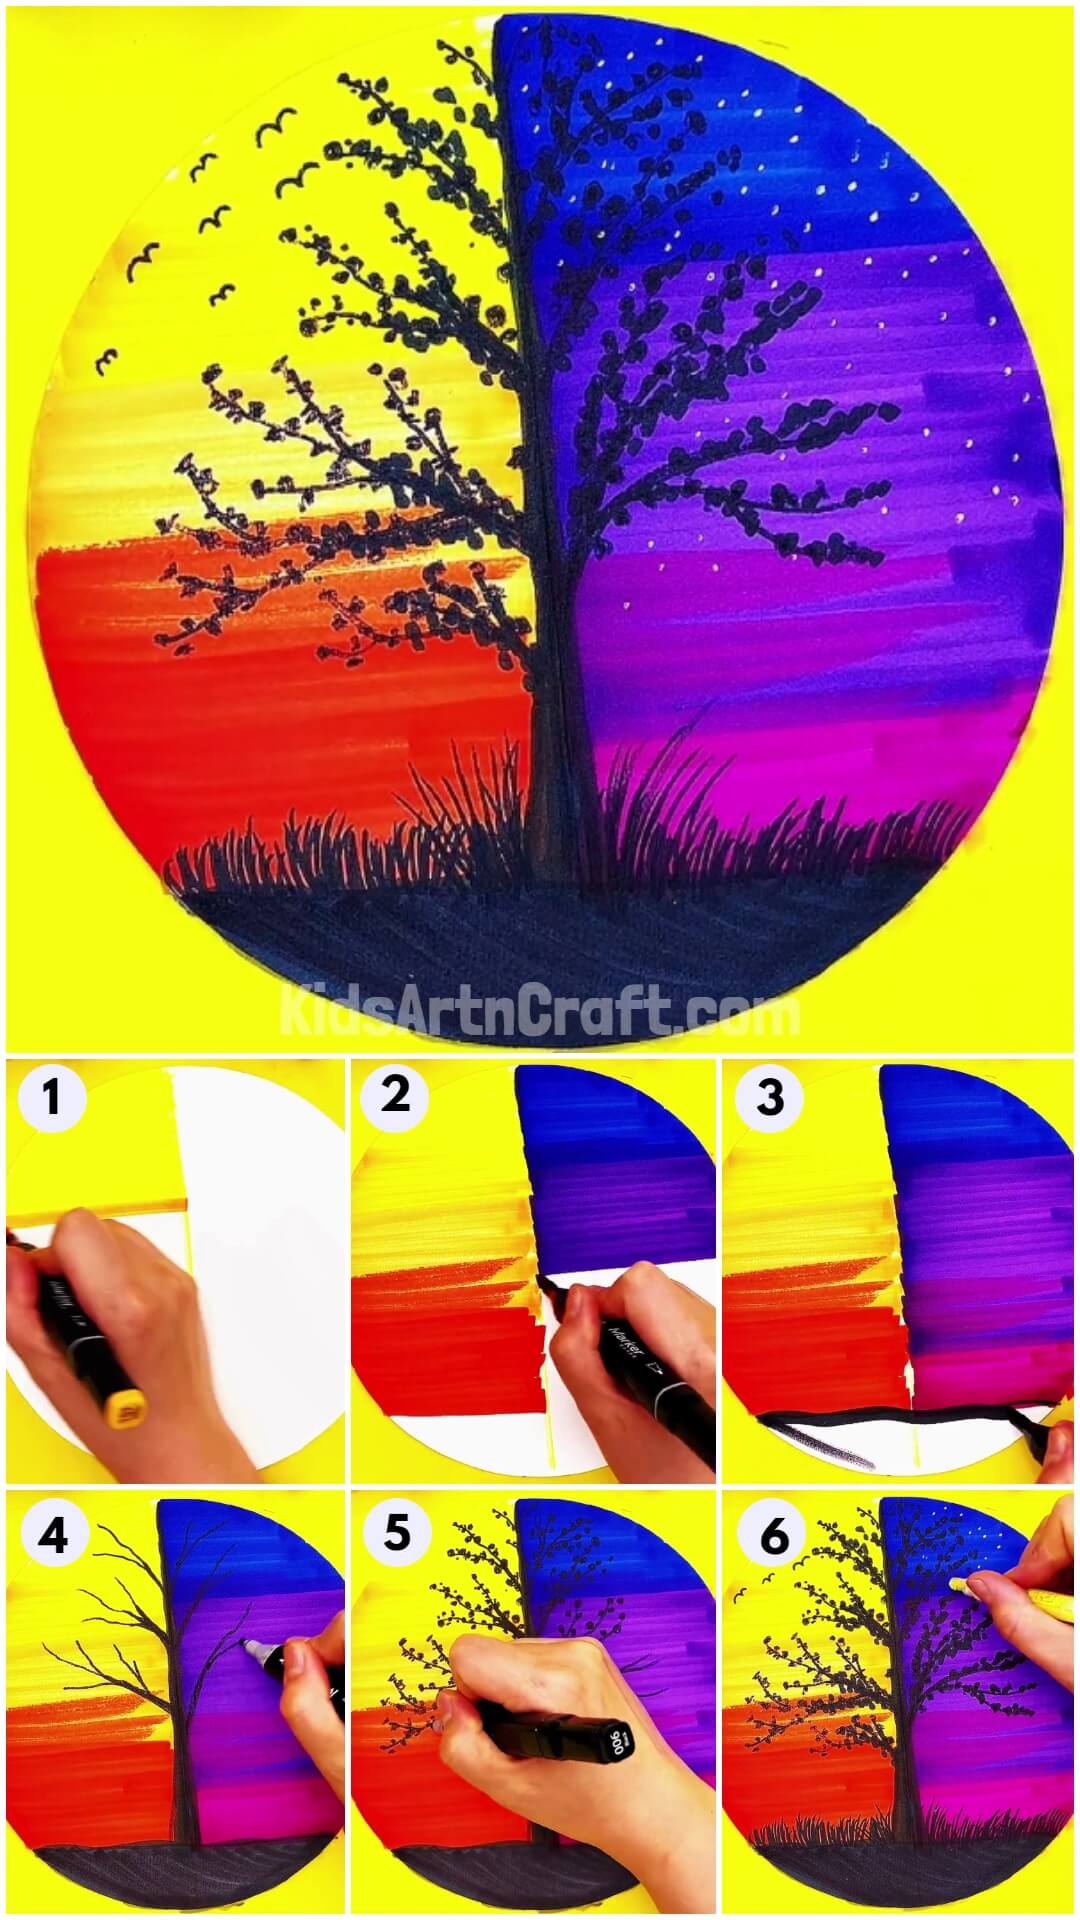
This amazing artwork displays an eye-catching tree in both day and night. The details of the picture bring out the bright colors and textures of the tree, making it a captivating piece of art. Enjoy the magical beauty of nature with this special drawing.
Who said you want actual paint to paint art? To create the scenery artwork all you need is watercolor markers of different colors. This activity is suitable for both kids and adults. Color blending skill which is a crucial and basic one in the art and craft world is taught through this artwork.
DIY Amazing Tree Day And Night Scenery Sketch Pen Drawing

Read More: How To Make Tree From Hand Outline Step by Step Tutorial
Materials Required
- White chart
- Colorful water marker
Procedure
Step 1: Canvas and painting
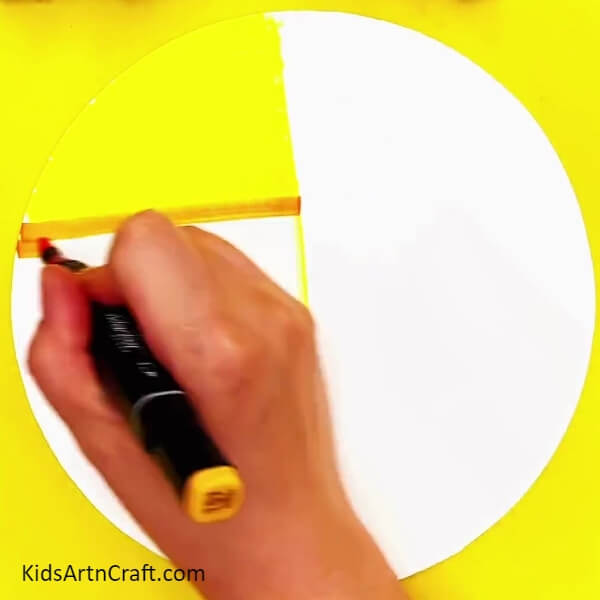

To do this artistry take a large white chart and cut it out in your desired shape and size. Make sure its size is well enough for the artwork as this is a replica of canvas for our artwork.
Then draw a line at the center to divide it into two halves, and start coloring the top right quarter space with a yellow colored marker. Keep in mind that the blending of colors should always start with lighter shades and gradually increase the shades to darker ones.
Here let’s start with light yellow for the first quarter followed by orange in the middle and red in the last quarter. These color combinations bring out the warmth of the daylight as well as the seasons like spring and summer. Remember to leave a less than quarter of space for the tree drawing.
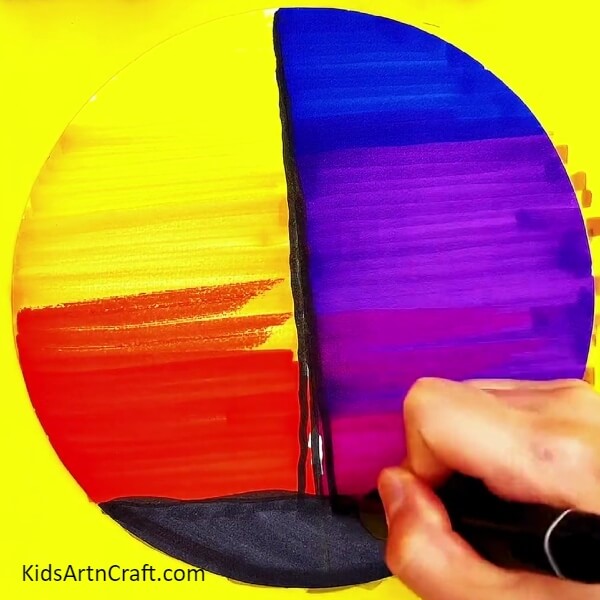
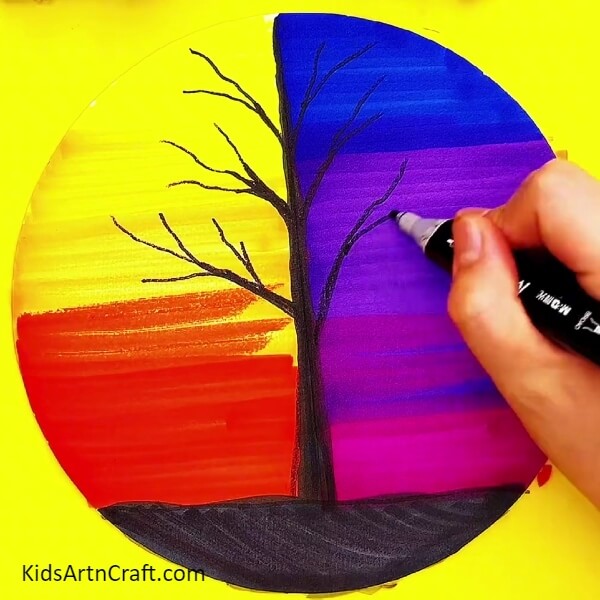
Step 2: Coloring the Other Half

Similarly, on the other side of the half, shade the top left quarter with a dark blue(which is a paler shade compared to purple) followed by a purple shade in the middle and pink at the end quarter. Contrary to the previous color combinations these colors exhibit the cool seasons’ chillness of both winter and nighttime. As we did before leave a space of less than a quarter for the tree art.
Step 3: Shading the Tree’s Base
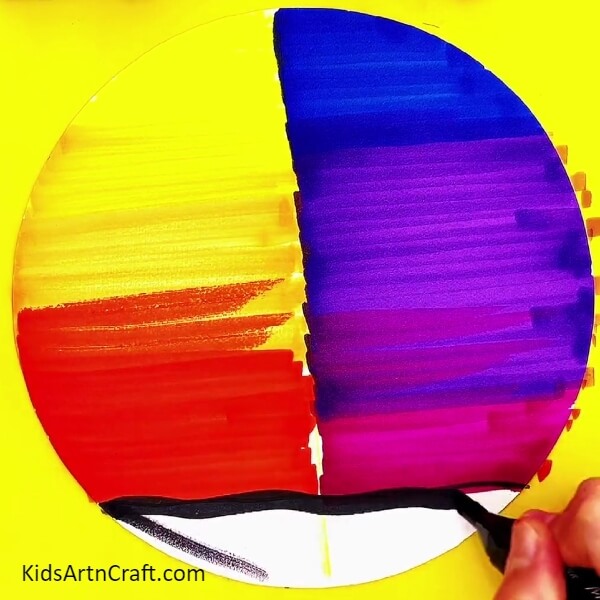
This step is an important part of this artwork. Take a black marker and shade the space we have left for the Tree at the bottom of the canvas. This is going to be the Tree’s base.
Step 4: Sketch the Tree’s Stem
Now using the same black marker trace the center straight line neatly for the stem part as displayed in the image given below.
Step 5: Drawing the Branches
Coming to the interesting part of this artwork, draw branches and branchlets in different directions on both sides. Follow the patterns as shown here.
Step 6: Perfect Branches For The Tree
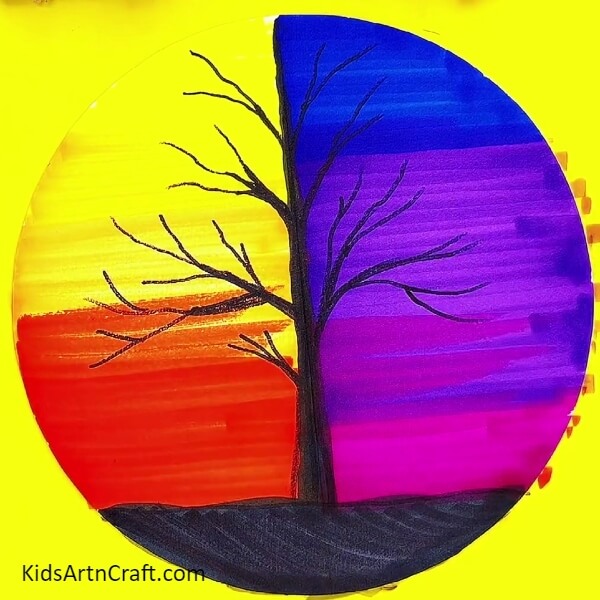
Make sure the drawn branchlets are spread widely and neatly to make the tree appear impressive.
Step 7: Dot the Leaves on the Branchlets

Let’s sketch the leaves with dots and tiny scribbled circles. These scribbles provide movement to the art piece.
Step 8: Covering the Branchlets with Leaves
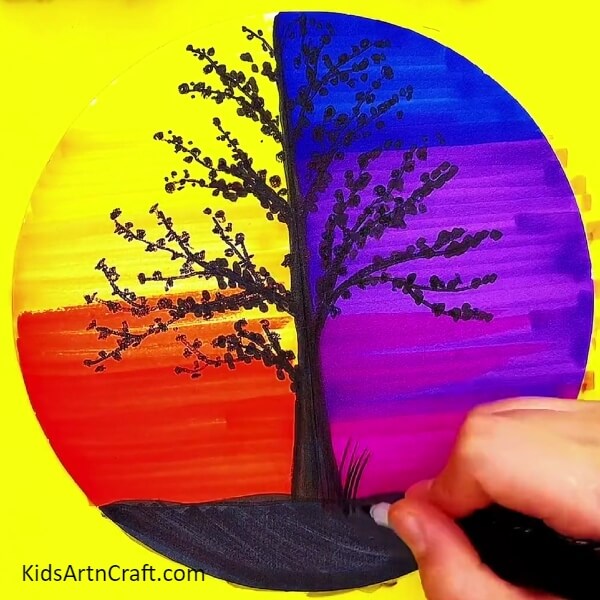
Draw scribbled circles on the branchlets on both sides. As well as draw random clusters of leaves in some places especially where the branches meet the stem and the branchlets. Add extra detailing like grasses to add produce movement in the art.
Step 9: Drawing Flying Birds

Draw more details like birds flying in the dusk. A flying bird is drawn just by connecting the two crisscrossing curved strokes. Draw several birds at the top right side which represents the evening sky.
Step 10: Adding Some Stars
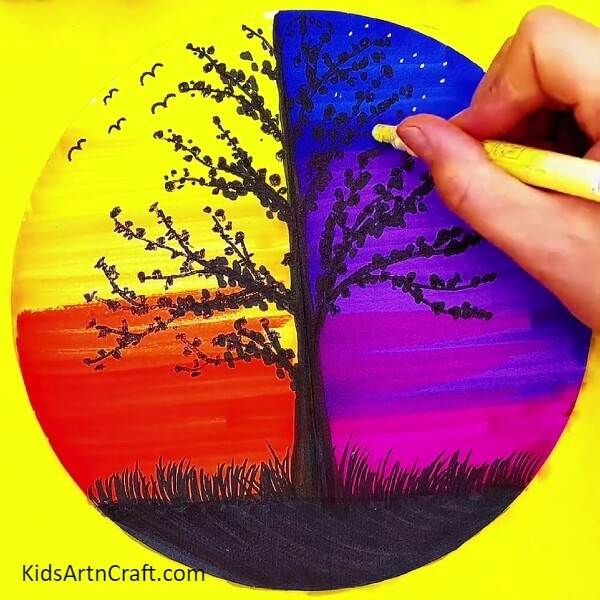
On the opposite side, place tiny dots of glowing yellow stars in the night sky. Scatter half of the sky with random star dots.
Tadda! Here is the masterpiece Scenery of Day and Night with a Tree and is ready for appreciation
Dangle this to decorate your plain walls.
Heartfelt gratitude for viewing our page. Your enthusiasm for arts and crafts and your views greatly encourage us to post a lot more artistry craft tutorials and content frequently. Recreate, Reuse and nothing is useless. Visit again!
Follow us on Youtube for art and craft tutorials and much more.
More Articles from Kids Art & Craft
- Cute Paper Cup Doll Craft – Step By Step Toy Making Tutorial
- Easy to Draw Tree Plant And Leaf Video Tutorial for All
- Handprint Corn Drawing easy Tutorial For Kids
- How to Draw Colorful Birds on Branch Easy Drawing
- Beautiful Tree Painting Using Leaf Impression Step-by-step Tutorial For Kids