Kids Activities
DIY Hand Fan With Colorful Paper for Kids

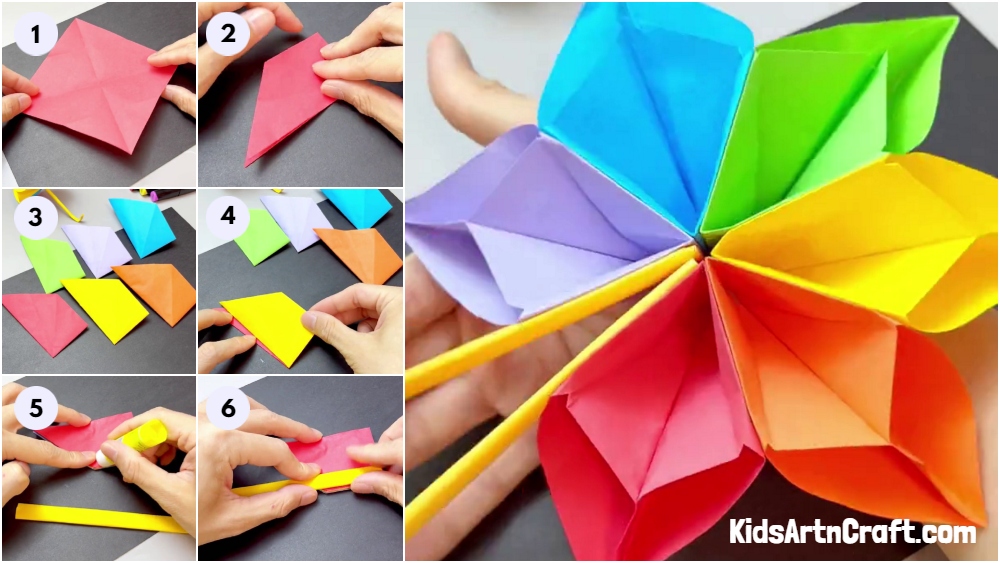
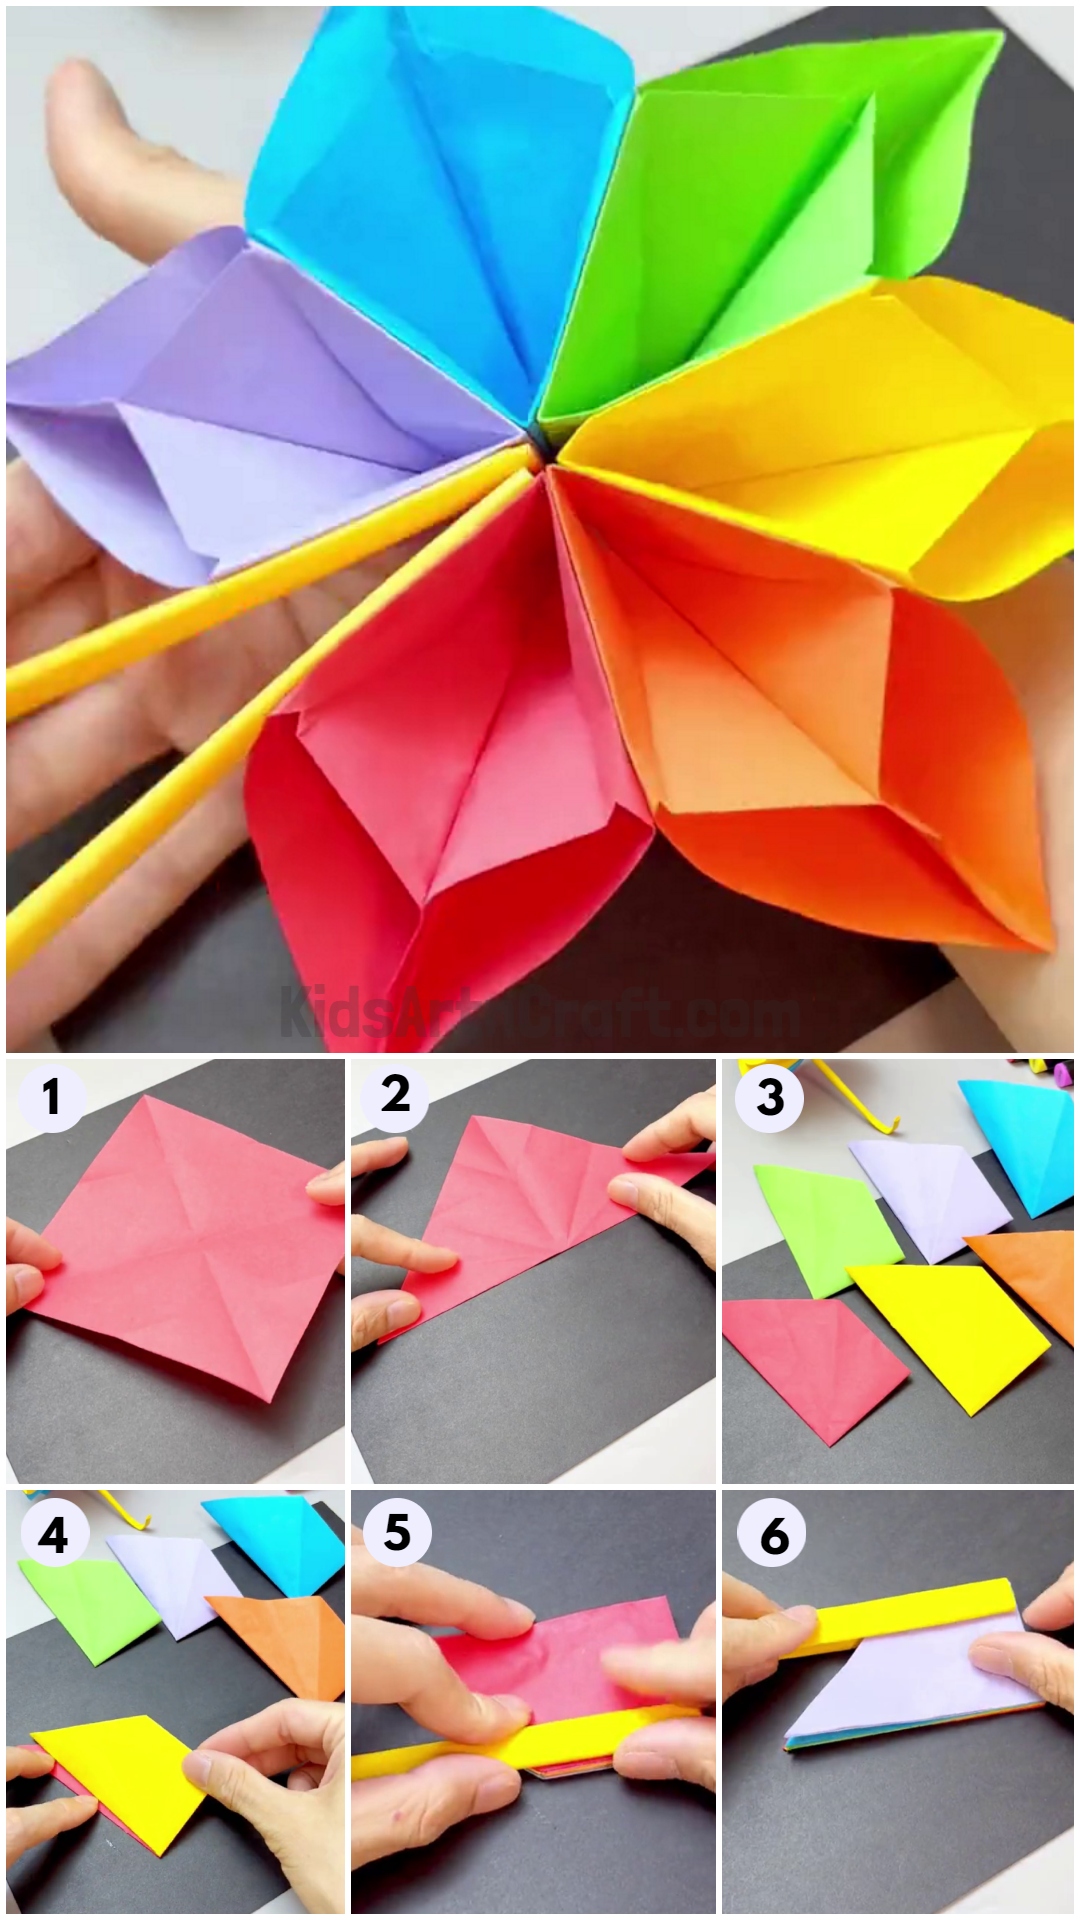
Welcome to the wonderful world of crafting! This tutorial will show you how to make a beautiful and colorful hand fan using paper. Not only is this craft fun and easy to make but it can also be used in a variety of ways. Whether you want to use it as a decorative piece or as a functional fan, this craft is sure to make a statement. So, grab your supplies, and let’s get crafting!
How To Make Hand Fan Craft Using Colorful Paper
Read More: Easy to Make Paper Chicken Craft Tutorial
Materials Required
- Colorful Origami Papers
- Glue
Procedure
Step 1: Making Creases On Square Paper
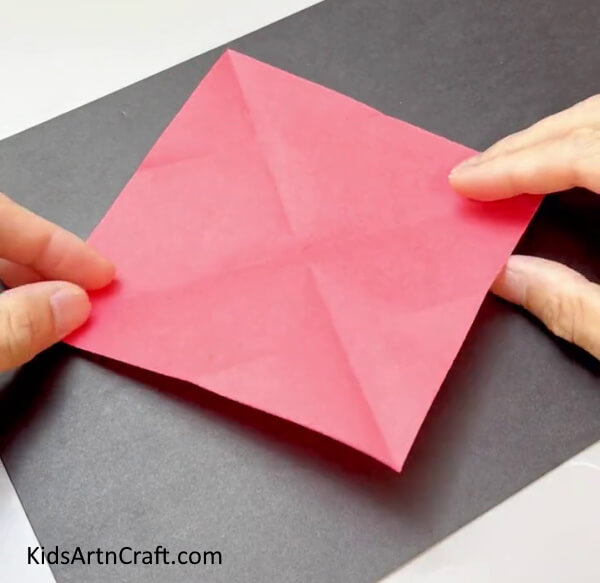
Let’s start this amazing craft by taking red-colored origami paper. Fold the square paper in half diagonally on both sides and crease it well then, unfold the paper. Next, fold the paper in half diagonally, and again fold the triangle in half but in opposite direction, crease it well, and unfold. You should get two parallel creases to the second diagonal.
Step 2: Folding Creases On The Triangle
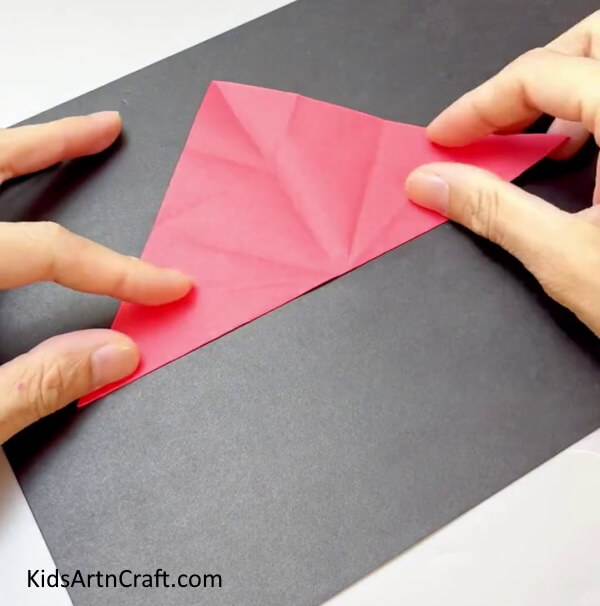
Fold the paper in half diagonally. Bring the bottom right and left corners to the middle crease and unfold them to form creases. Now, bring the bottom left and right corners to the crease formed recently. Crease it well and unfold it.
Fold the paper in half vertically and you should get a right-angled triangle. Fold the top corner downwards. Crease it well and unfold the last two folds.
Step 3: Bringing the Top Corner Downwards
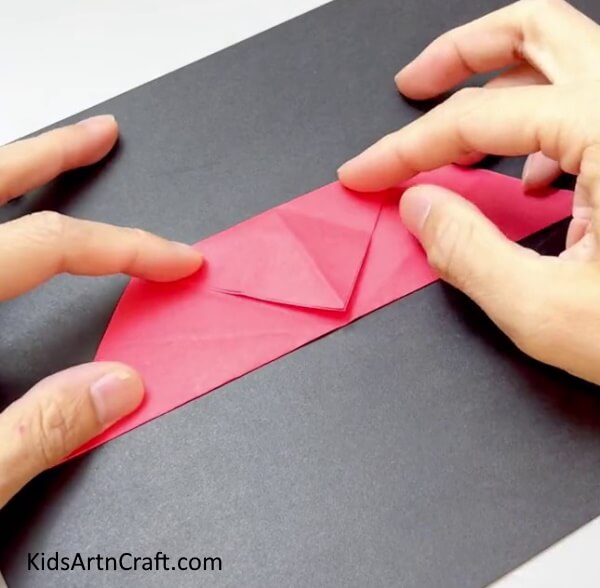
Next, bring the top corner of the triangle to the bottom edge of the paper triangle.
Step 4: Applying Glue
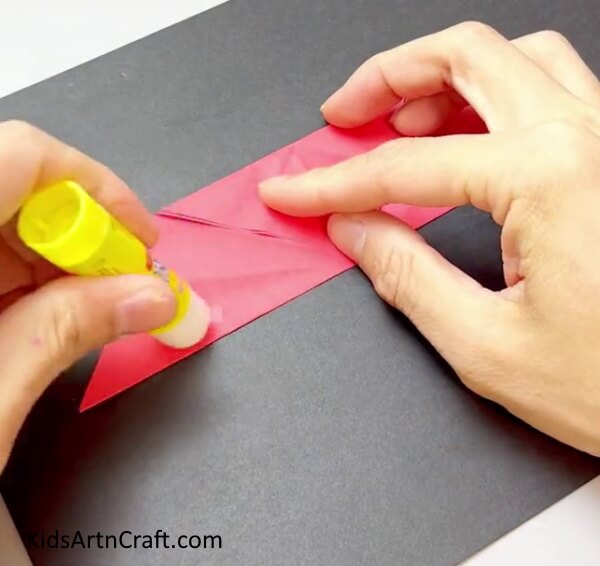
Apply glue on one corner of the paper.
Step 5: Pasting Corners Together
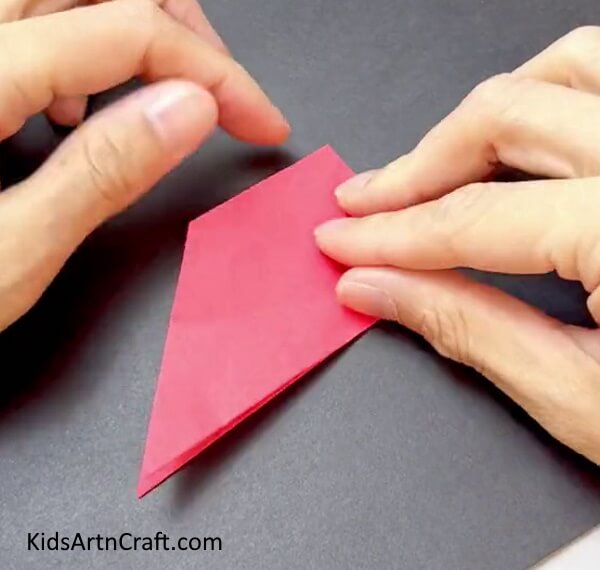
Now, bring the right corner to the left corner and paste them to overlap each other.
Step 6: Making More Paper Models
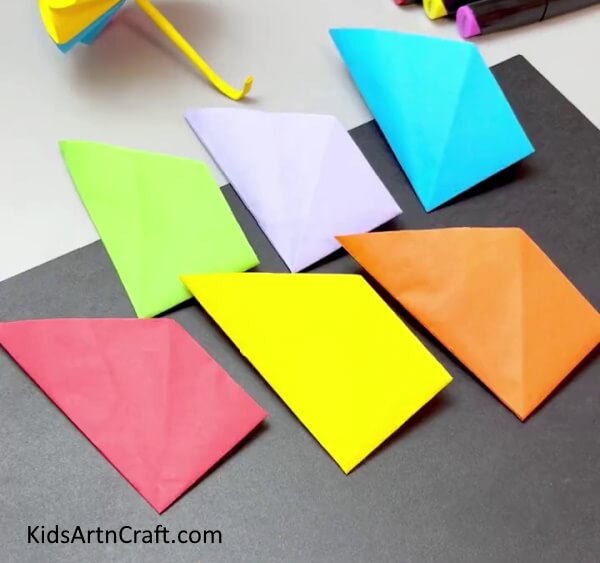
Using the previous steps, make five more such paper models of different colors.
Step 7: Applying Glue
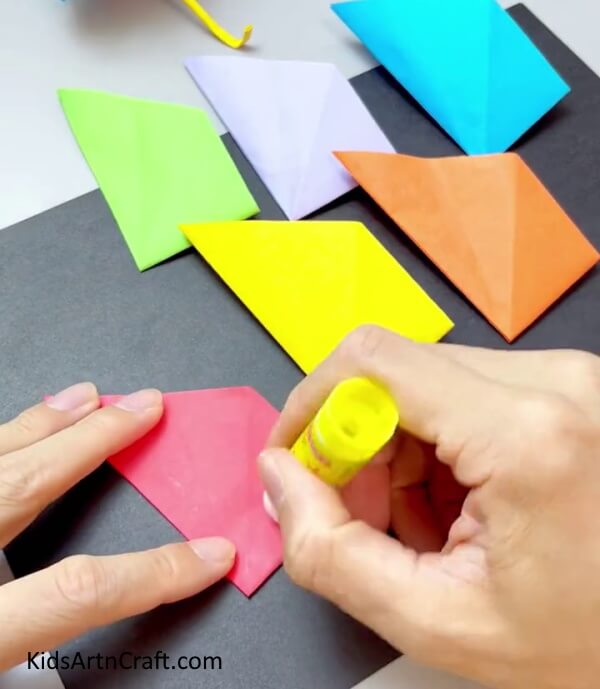
Now, apply glue to the paper model.
Step 8: Pasting Models Together
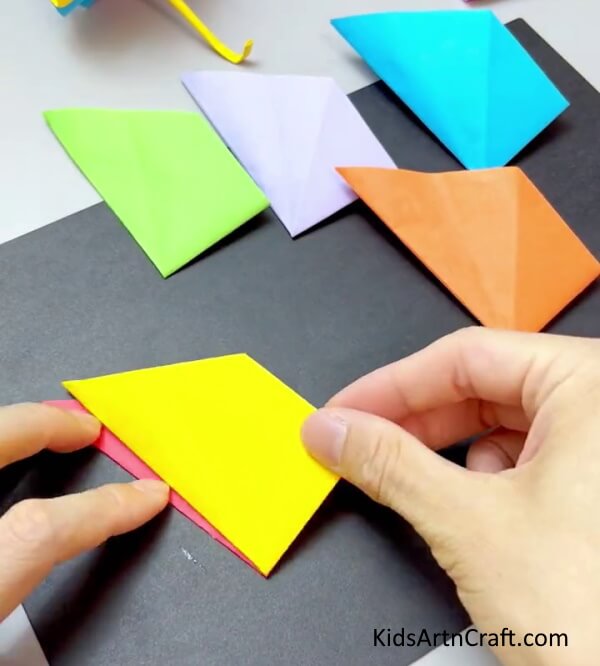
Paste a paper model on another to overlap each other.
Step 9: Making Bundle By Pasting
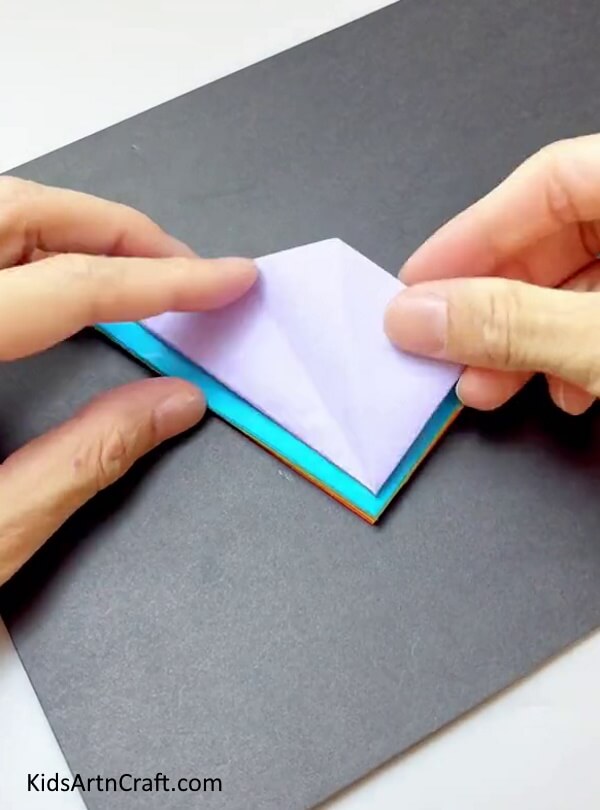
Paste all the models together to make a bundle. Paste them on each other.
Step 10: Folding Yellow Paper
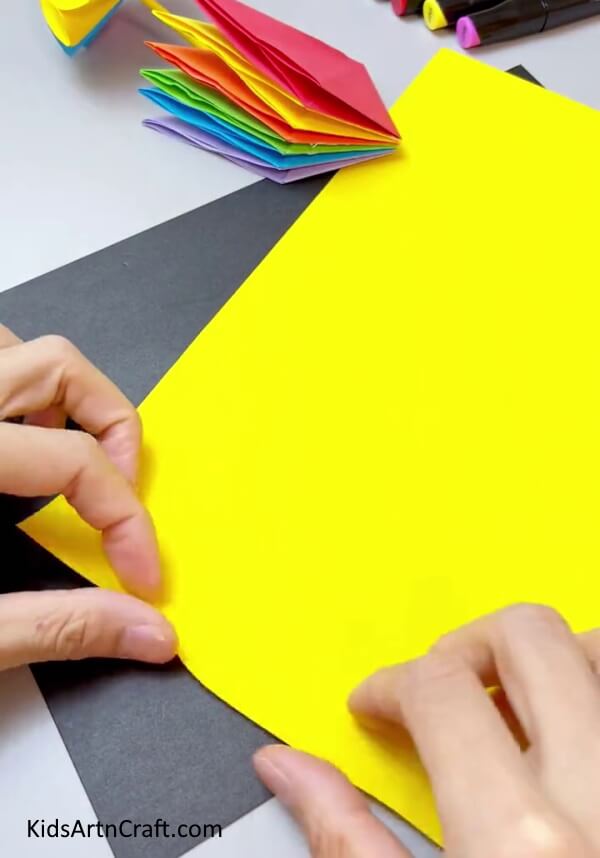
Now, take an A4 size yellow paper and fold its breadth about an inch and repeat the folds.
Step 11: Making Yellow Paper Strip
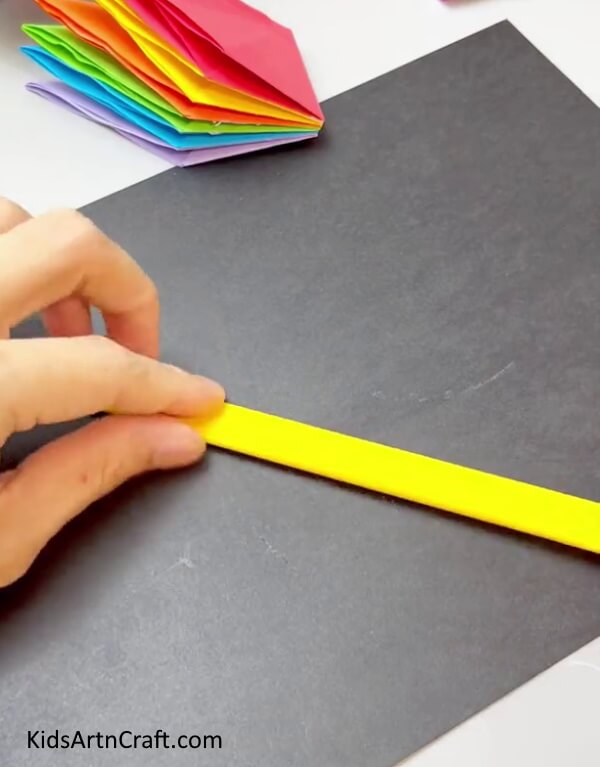
Fold the paper till the end of the paper to form a paper strip.
Step 12: Applying Glue
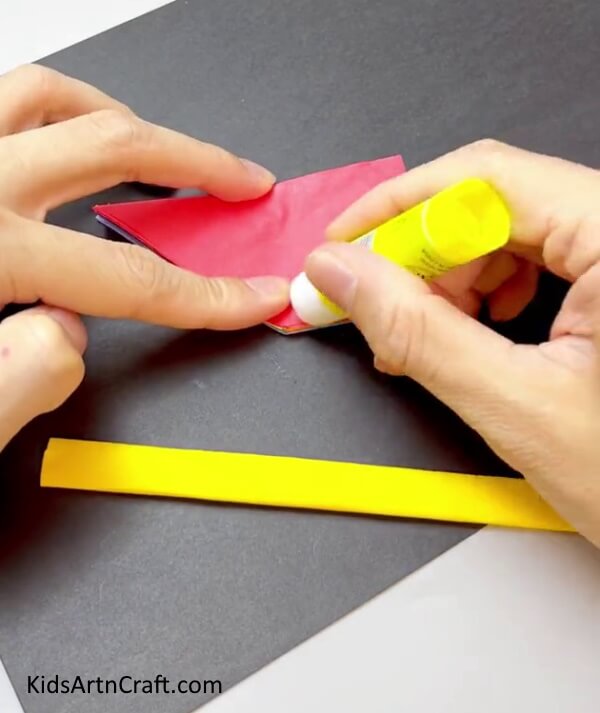
Once the paper strip is ready, apply glue to the short length of the paper model.
Step 13: Pasting Paper Strip
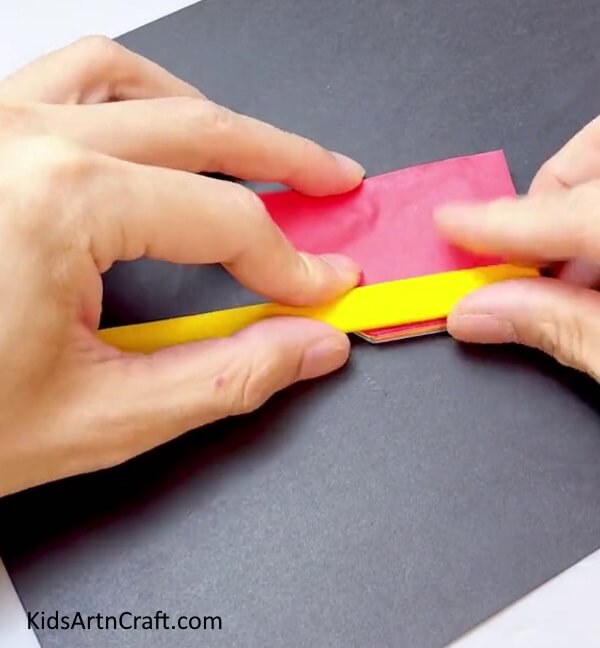
Stick the paper strip on the paper model.
Step 14: Pasting Another Paper Strip
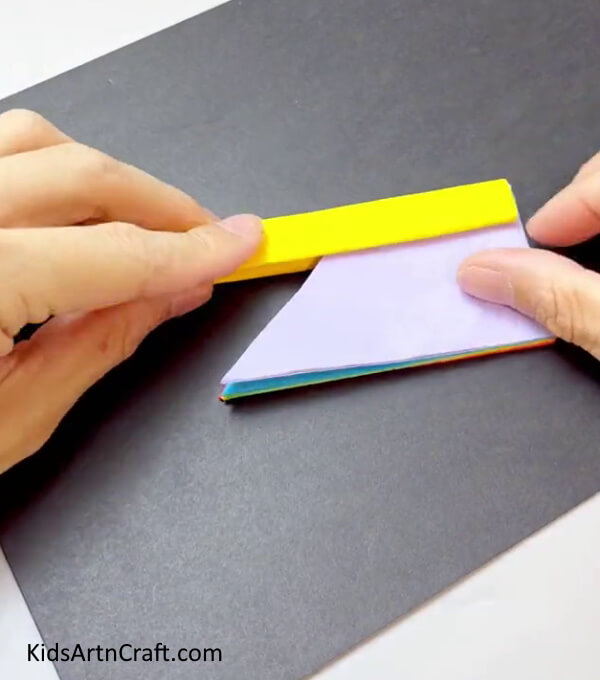
Next, make another paper strip and flip the paper model. Paste the paper strip on the short side of the paper using glue.
Step 15: Making Paper Fan
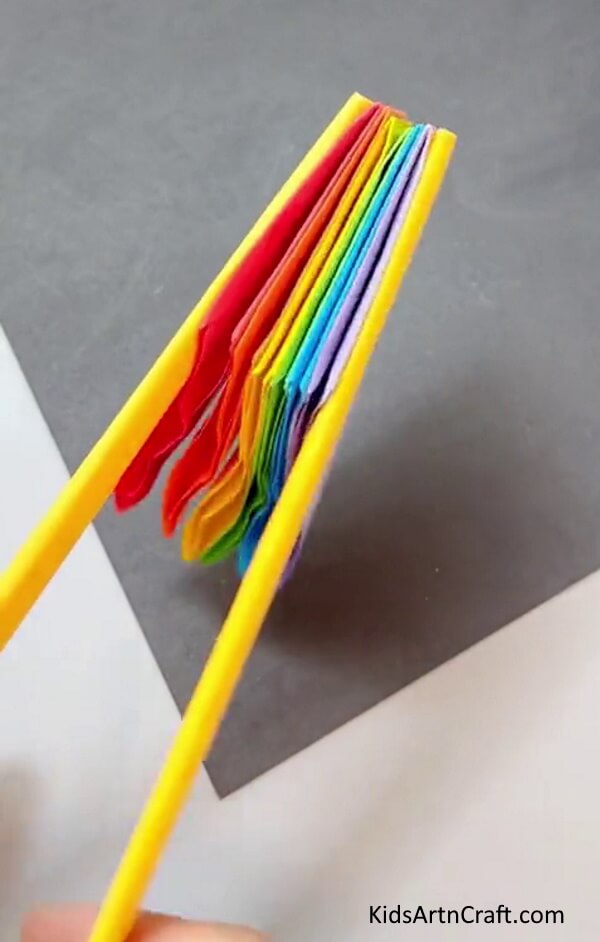
Once you assemble the paper fan, bring one paper strip to the other by moving it around 160 degrees. It will open the paper fan.
DIY Handmade Paper Fan Craft Is Completed!
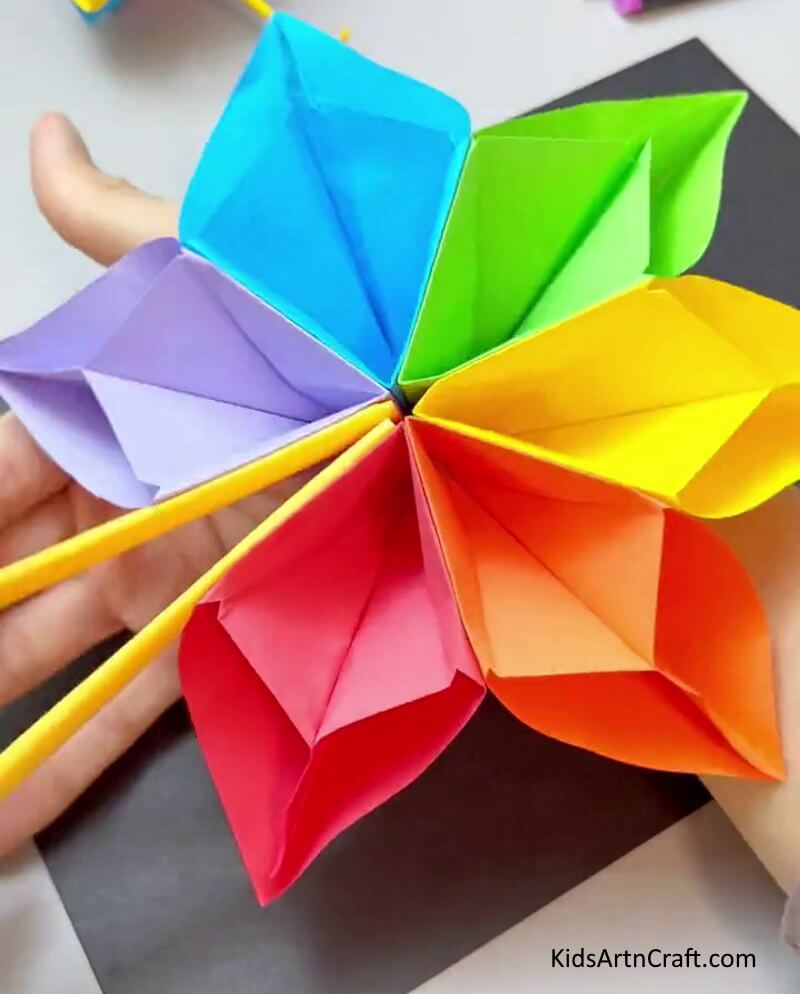
Hurray! You’re done with this craft. You can enjoy this craft in the summer afternoon to bring some creativity and cool decor to your home. This is sure to be loved by young kids. It is a fun and easy way to create a unique and beautiful decoration for your home or to give as a gift.
Crafting a DIY hand fan with colorful paper is a great way to have fun with your kids while also teaching them about the science behind how a fan works. It’s also a great way to recycle materials and get your kids involved in a creative project.
Follow us on Youtube for art and craft tutorials and much more.
More Articles from Kids Art & Craft
- How To Make A Paper Heart Bee Craft Tutorial
- Easy to Make Paper Pineapple with Step-by-Step Instructions
- Learn To Make a Tree with paper step-by-step Tutorial
- DIY Paper Folding Toy Crafts Video Tutorial for Kids
- Fun Paper Craft Ideas With Parents Video Tutorial


