Paper Crafts
DIY Paper Flower Craft – Step By Step Tutorial

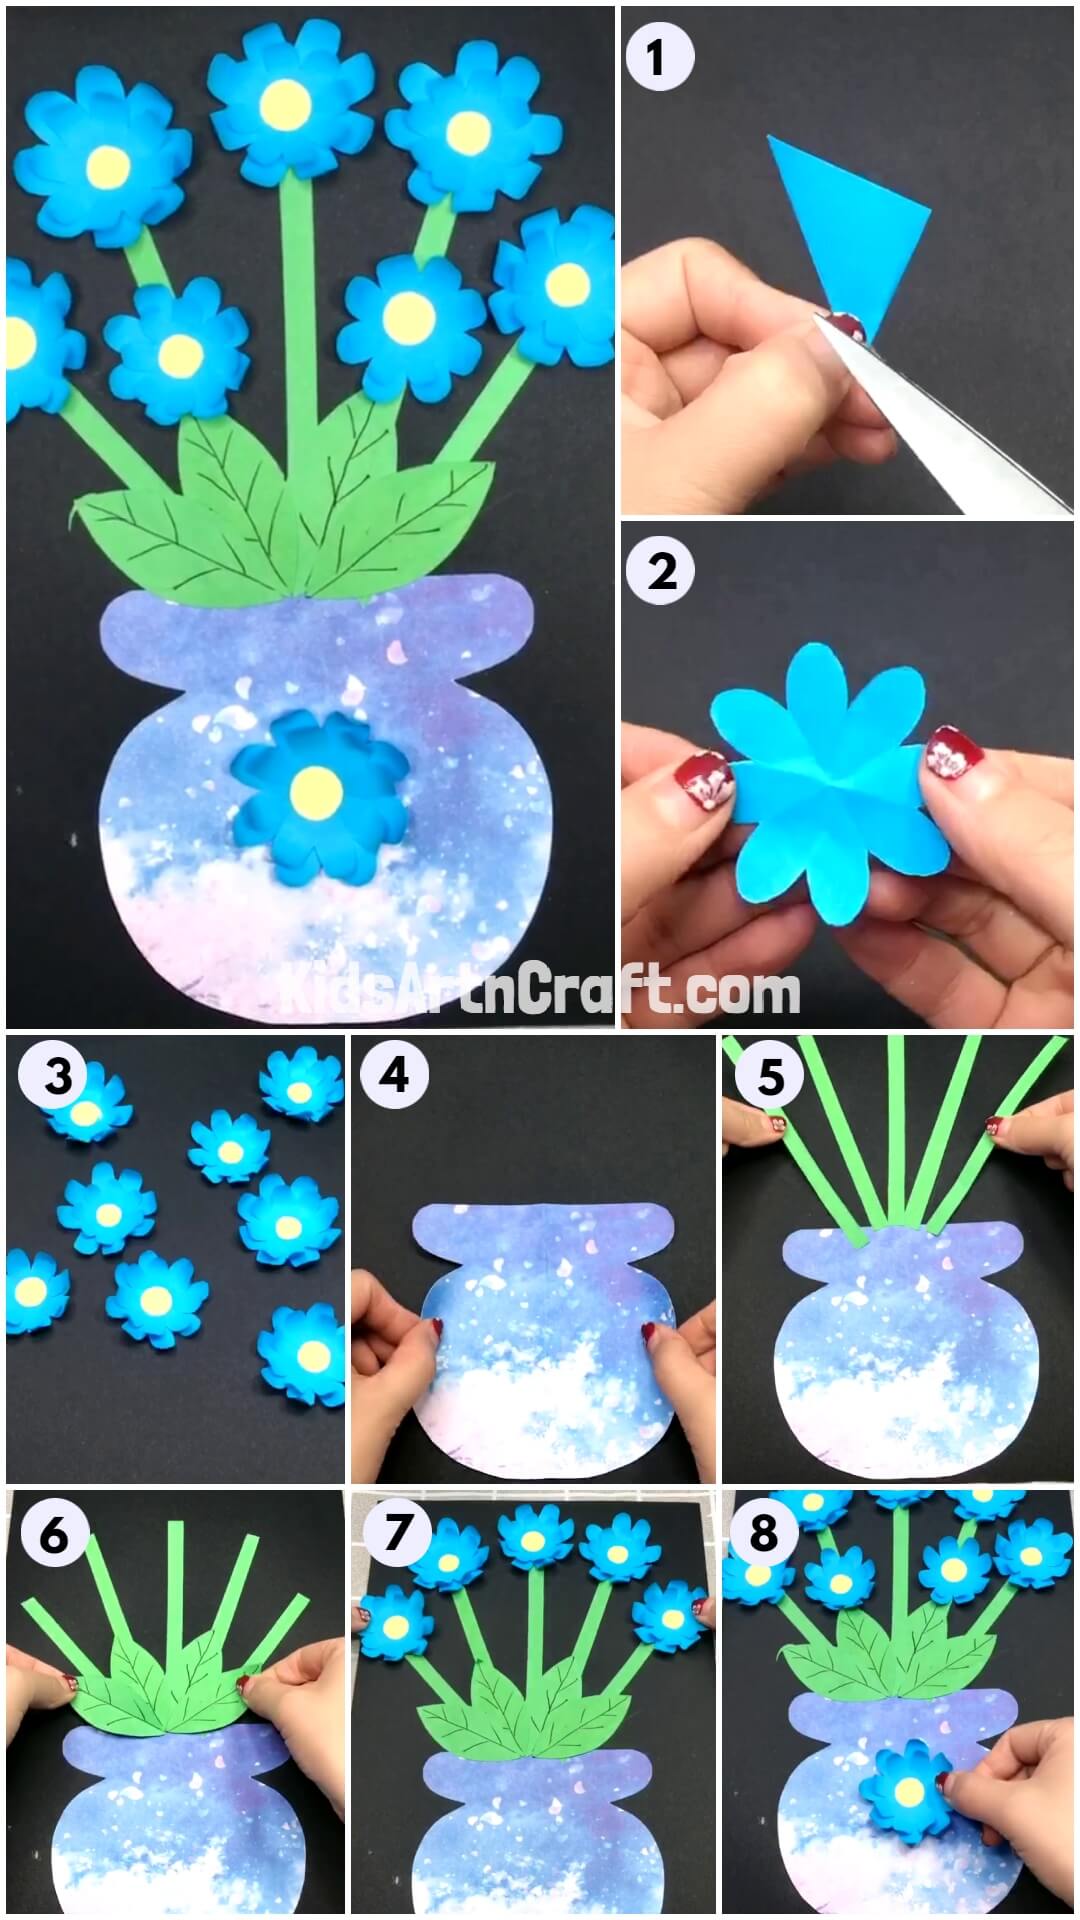
Create beautiful paper flowers with this easy step-by-step tutorial! Learn how to make paper flowers for any occasion with materials you have around the house. Get creative and craft the perfect bouquet for your next celebration or special event.
Welcome to this DIY Paper Flower Craft Step By Step Tutorial! With this tutorial, you will be able to make beautiful paper flowers in no time. This craft is easy and fun to do, and you can make an array of different flower designs. All you need to do is gather your materials, follow the instructions, and you will have beautiful handmade paper flowers in no time. So let’s get started!
DIY & Craft Paper Flower For Kids

Read More: Super Simple Pine Cone Crafts For Kids
Material Used:
- Craft paper of various colors like blue, green, yellow, multi-colored, etc
- Pair of Scissors
- Black pen
- Glue
Instructions:-
Let’s Make The Petals – Step 1
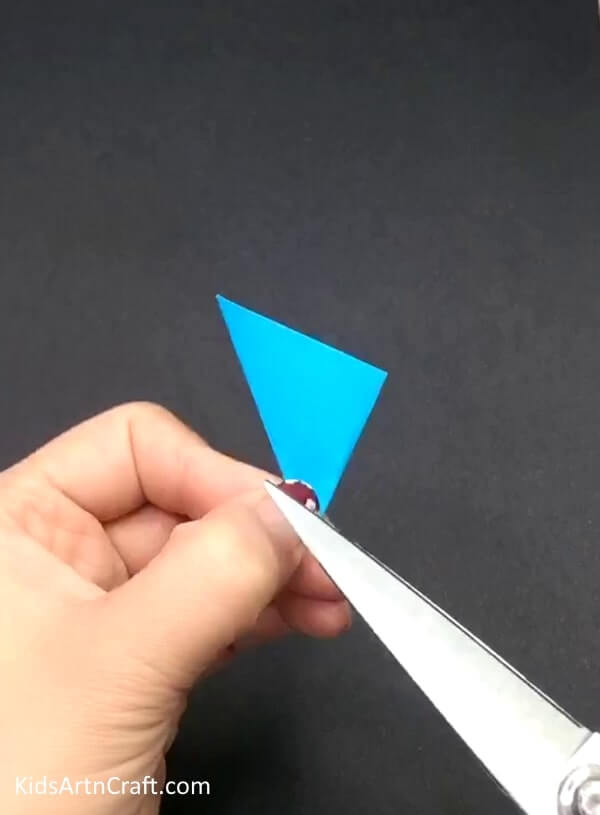

Choose the color of paper you want to use for your flower. here we have taken blue paper,
cut a square piece of paper,
fold it in a triangle, fold it several times
after that take the scissors and cut it in a circular shape around one of the angles as shown in the image above
Flower Base is Ready – Step 2
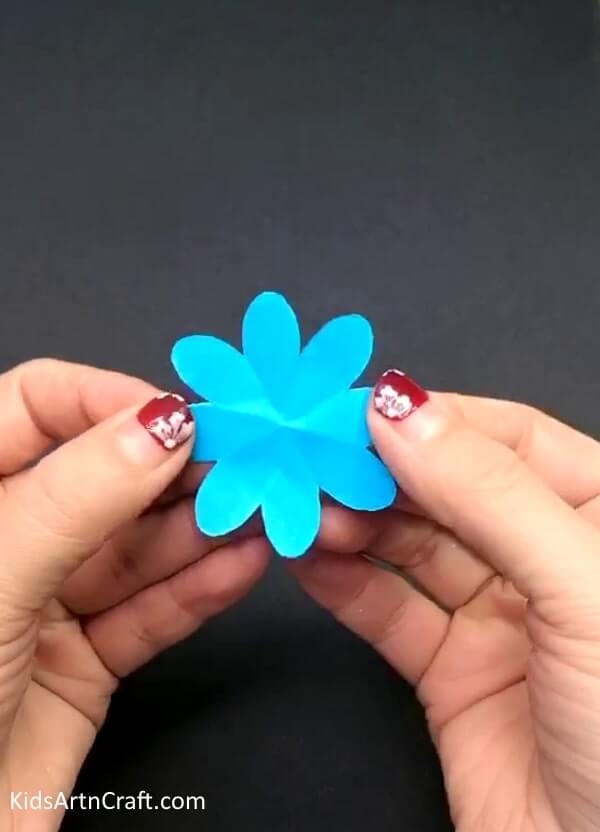

Open the folds of the paper, you will see it’s in a shape of a flower, thus our pretty flower petals are ready
Make Another Flower – Step 3
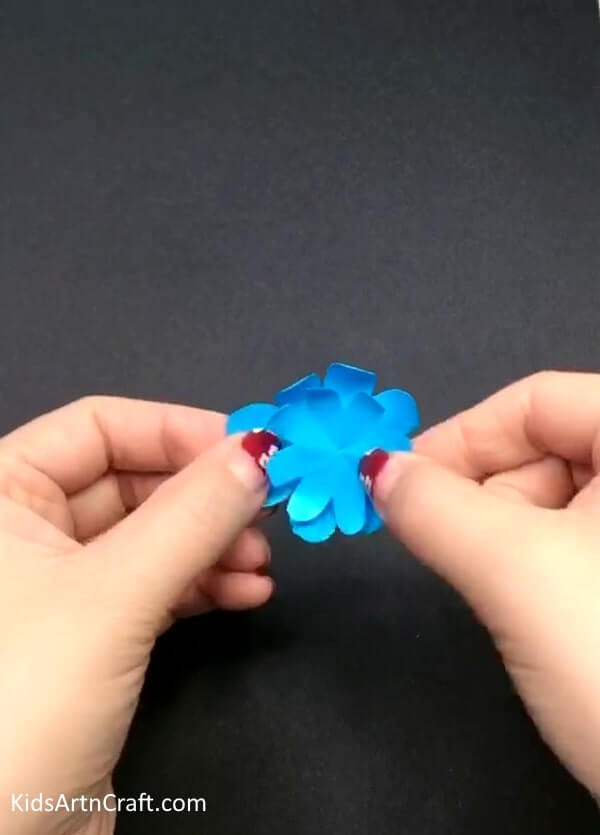

Take a slightly smaller piece of square paper than the previous one, and repeat the steps,
take the smaller flower base and paste it on top of the larger flower base
Let’s Cut Out Some Small Yellow Circles – Step 4
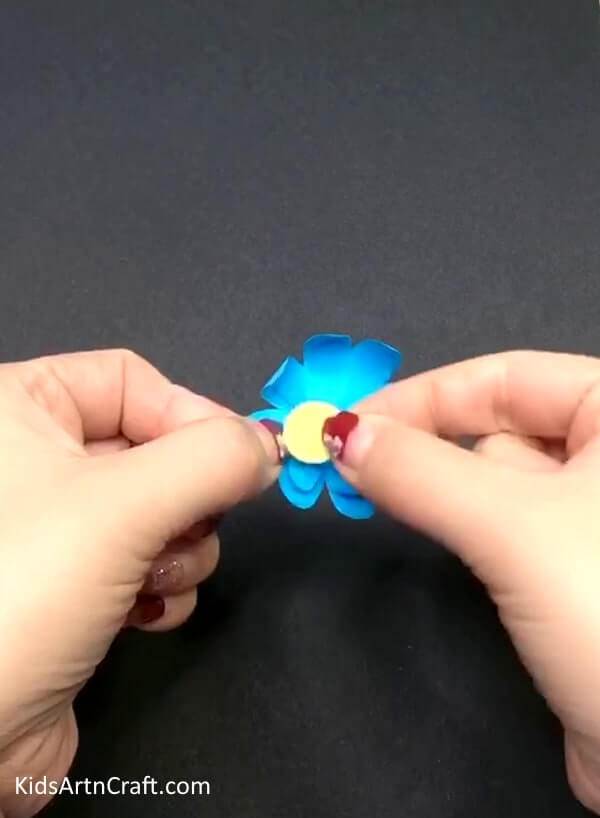

Take the yellow paper and cut down a circle, paste it in the middle of the flower, and our flower is ready.
Did you know the yellow part in the middle of our flower is called Stigma?
Make Many Flowers – Step 5


Repeat the steps from 1-4 and make 7-8 flowers
Let’s Make the Vase Now – Step 6


Take a big square of Colourful craft paper fold it in half, and cut out a two arc shape around the edges
one larger one slightly smaller one with scissors
Our Vase is Ready – Step 7
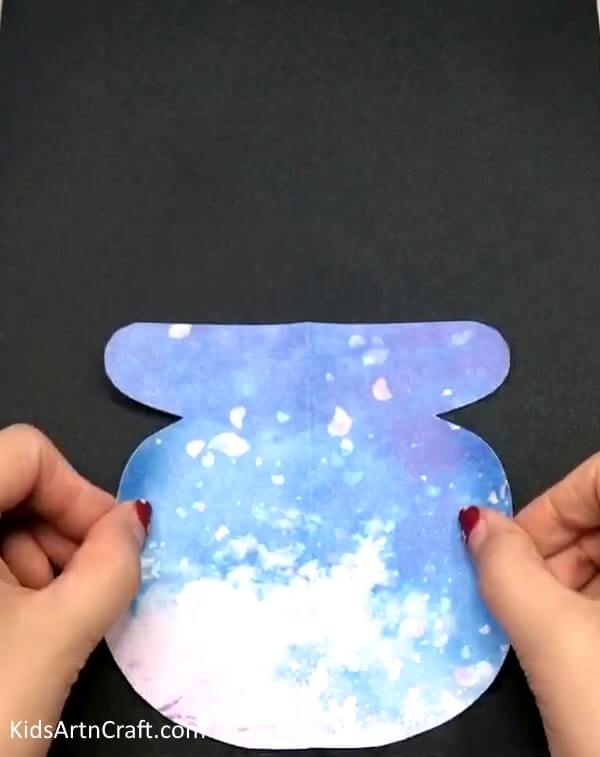

open the fold, you will see the paper is in the shape of a vase pasted onto a black thick paper
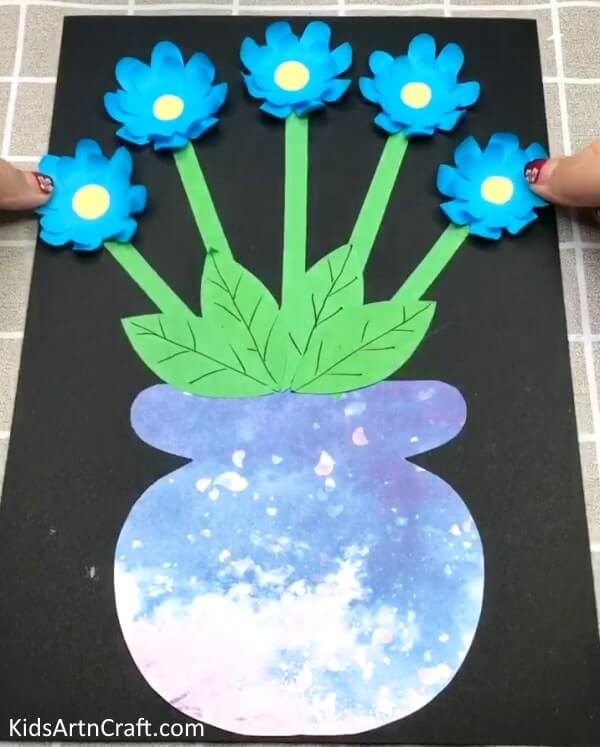
Let’s Make Stems – Step 8
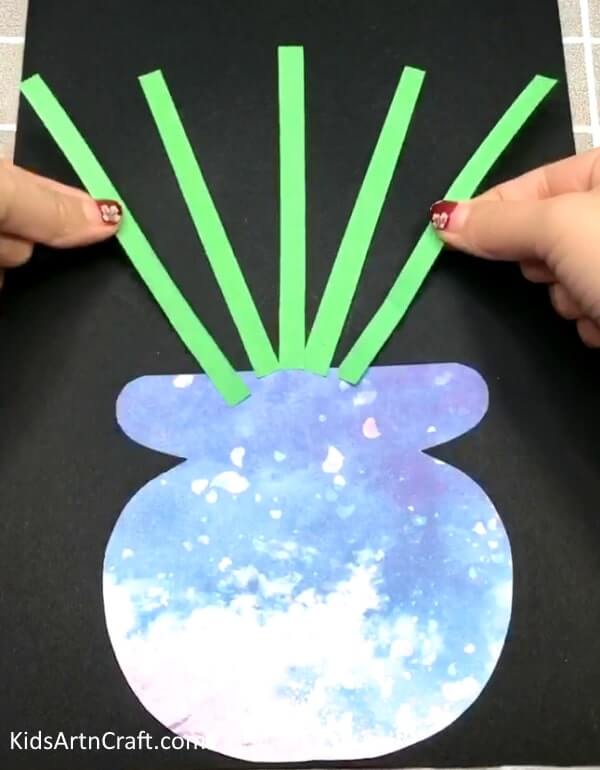

Take the green paper, fold it into a rectangle, fold it several times,
cut it along the edges to get rectangle stems
arrange them in the vase
Now It’s Time For The Leaves – Step 9
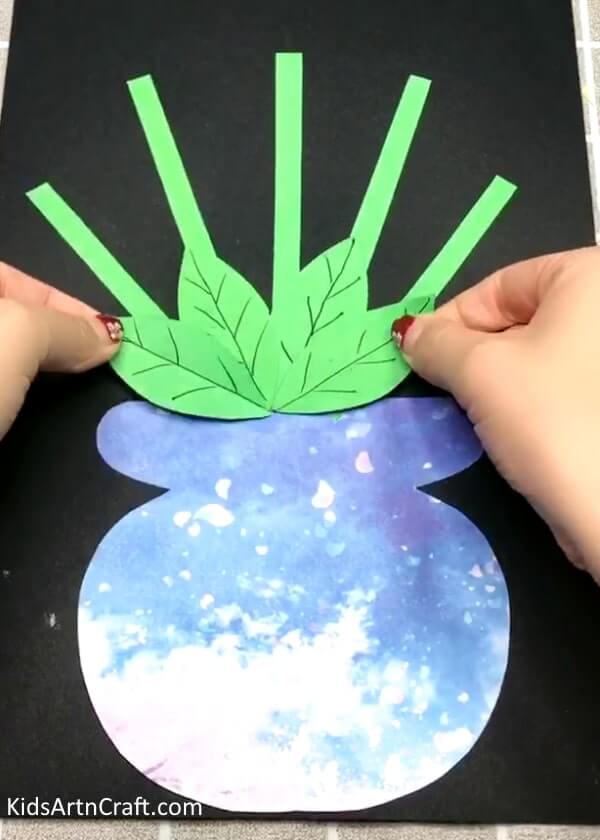

Take another piece of green paper, cut a small square out of them
fold them and cut them into a circular shape around the edge
open the fold and draw the veins on the leaves
our leaves are is ready
Let’s Arrange Them Now – Step 10

Arrange everything together, put the leaves around the stem and flower on the top of the stem in the vase
and paste them with the glue
Let’s Decorate The Vase – Step 11
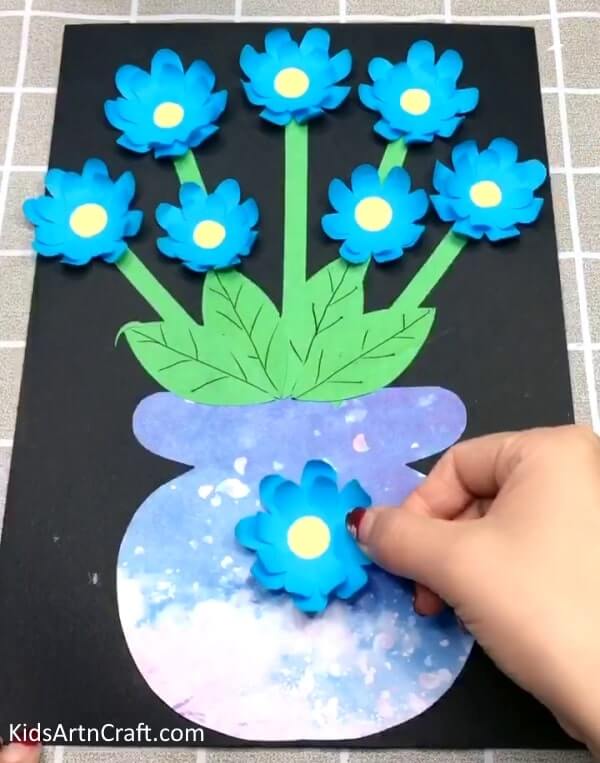

take one flower and paste it in the middle of the vase, to make it look pretty
Your DIY Flower Craft Is Ready – Final Steps
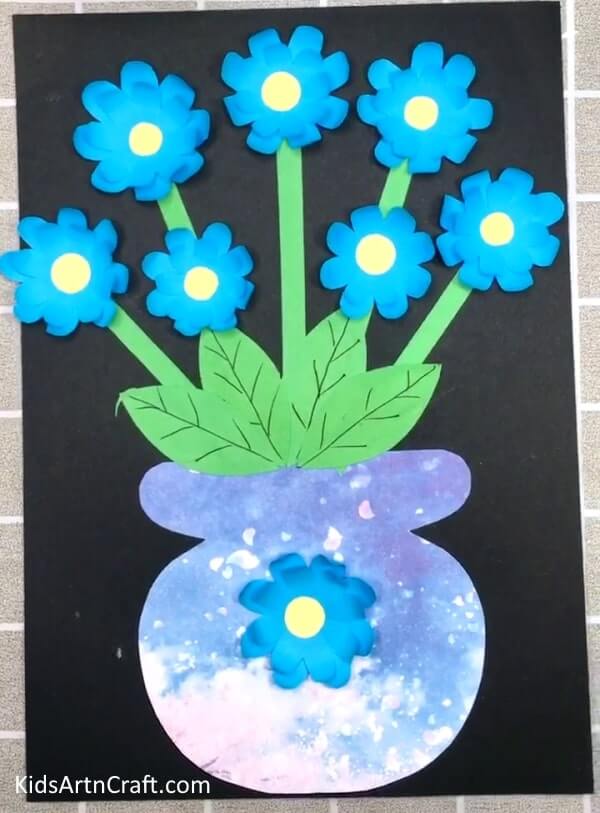

And your craft is ready!! This was such an easy tutorial that any kid can make. You can add more detailing by making flowers of different colors or decorating the vase more with the left-out paper with different shapes and get more creative. This craft would be liked by all, so why not give it a try and engage your kids in a fun craft-learning activity?
Some More Paper Flower Craft Tutorial
Cute Foam Net Flower Craft for Kids

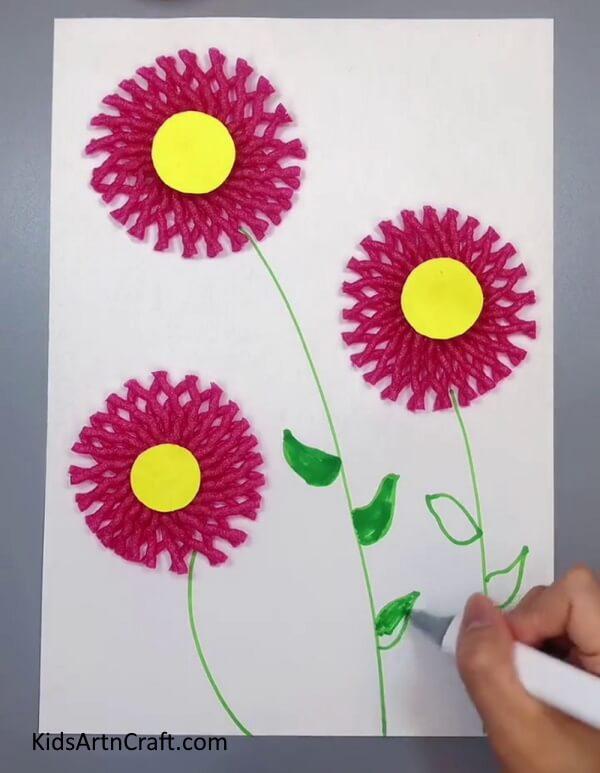
Image Source/Tutorial: Kids Art & Craft
This craft is perfect for kids! It’s easy and fun to make a cute foam net flower. All you need is some foam net, a few beads, and some glue. Kids will have a blast creating their own colorful flower decorations.
Designing Tulip Blossoms with Paper

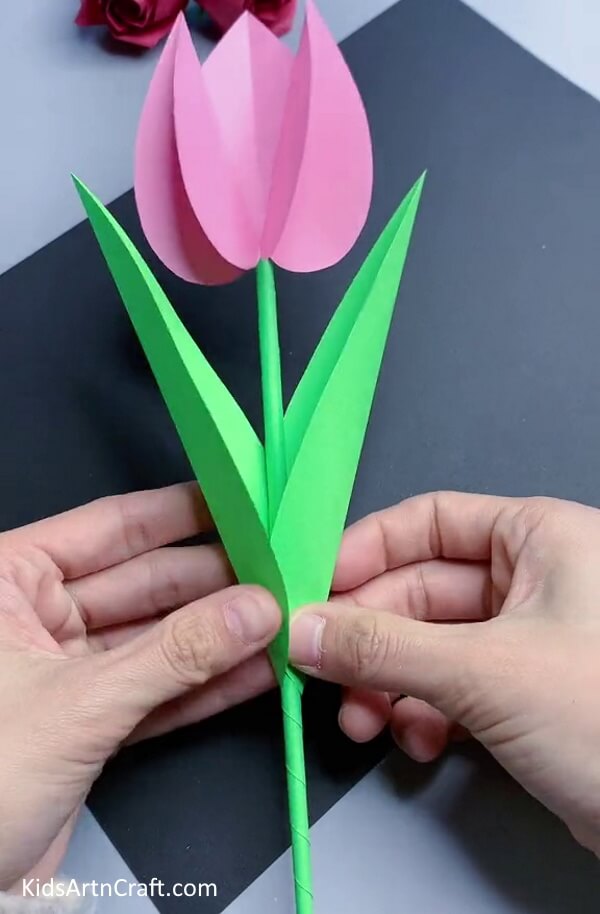
Image Source/Tutorial: Kids Art & Craft
Designing tulip blossoms with paper is a great way to bring a touch of spring into your home. It’s a fun and creative project that can be done with any type of paper and can be used to decorate walls, furniture, and more.
Pretty Paper Flower Craft For Little Ones

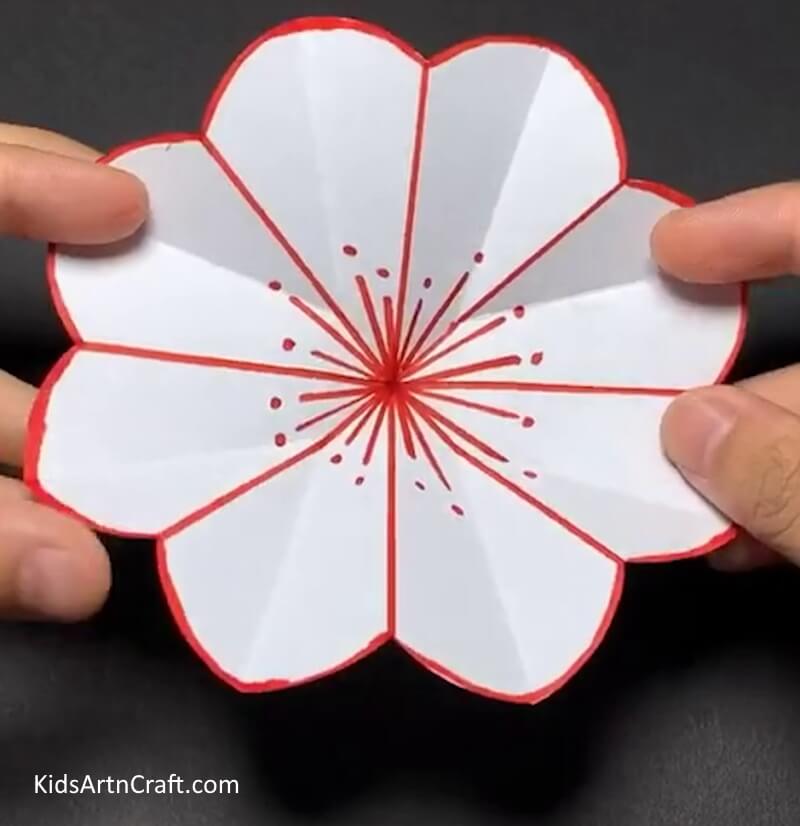
Image Source/Tutorial: Kids Art & Craft
These pretty paper blossoms are perfect for brightening up any little one’s room. They’re easy to make and create a fun, colorful atmosphere. Plus, they’re a great way to get creative and show off your crafty skills.
Unique Clay Flower Craft For Kids

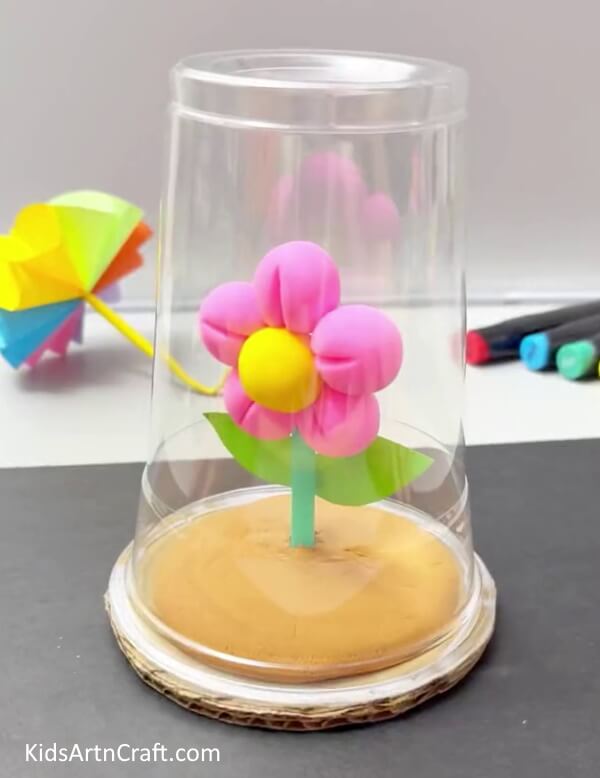
Image Source/Tutorial: Kids Art & Craft
This fun clay flower craft is perfect for kids to explore their creativity! They can make realistic-looking flowers in an array of colors that can be used to decorate any space. It’s an easy and fun way for them to express their artistic side.
Egg Carton Flowers With Bees Craft For Kids

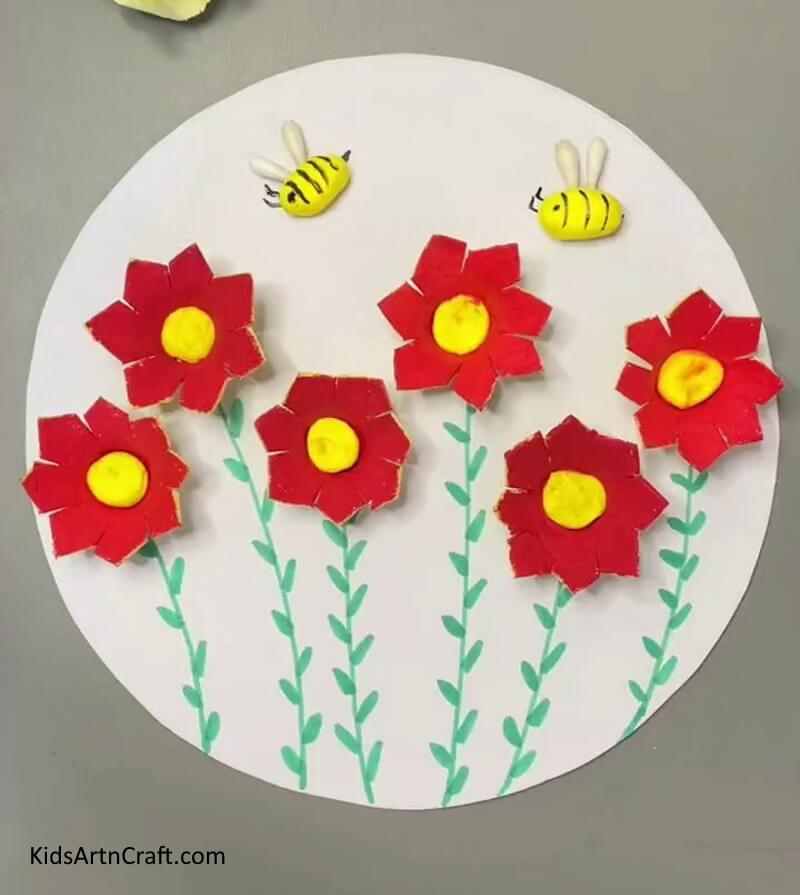
Image/Tutorial: Kids Art & Craft
This craft is perfect for kids of all ages! Making Egg Carton Flowers With Bees is a fun and creative way to bring a little bit of nature indoors. Kids will have a blast making these colorful and creative flowers and bees!
FAQs
What tools do I need to make paper flowers?
You will need scissors, glue, and colored paper to make paper flowers.
What kind of paper should I use?
You can use construction paper, crepe paper, tissue paper, or any other type of paper that is thin and flexible.
How do I make the petals for my paper flowers?
You can use a template or draw your own petals onto the paper and then cut them out.
How do I attach the petals to the stem?
You can use glue or tape to attach the petals to the stem.
What colors should I use for my paper flowers?
You can use any colors you like!
Creating DIY paper flowers is a fun and creative way to decorate your home. With this step-by-step tutorial, you can easily make your own beautiful paper flowers to brighten up any space.
Follow us on Youtube for art and craft tutorials and much more.
More Articles from Kids Art & Craft
- World Parrot Day Coloring Pages For Kids – Free Printables
- Poppy Coloring Pages For Kids – Free Printables
- Lion Drawing & Sketches for Kids
- Crumpled Paper Animal Crafts for Kids
- Meditation Coloring Pages For Kids – Free Printables