DIY and Crafts
DIY Home Decor Artwork Easy Tutorial for kids

A fun and easy tutorial for kids to create their own wall decor artwork! Learn how to make DIY wall art that your kids will love with simple supplies and easy instructions. Bring your walls to life with this fun and creative project.
Whether you are looking for the perfect gift for a special someone or just looking to add a unique touch to your home, Decor Artwork Craft has something for you. Let us show you the beauty of the art and craft world!
Are you looking for a fun and easy project to do with your kids? DIY wall decor artwork is a great way to get creative and add some personality to your home. This tutorial will show you how to make beautiful and unique pieces of artwork that your kids will be proud of. With just a few materials and some basic instructions, you can create stunning artwork that will last for years to come. So get ready to start creating!
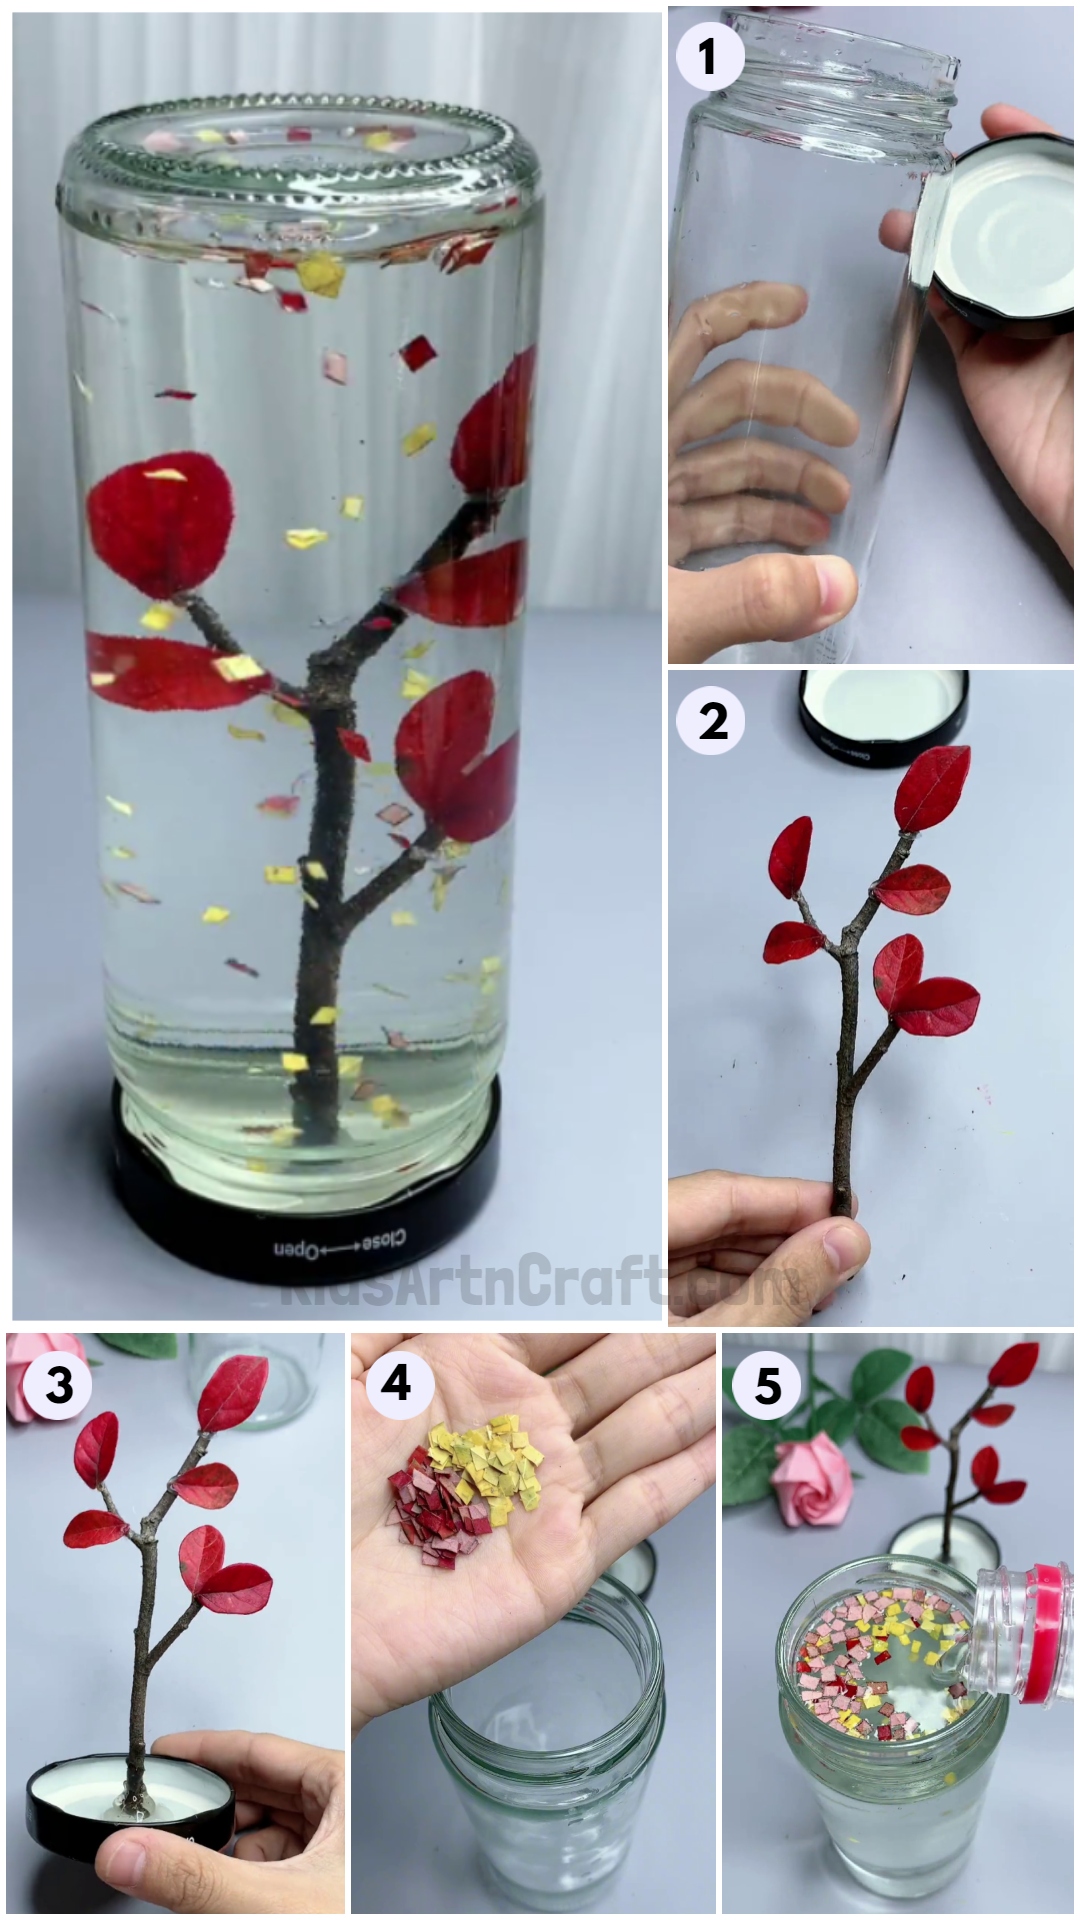
Easy Home Decor Artwork Craft Tutorial With Step By Step Instructions

Read More: Paper-Cutting Designs For Projects
Materials Required
- Glass Jar
- Leaves
- Wooden Stem Stick
- Hot Glue Gun
- Scissors
- Water
Procedure
Step 1: Getting A Glass Jar
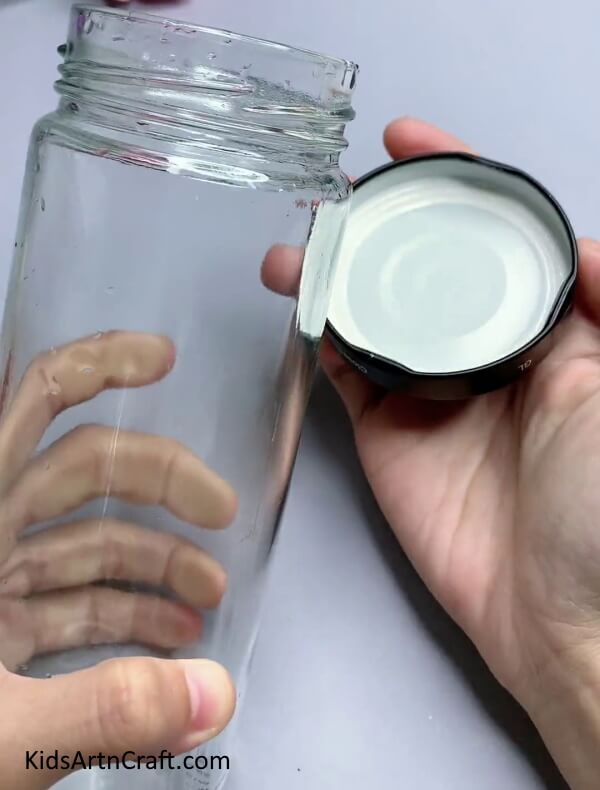

To begin with, take a glass jar with a lid and remove the lid from the glass jar.
Step 2: Taking A Stem Stick
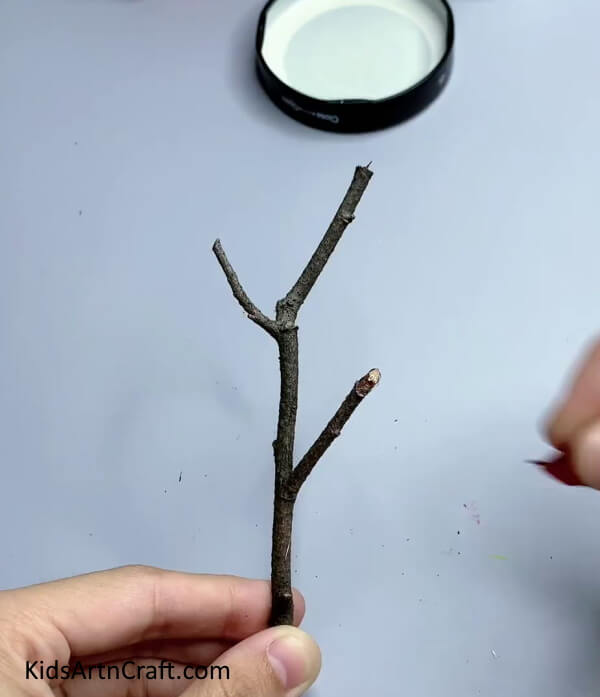

Now, take a wooden stem stick.
Step 3: Pasting Leaves On Stem
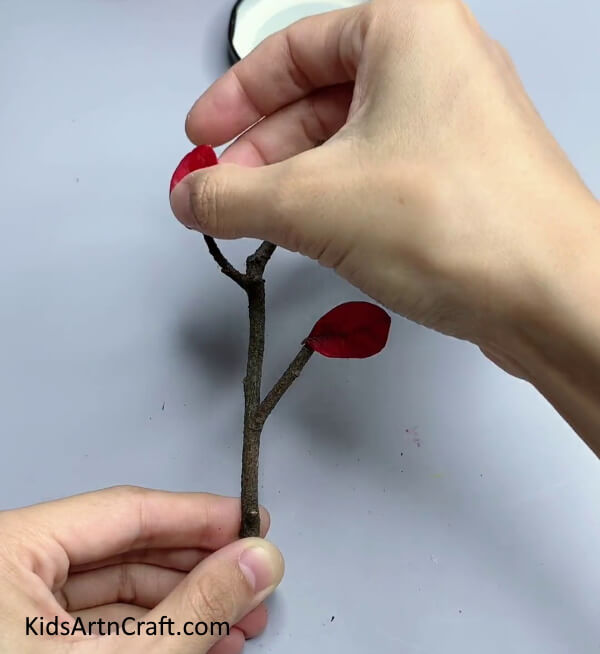

Paste some red leaves on the stem using hot glue.
Step 4: Making Leaf Stem
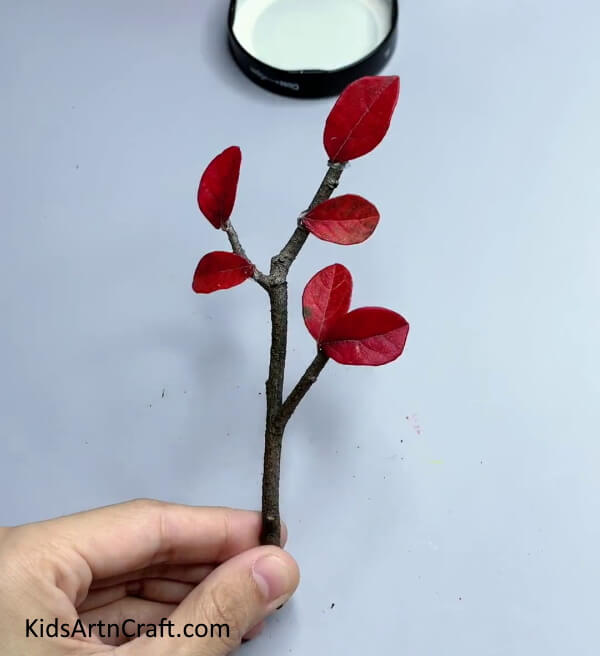

After pasting leaves, your stem should look like a real stem with leaves.
Step 5: Pasting Stem On the Lid Of the Glass Jar


Using a hot glue gun, paste the stem on the inner top of the lid
Step 6: Letting It Dry
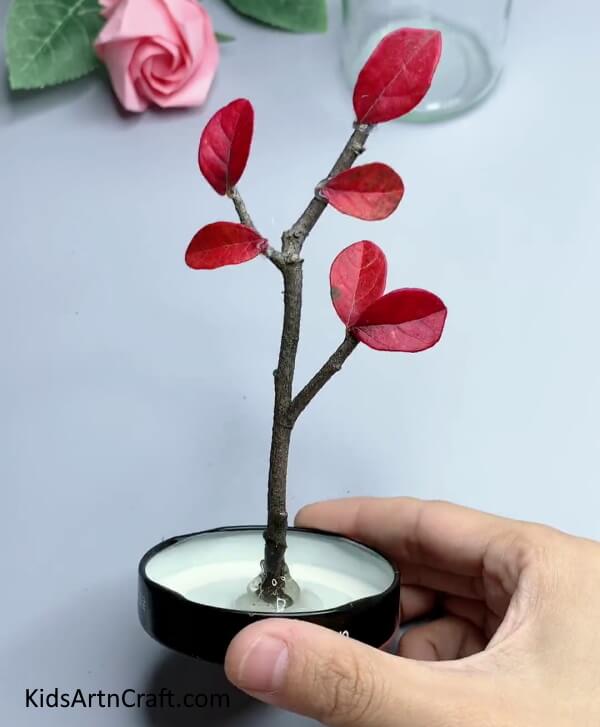

Glue it properly and let it dry.
Step 7: Taking Yellow and Red Leaves


Now, take some yellow and red leaves.
Step 8: Cutting Leaves
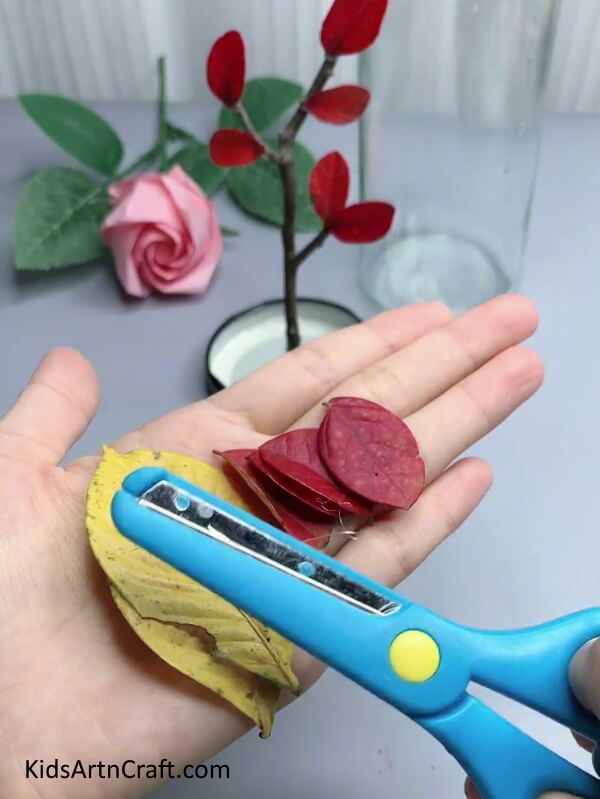

Using scissors, cut down the yellow and red leaves into smaller parts.
Step 9: Putting Cut Leaves In Jar
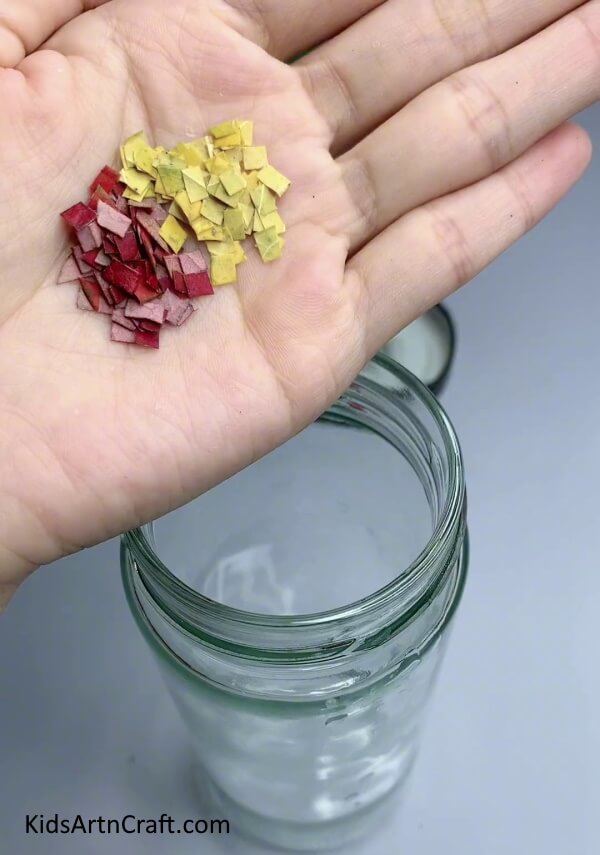

Put the cutting of the yellow and red leaves in the glass jar.
Step 10: Pouring Water In Jar
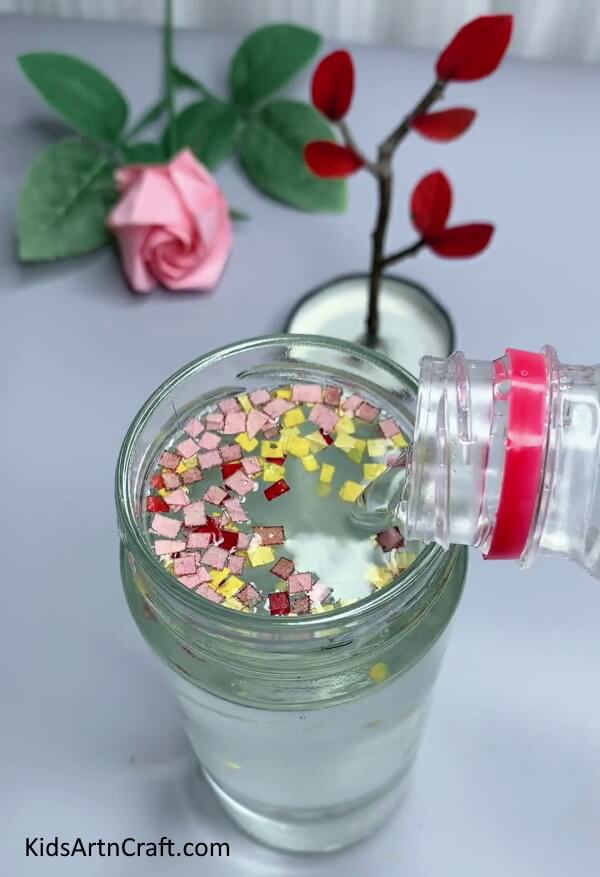

Fill the jar with water.
Step 11: Closing the Cap Of The Jar
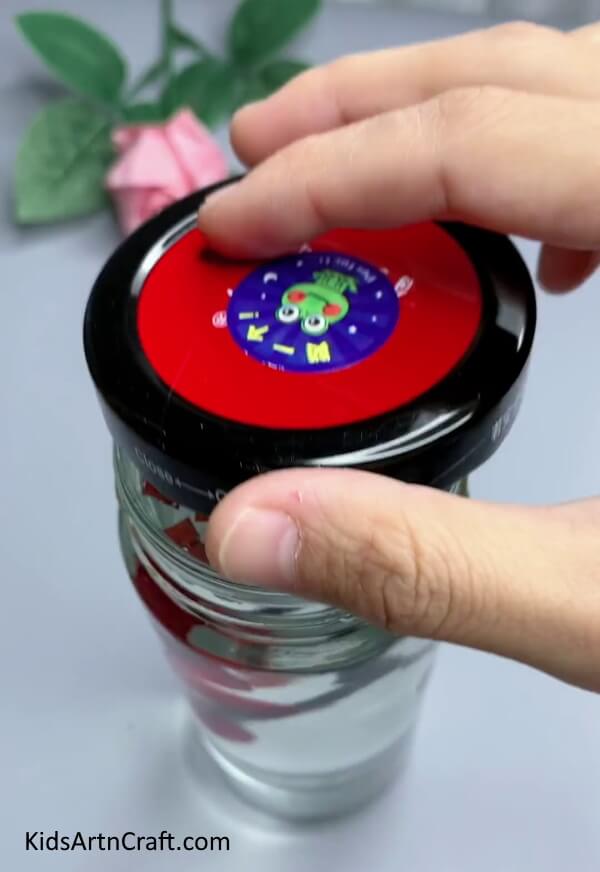

Close the lid of the jar. Make sure to tighten up it properly. Turn the glass jar upside down.
Home Decor Craft Is Ready to Display!
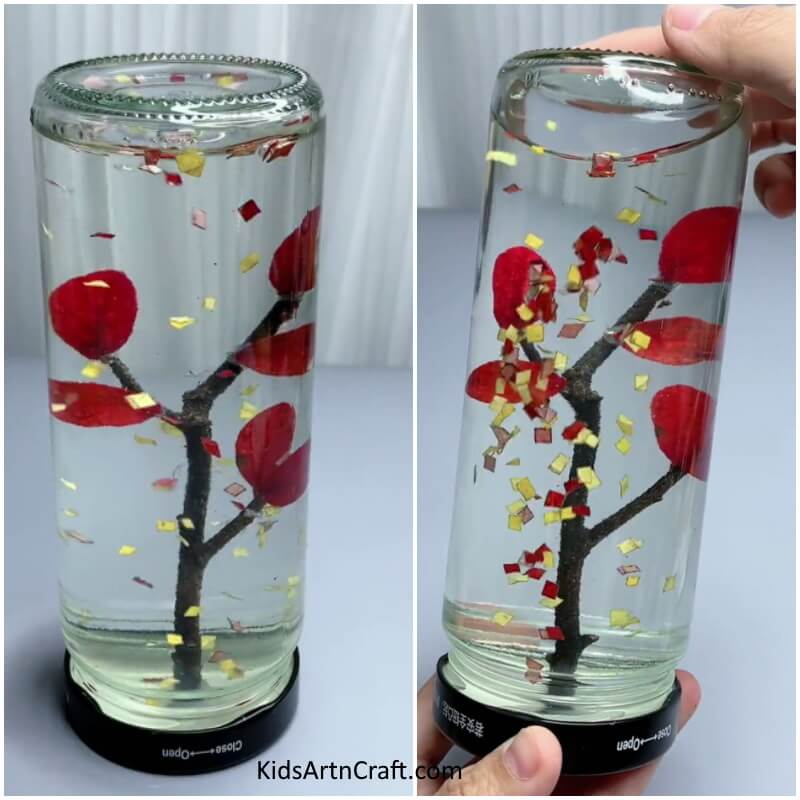

Congratulations! Your home decor craft is now ready to display and show off your creativity! This DIY wall decor artwork tutorial is a great way to get the kids involved in decorating their own space. Plus, it’s an easy and inexpensive way to add some new life and color to your home. Give it a try and see what creative masterpieces your kids come up with!
FAQs DIY Wall Decor Artwork
1. What is DIY glass jar decor artwork?
DIY glass jar decor artwork is a fun and creative way to add a unique touch to any room or space.
2. What materials do I need to create DIY glass jar decor artwork?
You will need a glass jar, leaves, wooden stems, beads, glue, and any other materials you want to use for decorating the jar.
3. What kind of glass jar should I use?
You can use any type of glass jar, such as a mason jar, a canning jar, a pickle jar, or even a baby food jar.
4. How do I attach embellishments to the glass jar?
Use glue or hot glue to attach beads, ribbons, fabric, and other decorations to the jar.
5. How do I display the finished glass jar decor artwork?
You can display your glass jar decor artwork on shelves, windowsills, mantels, or any other place you want to show it off.
6. How long will the glass jar decor artwork last?
With proper care, your glass jar decor artwork should last for several years.
This article has outlined an easy and fun DIY wall decor artwork tutorial for kids to help them tap into their creativity and create something special for their space.
Follow us on Youtube for art and craft tutorials and much more.
More Articles from Kids Art & Craft
- Art & Craft Activities To Try AT Home Video Tutorial for All
- Butterfly Popsicle Stick Crafts For Kids
- Potato Stamping Art Ideas for Kids
- Nylon Rope Craft Ideas
- Art & Craft Activities Video Tutorial for All