DIY and Crafts
Colorful Easter Egg Craft easy Tutorial For Kids

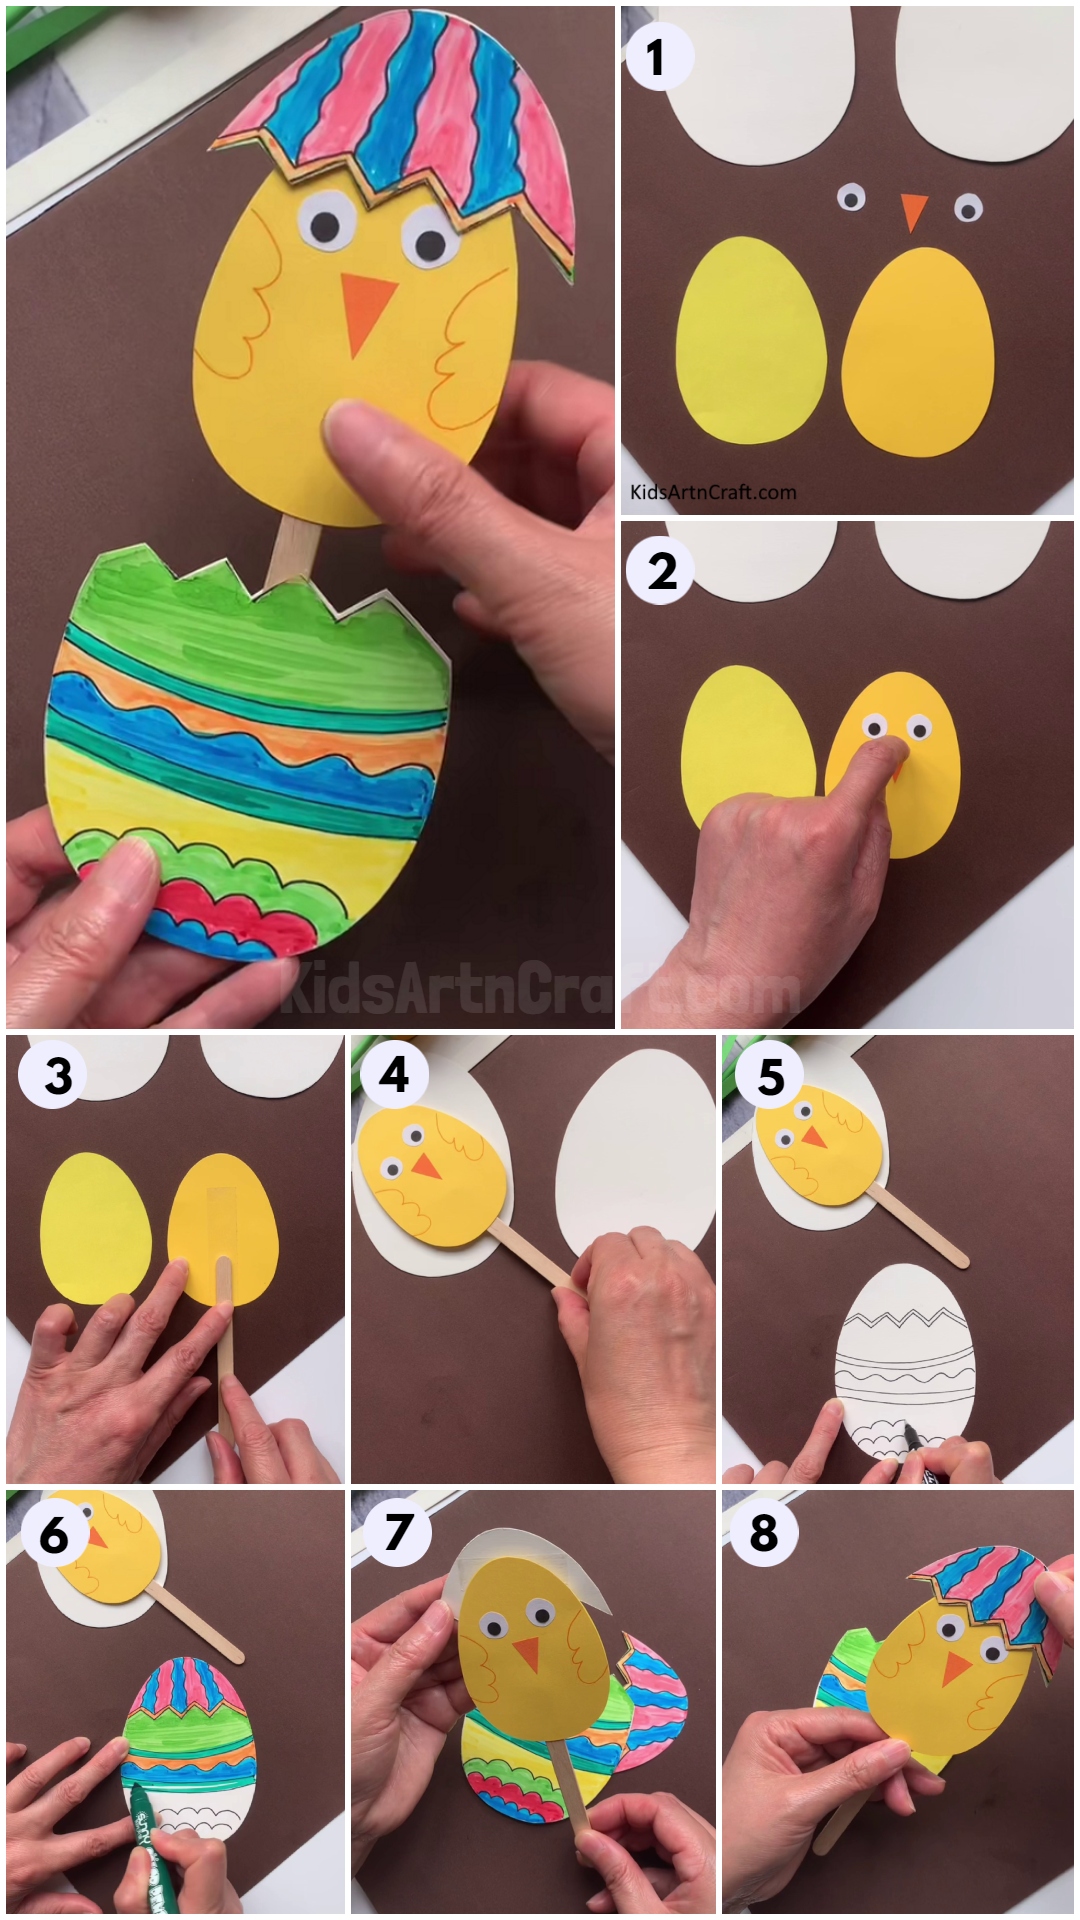
Easter is a fun and exciting holiday for kids, and with this DIY & Colorful Easter Egg Craft Tutorial, you can make it even more special! This craft tutorial is the perfect way to get your kids involved in the Easter festivities. With just a few simple supplies and a bit of creativity, your kids can create beautiful and colorful Easter eggs that they’ll be proud to show off! With step-by-step instructions and fun ideas for decorations, this tutorial has something for everyone. So gather up the supplies and get ready to make some fun Easter eggs with the kids!
DIY & Colorful Easter Egg Craft Tutorial For Kids
Read More: DIY Easy Paper Strawberry Tutorial For Kids
Materials Required
- Colored papers (White, Yellow, Orange)
- Black Marker and colorful sketch pens
- Ice cream stick
- Gluestick and double-sided tape
- Scissors
Procedure
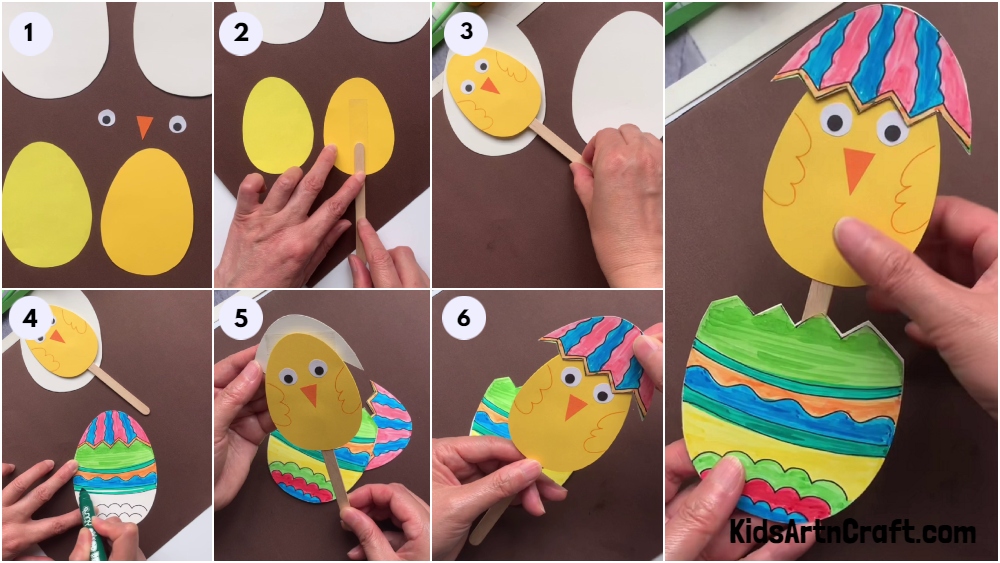
Step-1: Cutting Out Eggs And Making Eyes
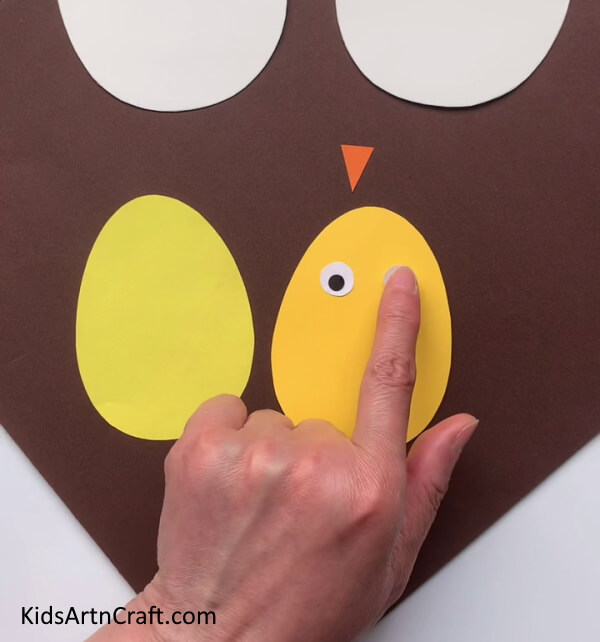
For this craft, start by cutting out 2 identical eggs from a yellow sheet, make its eyes from white and black paper, and paste them on one of the eggs using gluestick.
Step-2: Pasting Nose Of Chicken
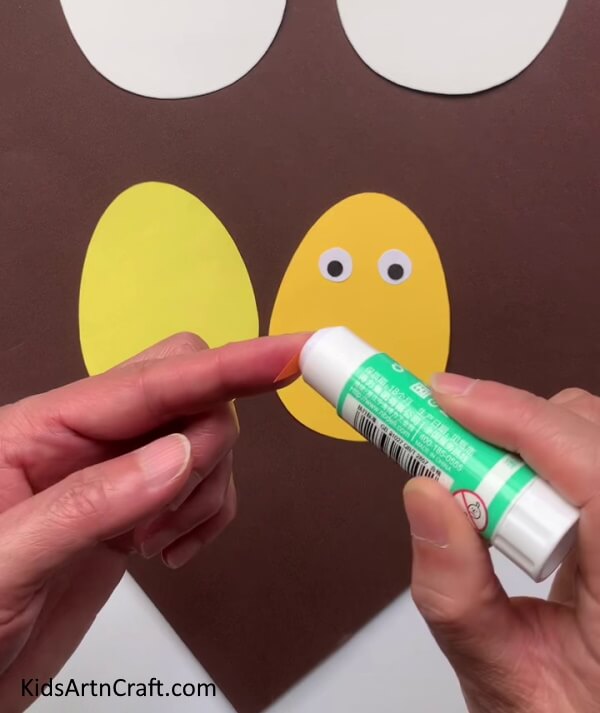
Cut out a small triangle from orange paper and apply gluestick behind it.
Step-3: Completing Pasting Nose
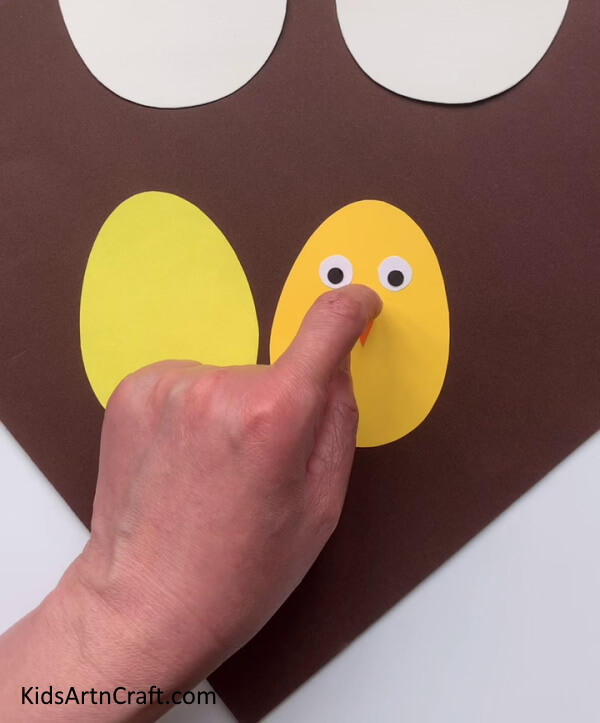
Paste the nose in the center and below the eyes of the chicken and make 2 wings of the chicken using an orange sketch pen.
Step-4: Pasting An Ice Cream Stick
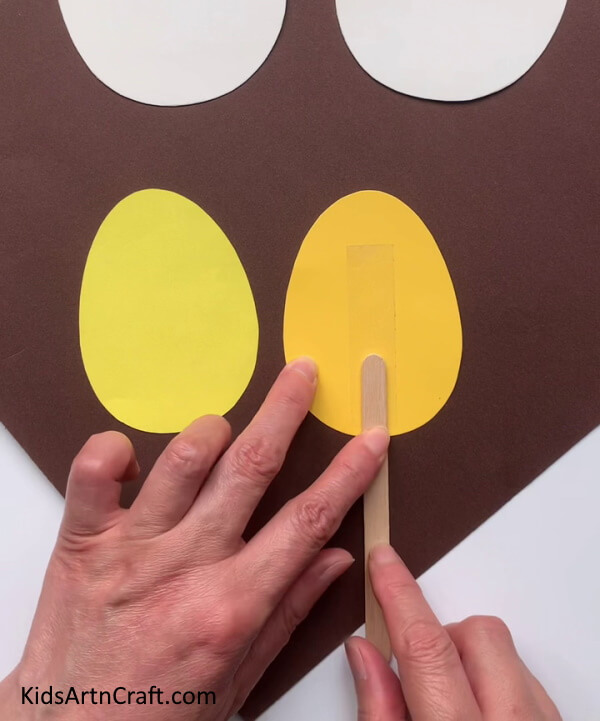
Invert the chicken, apply double-sided tape behind it, and paste an ice cream stick from below.
Step-5: Sticking The Other Egg-Chicken
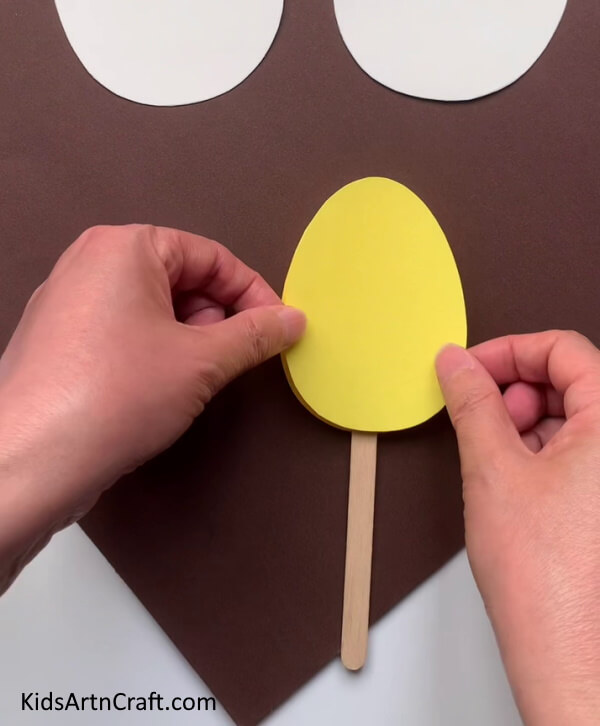
Stick the other egg over the ice cream stick in a way so that both egg-chicken overlap each other.
Step-6: Cutting Out Other Eggs
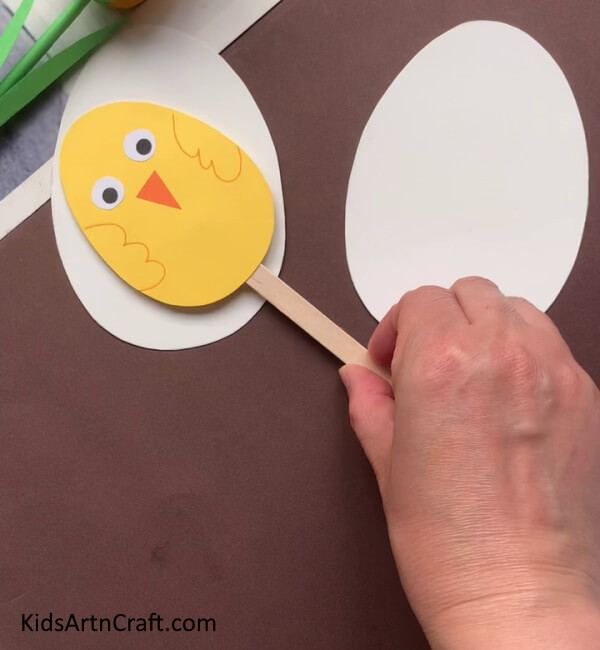
Cut out 2 large eggs from the white sheet.
Step-7: Decorate White Egg
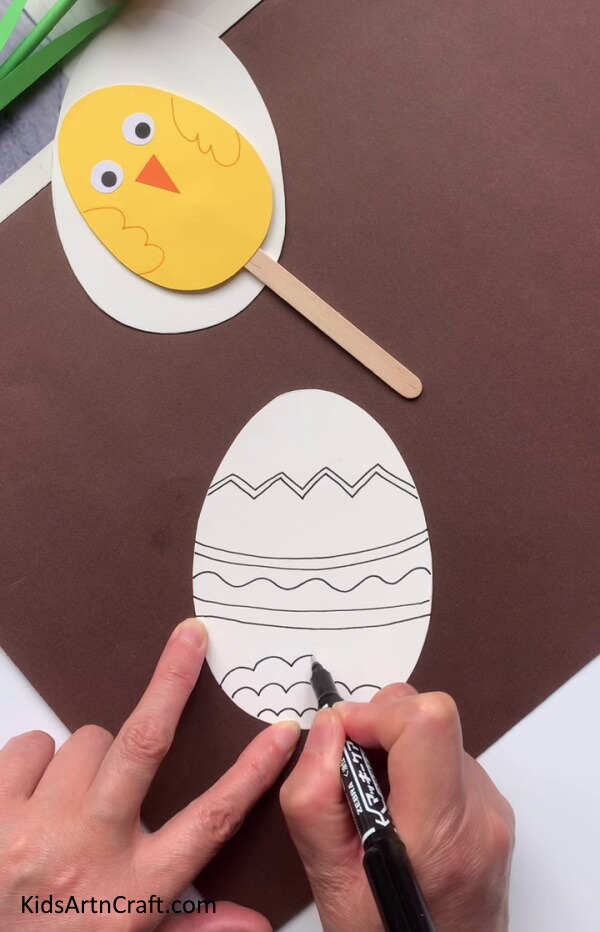
Decorate one white egg by making designs from black marker over it.
Step-8: Completing Decorating The Egg
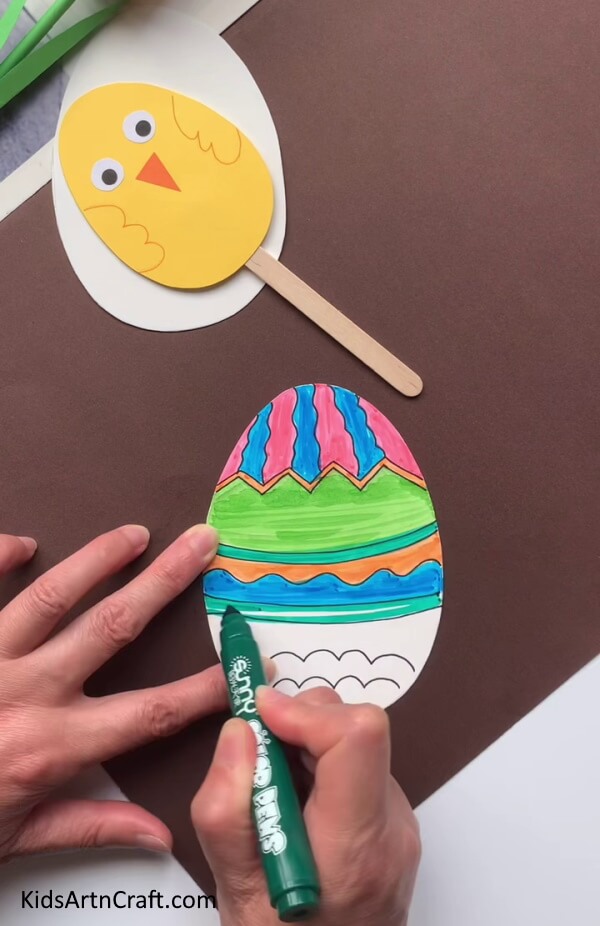
Complete decorating the egg using sketch pens of different colors.
Step-9: Overlapping The White Eggs
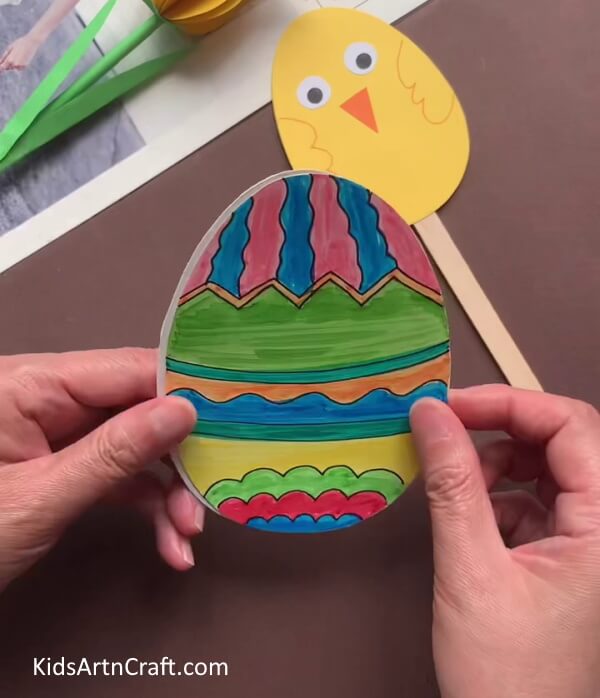
Overlap the white eggs over each other.
Step-10: Cutting Out The White Eggs In A Zigzag Manner
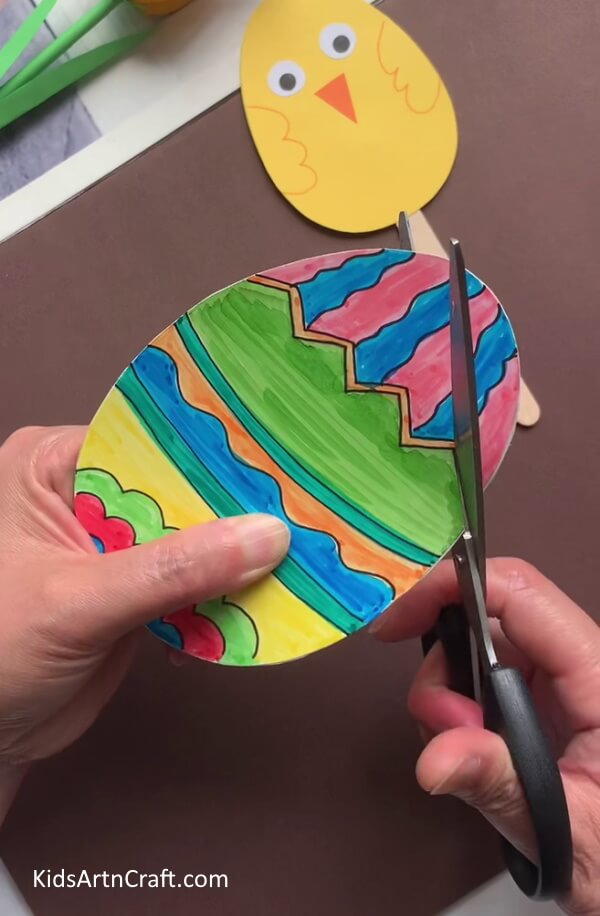
Using scissors, cut out the top of your white eggs in a zigzag manner.
Step-11: Applying Double-Sided Tape
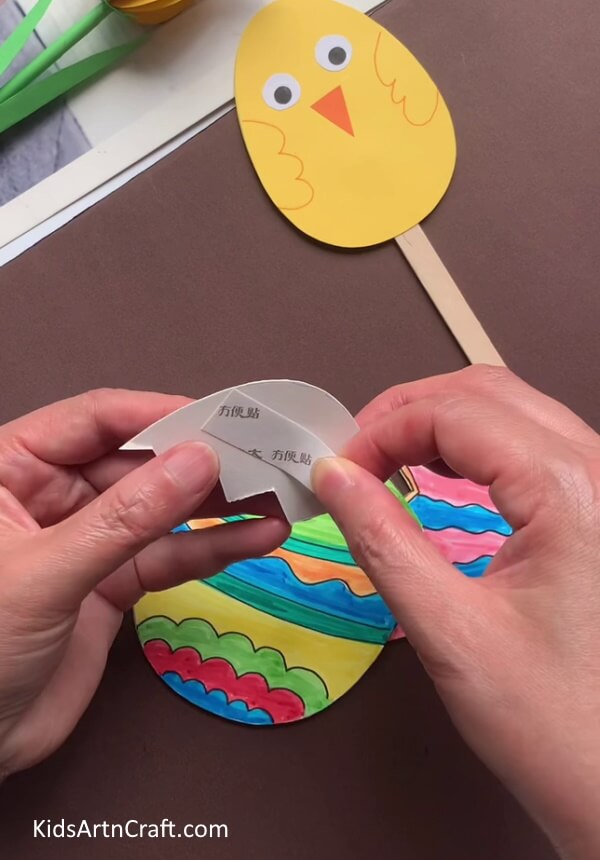
Apply double-sided tape on the upper part of the non-decorated white egg.
Step-12: Pasting The Upper Part
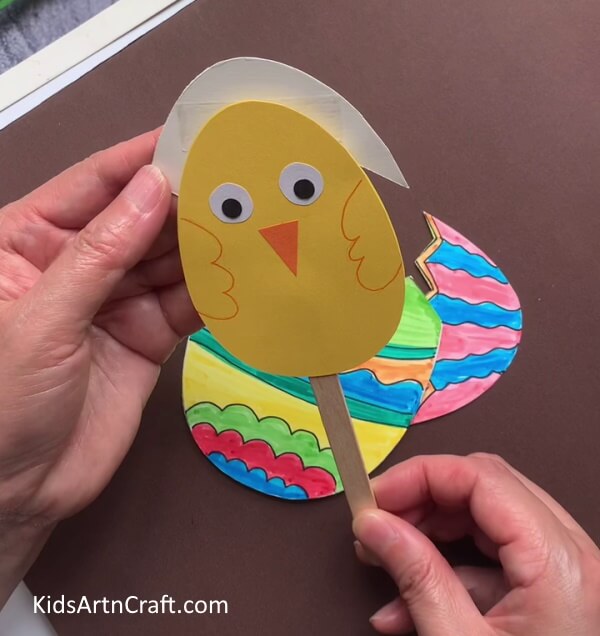
Paste the part behind the chicken as shown in the image.
Step-13: Pasting the Other Parts
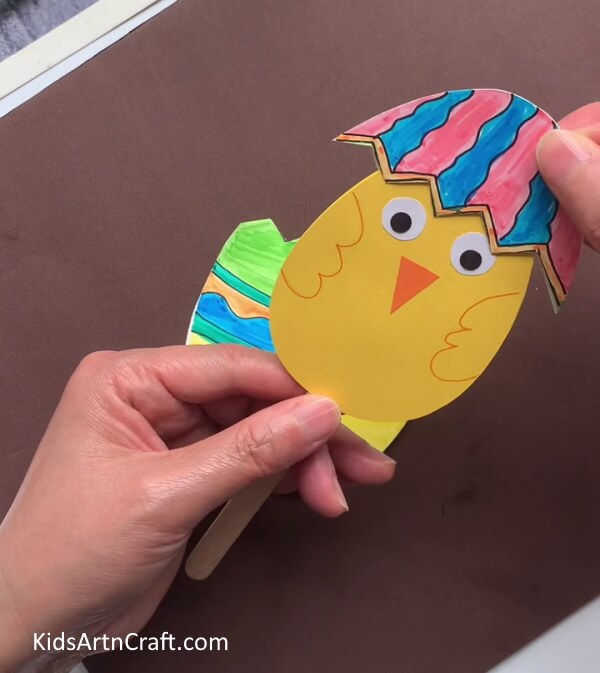
Paste the decorated part in the front of the chicken, the small one overlapping the non-decorated part. Paste the Big part on the end of the ice cream stick and paste the non-decorated big part behind it.
Your DIY & Colorful Easter Egg Craft Is Ready!
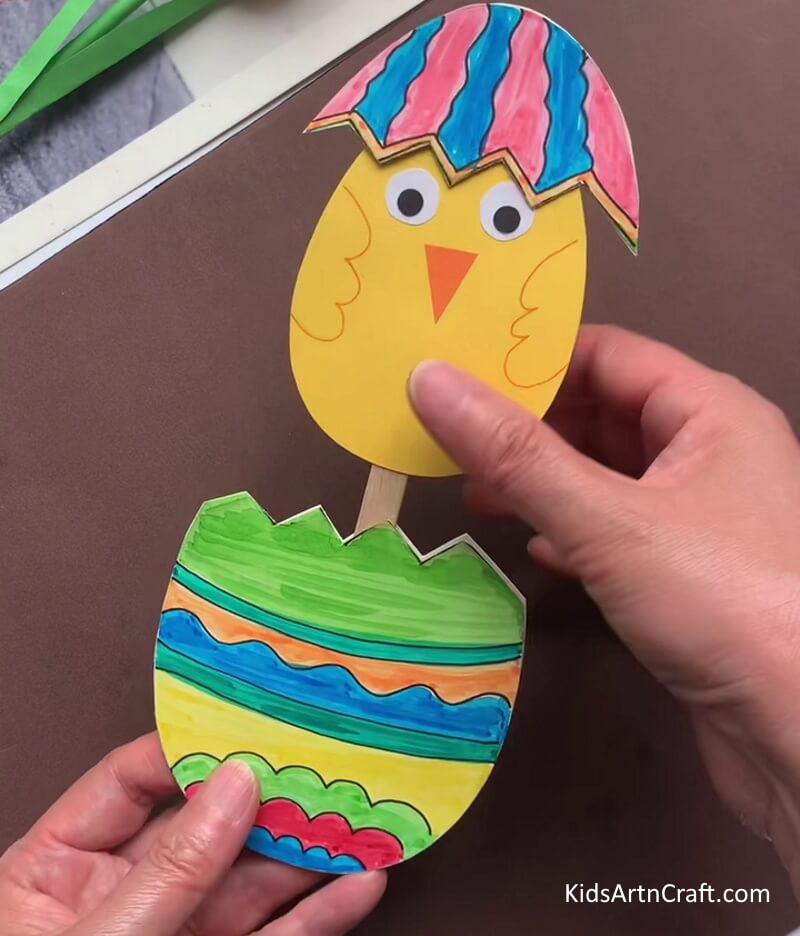
This Easter Egg Craft Tutorial is a great way for kids to explore their creative side and have fun with arts and crafts.
This Easter Egg Craft Tutorial is the perfect activity for kids to get into the spirit of the season! With its colorful eggs, fun designs, and easy instructions, kids will have a blast decorating their own Easter eggs.
Some More Chick Craft Tutorial
Balloon Chicken Paper Craft Activity For Kids
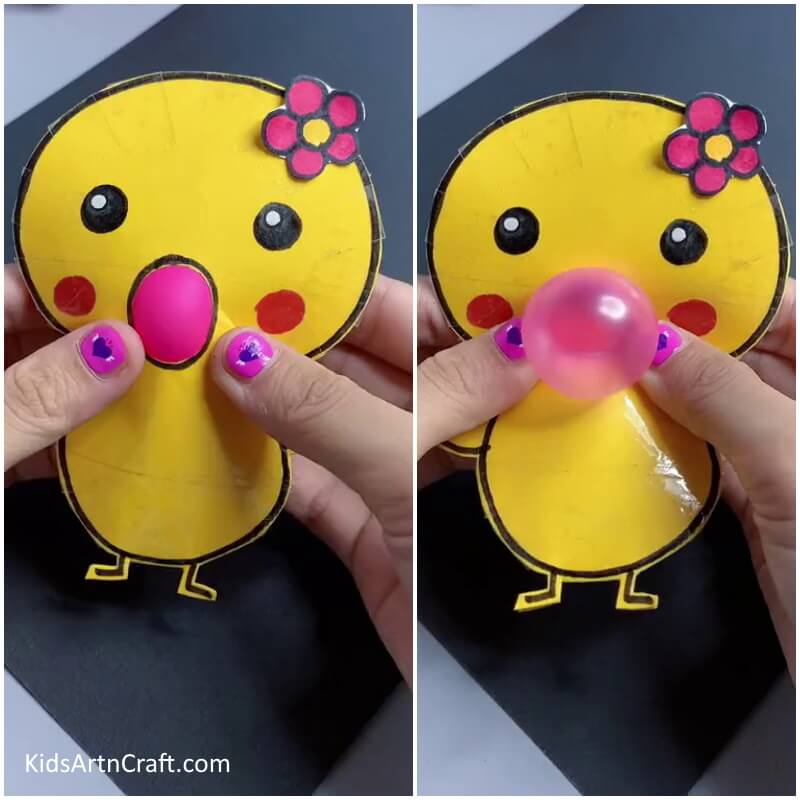
Image Source/Tutorial: Kids Art & Craft
This fun and easy Balloon Chicken Craft is a great activity for kids! It’s an excellent way for them to explore artistic expression and learn some creative problem-solving. All you need is some balloons, paint, and markers to get started!
FAQ’s Colorful Easter Egg Craft Easy Tutorial For Kids
1. What do I need to make a paper Easter egg craft?
You will need paper, scissors, glue, markers, and any other decorations you would like to use (such as glitter, sequins, ribbons, etc).
1. What is the best paper to use for this craft?
Any type of paper will do.
2. How do I cut the paper to make the egg shape?
You can use a template, draw an egg shape and cut it out, or use scissors
3. What type of glue should I use?
Any type of glue will do, however, a glue stick will work best for this craft.
4. How do I make the egg look colorful?
You can use markers, crayons, or paint to color the egg. You can also use stickers and other decorations to add color.
5. What other decorations can I use?
You can use sequins, glitter, ribbons, beads, buttons, and any other craft items you may have.
6. How do I attach the decorations to the egg?
You can use glue to attach the decorations to the egg.
7. How can I make the egg look more realistic?
You can use markers or crayons to draw on details such as veins or patterns.
8. How long will it take to make a paper Easter egg craft?
Depending on the complexity of the design, it can take anywhere from 15 minutes to 1 hour to complete.
9. Is this a suitable craft for young children?
Yes, this craft is suitable for young children as it does not require any sharp objects.
This Easter egg craft tutorial is a great way to get creative with your children while celebrating the Easter season. With a few supplies and a bit of time, you can create some beautiful and colorful decorations that you can enjoy for years to come. So gather your supplies and get ready to make some fun memories with your kids this Easter!
Follow us on Youtube for art and craft tutorials and much more.
More Articles from Kids Art & Craft
- Easy to Make Handmade Bee Craft Tutorial for Kids
- How to Make Paper Cup Wrist Watch Tutorial for Kids
- How to Make Bubble Wrap Corn Craft Easy Tutorial
- DIY Flying House Using Leaves–Up Movie Inspo
- Easy Paper Robot Craft Step-By-Step Tutorial


