DIY and Crafts
Easy Bird Craft Using Fall Leaves Idea For Kids

This easy fall craft for kids will bring a smile to their faces! With just a few supplies, you’ll be able to create a beautiful bird craft using autumn leaves. Perfect for a fall art project, this craft is fun and easy to make.
Bird crafts are a fun way for kids to explore their creativity and learn about nature. In this tutorial, we will show you how to make an easy bird craft using fall leaves. It’s a perfect project for kids who want to create something colorful and unique. With materials like twigs, multicolored leaves, and markers you can make a beautiful bird. A bird that is surely going to brighten up any space. So let’s get started and bring the beauty of autumn to life with this simple and enjoyable craft!
Easy Bird Craft Using Fall Leaves

Read More: DIY Bird Nest Paper Craft For Kids
Materials Required
-
Twigs
-
Colored Sheets(Yellow, Orange, White, Black)
-
Green Leaves
-
Sketch Pens
-
Googly Eyes
- Glue
- Scissors
Procedure
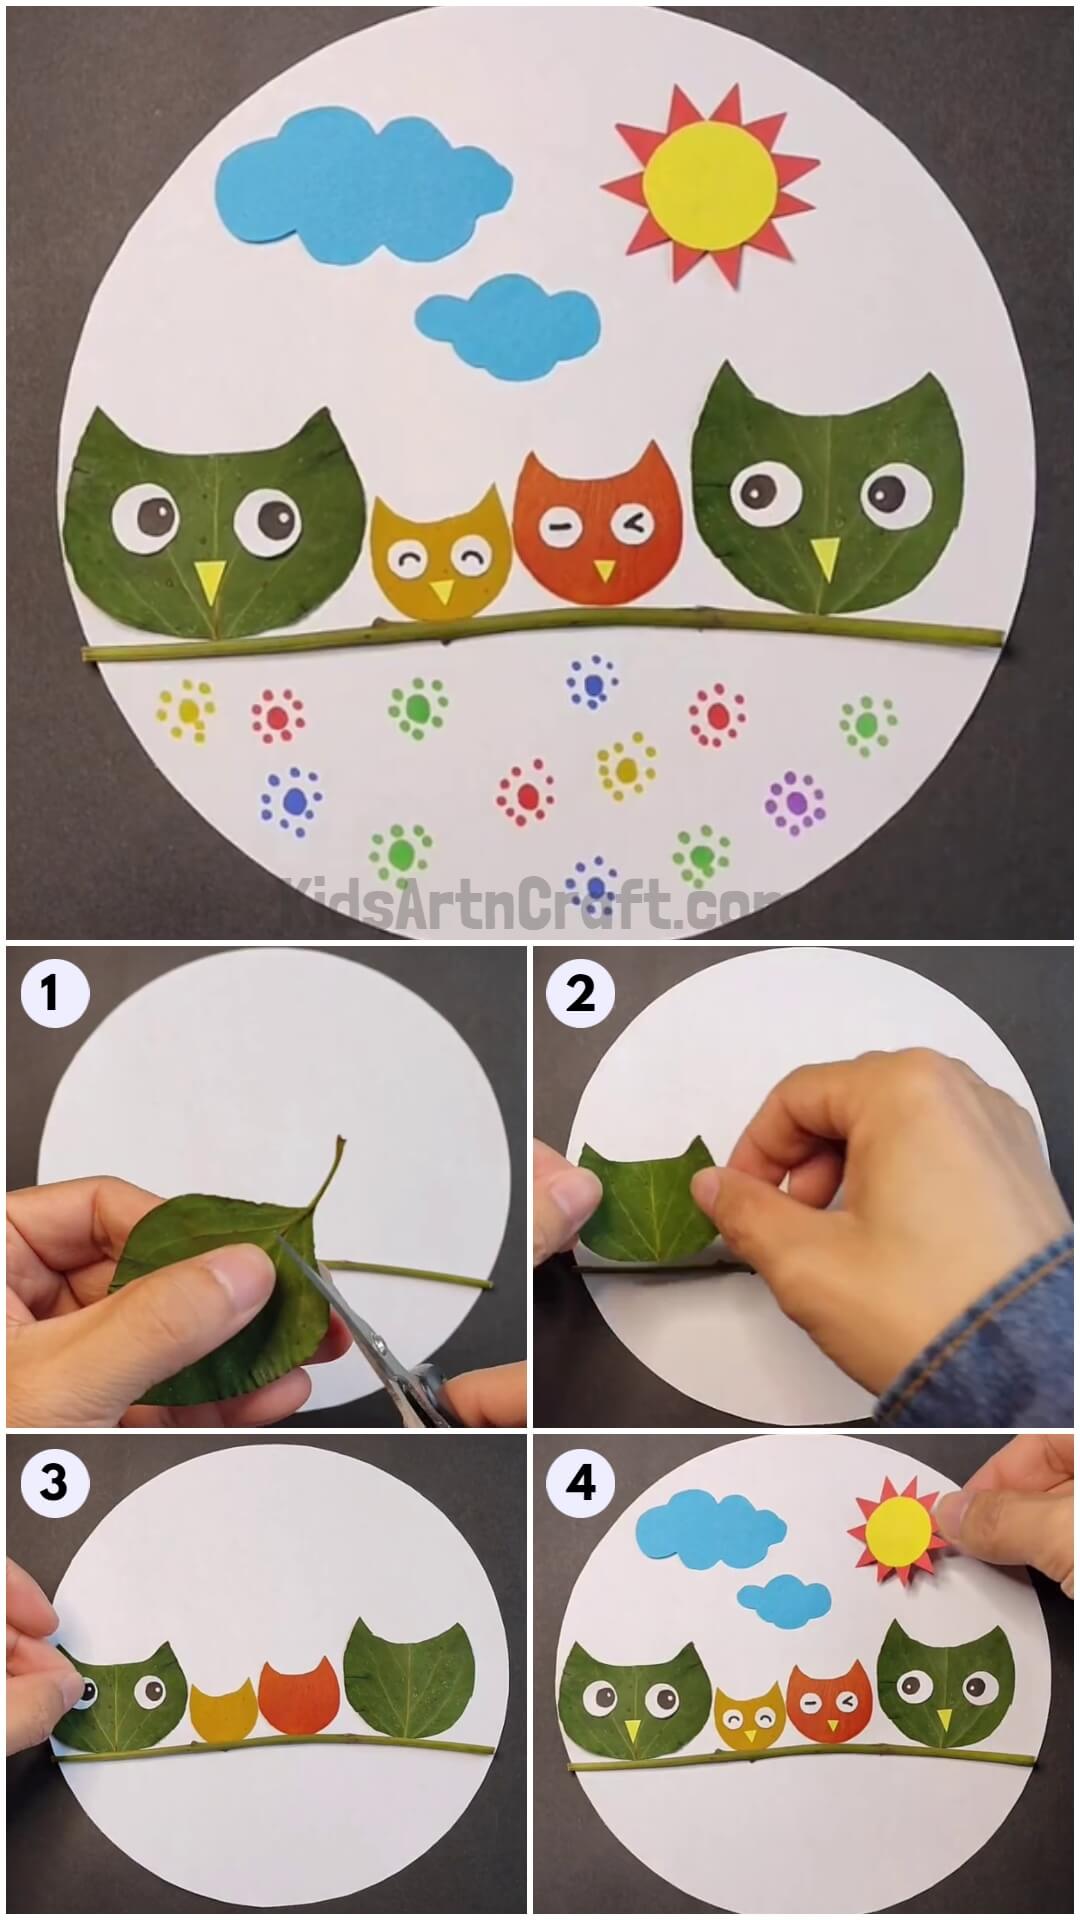
Step 1: Pasting A Twig
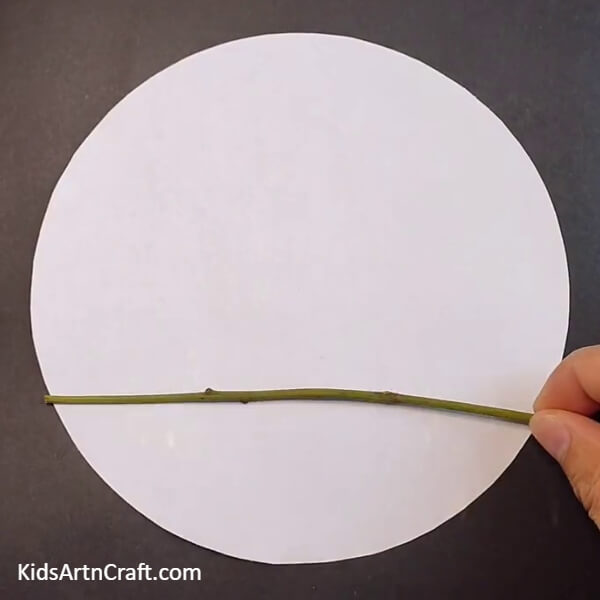

Collect all the necessary materials for the bird craft. Take the circle cut shape white craft sheet and lay it down as the background for your bird craft. Now, take a twig and position the twig in the center. Paste the twig horizontally in the center of the white craft sheet to serve as a branch for the bird.
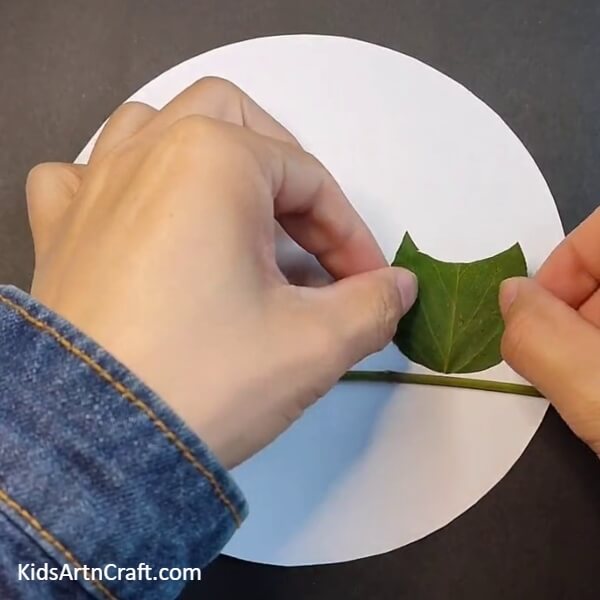
Step 2: Cutting The Leaves
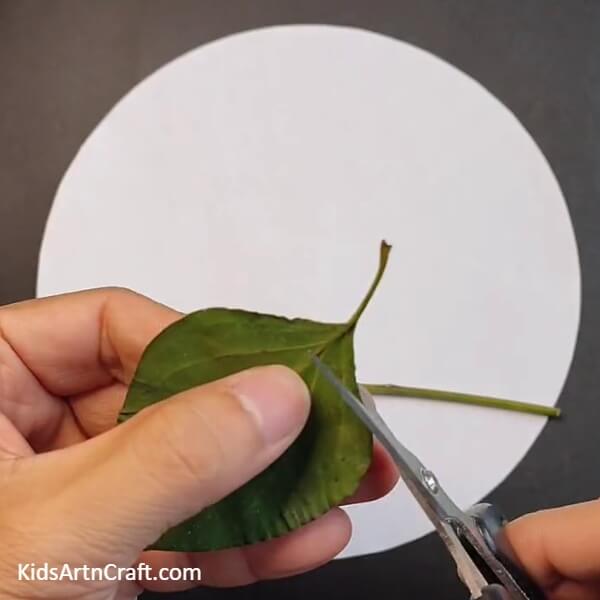
With scissors, cut a green leaf into adorable owl shapes. Cut the bottom part attached to the stem. Make a curve at the bottom portion. Also, cut the front pointed portion of the leaf. Look at the image given for guidance.
Step 3: Pasting The Owl On The Twig
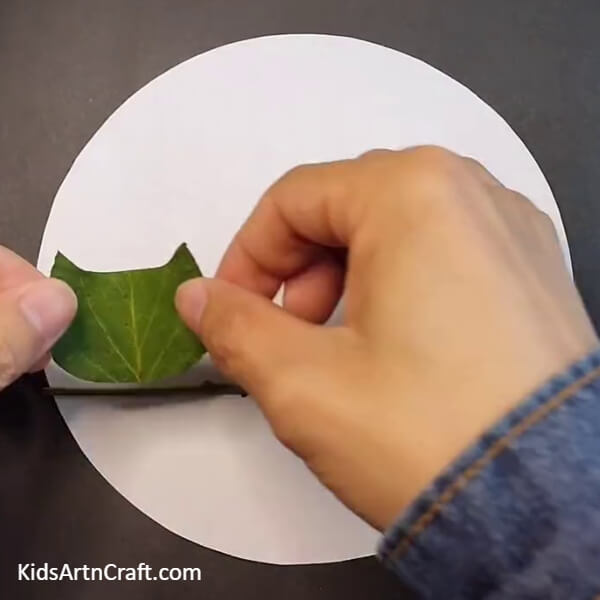
Take the owl cutout and paste it on the left side of the perch twig. Make sure it is securely attached. In the next steps, we will help you make adorable owl friends to keep it company! Let your imagination soar with these colorful leaf owls!
Step 4: Adding A Second Owl
Create another owl shape using a similar process and paste it on the right side of the white circle. Stay tuned, because we will be making two more owls using different colors. Let’s continue the fun craft!
Step 5: Making Additional Owls
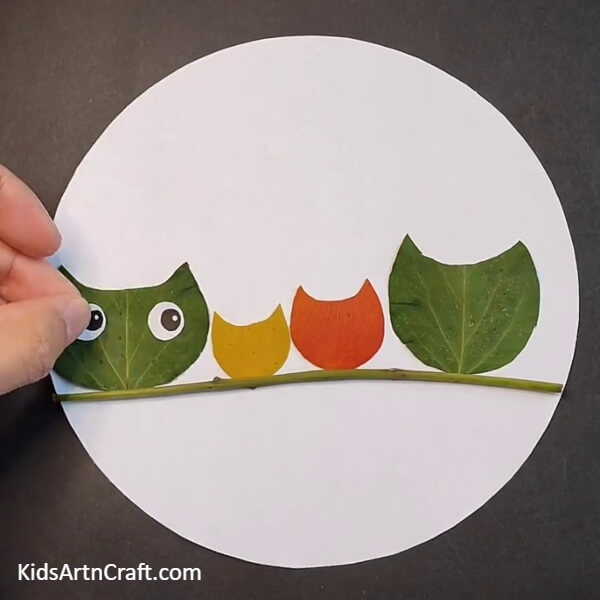
Cut the orange and yellow craft sheets and shape them into owls. Paste these two smaller owls in between. Using white paper and a black sketch pen, make the eyes of the first owl.
Step 6: Making More Eyes
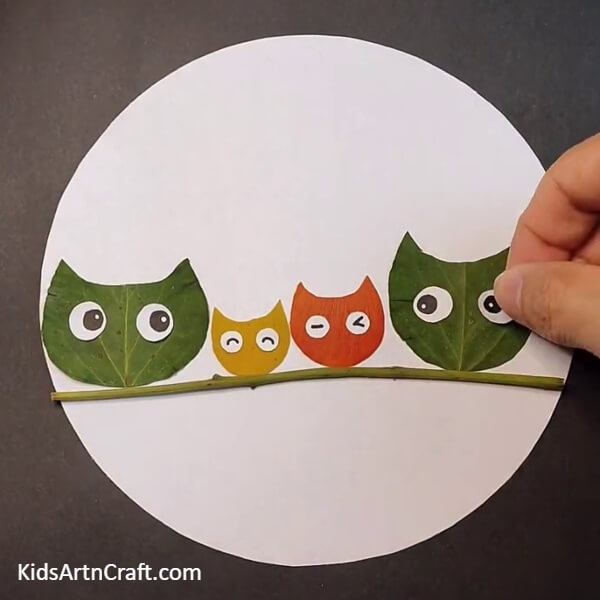
Using white paper and black marker, make different eyes for all the owls as shown in the image. It will provide the birds with more realistic details and decoration.
Step 7: Making The Clouds
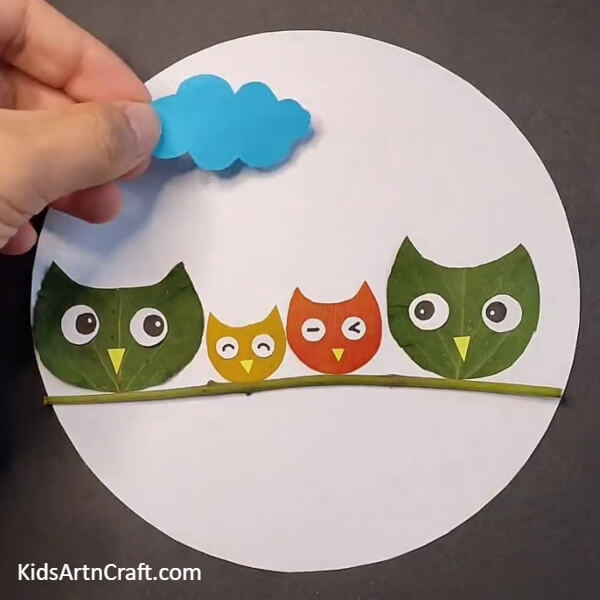
Attach clouds cut from blue craft sheets above the birds. Take yellow paper and cut four small triangles. Paste the triangle on each owl to serve as the beaks. Get ready for an exciting step ahead, as our craft is going to look even more adorable and realistic.
Step 8: Adding The Sun
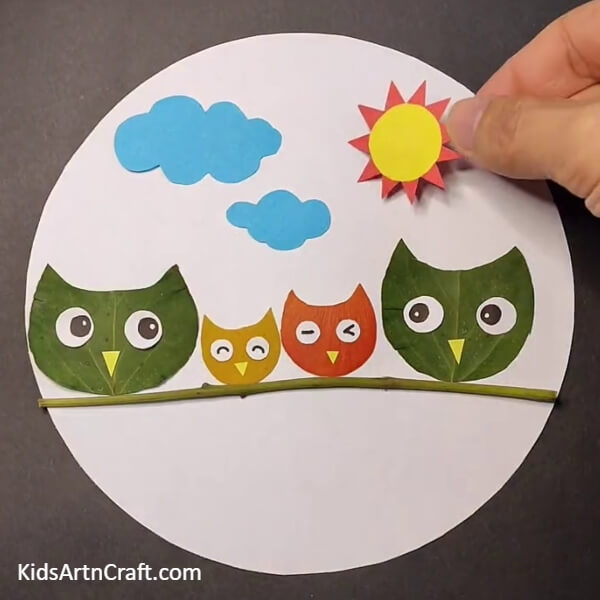
Add a sun to the craft by pasting a sun-shaped cutout made from yellow and orange craft paper. Place it strategically amidst the birds and clouds. The inclusion of the sun will bring a cheerful and vibrant touch which is going to enhance the overall appeal of the craft.
Step 9: Adding More Details
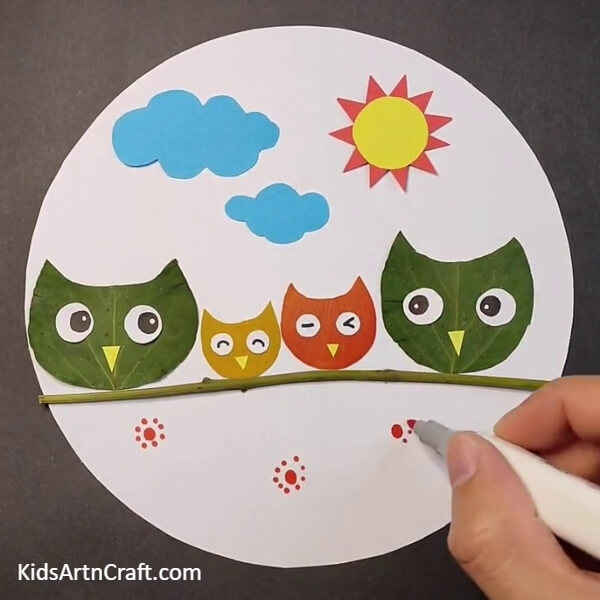
Use the multi-colored markers to add additional details and patterns. Let your creativity shine by drawing lines, dots, or any other designs you prefer.
Congratulations! We’re Done!
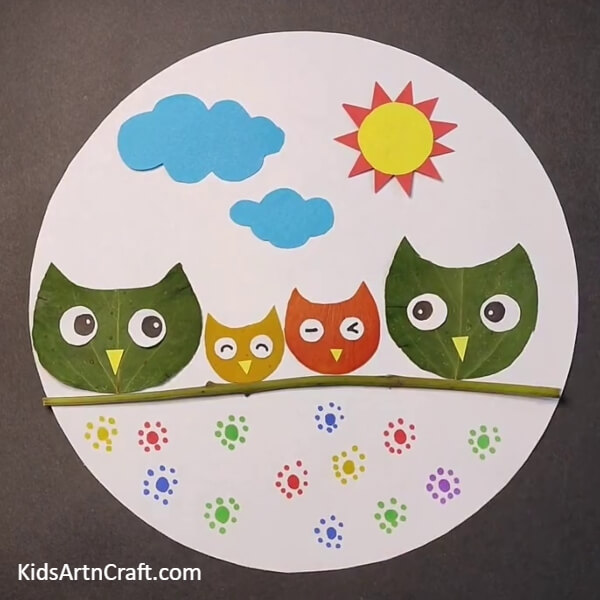
Review your bird craft and make any final adjustments or additions. Ensure that all the elements are securely pasted and decorations are visually appealing.
Behold the completed craft, showcasing a delightful scene with whimsical birds. The combination of natural elements and creative touches has transformed this craft. It has now turned into a captivating masterpiece. We hope you enjoyed this craft! For more fun and creative ideas like this, visit our website. Get inspired and keep exploring the world of crafts with us!
Some More Bird Craft Tutorial
Simple Bird Nest Paper Craft For Kids

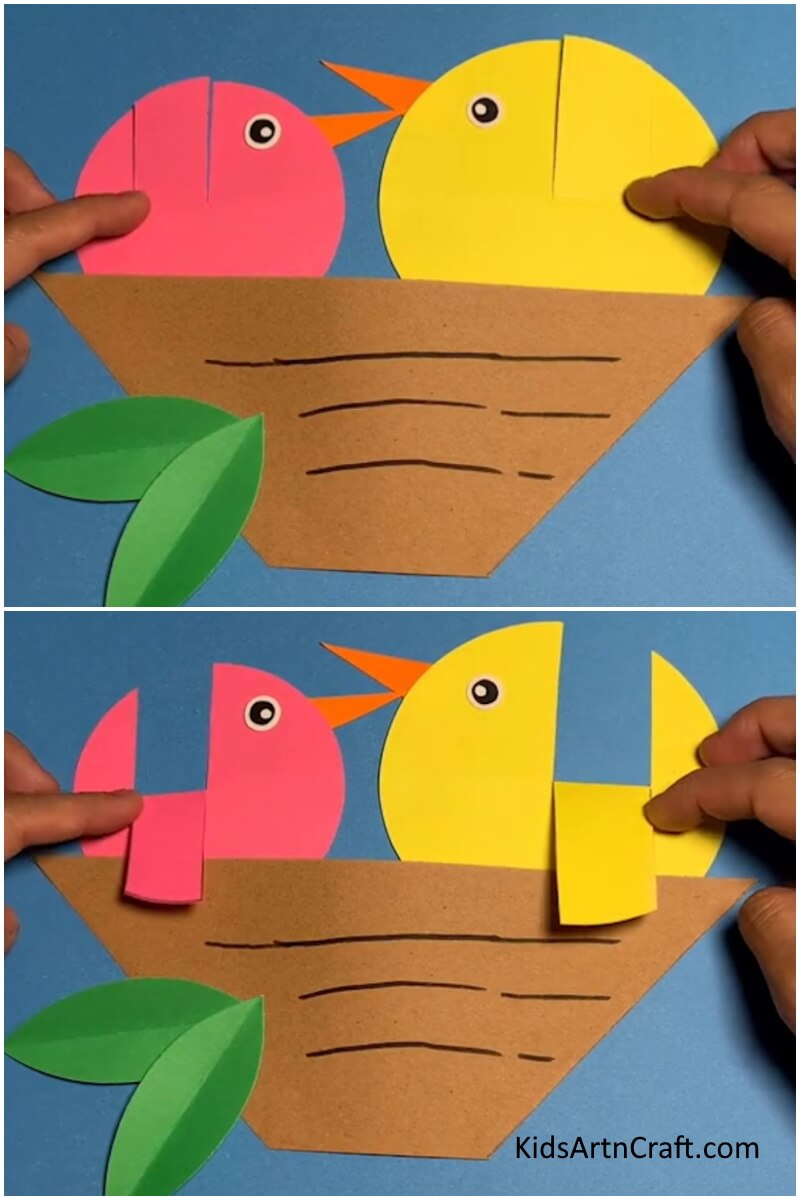
Image Source/Tutorial: Kids Art & Craft
This simple bird nest papercraft is a fun and creative activity for kids to do. It’s a great way to teach them about the natural world and have them explore different materials to make a nest. With just a few simple supplies, it’s a great craft to do with the whole family.
Art and Craft With Bird Artwork Using Leaves

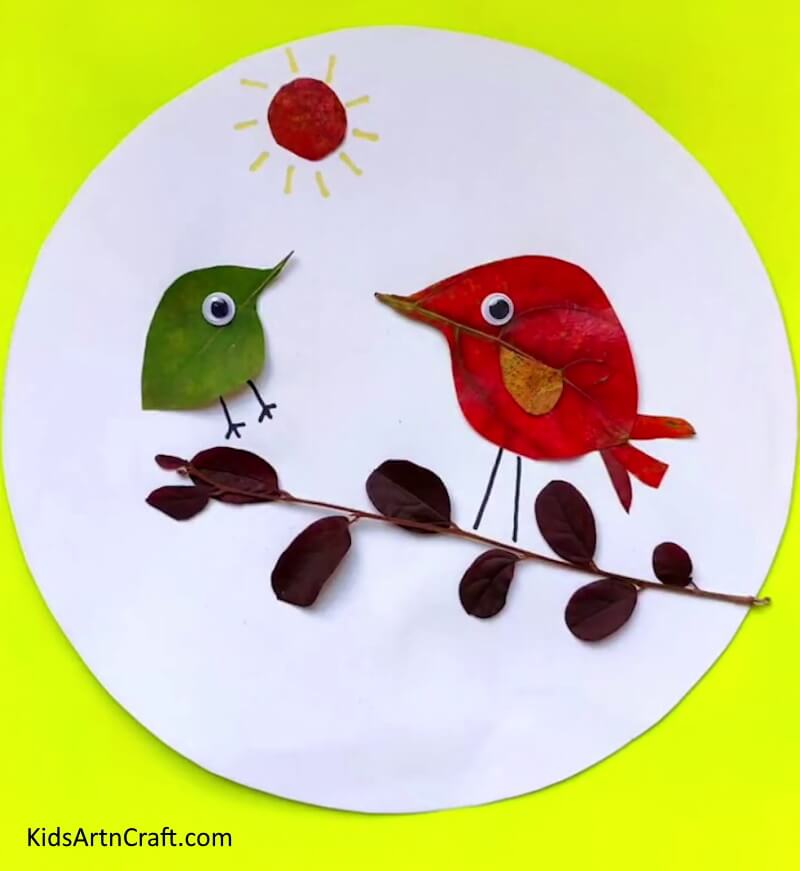
Image Source/Tutorial: Kids Art & Craft
Creating art and craft using bird artwork and leaves is a great way to show creativity. This activity is fun for all ages and can be done indoors or outdoors. It’s a great way to get creative with nature and create something that is truly unique.
Awesome paper bird craft for kids

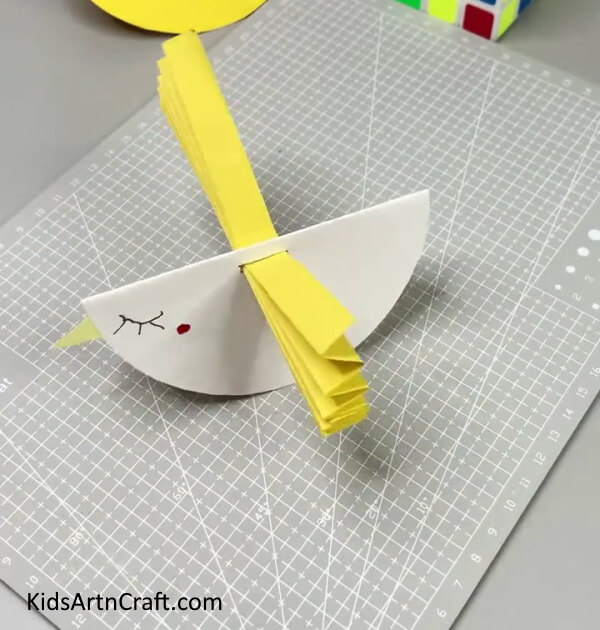
Image Source/Tutorial: Kids Art & Craft
This paper bird craft is an easy and fun way to get kids to create! With just a few simple materials, kids can make their own paper bird and enjoy hours of creative play.
Art and Craft With Bird Artwork Using Leaves
Image Source/Tutorial: Kids Art & Craft
Creating art and craft using bird artwork and leaves is a great way to show creativity. This activity is fun for all ages and can be done indoors or outdoors. It’s a great way to get creative with nature and create something that is truly unique.
Adorable Paper Bird Craft For Kids

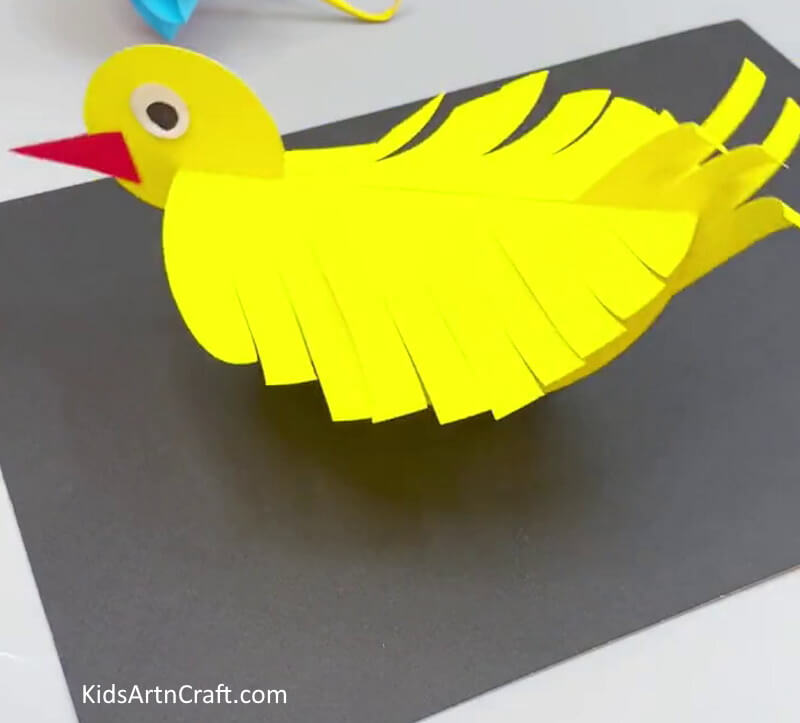
Image Source/ Tutorial: Kids Art & Craft
This paper bird craft for kids is a great way to get creative and have fun. Kids can enjoy crafting these cute little birds and decorating them with all sorts of colorful materials. It’s a creative and easy activity that will provide hours of fun!
Easy Way To Make Paper Birds With Children


Image Source/Tutorial: Kids Art & Craft
Making paper birds with children is a great way to teach them about origami and get creative. It’s also an easy and fun activity that can be done with minimal materials. All you need is paper, scissors, and some imagination. Let the children take the lead and show them how to fold and cut the paper to make their own unique bird.
Follow us on Youtube for art and craft tutorials and much more.
More Articles from Kids Art & Craft
- Learn To Make Leaf Owl Easy Tutorial For Kids
- Easy Fall Leaf Craft Step by Step For Kids
- Make Tortoise Leaf Art Easy Tutorial For Kids
- How to Make a Clay Bird Easy Artwork tutorial for kids
- DIY Baby Duck Handprint Easy Craft For Kids