Painting
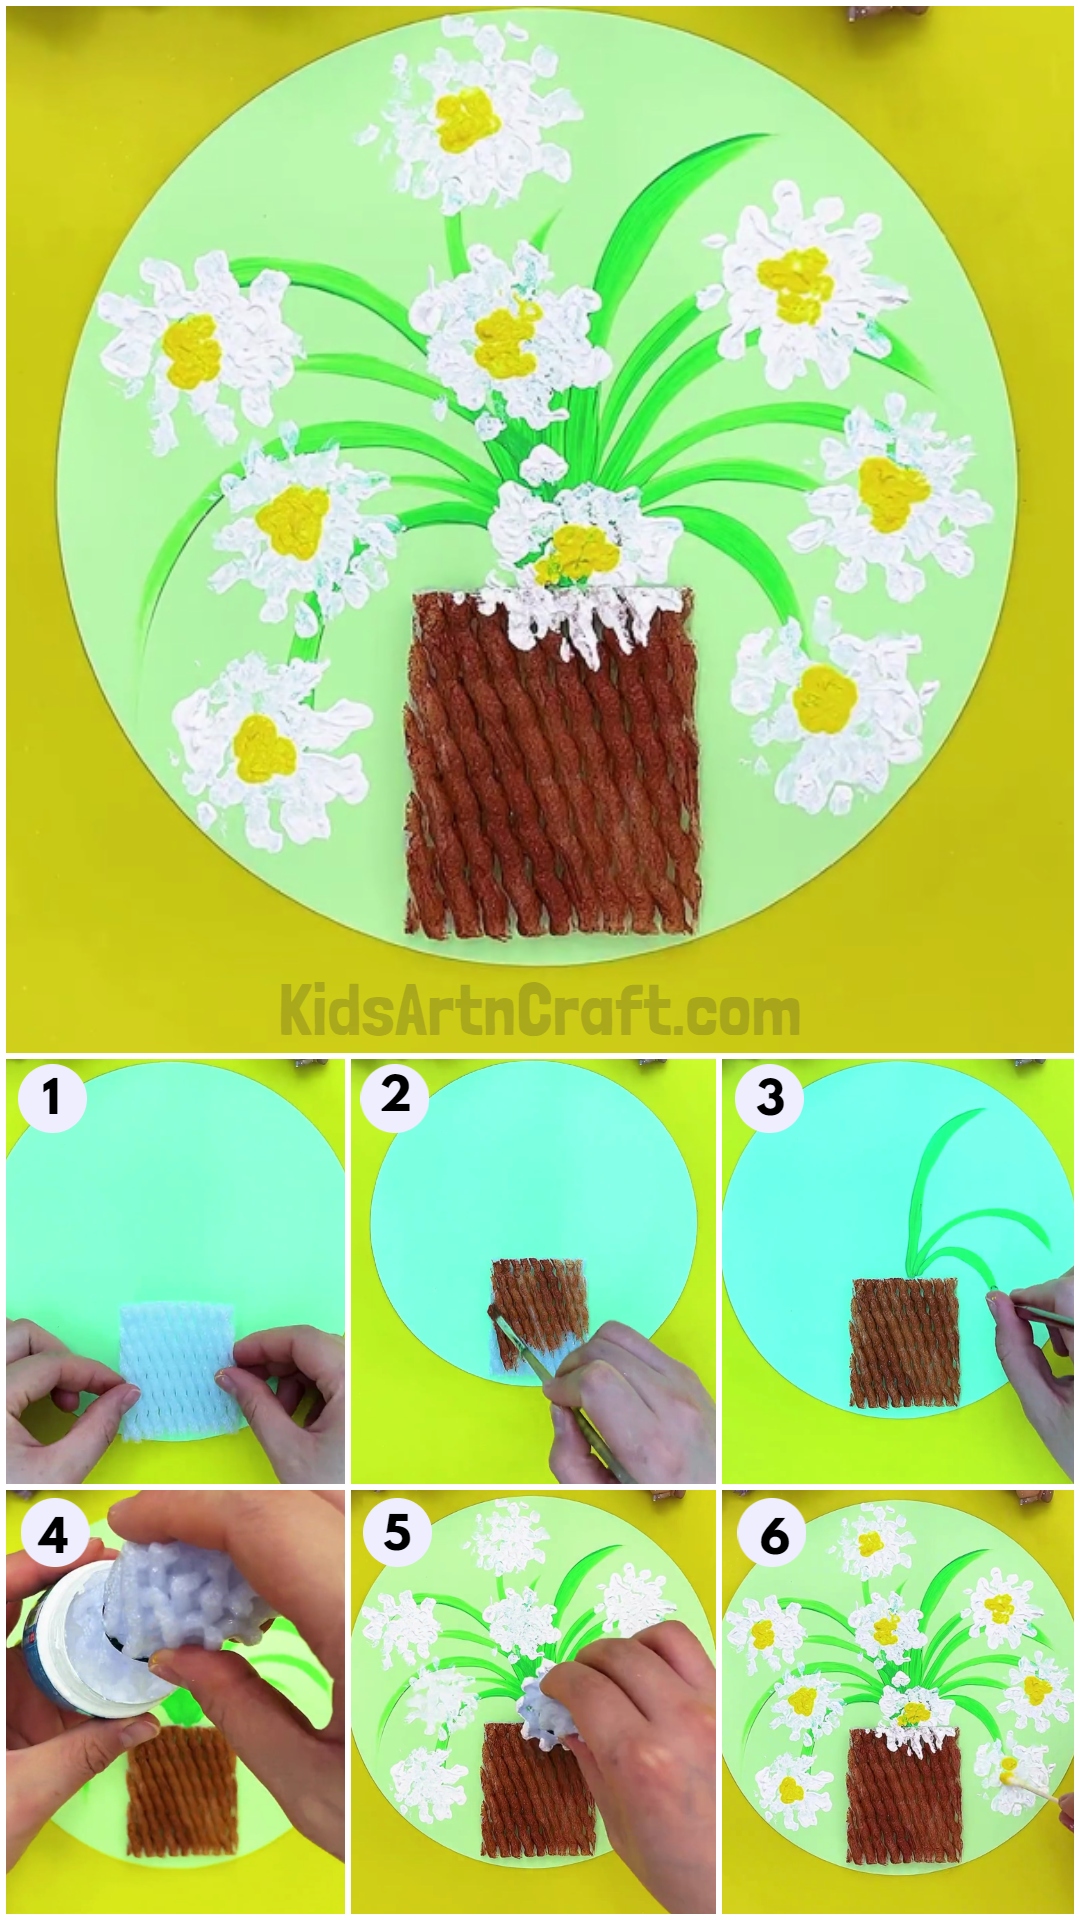
Easy Fruit Foam Net Flower Pot Artwork For Kids

Looking for an easy flower artwork craft for your kiddos? This step-by-step tutorial is for making pretty flower paintings using a fruit foam net!
Don’t throw away those fruit foam nets! Instead, create this beautiful piece of artwork with them! Isn’t it amazing creating something out of just mere waste?! And what’s better when it turns out to be beautiful?! It’s like a jackpot won! Trust me, you will love this artwork and will be keen to show it off to your friends and family! This admirable artwork is very easy to make with our step-by-step tutorial that you will definitely love! You could also use this artwork as your room decor or your school art project, it will rock everywhere! Grab your supplies and let’s begin!
DIY Easy Fruit Foam Net Flower Pot For Kids

Read More: DIY Easy Paper Strawberry Tutorial For Kids
Materials Required
- Circular Green Colored Sheet
- Fruit Foam Net Cover
- Scissors
- Double-sided Tape
- Flat Paintbrush
- Paint Colors (Brown, White, Green And Yellow)
- Elastic Band
Procedure
Step 1: Pasting A Piece Of Fruit Foam Net
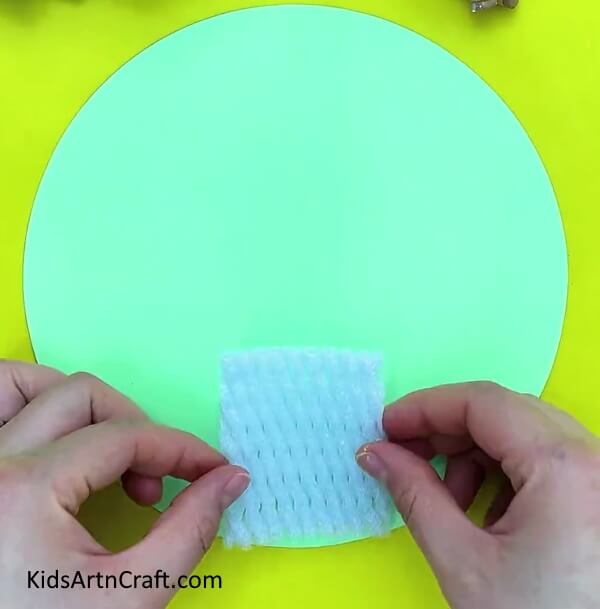

To begin this craft, take a circular green paper sheet as the craft base and a fruit foam net cover. Using scissors, cut out a small rectangle shape from the fruit foam net cover and use double-sided tape to paste it at the bottom of your base.
Step 2: Painting The Rectangle Net
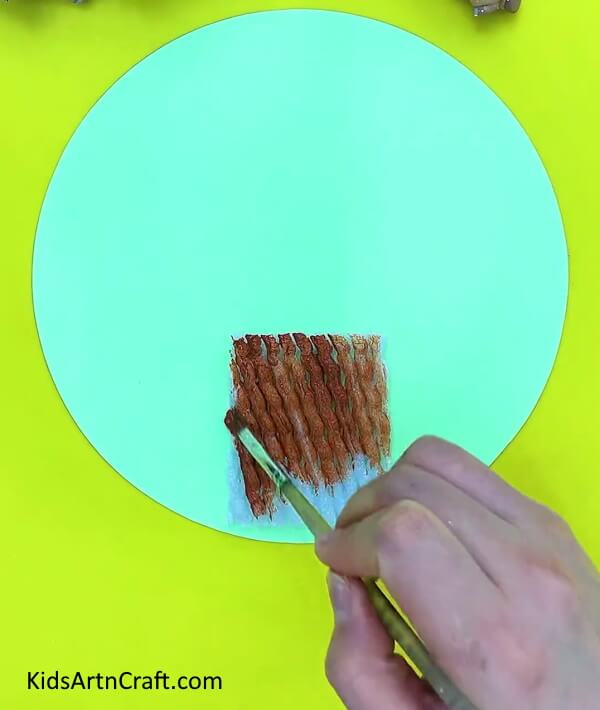

Dip a flat paintbrush into brown paint and paint the whole rectangle of fruit foam net using it.
Step 3: Making Leaves And Stems
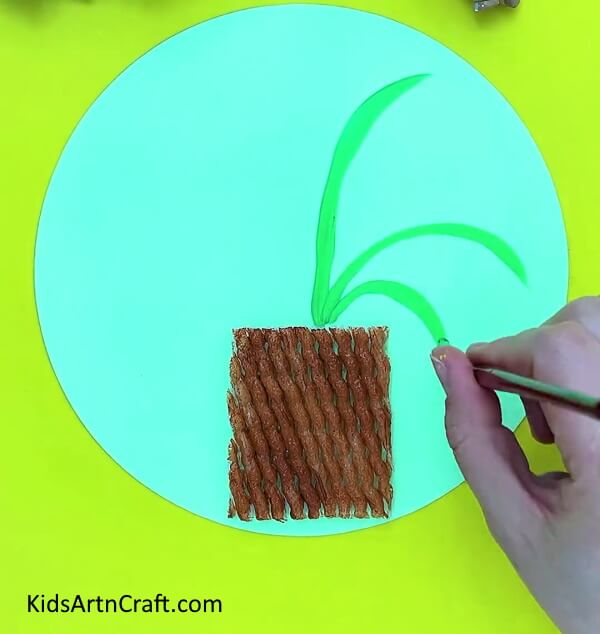

Dip the paintbrush into green paint and make curvy strokes coming out of the rectangle to make them look like the leaves and stems of the flowers.
Step 4: Completing Making The Leaves And Stems
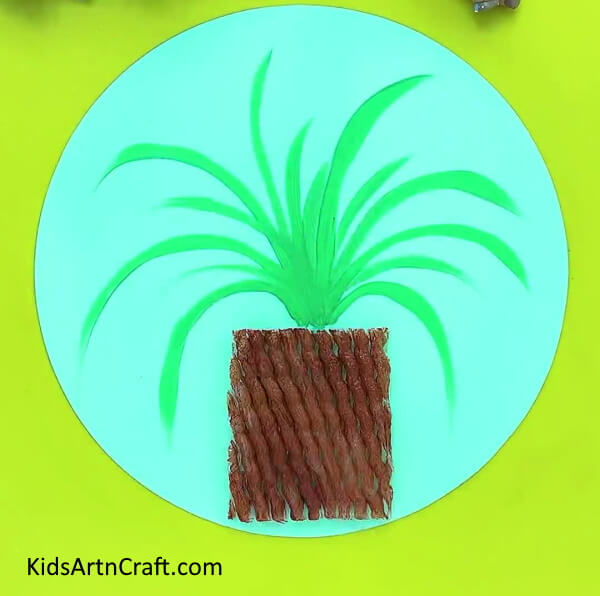

Completely make the strokes coming out of the rectangle from the middle of it.
Step 5: Rolling The Remaining Fruit Foam Net


Take the remaining fruit foam net, fold it in half, and start to roll it from the open ends altogether.
Step 6: Securing The Net Roll With An Elastic Band
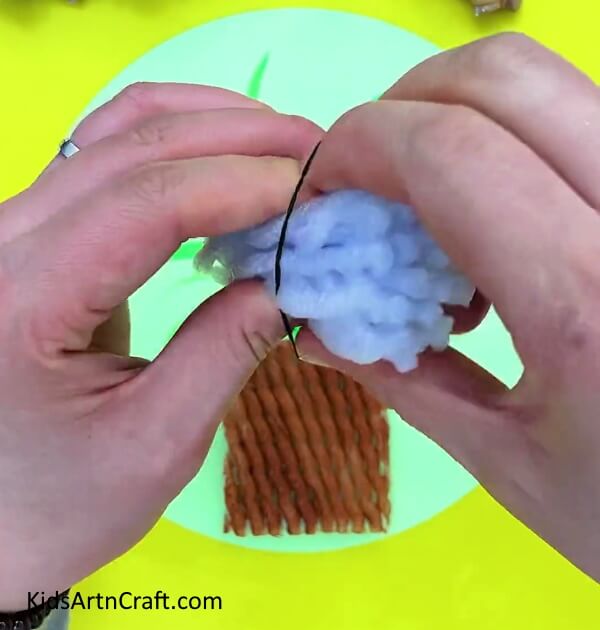

Roll over the net completely and secure the roll with a plastic elastic band around it.
Step 7: Dipping The Roll Into Paint
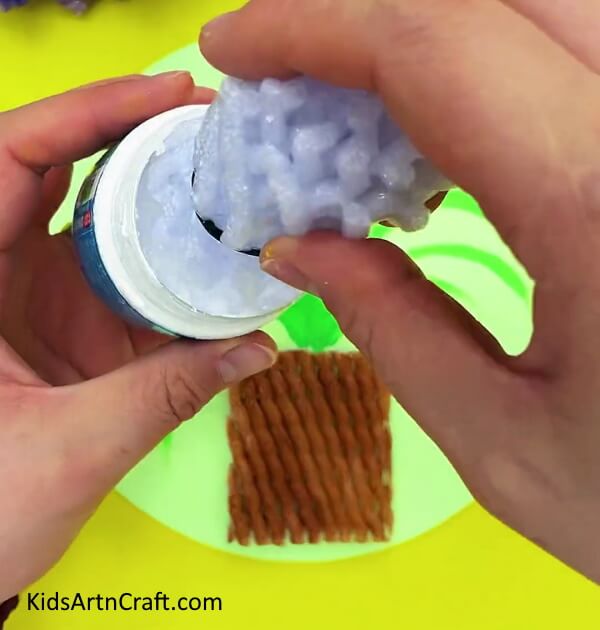
Dip one end of the foam roll into the white paint to use it as a stamp.
Step 8: Making Flowers


Dab the stamp over the leaves and stems to make flowers over them.
Step 9: Completing Making The Flowers
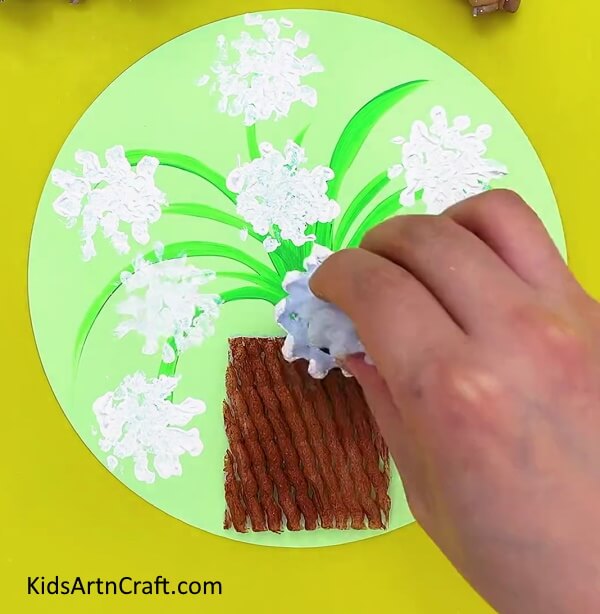

Impress the stamp all over the ends of leaves and stems to make the craft look like a flower bouquet.
Step 10: Making The Center Of The Flowers
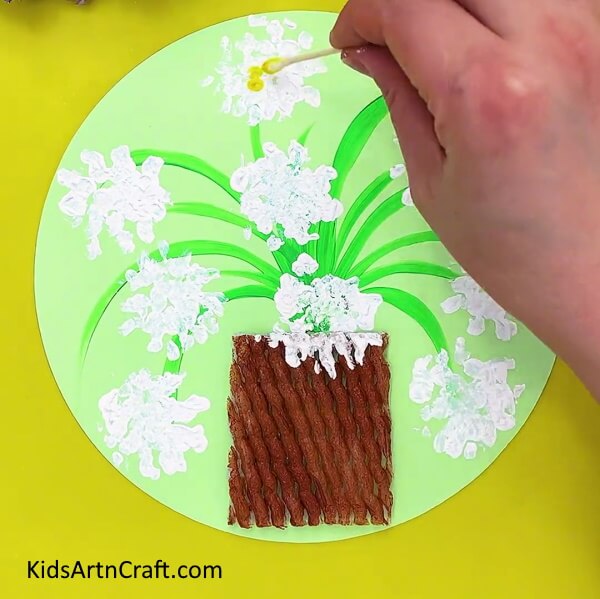

Dip a cotton earbud into yellow paint and continuously dab it in the middle of the impression of white flowers to make the center of them.
Step 11: Completing Making The Centers
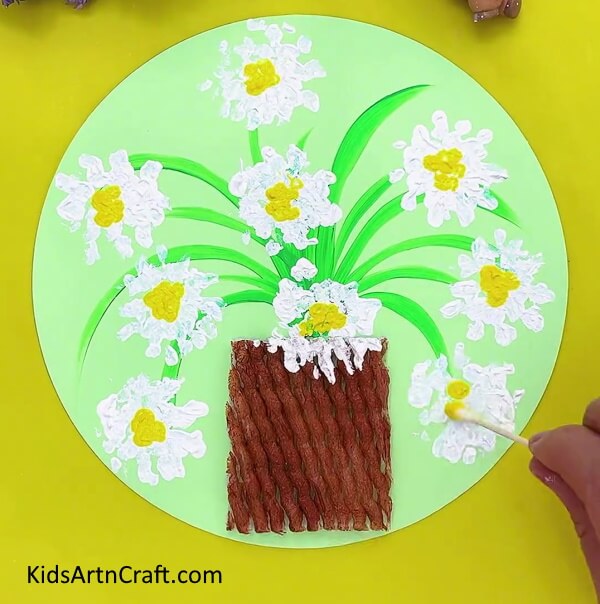

Complete making the centers of all the flower impressions in their middle.
Finally !Your Amazing Flower Pot Bouquet Is Ready!
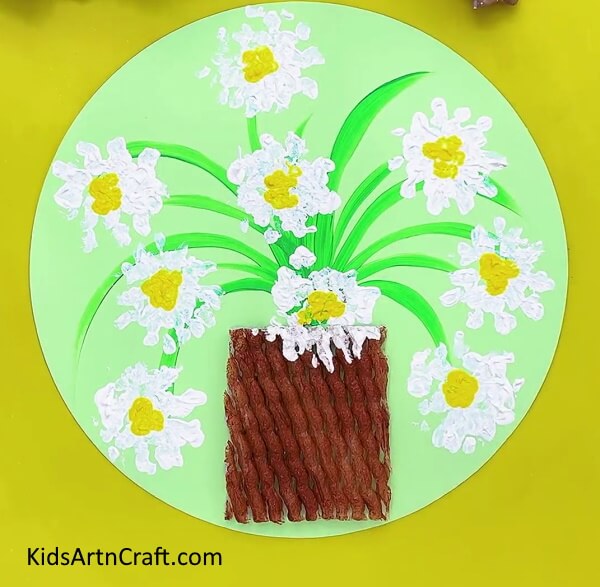

Whoa! Look at the eye-catchy results! Your artwork craft is thriving!
You can use this artwork craft to decorate your room’s wall with your own DIY creation! This craft can also be used as your school project! You can make this craftwork with your family in the boring afternoon hours to spend quality time altogether! Unleash your creativity making this craft, customize this craft as you imagine, making different colored and textured flowers, increasing size of the craft, making foam flowers, anything! Your imagination is the limit!
Follow us on Youtube for art and craft tutorials and much more.
More Articles from Kids Art & Craft
- How to Make Clay Flower Easy Tutorial for Kids
- DIY paper Sunflower Easy craft For Kids
- Learn To Make Easy Heart Shaped Paper Mouse Craft
- DIY Foam Net Home Craft For Kids
- DIY Paper Butterfly Easy Craft For Kids