Drawing
Cute Fruit Foam Pear Craft Step by Step Tutorial For Kids

This step-by-step tutorial will show you how to make a cute fruit foam pear craft! This is a great project for kids to complete with minimal help. Perfect for a rainy day indoors & make a fun decoration for your home or a special gift for a friend.
Hello everyone! Hope you all doing well. Welcome! When did you buy fruits for the last time? Are still wasting foam which using to cover fruits. Hereafter you never waste it, you can use those foams in many ways. In this tutorial, we going to learn how to create a cute fruit foam pear craft with step-by-step instructions. Using some easily available craft materials such as color paints, and glue your kids can make it within a very short time. Are you ready?
Cute Fruit Foam Pear Craft For Kids

Read More: Cute Fruit Rock Painting Ideas
Materials Required
- Yellow EPE Foam ( which is used to cover fruits)
- Glue & Scissors
- Paints (Brown& Green) & Painting Brush
- Sketch Pen (Black and Red)
- White Sheet
Procedure
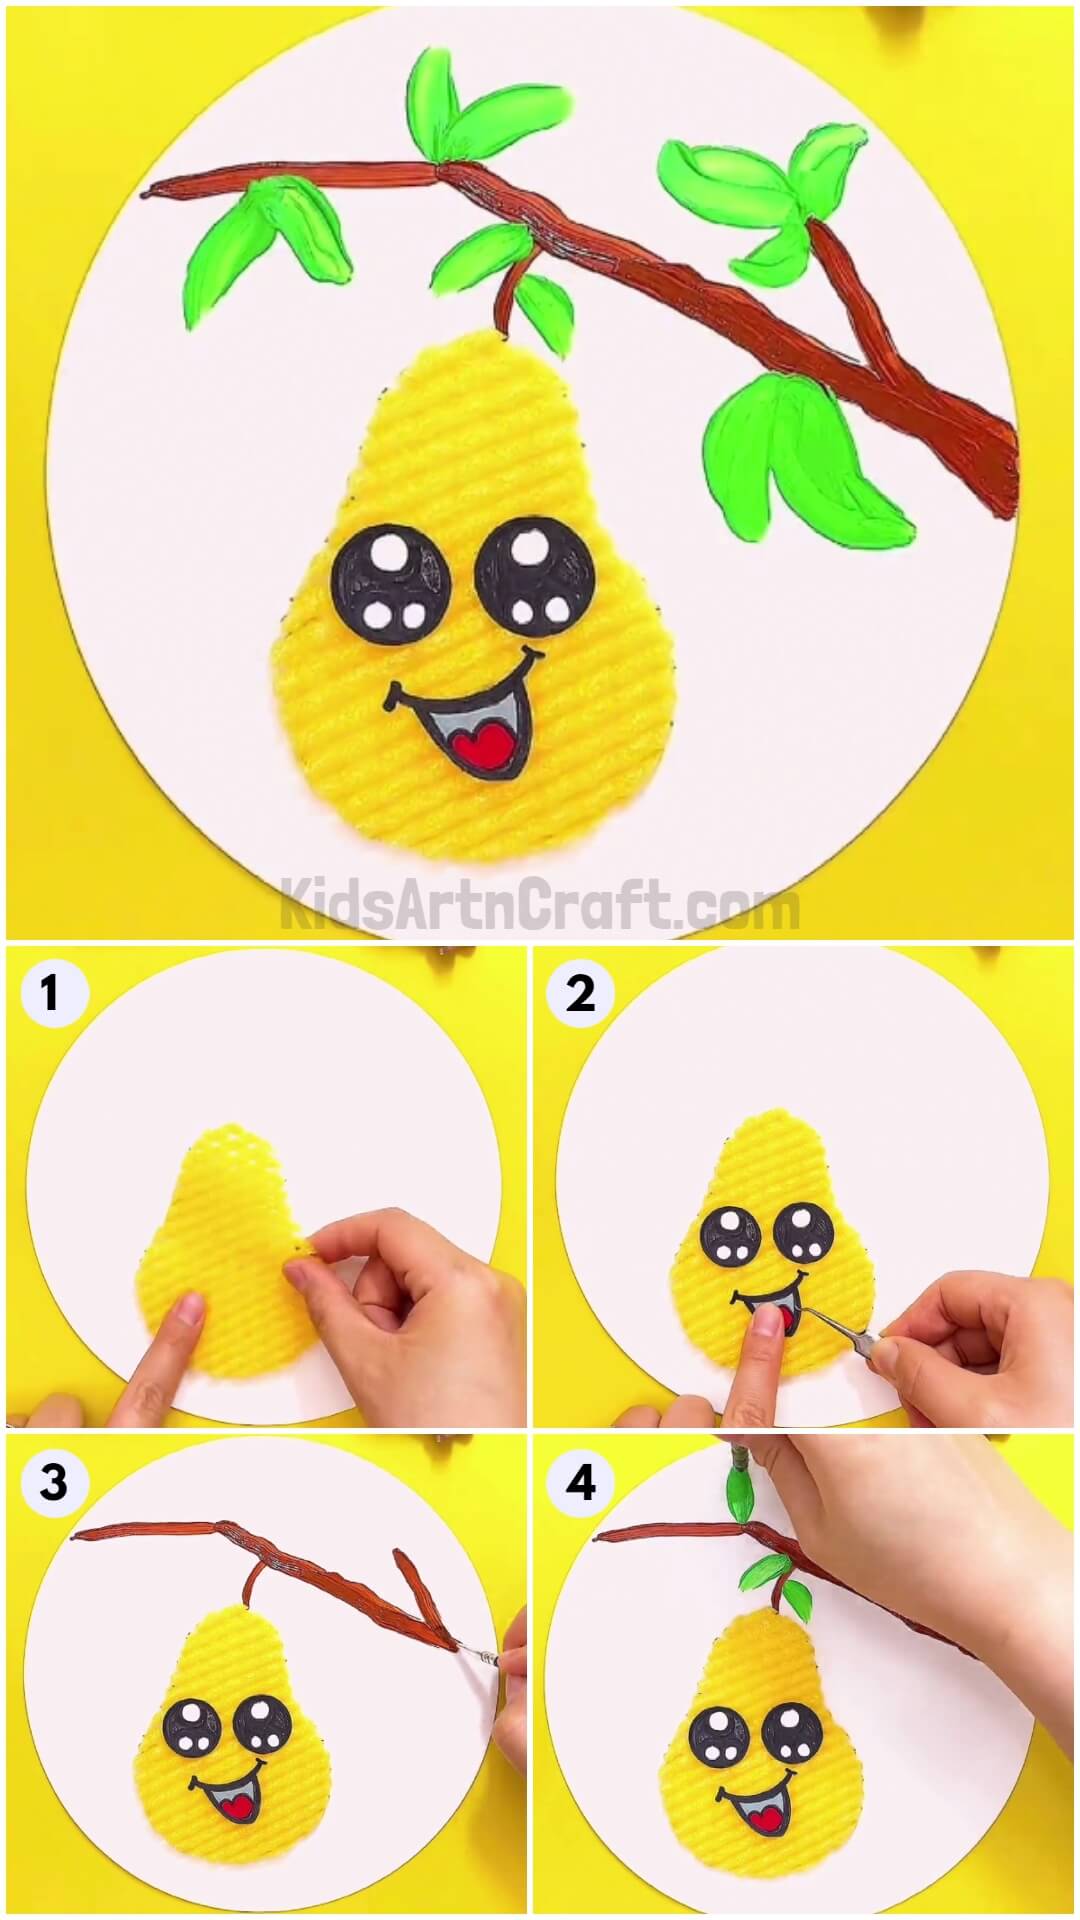
Step 1: Cutting A Pear From Foam Paper

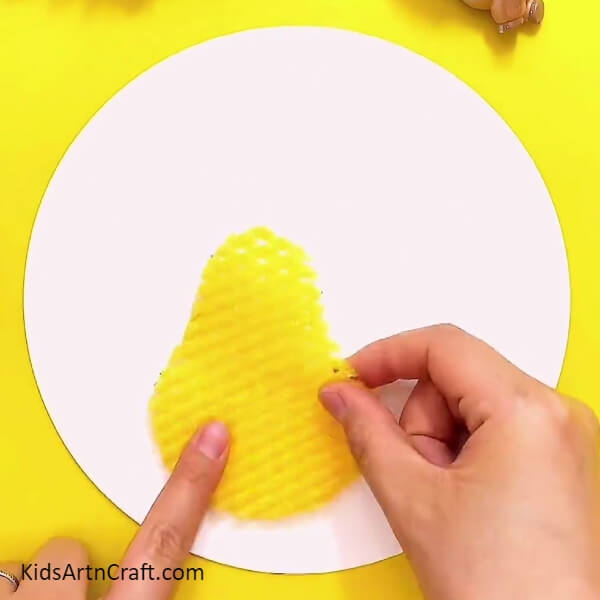
Cut a pear-shaped piece from foam paper, take your foam paper, and draw a pear on it with the use of a black pen cut it out from foam paper, then paste it on the bottom of a white sheet.
Step 2: Creating And Pasting Eyes For Pear
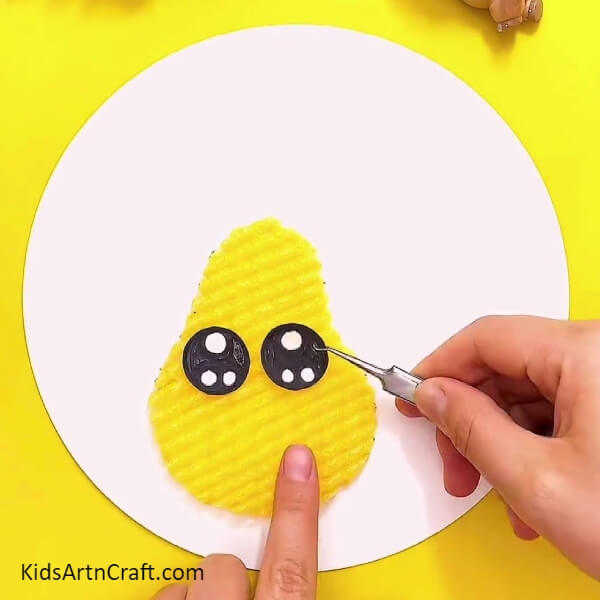
In this step, we are going to create cute eyes for your pear. Cut two small circles from a white sheet and draw one big circle on top and two small circles on the bottom of both circles that we cut from a white sheet. Then paint it with a black pen as shown and paste both eyes on the pear using some glue.
Step 3: Creating Mouth For Pear
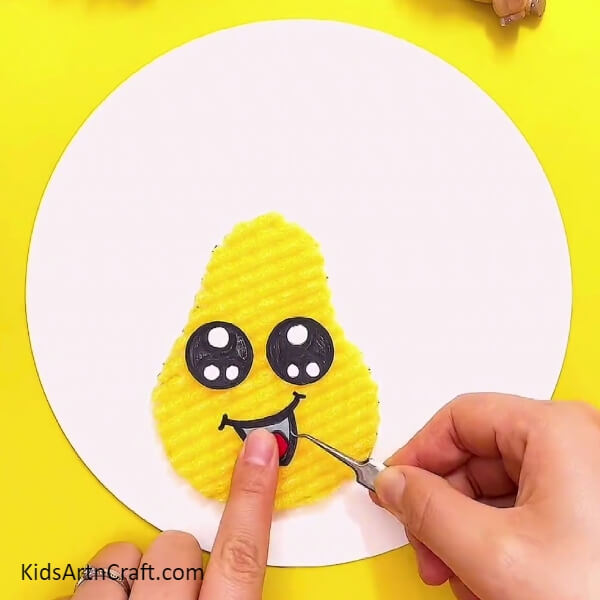
Draw a curvy line and U under that curvy line on a white sheet. Draw a small M inside of that mouth and paint red color on it with a red pen, then cut it and paste it under the pear’s eyes. I’ll give you some tips, if you like to paint draw it with your own or use any kind of smile sticker for pear mouth.
Step 4: Drawing A Pear Tree Using Brown Paint
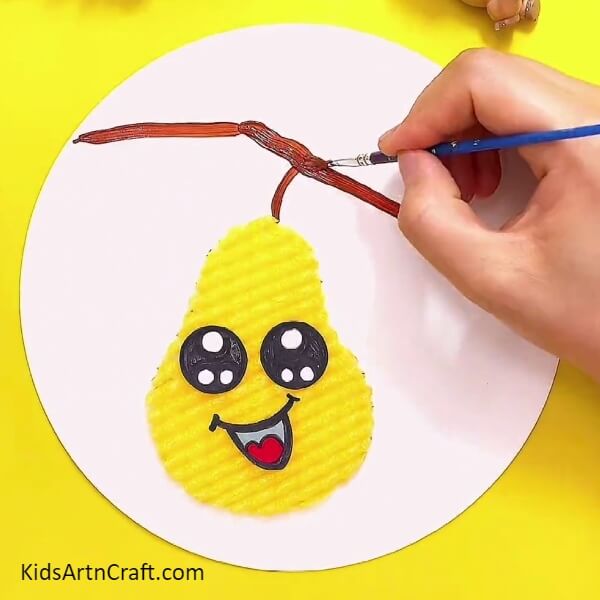
Grab your painting brush, take brown paint on your brush, and at the top of your pear, draw a thick line from left to right to make wood and draw a small line on the pear head to connect your pear with wood.
Step 5: Drawing Branch For The Pear Tree
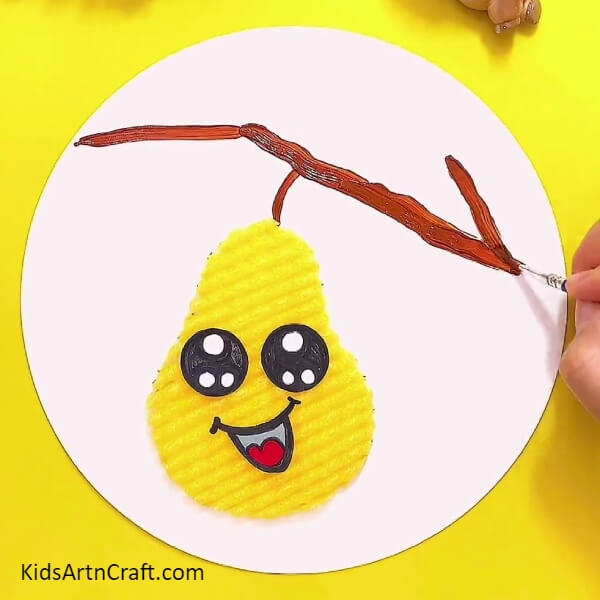
Draw one small brown line from the right side to create a branch.
Step 6: Drawing Leaves With Green Paint
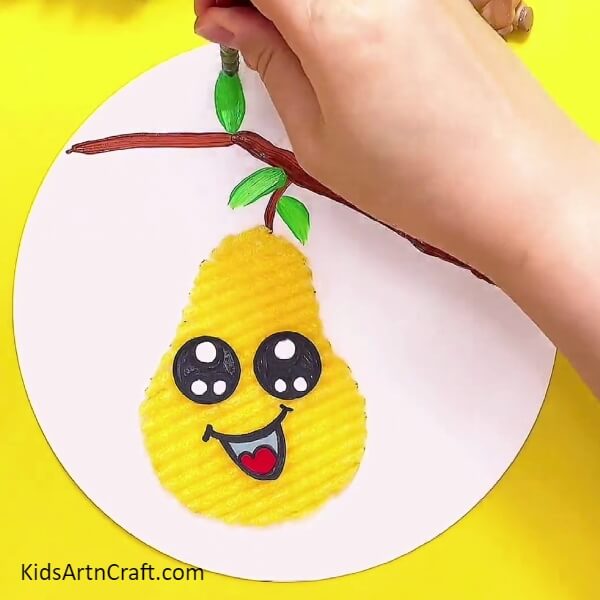
Are you ready to draw leaves? Then wash your painting brush and squeeze out the water, then take green paint on it and draw leaves on wood and branch as shown in the image.
Finally! Our Pear Craft Is Ready To Hang On the Wall!!
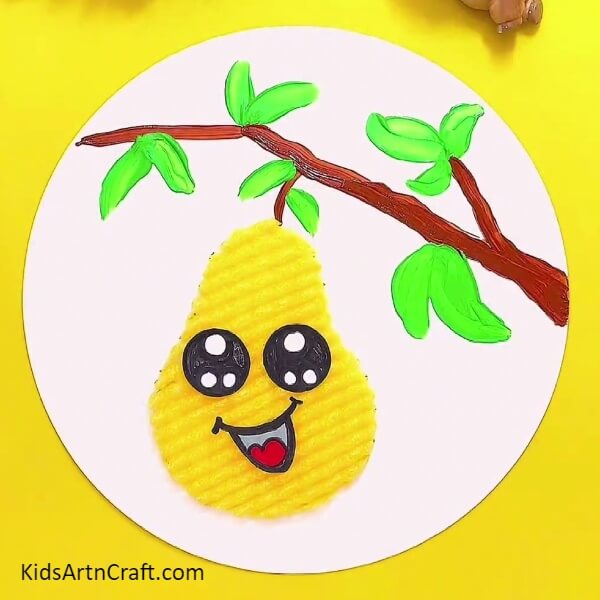
After finishing your painting, give it some for it to dry. After it dried, stick it on your wall or put a small hole on top of your craft and insert a thick thread, then hang it on your wall, it would be a simple craft and also a cute painting too.
We hope this step-by-step tutorial will be useful to you and your kids will definitely love this craft. Let us know in the comments, how you like this craft. Visit our website for more cute and simple crafts like this.
Thank you for visiting us!
Follow us on Youtube for art and craft tutorials and much more.
More Articles from Kids Art & Craft
- DIY Foam Net Home Craft For Kids
- Fruit Foam Net Pineapple Craft Idea for Kids
- DIY Cow Craft From Fruit Foam Net
- Simple Paper Crab Craft – Step-By-Step Tutorial
- How to Make Paper Cup Doll Craft for Kids