DIY and Crafts
DIY Gift Paper Bag with Handles Easy Tutorial

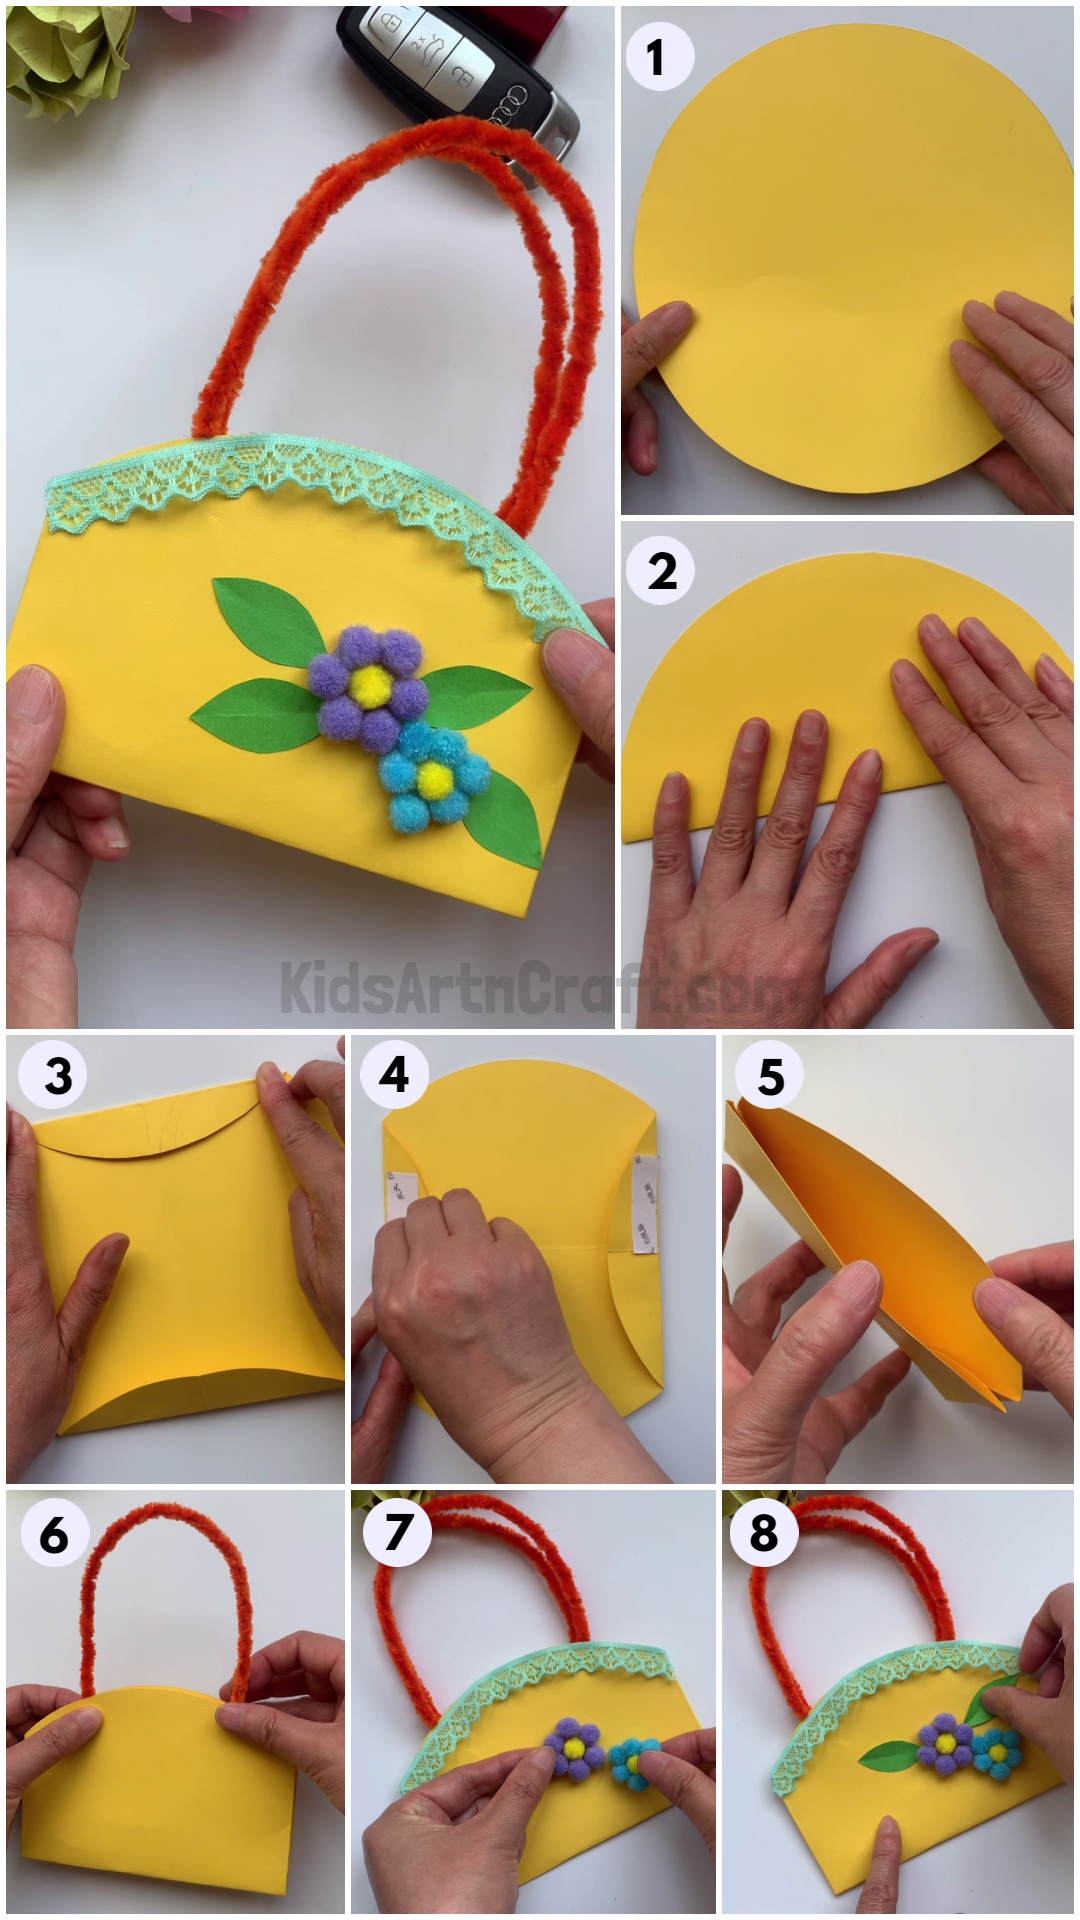
Create your own unique gift paper bag with handles with this easy DIY tutorial! Learn how to make a stylish paper bag for any occasion with just a few simple supplies. Perfect for holidays, birthdays, and special occasions.
Are you looking for a fun and creative way to give gifts to your loved ones? Look no further! This handmade gift paper bag craft idea with handles is the perfect solution. With a few simple supplies, you can easily make a unique and special bag for any occasion. Not only is this craft fun and creative, but it is also an economical way to gift your presents. With this tutorial, you will be able to make a beautiful gift bag with handles that your friends and family will love!
Handmade Gift Paper Bag Craft Idea With Handles

Read More: Learn To Make Tree with Paper step by step Tutorial
Materials Required
- Colored Paper(Yellow, Green)
- Pipe Cleaner(Orange)
- Glue
- Scissors
- Double Side Tape
- Flowers
Procedure
Step 1: Getting A Yellow Circle
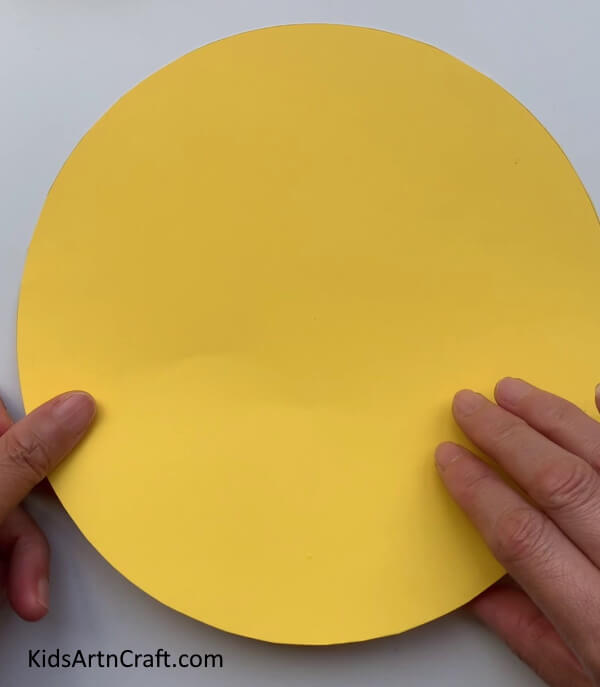

Take yellow paper. Cut a large circle out of it.
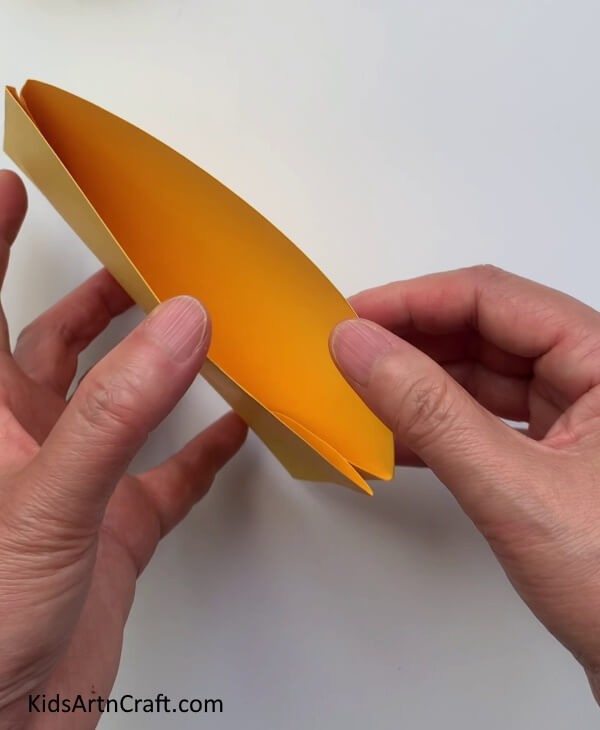
Step 2: Folding The Circle In Half
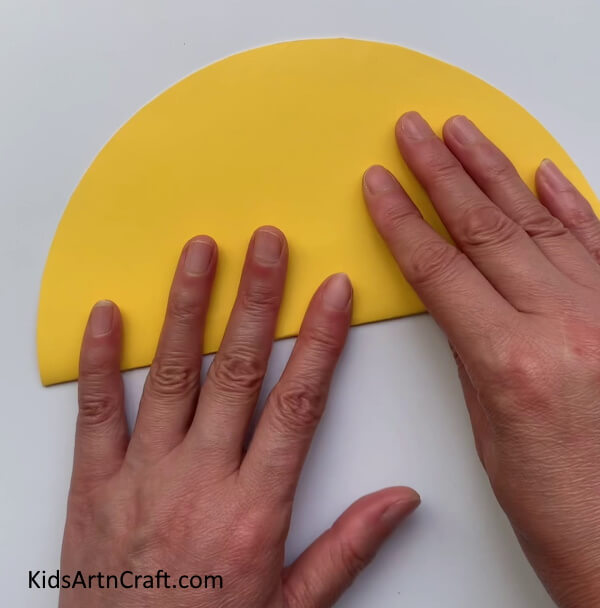

Now, fold the yellow circle in half.
Step 3: Folding The Sides Of The Circle

Unfold the circle. Fold the sides of the circle for about an inch, from both ends as shown in the image.
Step 4: Applying Double Side Tape
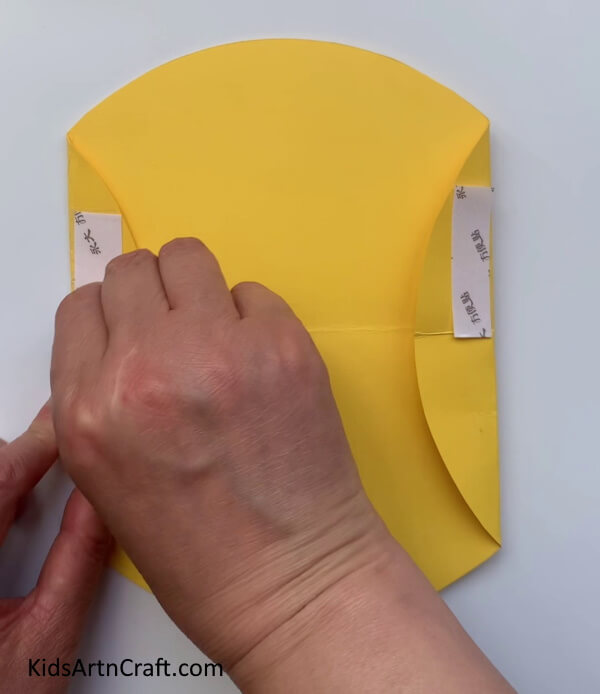

On the upper half of the folds, apply double side tape vertically.
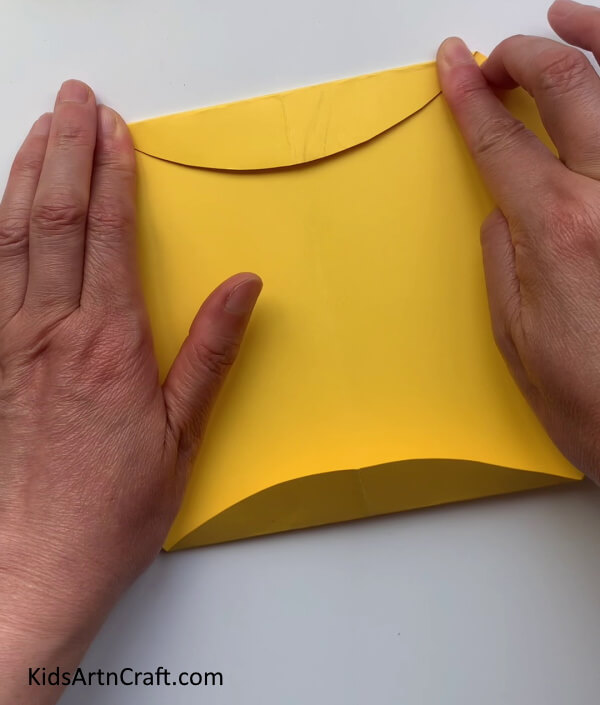
Step 5: Folding The Circle In Half

Now, lift the bottom of the circle and paste on the upper part shown.
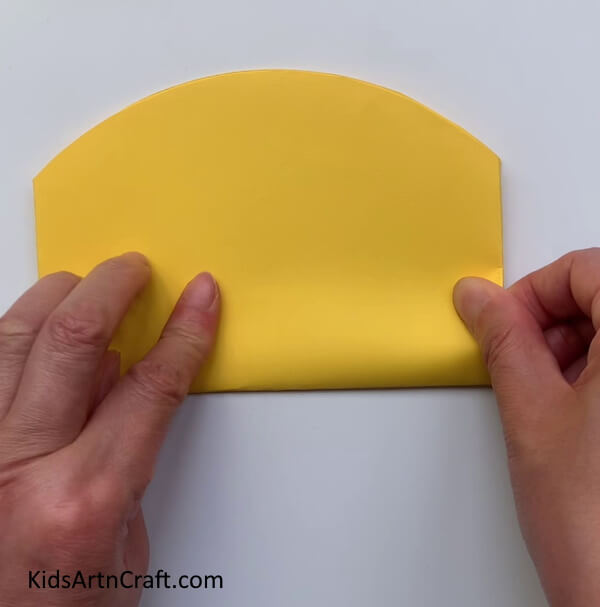
Step 6: Getting A Yellow Paper Bag

After completing the above steps, you will get a paper bag.
Step 7: Attaching Pipe Cleaner On The Paper Bag
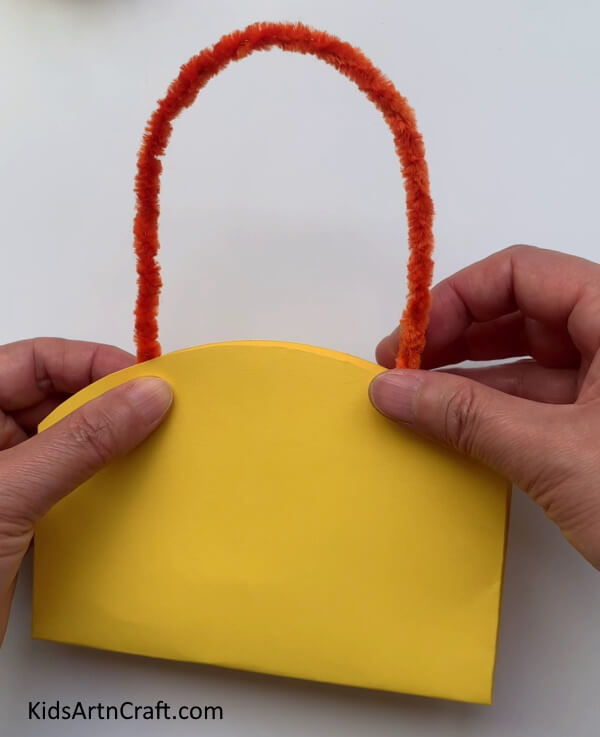

Take a pipe cleaner. Fold it and paste it on one flap of the paper bag on the inner side.
Step 8: Attaching Another Pipe Cleaner
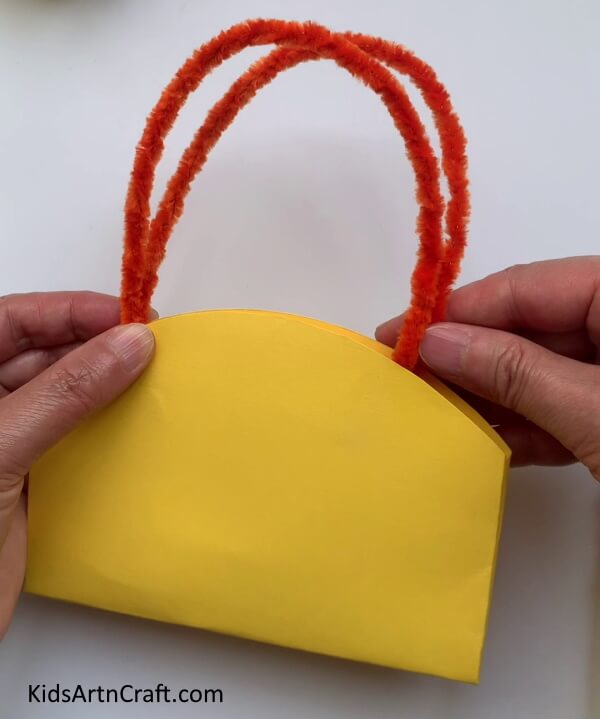

Take one more pipe cleaner and attach it to the other flap on the inner side.
Step 9: Pasting A Cloth Lace On The Paper Bag


Take a nice cloth lace and paste it on the upper portion of the paper bag.
Step 10: Pasting The Flowers On The Paper Bag
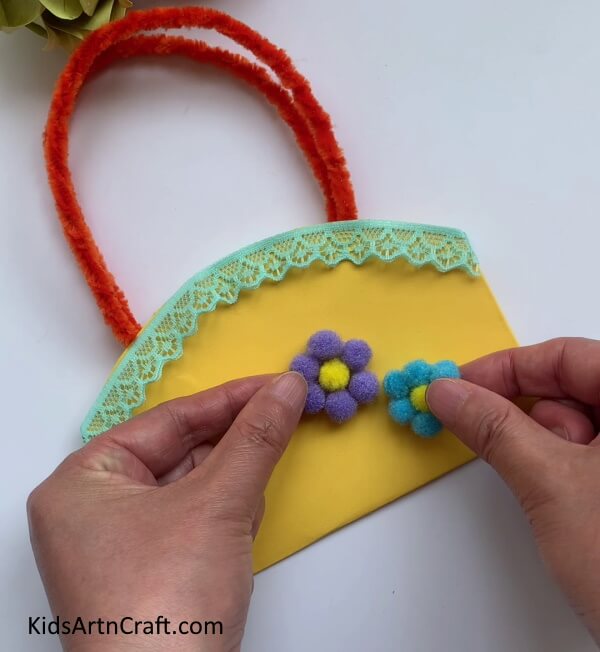

Take two flowers, and paste them on the bottom right corner of the paper bag.
Step 11: Adding Leaves To The Flowers


Take green paper and cut two leaves. Paste them on the paper bag as shown.
Step 12: Opening The Paper Bag
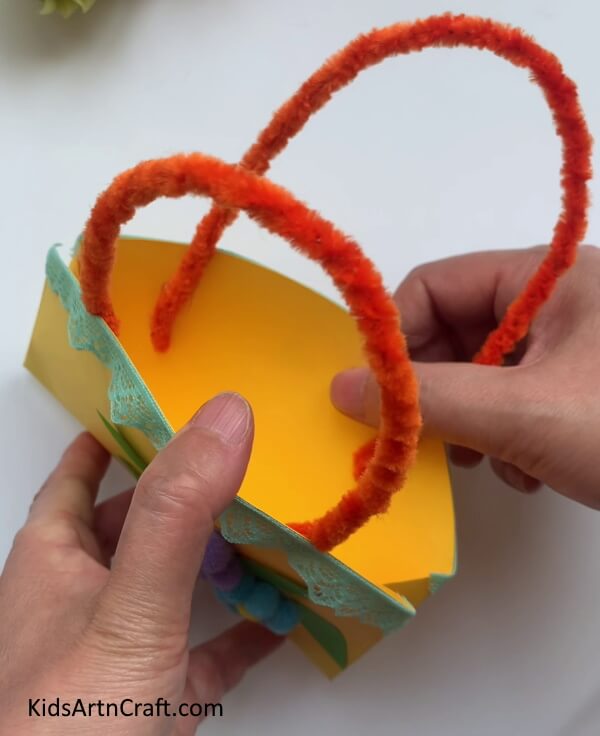

Now, carefully open the paper bag. Take red paper. Make small hearts and paste them behind the paper bag as shown in the final image.
This Is The Final Look Of Our DIY Gift Paper Bag!
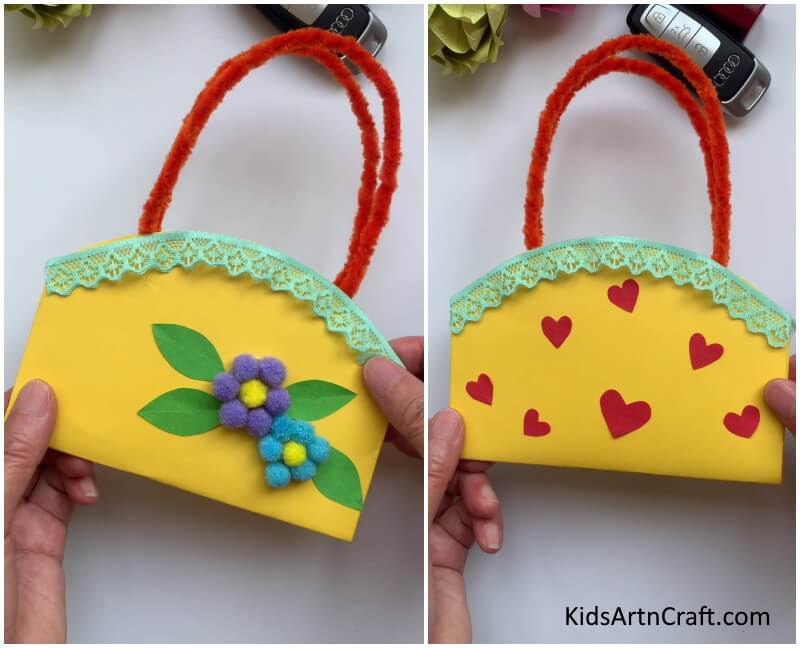

Congratulations! Our DIY Gift Paper Bag Is Ready!
Some More Paper Bag Craft Tutorial
Constructing a Paper Bag With Origami Paper For Little Ones

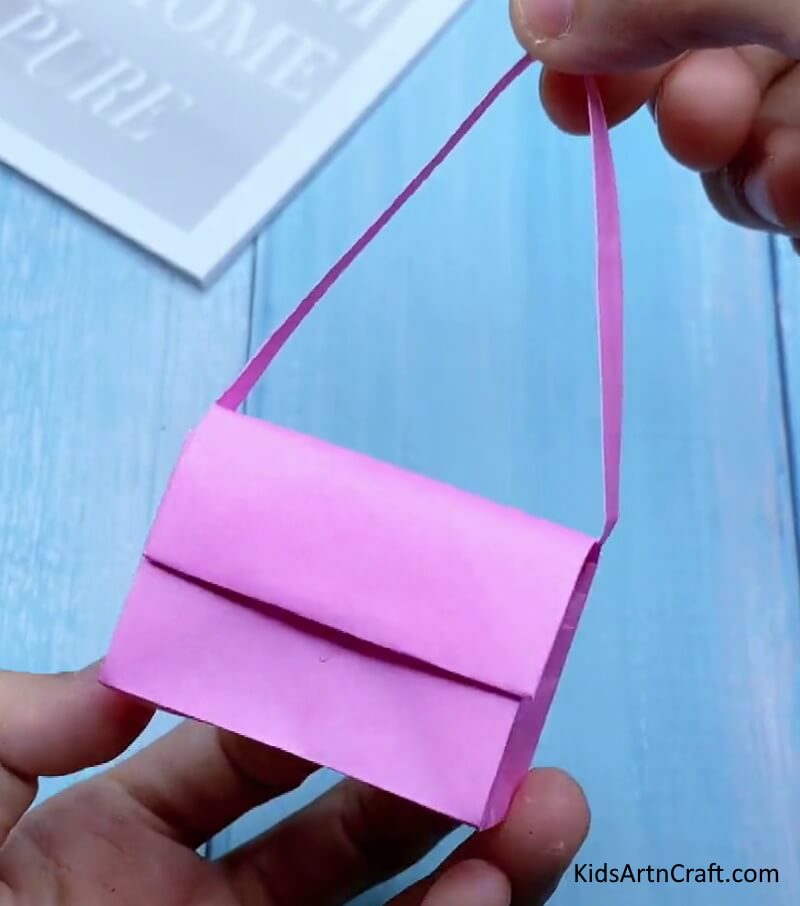
Image Source/Tutorial: Kids Art & Craft
Constructing a paper bag with origami paper is fun and easy for little ones. With a few simple folds and cuts, they can make a bag, perfect for storing small items. It’s a great way to create and teach them basic origami techniques.
FAQ’S DIY Gift Paper Bag with Handles Easy Tutorial
1. What type of paper is best for making gift bags?
The best type of paper to use for handmade gift bags is medium-weight cardstock. You can also use lightweight craft paper or heavy-duty wrapping paper.
2. How do I make sure the handles stay on the bag?
You can use double-sided tape or a glue stick to help secure the handles of the bag.
3. What type of glue should I use for the paper bag craft?
You can use a glue stick or craft glue. Make sure to use glue that is not water-soluble so the bag won’t become soggy.
4. How can I embellish the paper bag?
You can use stickers, buttons, ribbons, or even fabric to embellish the paper bag.
5. What type of materials can I use to make the handles?
You can use ribbon, twine, yarn, or even fabric to make handles for the bag.
It was so much fun making this DIY Gift Paper Bag and we hope you had a lot of fun doing it too! This is a great way to get creative and make something special for your loved ones. Congratulations on creating your own unique gift paper bag! With a few simple steps, you have now created a beautiful DIY gift paper bag that will be sure to bring a smile to the recipient’s face. Have fun!
Follow us on Youtube for art and craft tutorials and much more.
More Articles from Kids Art & Craft
- Recycled Bookmark Ideas for Kids
- Easy Friendship Bracelets Make At Home Video Tutorial for Beginners
- Easy to Make Paper Pineapple with Step-by-Step Instructions
- How To Make A Paper Heart Bee Craft Tutorial
- DIY Party Popper Step-by-Step Tutorial For Kids