Paper Crafts
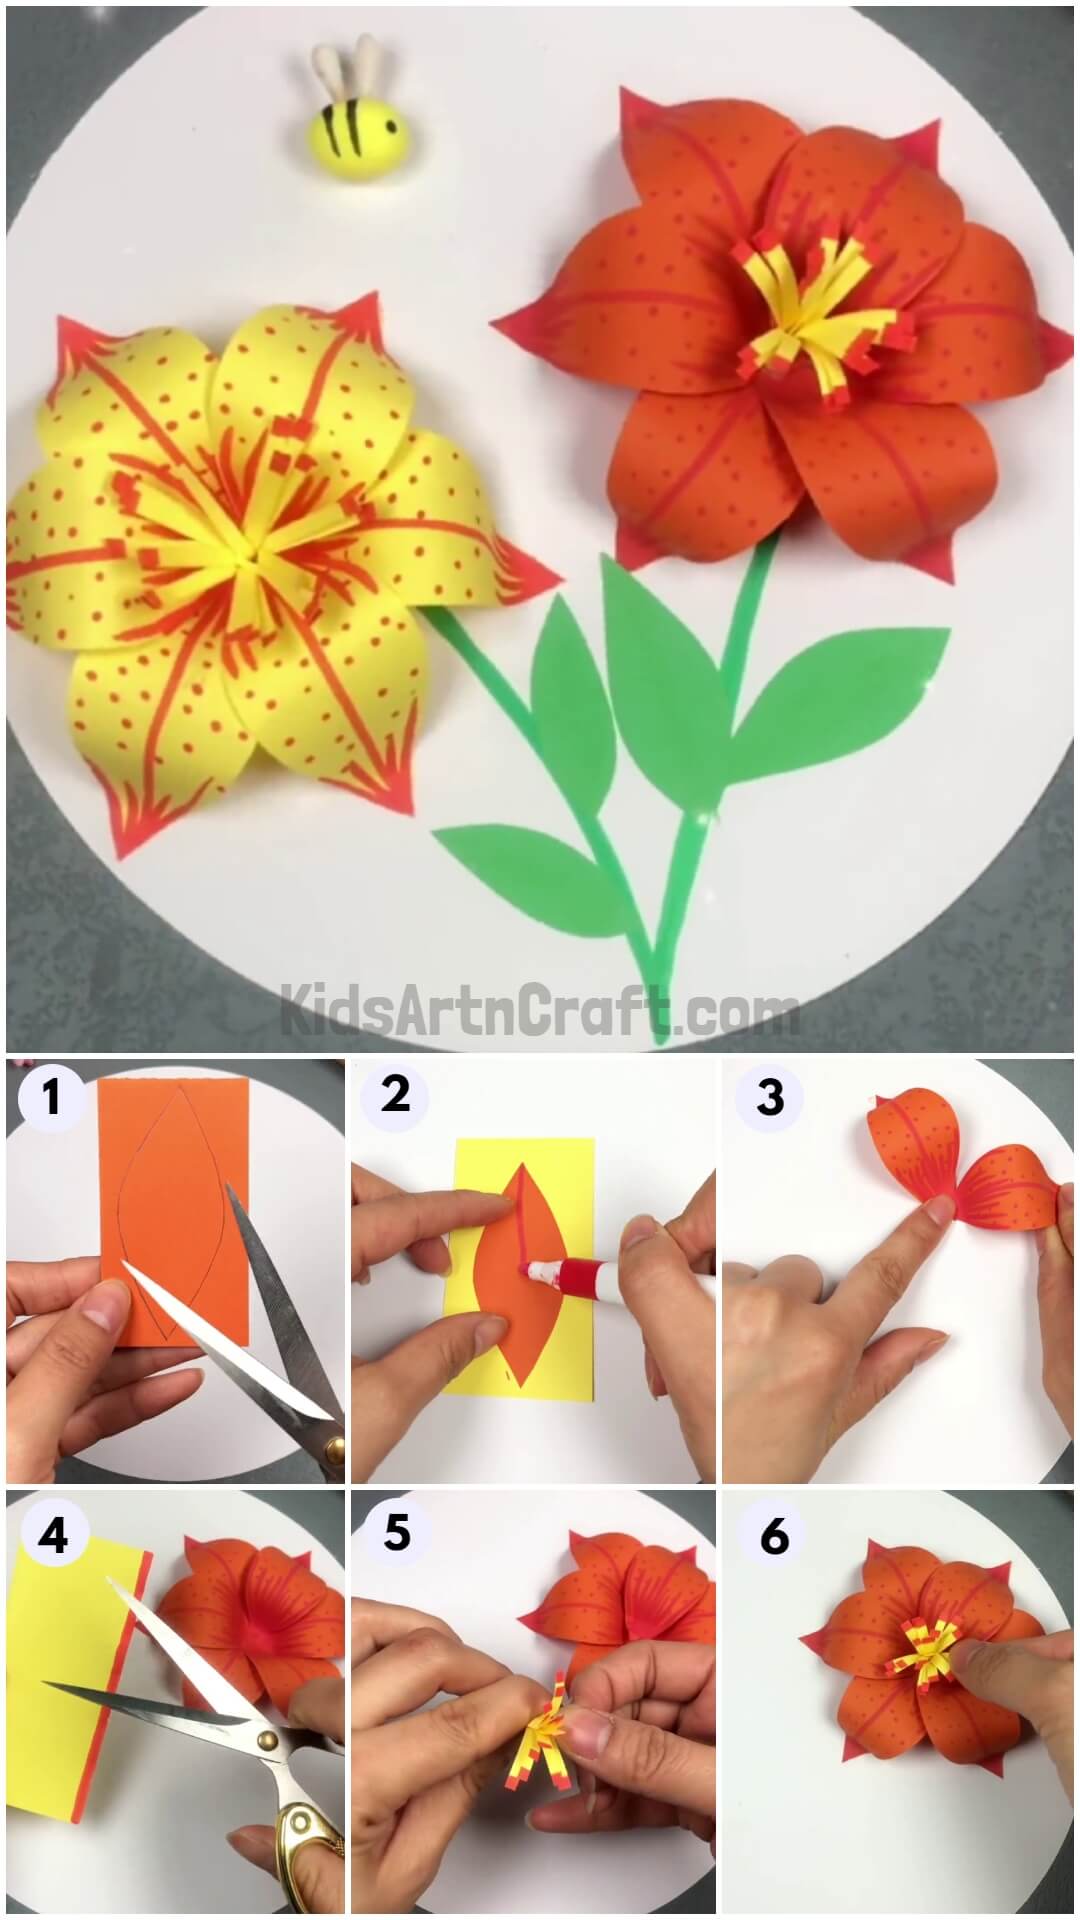
3D Lily Paper Flower Craft Tutorial For Kids

Bring the beauty of lilies into your house by creating them on your own! This step-by-step tutorial will lead you to make paper lilies!
Hello and welcome to the amazing world of crafting! Today, we brought you a marvelous paper craft for you! Paper Lilies! These paper lilies will definitely be a hit addition to your craft collection! You can make them too just by this step-by-step tutorial! This tutorial will serve you as a guide on each and every step of this paper craft-making and the results will be the apple of your eye! Grab the materials mentioned and begin with this craft-making to have a fun crafting time!
Easy Lily Flower Papercraft For Kids

Read More: DIY Easy Paper Cactus Craft Tutorial for kids
Materials Required
- Paper Sheets (White, Yellow, Orange, And Green)
- Scissors
- Glue
- Double-sided Tape
- Yellow Super Clay
- Cotton Earbuds
- Colored Sketch Markers (Red, Orange, Green, And Black)
Procedure
Step 1: Drawing And Cutting Out A Petal
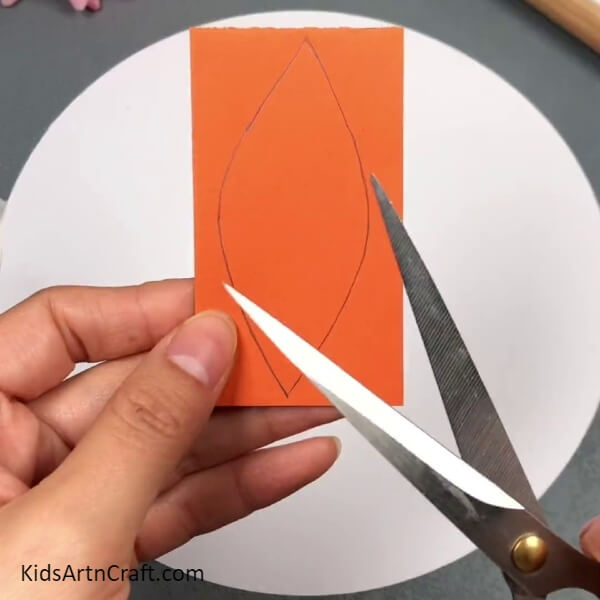

To begin this craft take a white paper sheet as the base for the craft and using scissors, cut it down into a circle. On a piece of orange paper, draw a petal shape using a pencil, and using scissors, cut it out.
Step 2: Detailing The Petal

Using a red sketch marker, draw a long vein in the middle of the petal and make some dots on the petal randomly. Also, draw strokes on the corners of the petal to make it look like shading.
Step 3: Pasting The Petal On Base
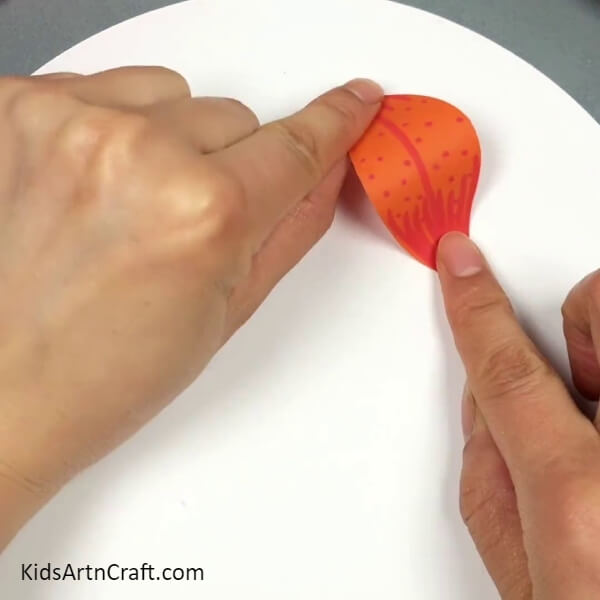
Paste the petal on the base using double-sided tape in a way that the 2 corners of the petal are pasted and the middle portion is forming a loop.
Step 4: Pasting Another Petal
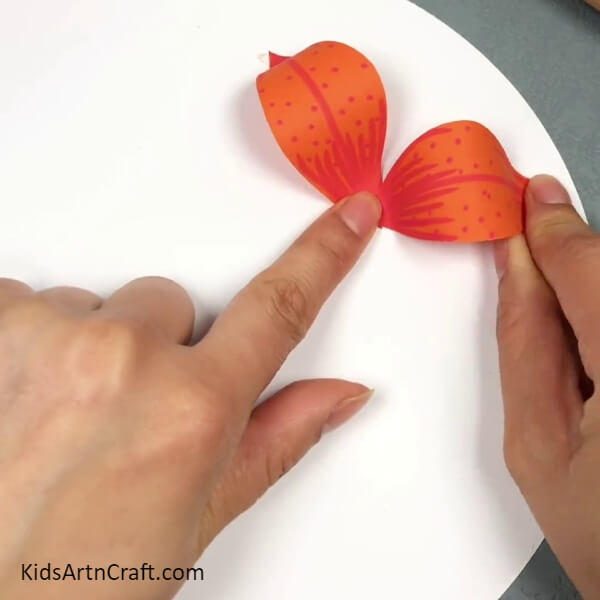
Following the same, make another petal and paste it in the same way described before to the first petal.
Step 5: Forming A Flower
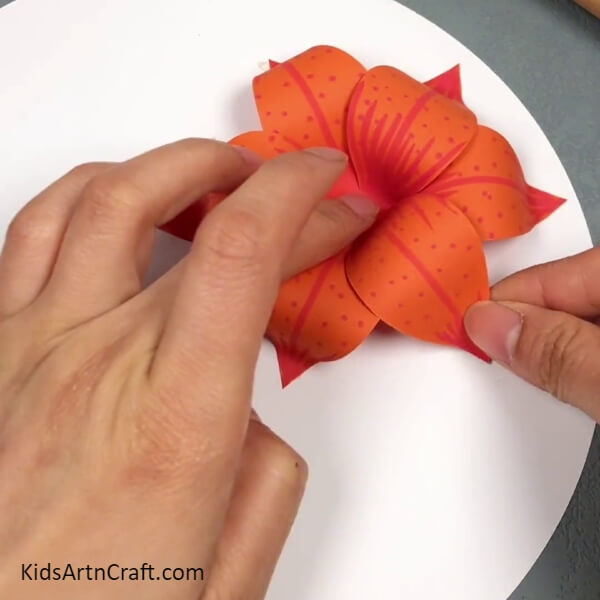
Paste another petal at a certain distance from the other two and then paste 3 more petals over the already pasted 3 petals in the spaces between them to slightly overlap them.
Step 6: Drawing A Line On The Boundary
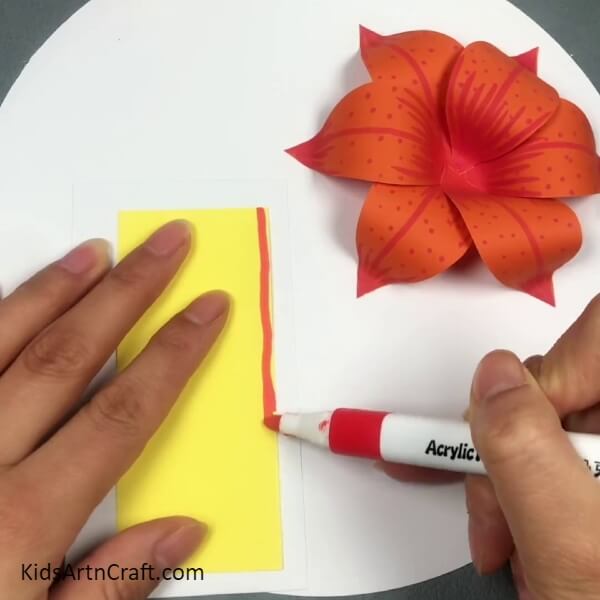
On a rectangular piece of yellow paper, draw a line on the boundary of the longer side of the paper using the red sketch marker.
Step 7: Cutting Strips Of The Yellow Paper
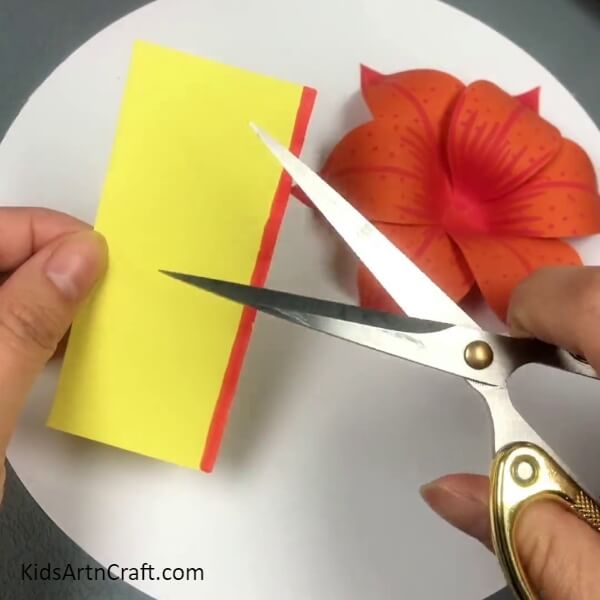
Using scissors, cut the yellow paper into strips from the drawn line side horizontally. Make sure to not detach the strips from the paper, keep some of the paper strips uncut from the end.
Step 8: Rolling The Stripped Paper
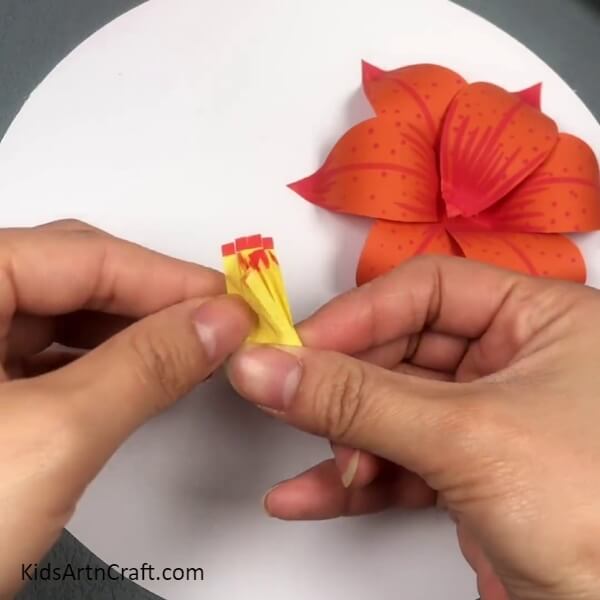
Roll the yellow paper from the uncut side and secure the end with double-sided tape.
Step 9: Curling The Strips
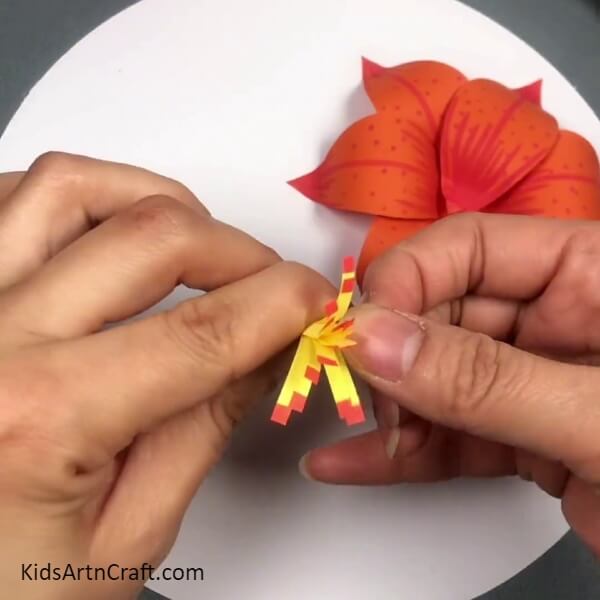
Curl the ends of the strips in the roll outwards to give them a blooming look.
Step 10: Pasting The Stripped Roll
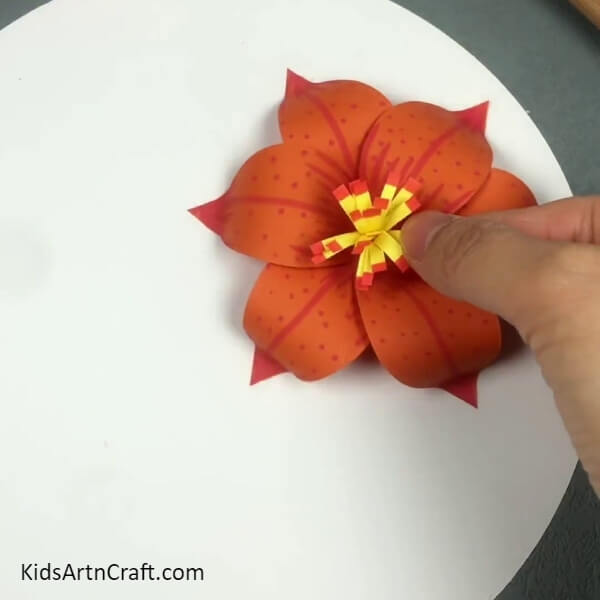
Paste the stripped roll in the middle of your orange flower to make the center of it using double-sided tape.
Step 11: Making A Yellow Flower And Drawing Stems
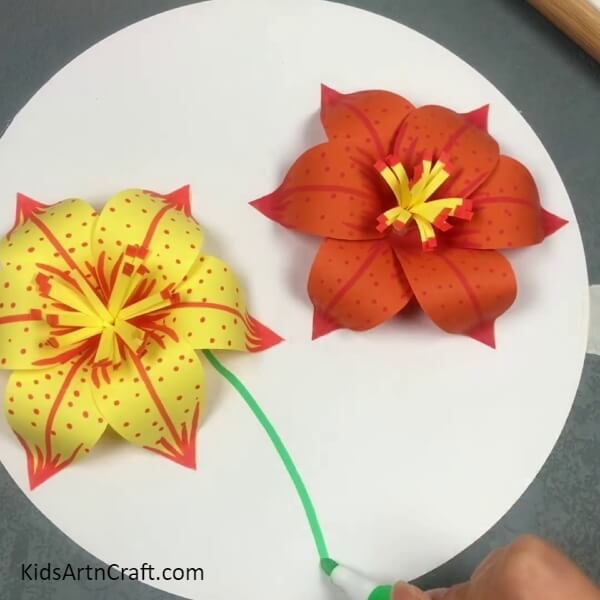
Following the same steps as before form a yellow petal flower with orange sketch marker detailing on the other side of the base. Now, using a green sketch marker, draw curvy stems beneath the flowers to the border of the base.
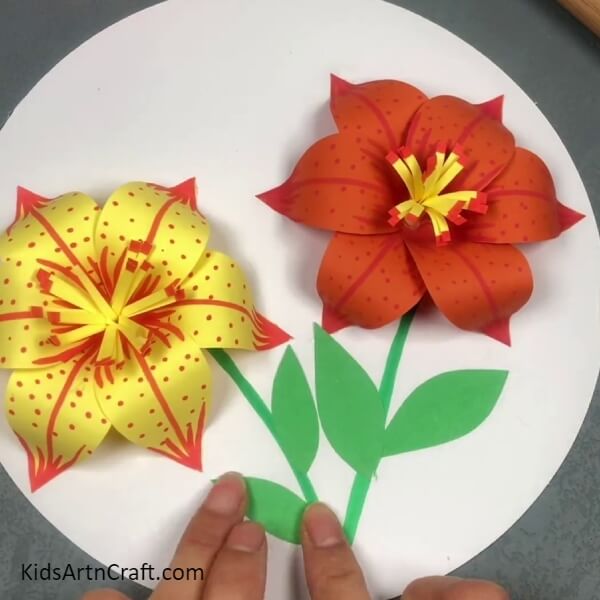
Step 12: Adding A Leaf To The Stem
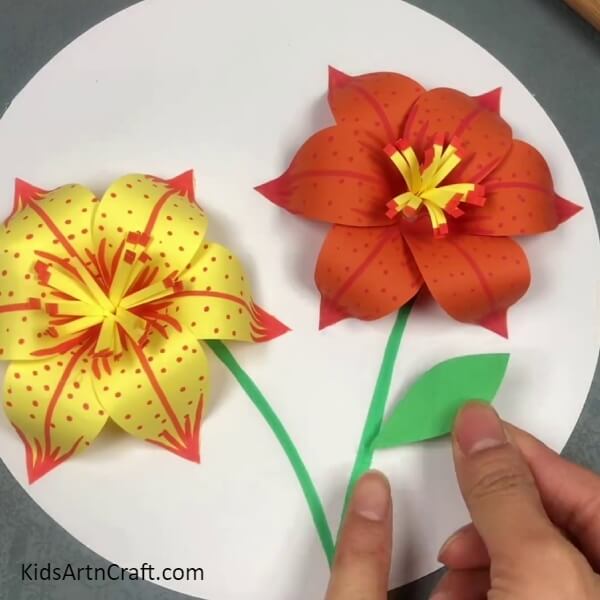
Cut out a green paper leaf using scissors and paste it to the stem of the flower using glue.
Step 13: Completing Adding Leaves To the Flower Stems
Cut out 3 more leaves and taste them on each side of the stems tilted using glue.
Step 14: Adding A Bee To The Craft
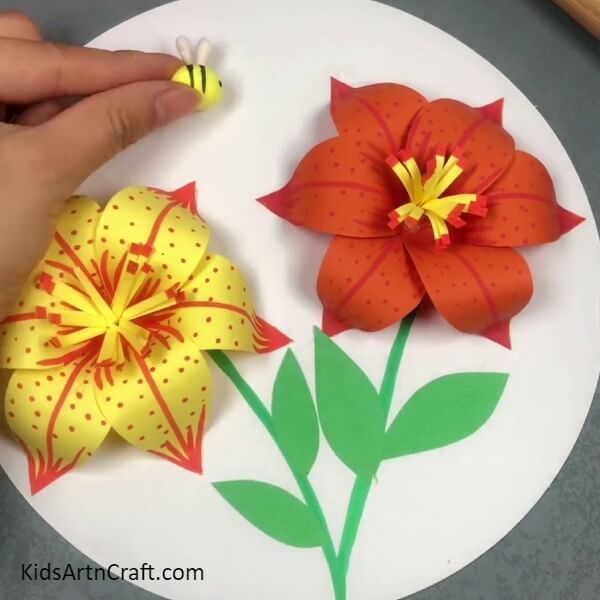
Take a yellow-colored super clay and cotton ear bud. Dough the clay into an oval shape and bend the bud in half, now stick the bent bud on the back of the oval clay to make the bee with wings. Now, using a black sketch marker, make the stripey bee pattern over its body and also a dotted eye. Paste the clay bee over the yellow flower on the base using glue.
This Is The Final Look Of Your Paper Lily Flower Craft!
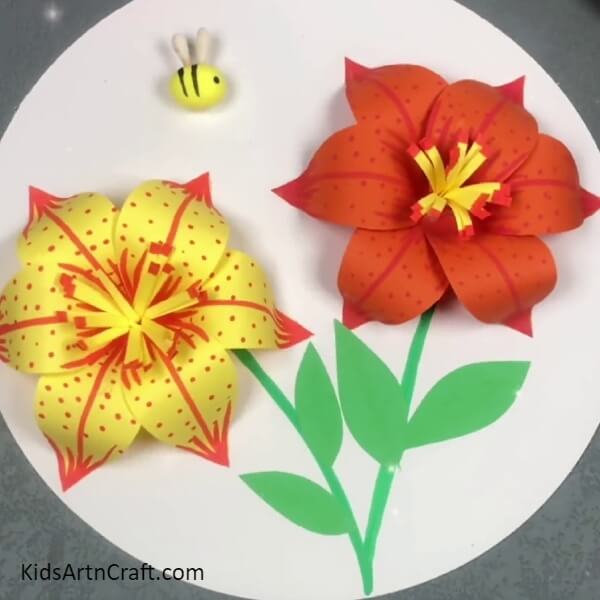
This papercraft can be a perfect decor for your room or the drawing room! You can even customize this craft by making some changes to it, adding more colors, and textures, and even pasting some decorative craft supplies! Create it as unique as you are! I have an idea for you! You can make this paper Lily craft with the background color paper to match the room and then decorate your paper lilies with the craft stones! Wow, the idea itself is so stunning! Try it out to see for yourself!
We hope you loved the craft idea! Give it a like and share it with your friends! Also, don’t forget to leave a comment in the comments section!
Follow us on Youtube for art and craft tutorials and much more.
More Articles from Kids Art & Craft
- Easy Flower Making Using Craft Paper for kids
- Colorful Thread Pom Pom Flowers Craft Making Tutorial For Kids
- Recycled Plastic Bottle Dragon Craft Tutorial for Kids
- DIY Paper Mask Step by Step Tutorial For Kids
- DIY Paper Snowflakes Step by Step Tutorials for Kids