Kids Activities
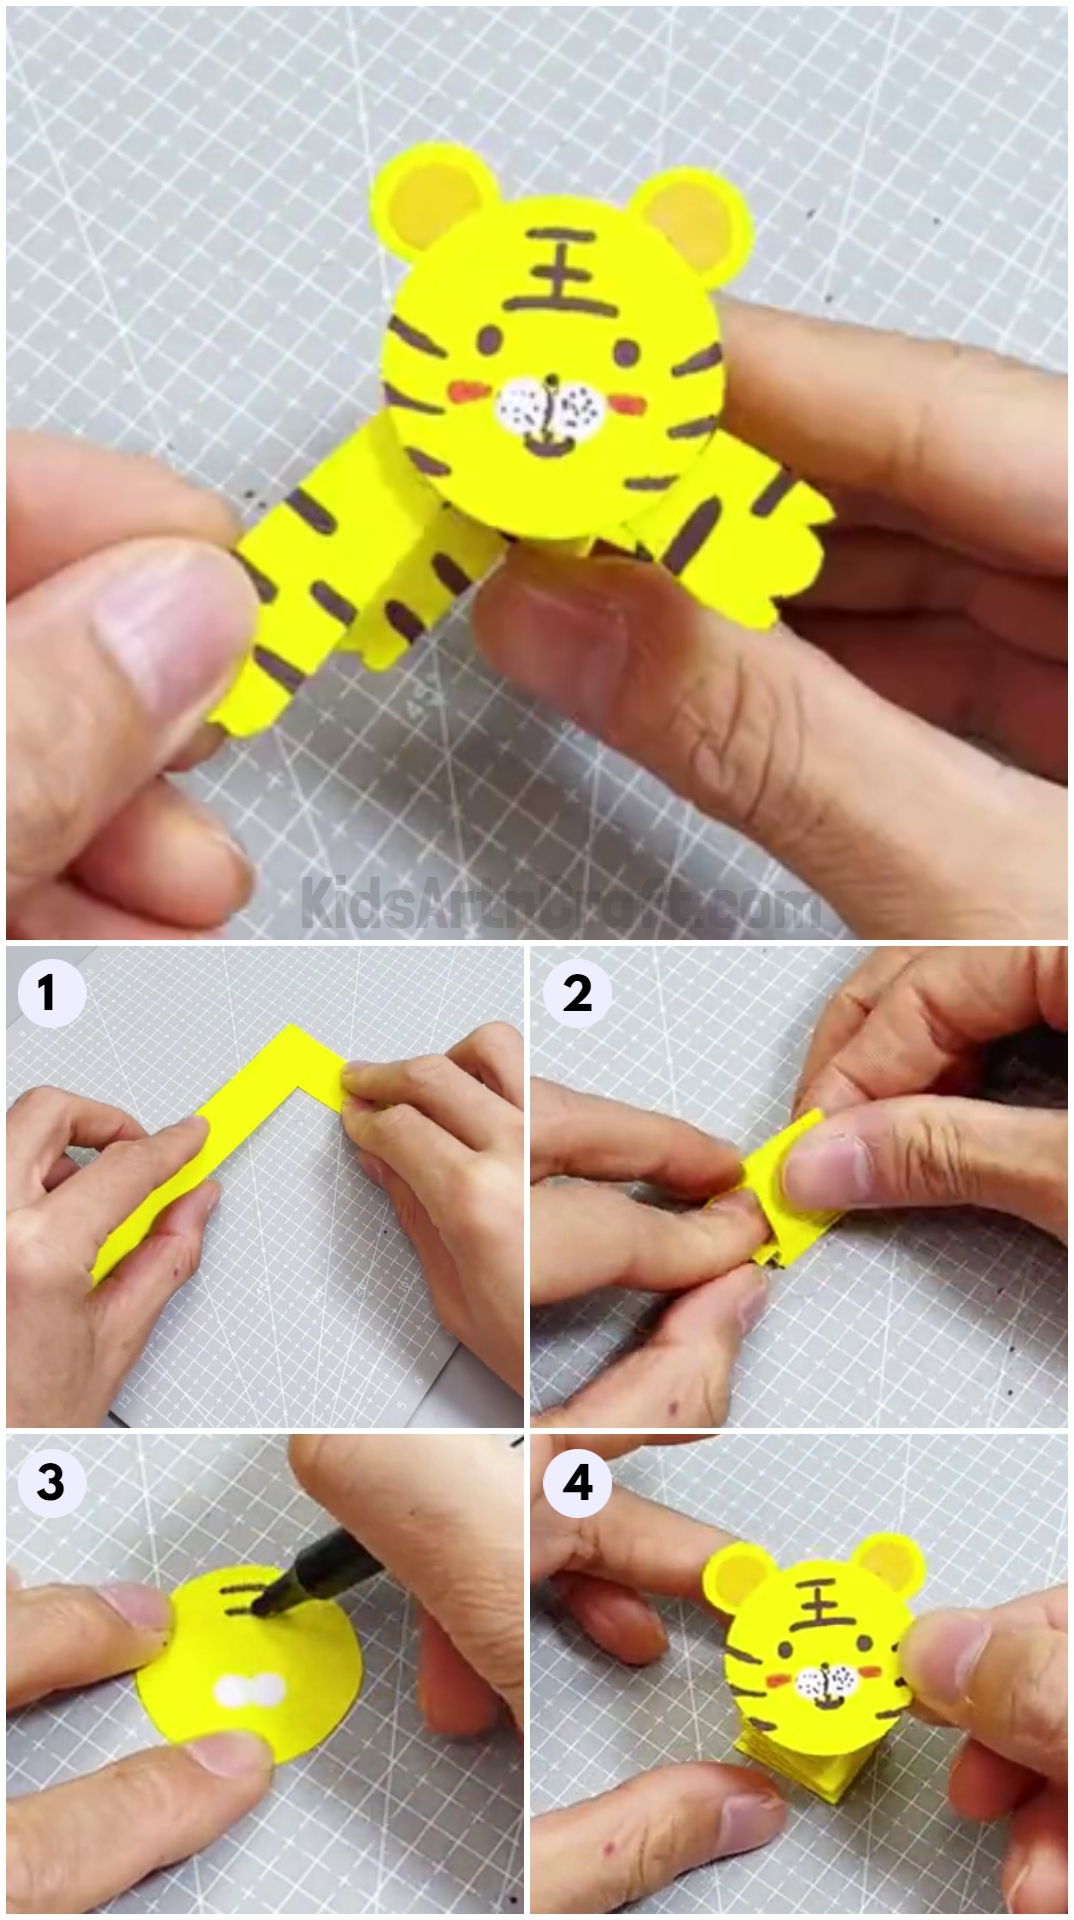
Mini Tiger Craft From Paper Strips For Kids

Bring out your child’s creative side with this easy mini tiger craft! All you need is paper strips to make a cute and colorful mini tiger – a fun activity for kids of all ages!
Welcome to this fun and creative craft tutorial! In this article, you will learn how to make an adorable mini tiger using nothing but a few basic supplies and a lot of creativity. This craft is perfect for anyone looking to spruce up their home décor or for a fun weekend project with the kids. All you need is some paper strips, scissors, and a few other items to create a unique and beautiful paper tiger. So let’s get started!
Cute Mini Tiger Craft Made With Paper Strips

Read More: Paper Strips Frog Craft Step-By-Step Tutorial
Materials Required
- Yellow and white colored sheets
- Black and red colored markers
- Glue
- Scissors
Procedure
Step 1: Cutting Out L-shape From Yellow A4 Size Sheet
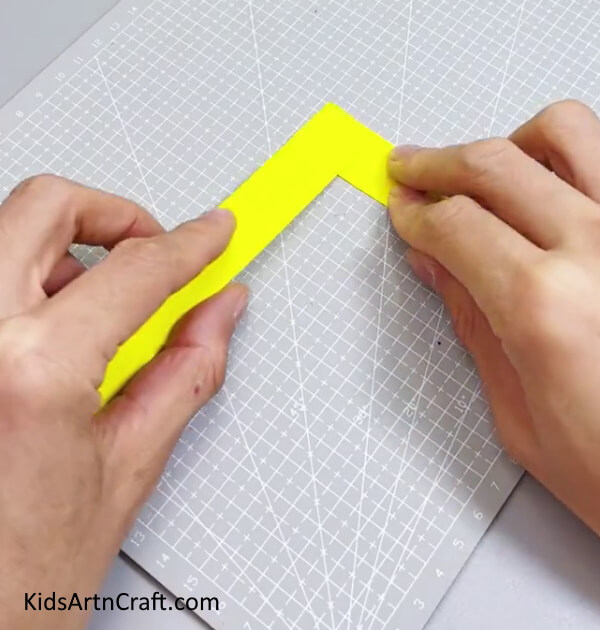

Let’s begin this craft by cutting out an L-shape strip from the corners of a yellow A4 size sheet.
Step 2: Folding The Strips
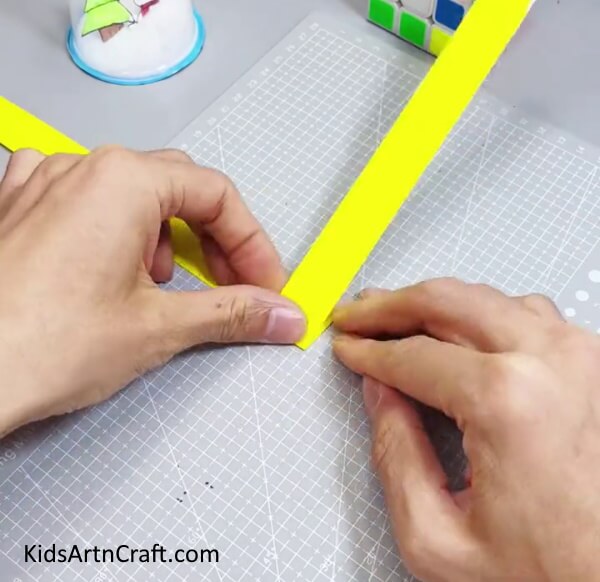

Fold the L’s strip one by one over the other and form crease.
Step 3: Completing Folding The Strips
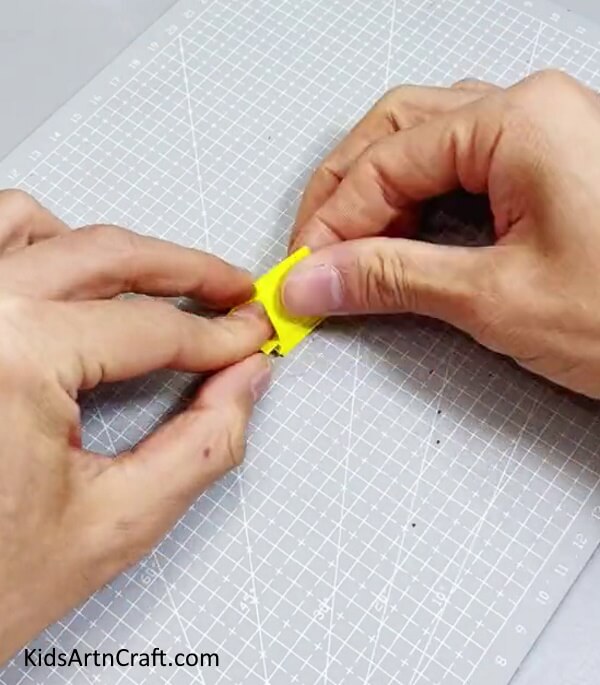

Complete folding the strips one over the other.
Step 4: Making the Face Of Tiger
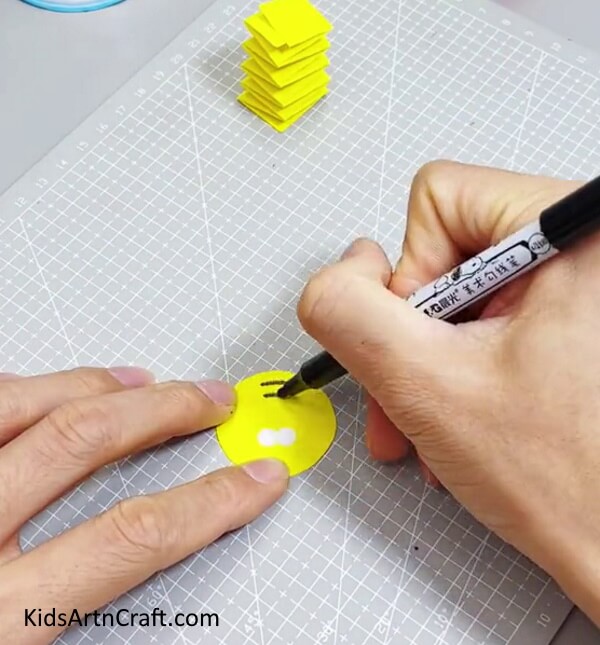

Cut out a circle from a yellow sheet for the face of the tiger and from a white sheet cut out the nose of the tiger, complete the details of the face by drawing tiger pattern strips. Make the eyes, and mouth nose of the tiger with black marker and use a red marker for its cheeks.
Step 5: Making Ears Of Tiger
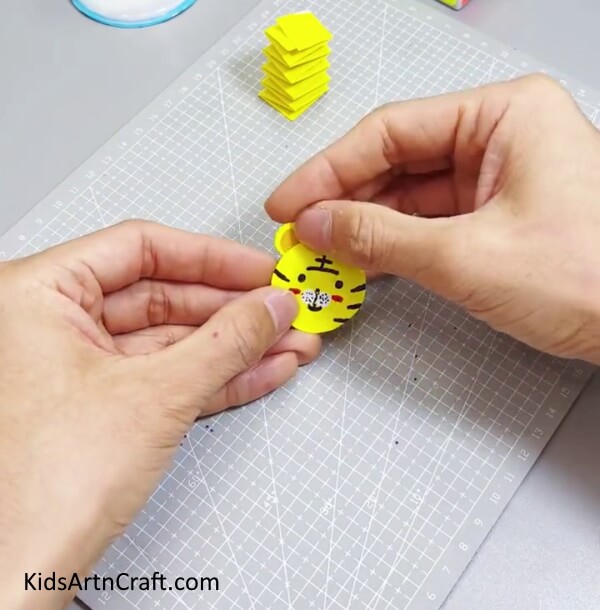

Make ears of your tiger by cutting out from yellow paper and pasting them from behind the face, use the yellow sketch pen to fill out the details of the ears.
Step 6: Pasting Tiger’s Face over Folded Strips
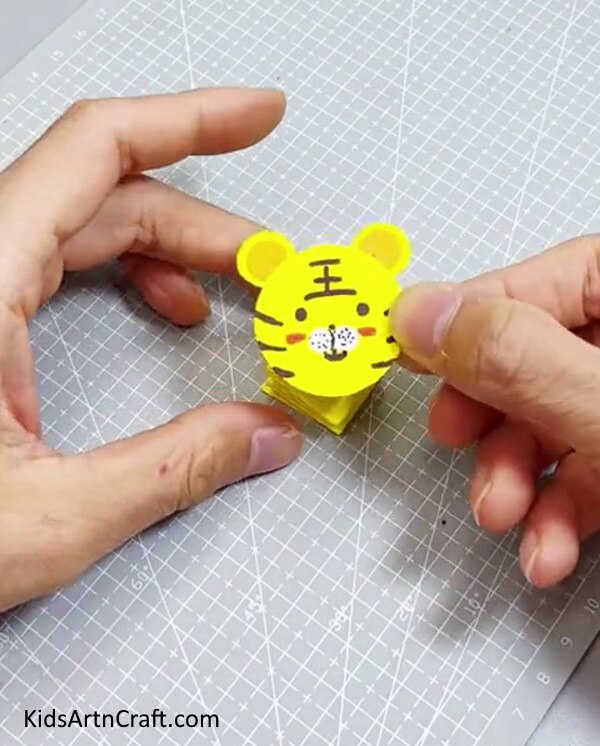

Paste the face of the tiger over the folded strips of L with glue.
Step 7: Making Hands And Legs Of Tiger
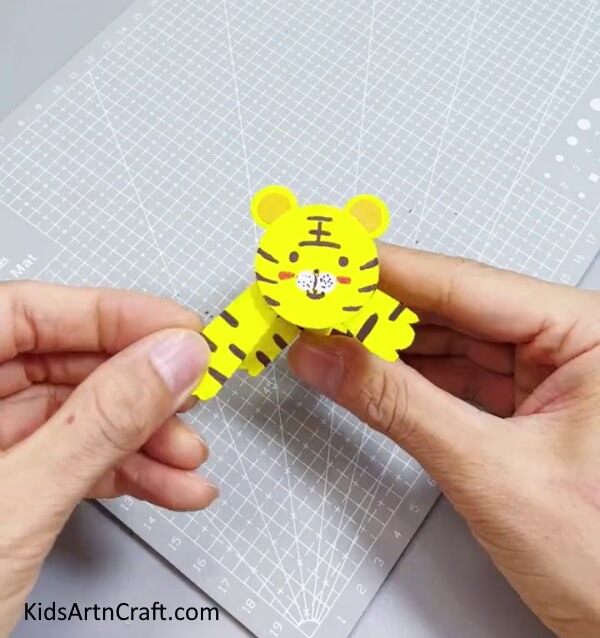

Cut out the hands and legs of the tiger from yellow paper and make a stripe pattern using a black marker. Paste the 2 hands on the top of folded strips and 2 legs at the bottom of the strips.
Your Cute Mini Tiger Craft Is Ready!
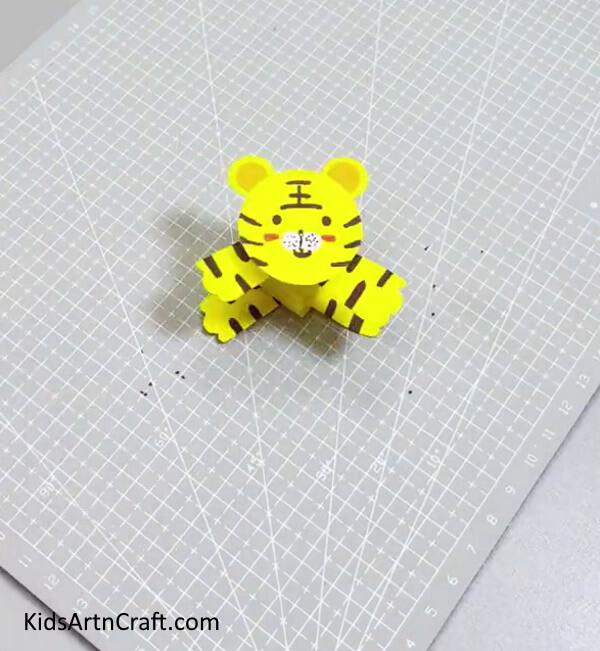

Congratulation! This cute mini tiger craft is an easy and fun way to get creative with your kids
FAQs Related To Tiger Craft From Paper Strips For Kids
1. What materials do I need to make a mini tiger craft from paper strips?
You will need paper strips in yellow color, scissors, glue, and markers.
2. How long does it take to make a mini tiger craft from paper strips?
Depending on the complexity of the design, it should take around 10 minutes to complete the craft.
3. Do I need any additional tools to make a mini tiger craft from paper strips?
No, you just need the materials mentioned above.
4. What is the best way to attach the paper strips to each other?
You can use glue or tape to attach the paper strips together.
5. What type of paper should I use for the mini tiger craft?
You can use any type of paper, as long as it is thin enough to be cut into paper strips.
6. How do I make the mini tiger’s eyes?
You can use a black marker to create the mini tiger’s eyes.
7. Is the mini tiger craft from paper strips suitable for young children?
Yes, the mini tiger craft from paper strips is suitable for children aged 4 and above.
8. Can I create different designs with the mini tiger craft from paper strips?
Yes, you can create different designs with the paper strips. You can also use different colors to create a variety of looks.
This cute mini tiger craft is a great way to bring out the creativity in your kids and has some fun at the same time! With just a few supplies and a few simple steps, you can make this adorable tiger craft in no time.
Follow us on Youtube for art and craft tutorials and much more.
More Articles from Kids Art & Craft
- Easy Frog Paper Craft For Kids Easy Tutorial
- Easy to Make Paper Crafts Video Tutorial for Kids
- Learn To Make Leaf Owl Easy Tutorial For Kids
- Easy Paper Folding Crafts Video Tutorial for Kids
- Recycled Plastic Bottle Dragon Craft Tutorial for Kids