Clay Crafts
Cute Mushroom Garden Decor Craft For Beginners

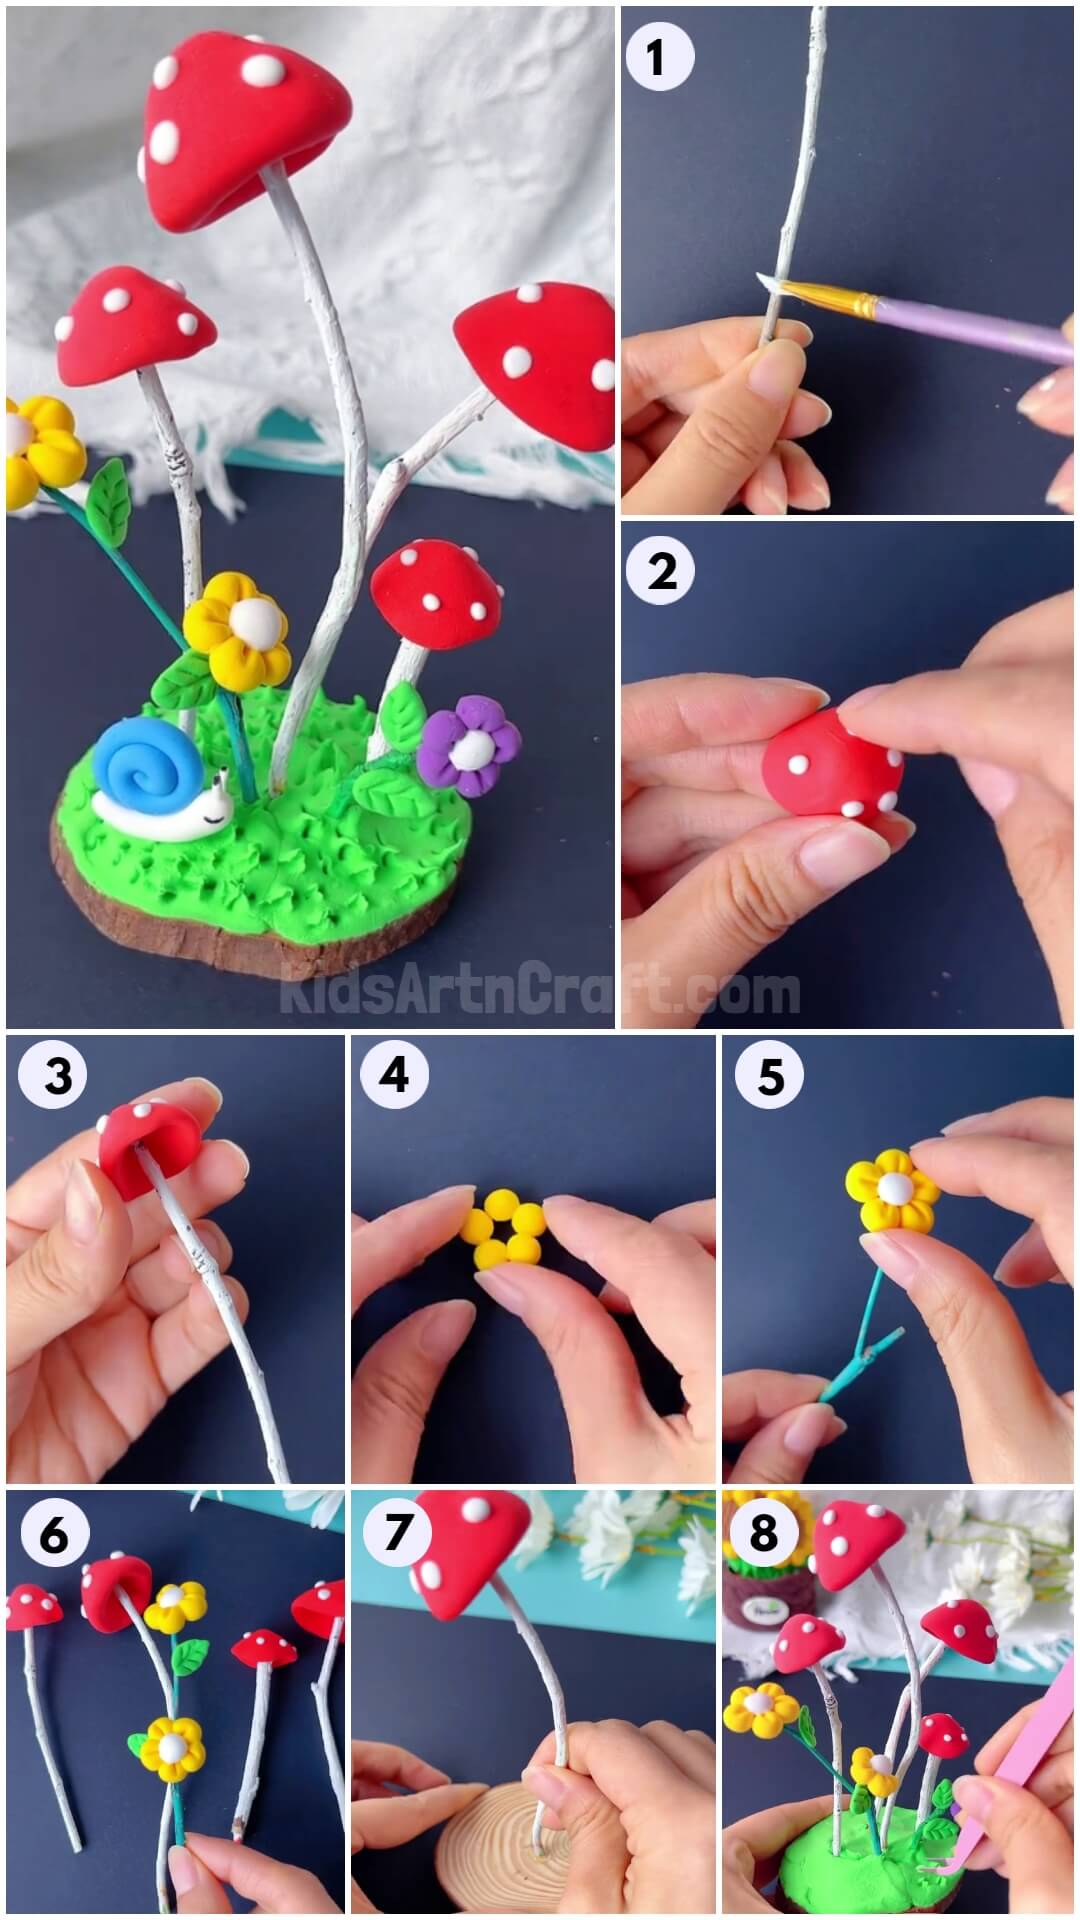
This guide will teach you how to craft a charming mushroom decoration for your garden. Follow the instructions to make a beautiful mushroom decoration and make your garden look more attractive!
Playing with clays is the One of the best memories of childhood. This craft is about creating Is cute mushroom garden with clay. This can be done by any schoolers from 3rd class or more. So let’s get started On this step-by-step Cute Mushroom Garden Decor Craft Tutorial.
Cute Mushroom Garden Decor Craft For Beginners

Read More: How to Make Worm Using Clay For Kids
Materials Required
- Wooden Slice
- Wooden stick
- Water paint
- Difference color clays
- Glue
Procedure
Step 1: Get Started Collecting The Materials
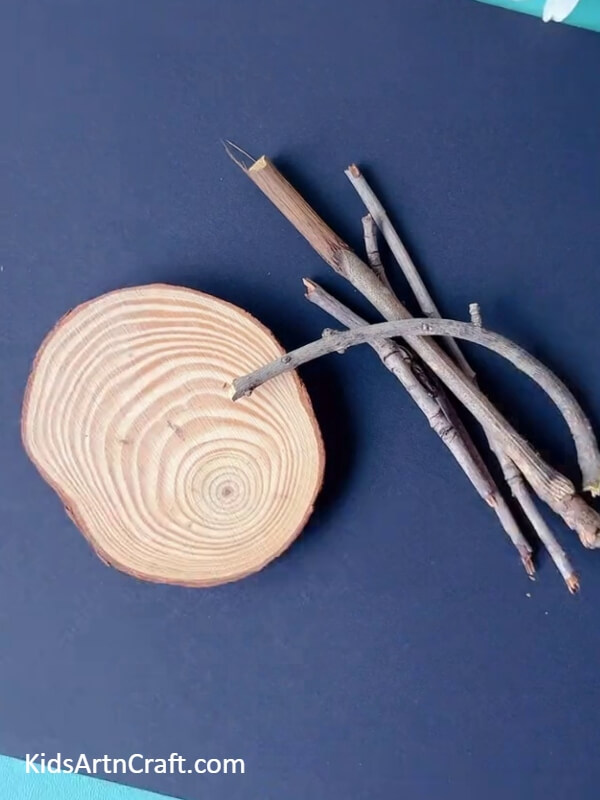

Let’s begin by collecting the Wooden Sticks and a Wooden Slice for the craft we are about to do.
Step 2: Painting The Sticks
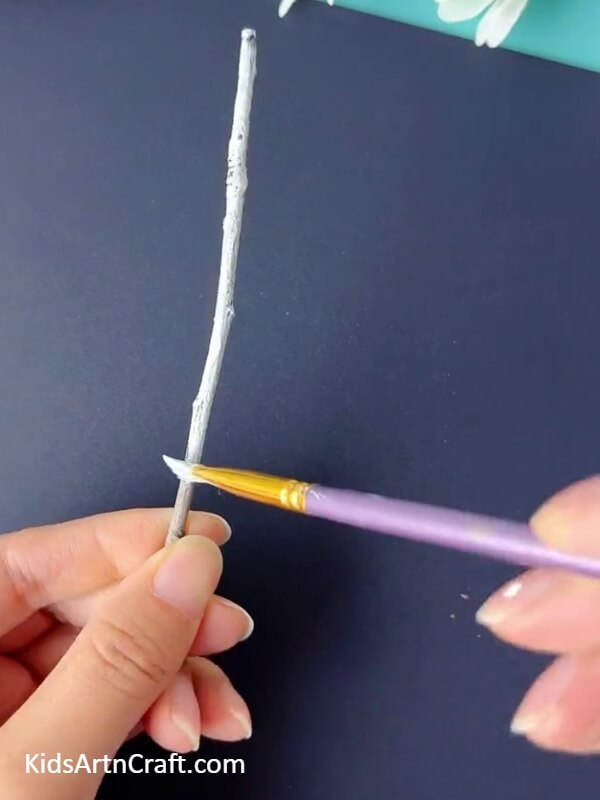
Start by painting the sticks in white and some in green, make sure to double coat the stick with painting to make the color pop-up. And let it dry.
Step 3: Preparing The Mushrooms

Start with some red clay, and mould it until you get it into a hat shape as shown in the picture. Prepare a couple of them.
Step 4: To Stick White Clay Balls To Form Mycelium

For the mushroom to look realistic or more real, make tiny balls with white clay as mycelium. And stick them on the top as shown in the picture.
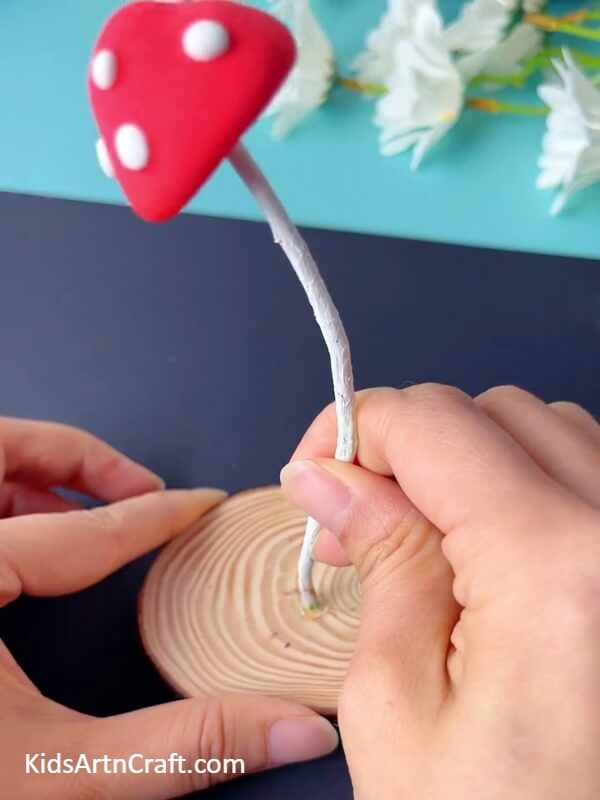
Step 5: Finish It Up By Gluing A Stick To The Head Of The Mushroom

Now, take one of the stick you painted earlier and stick it with glue inside the mushroom head as shown in the picture.
Step 6:Let’s Make Sunflowers Now
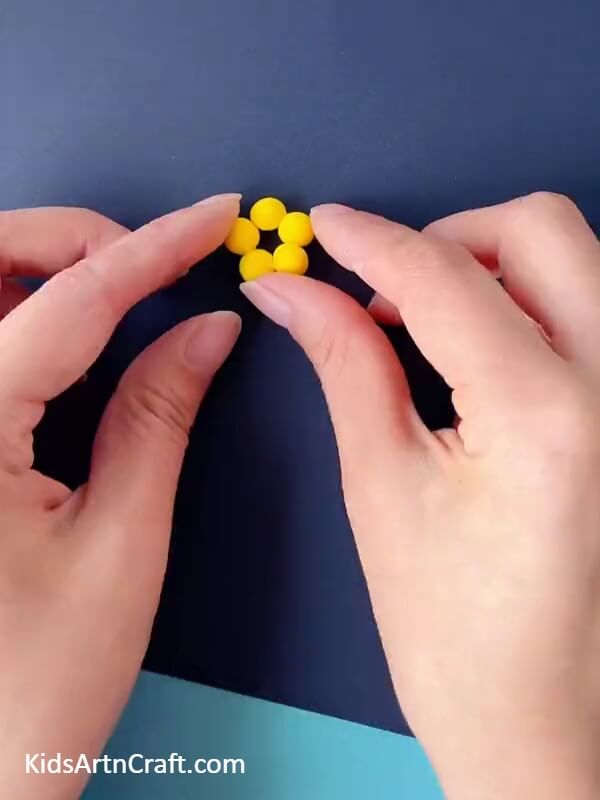
To make a sunflower, grab some Yellow clay and create tiny equal five balls of it and stick them together as in picture.
Step 7: Make It Look Realistic
Using a toothpick crave a line in the middle of each petals, to make it look realistic.
Step 8: Finish Up The Flower With Pistil And Stem
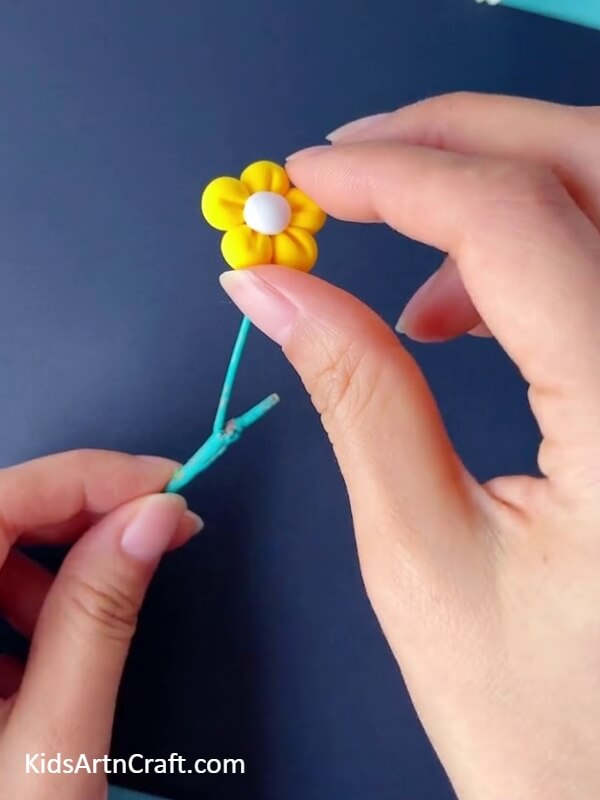
Stick a white or black tiny clay ball in the middle as a pistil and let it dry. Later, stick a wooden stick you painted earlier with green. And let it dry.
Step 9: Prepare Similar Mushrooms

Prepare as much as mushrooms and flower you want and stick them on a stick and let it dry for a while.
Step 10: Glue The Prepared Mushrooms On The Wooden Slice
Stick your prepared mushroom Sticks on the Wooden Slice using Hot glue or normal glue. Make sure it is firmly stick.
Step 11: Stick Clay On The Wooden Slice
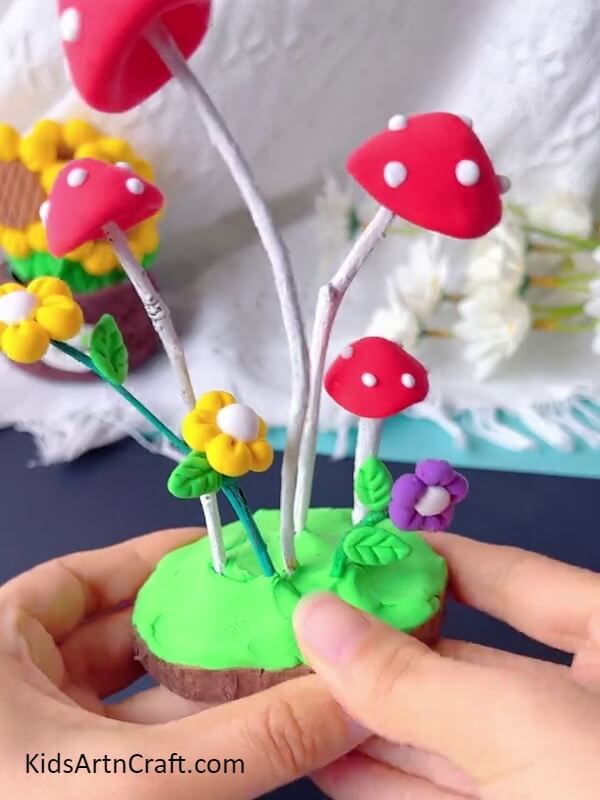
As shown in the picture stick some green clay on the remaining areas of the Wooden Slice as shown in the picture.
Step 12: Tweeze The Top Of The Green Clay
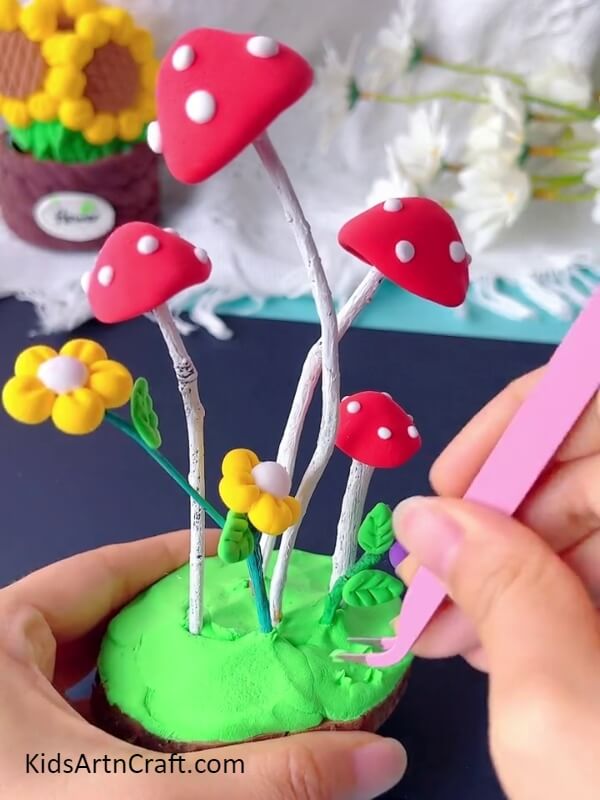
Tweeze the top of the clay for a grass effect. Continue tweezing until the whole green clay completely looks like grass.
Step 13:Add Any Extra Details Of You Choice
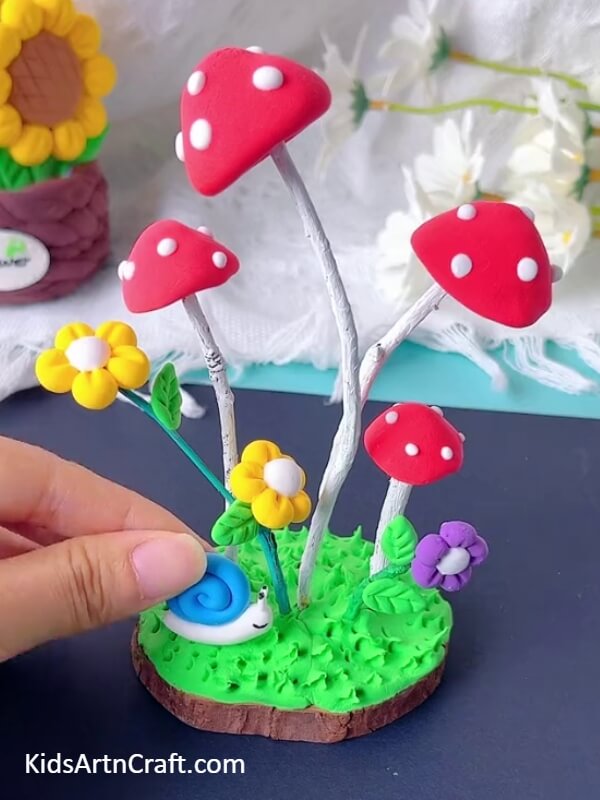
After tweezing you will get something like this. Add some details like a snail or butterflies made of clay.
Here Is Your Mushroom Clay Garden!!
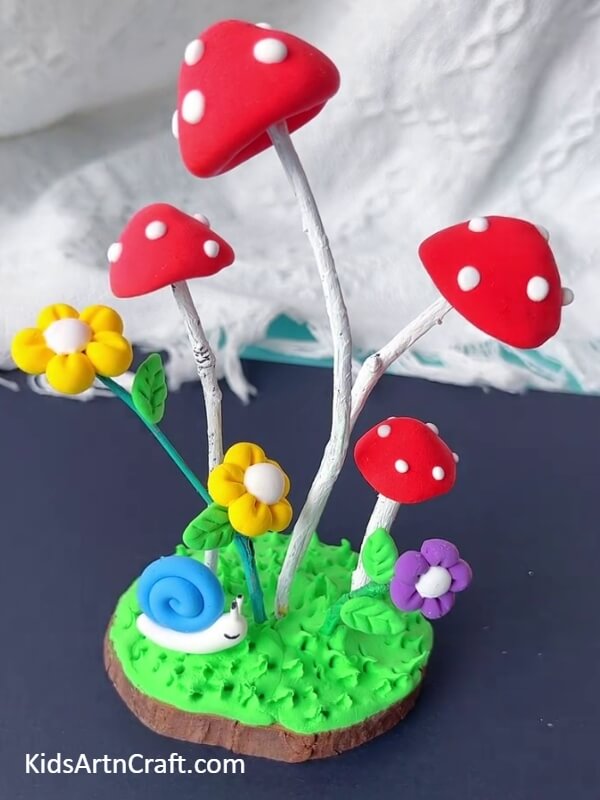
Add some details like leaves and finish it up as shown in the picture above.
Here you go! Your Cute Clay Garden of Mushrooms is ready to be displayed. Hope you enjoyed making this Beautiful Garden as much as we enjoyed in sharing. Do let us know your thoughts in the comments below. Make sure to check out our website.
Thank you for visiting our website
Follow us on Youtube for art and craft tutorials and much more.
More Articles from Kids Art & Craft
- DIY Clay Giraffe Step by Step Tutorial For Kids
- How to Make a Clay Bird Easy Artwork tutorial for kids
- DIY Miniature Clay Cake Craft Activities for Kids
- Mushroom Drawing Step by Step Tutorial For Kids
- How To Make Ostrich Easy Tutorial For Kids