Paper Crafts
Mini Origami Paper Holder Craft Step by Step Tutorial

This tutorial will be a guide for you to make an origami paper holder organizer craft which will be an inexpensive alternative for you!
Don’t purchase the expensive paper holder from the market! Instead, create one on your own! This step-by-step tutorial is on making an origami paper holder organizer craft in just the blink of an eye! Just with some easy folds and turns on a sheet of paper you will create this craft! It is budget-friendly and also a fun learning craft activity to do in the boring afternoon hours! Origami also helps to increase concentration, boost creativity, enhance patience, and many more! To get a hold of these benefits, let’s begin to make it with us!
Simple Mini Origami Paper Holder Craft

Read More: Easy Paper Origami 3D Apple Craft Tutorial For Kids
Materials Required
- Patterned Purple Origami Paper
Procedure
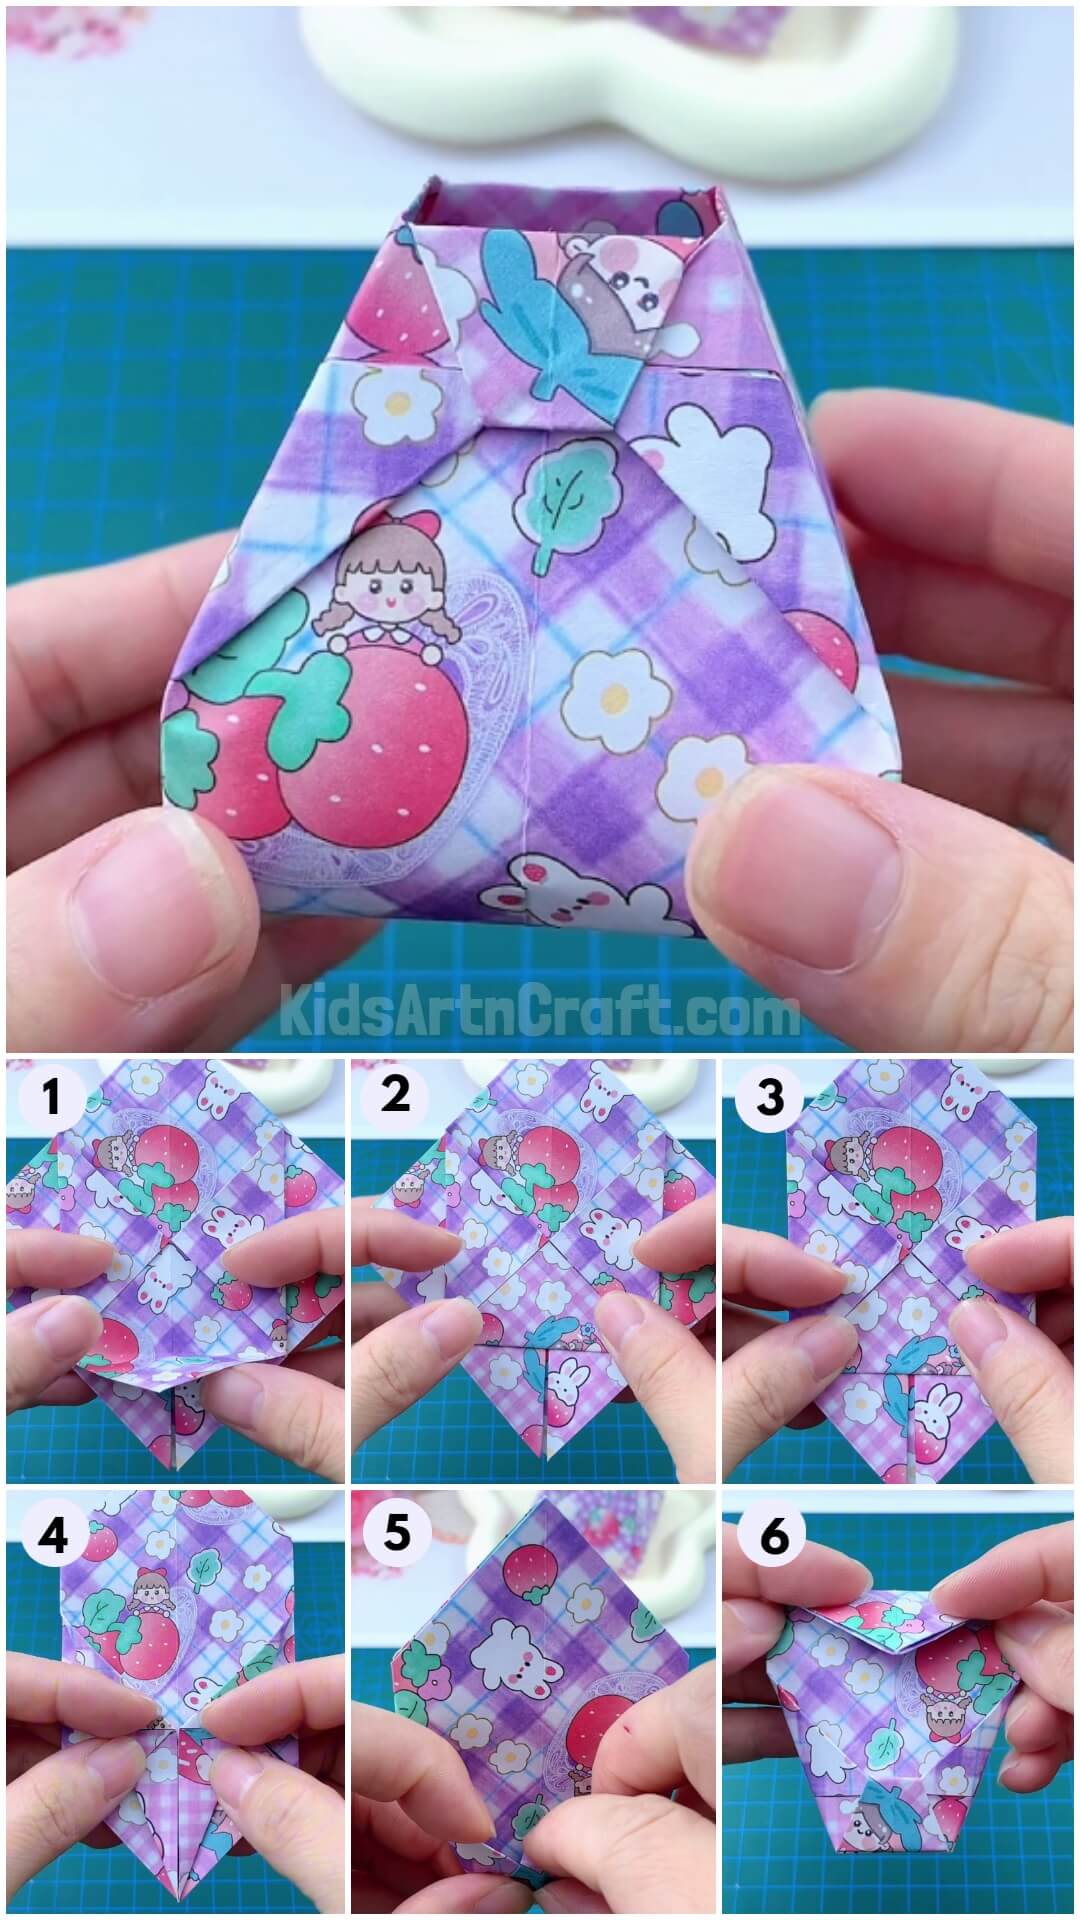
Step 1: Making ‘+’ And Diagonal Creases

Begin this craft by taking a patterned purple origami paper. Fold the sides of the paper over the opposite ones to make ‘+’ creases over it and unfold them. Flip the paper to the other side and fold the corners over the opposite ones to form diagonal creases and unfold them.
Step 2: Folding Along The Creases
Now, hold the paper from the ends of the horizontal ‘+’ crease and fold the paper along it, while pushing the diagonal creases inside to see a folded ‘+’ shape from the top. Now, fold the vertical upper and bottom folds of the ‘+’ to the left and right respectively to overlap them and form a diamond shape.
Step 3: Folding The Side Corners Of The Diamond
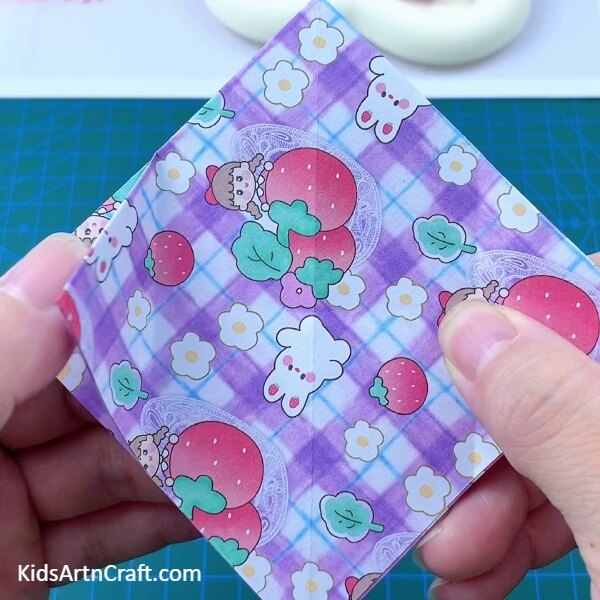
Fold the left and right corners of the diamond to the middle.
Step 4: Folding The Bottom Corner
Fold the bottom corner of the diamond to the middle.
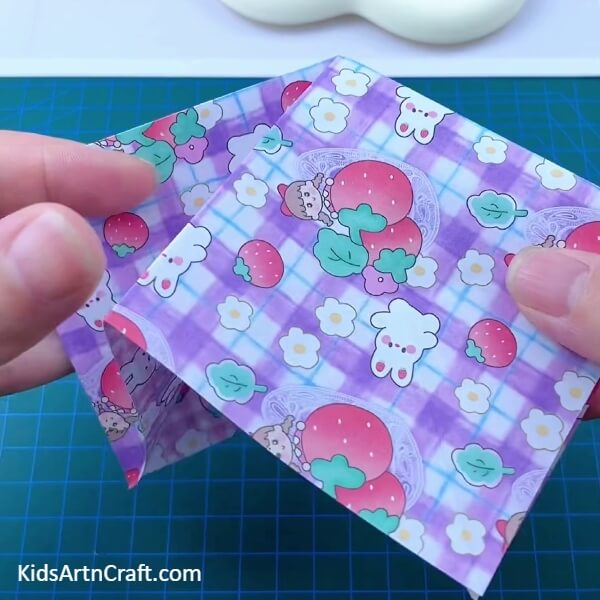
Step 5: Flipping And Repeating
Flip the diamond to the other side and again fold the left and right corners of the diamond to the middle.
Step 6: Folding The Bottom Corner
Again, fold the bottom corner of the diamond. Your figure is converted into a hexagon.
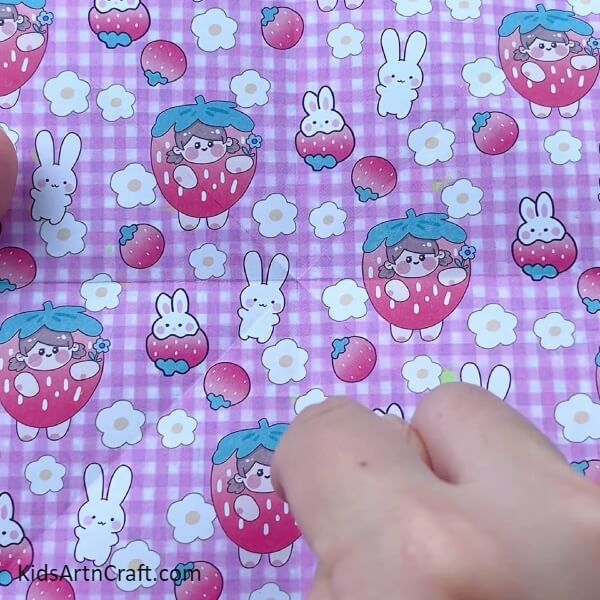
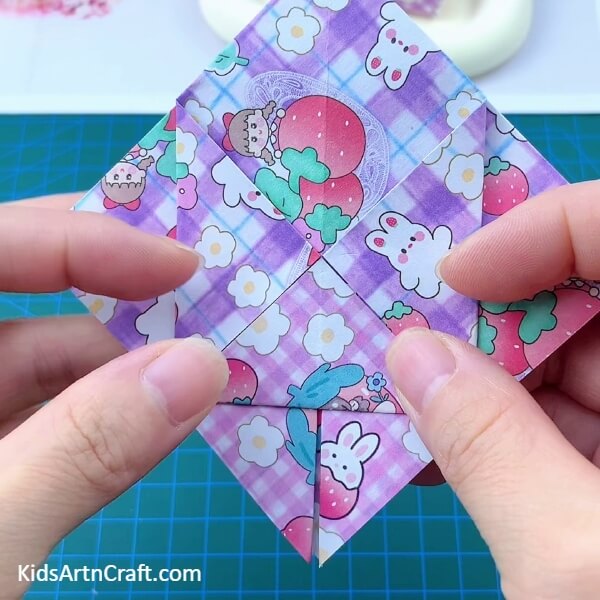
Step 7: Folding The Corners Of The Hexagon
You will observe a partition at the bottom of the hexagon below the folded bottom corners. Open up the adjacent paper of the hexagon from the side along the center crease to see a hexagon without partition. Flip the paper and repeat the same to see another hexagon without partition.
Now, fold the bottom left and right corners of the hexagon to the middle crease. You will see a pointed shape with a partition.
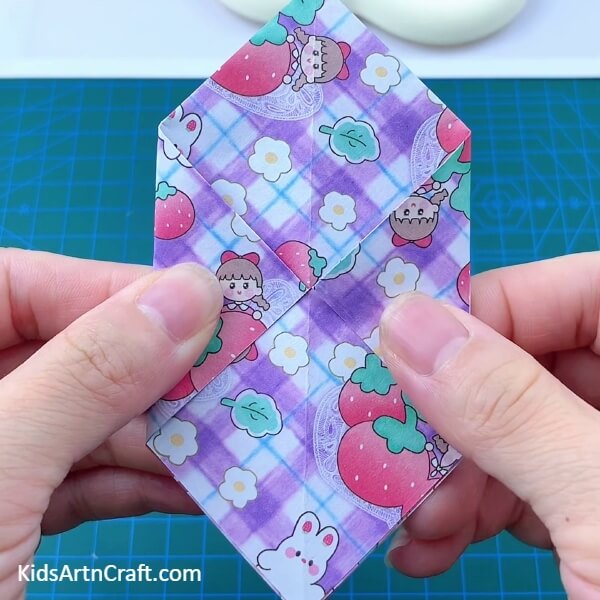
Step 8: Folding The Pointed End
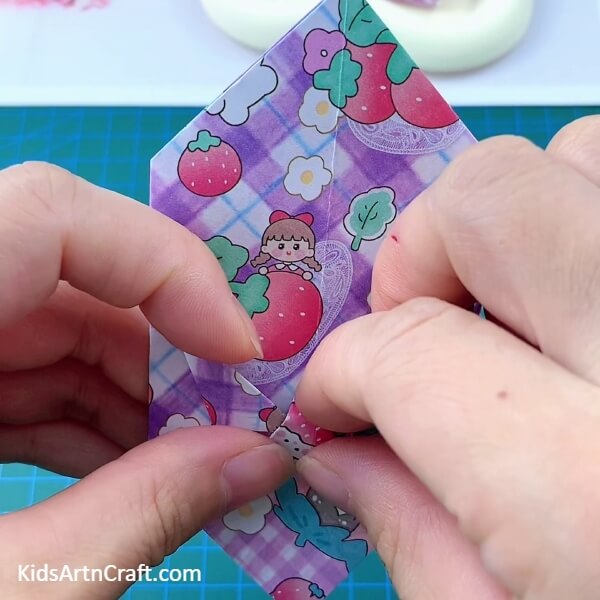
Fold the end of the pointed shape over the corner folds and again fold the very end of it to insert it into the corner folds.
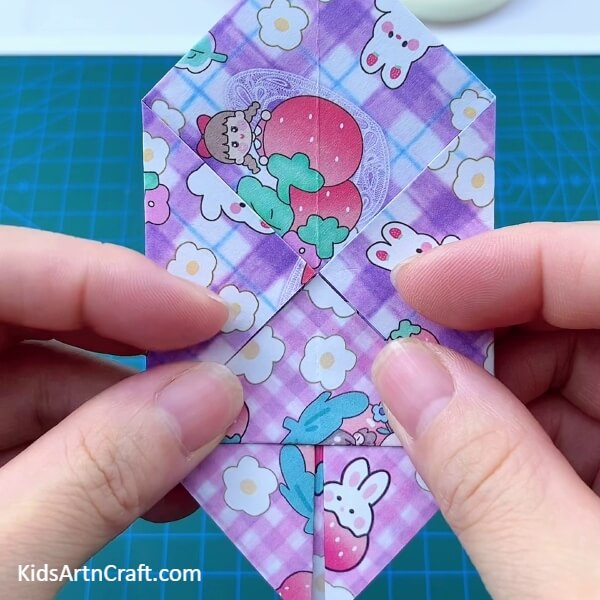
Step 9: Flipping And Repeating

Flip the hexagon to the other side and again fold the left and right bottom corners of the hexagon to the middle crease and then repeat the previous step above. Your hexagon is now converted into a pentagon.
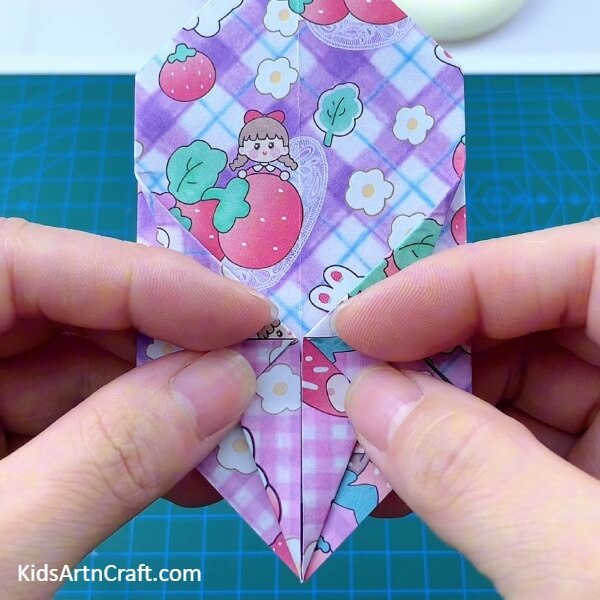
Step 10: Folding The Top Corner Of The Pentagon
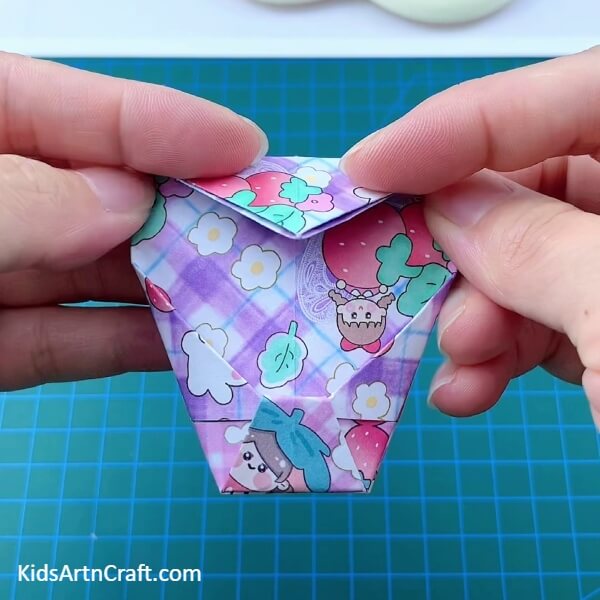
Fold the top corner of the pentagon as shown in the image and make a horizontal crease and unfold again.
Step 11: Giving The Figure A 3D Shape
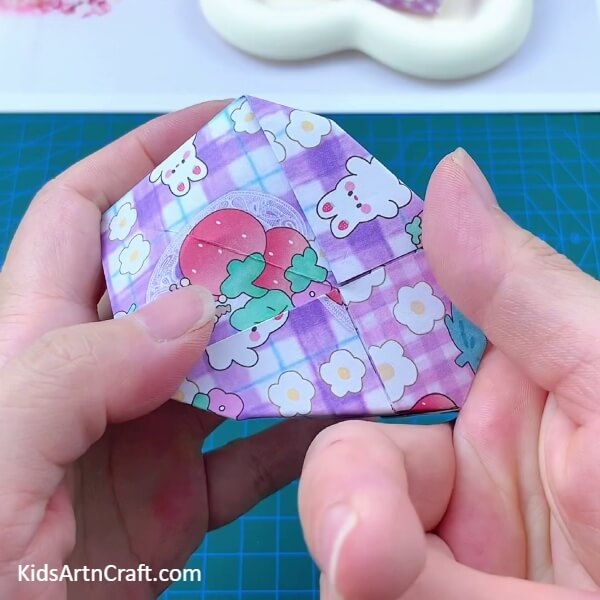
Hold up your figure and turn it the see the bottom, you will see an opening. Insert your fingers in the opening and push out the figure to give it a 3D shape.
Finally! Your Paper Origami Mini Holder Is Ready!
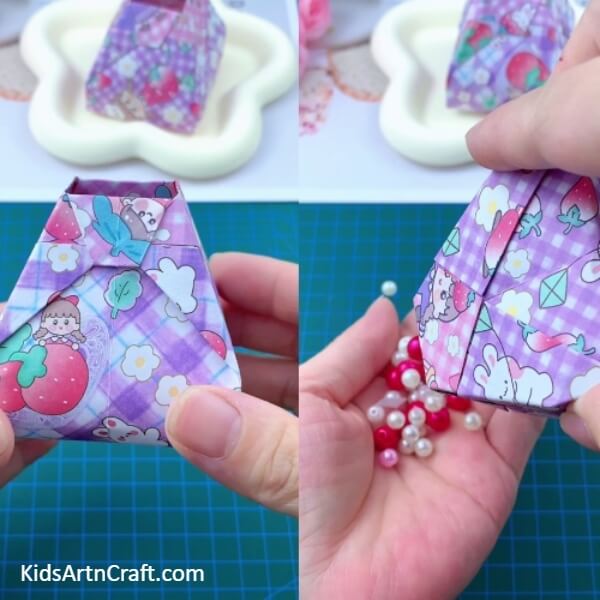
Taadaa! This is the final look of your paper origami holder craft!
Now you can put your craft pearls or anything tiny into the holder and decorate it in your room! The messy tiny materials will be organized in it surely! You can make more of these holders of various colors and textured papers to organize different types of items in different holders! In this way, your things will be organized and you don’t have to spend money on purchasing the small organizers! And the best part is, when they are not in use, you can fold them again along the creases and put them safely until you require them again!
Hope you liked the article! Do give it a like and share it with your buddies! Also, drop our feedback and craft journey in the comments section below! We would love to hear from you!
Follow us on YouTube for art and craft tutorials and much more.
More Articles from Kids Art & Craft
- Cute Mini Paper Origami Bags Craft Step-by-Step Tutorial For kids
- Love Paper Envelop Origami Step-by-Step Tutorial
- DIY Easy Origami Paper Shark Toy Tutorial For Kids
- DIY Origami Cocktail Umbrella Tutorial For Beginners
- How to Make Origami Rose Easy Tutorial For Beginners