Paper Crafts
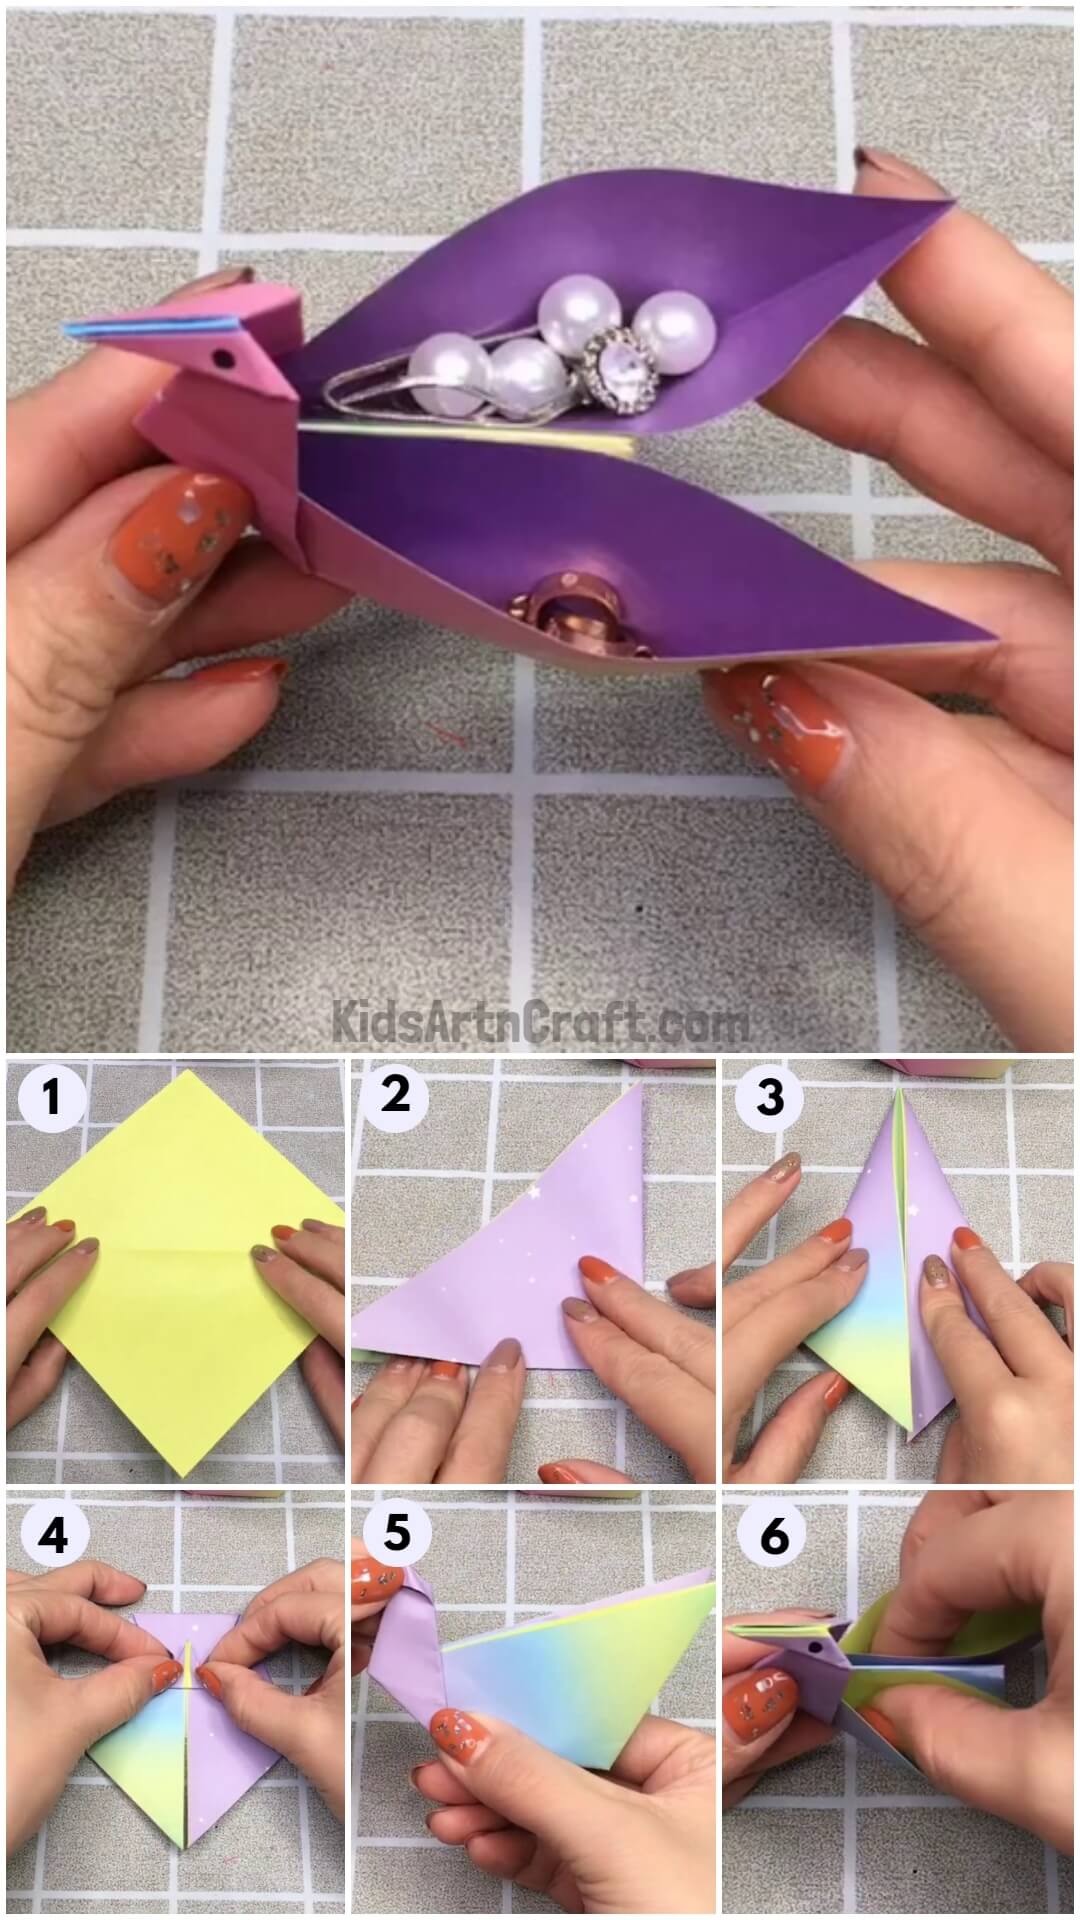
Easy To Make Origami Paper Swan Craft For Kids – Step By Step Tutorial

This simple origami paper swan craft is perfect for kids! Step-by-step instructions make it easy for children to craft a beautiful swan with just a few folds and cuts. Great for a fun art project or classroom activity!
Origami is a fun and creative craft that everyone can enjoy, especially kids! It’s a great way to develop fine motor skills, improve patience, and foster creativity. This easy origami paper swan craft for kids is a great place to start for those who are new to origami. With just a few simple steps, you can create a beautiful paper swan in no time! So, let’s get started and have some fun!
Easy & Fun To Make Origami Paper Swan Craft For Kids

Read More: Origami Minecraft Paper Craft Ideas for Kids
Material Used:
- Rainbow Craft papers
- Black marker
Instructions:-
Step 1: Fold The Paper Diagonally With The Print Face Downwards
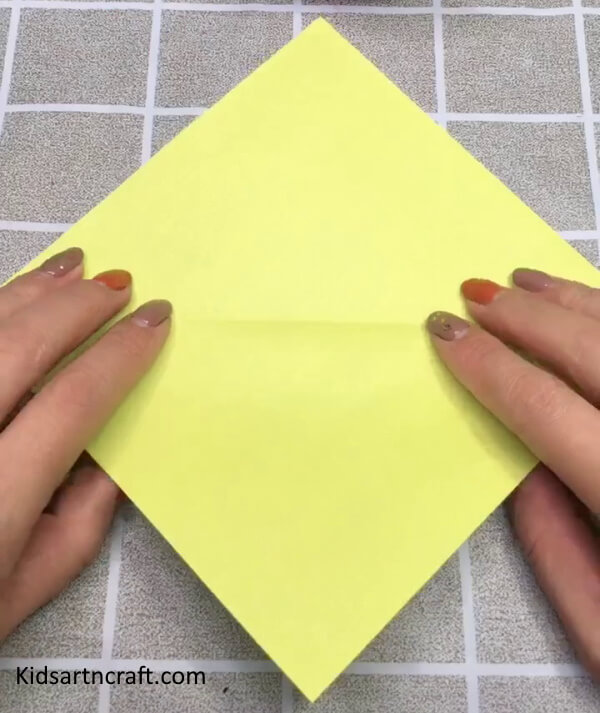

Let’s start making our origami paper swan by taking a beautiful rainbow printed paper. Cut a square out of it and flip it over with the non-printed face upwards. Now fold the square diagonally and crease it. Unfold it and you will see a creased line in the middle.
Step 2: Folding The Paper Into Triangle
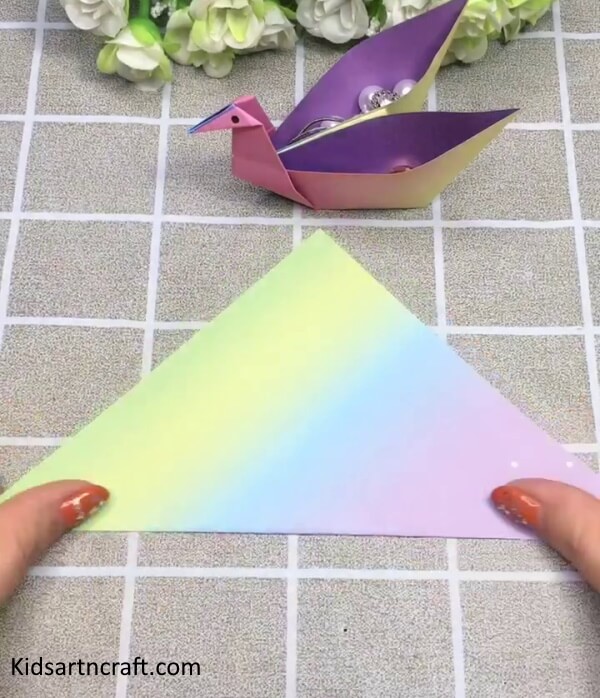

Now fold the paper upwards making a triangle by joining the edges.
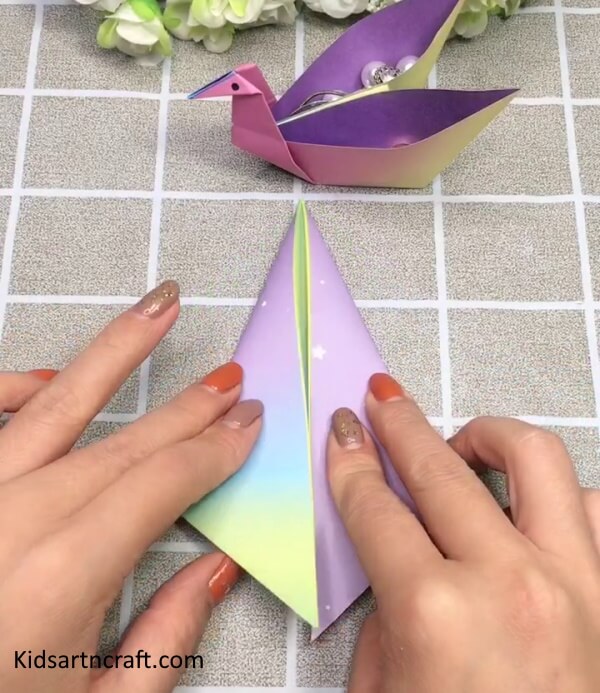
Step 3: Folding The Triangle From The Right Side To Make Smaller Triangle
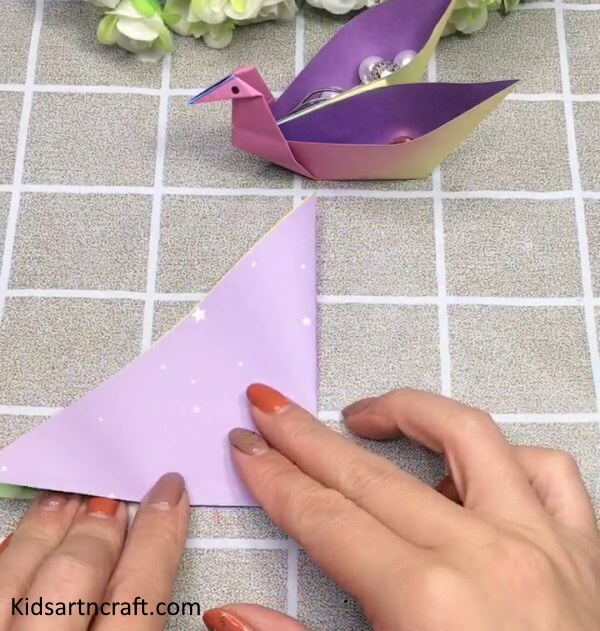

Now grab the right edge of the triangle and fold it over, meeting the right edge to the left edge making a smaller triangle. Crease it well!
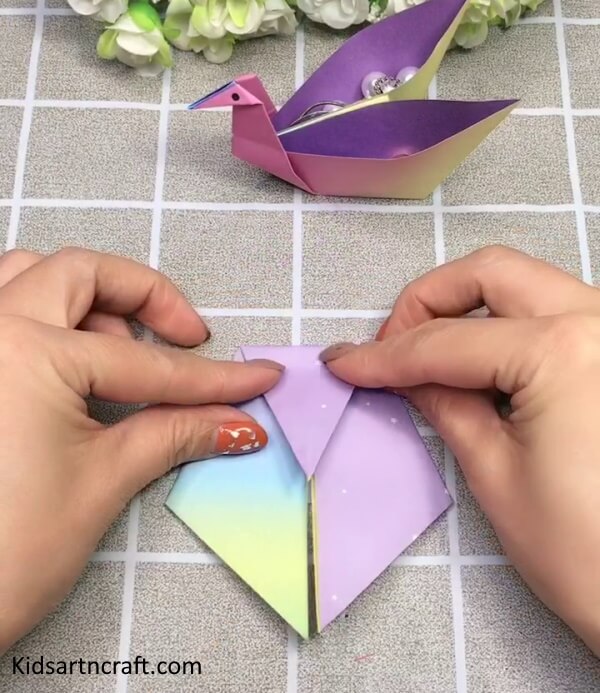
Step 4: Folding The Edges Downwards

Now fold the right and left edges downwards along the center of the triangle as shown in the image.
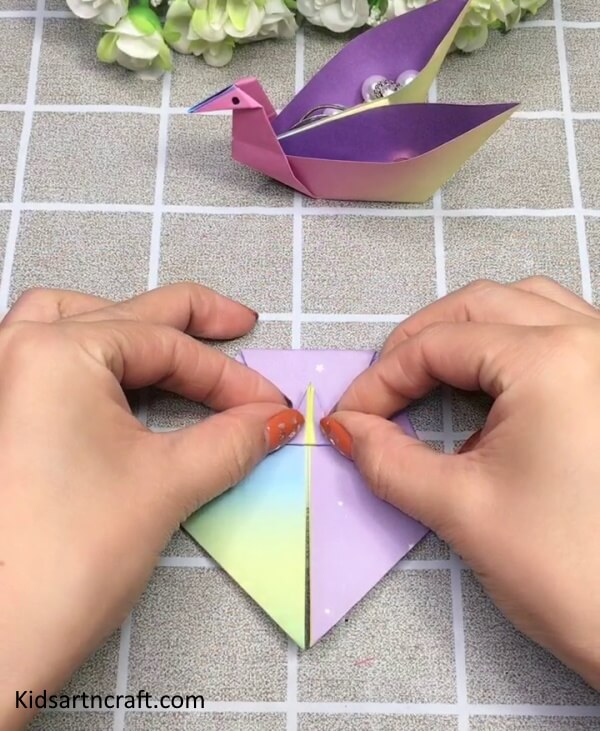
Step 5: Folding The Top Edge Downwards
Now grab the top edge and fold it downwards making a small triangle and creasing it.
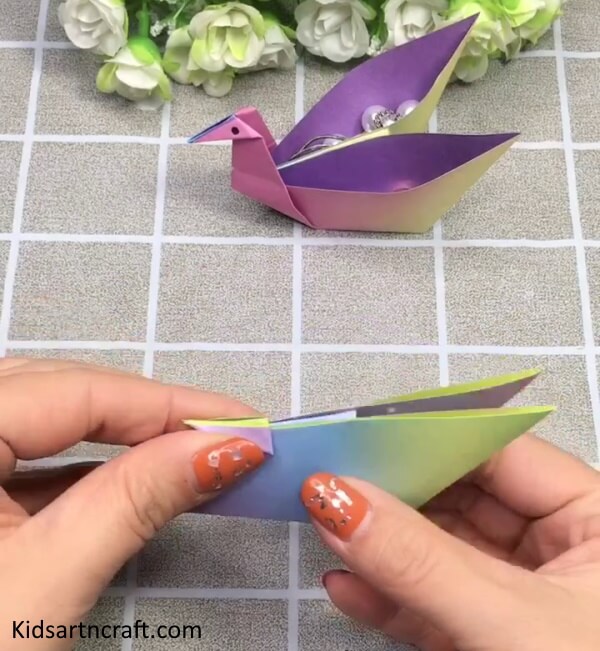
Step 6: Folding The Triangle Again Upwards To Make a Smaller Triangle

Now grab the edge of the small triangle we made on the top and fold it upwards bringing the inside portion up and making a small triangle. This will be the head of the swan.
Step 7: Folding The Flaps To Make The Body

Now hold the paper in hand and fold the two flaps upwards by grabbing the front top edge with your fingers. Stick the flaps behind the top edge as shown in the image.
Step 8: Making The Neck Of The Swan By Folding The Front Edges
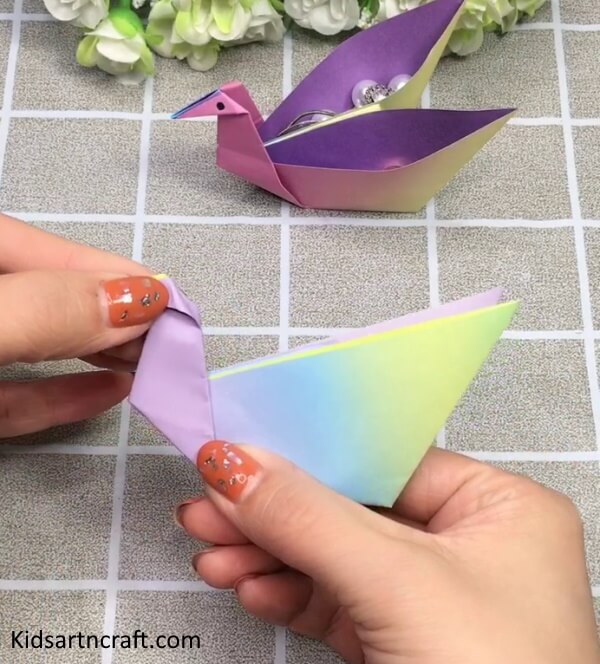

Now crease the front part upwards along the flaps making the neck of the swan.
Step 9: Adding Details To The Swan
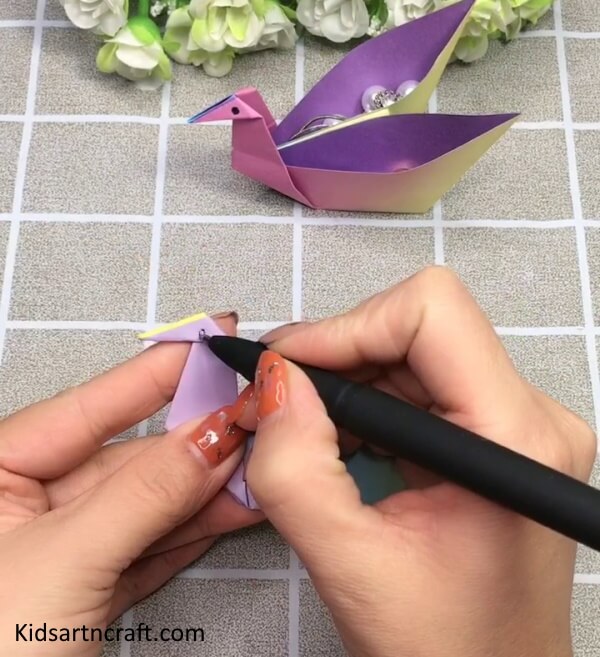

Now grab the black marker and make a small dot on the head of the swan we made to add eye detail.
Step 10: Opening The Flaps To Make Pockets
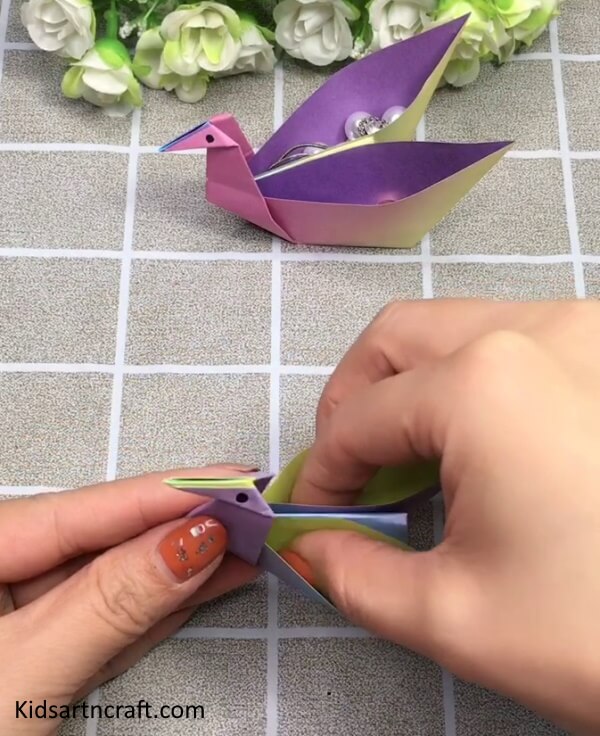

Now with the help of the fingers open the flaps to make pockets so that it can be used for keeping small accessories.
Final Step: “Diy Origami Paper Swan Craft For Kids- Step-by-step Tutorial For Kids”
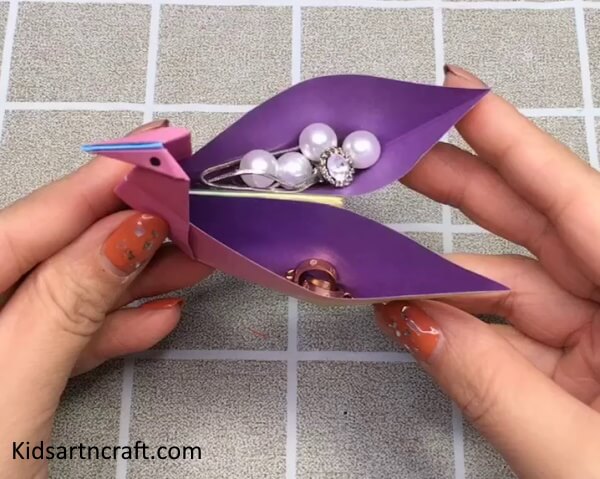

Voila! The DIY origami Paper swan is ready! This Origami Paper Craft Swan is a fun and rewarding craft activity for kids of all ages. Not only does it improve their hand-eye coordination and fine motor skills, but it also promotes creativity and patience. Once completed, this beautiful swan can be used as a decorative piece, or even better, as a storage solution for small accessories such as jewelry, hairpins, or office supplies. Its elegant and practical design makes it a versatile addition to any room, adding a touch of whimsy and charm to your decor.
So grab some paper, fold it away, and enjoy the magic of the art of origami!
FAQs
What materials are needed to make an origami paper swan?
You will need a square piece of paper, scissors and glue.
How do I fold the paper to make an origami paper swan?
Start by folding the paper in half diagonally and then unfold. Make two mountain folds and two valley folds to form a kite shape. Then, fold the corners of the paper into the center of the kite shape and unfold. Finally, fold the paper into a triangle and unfold.
How do I finish the origami paper swan?
Once the paper is folded into a triangle, use scissors to make two small cuts at the top of the triangle. Then, fold the two cuts inwards and glue them together to form the head of the swan.
How do I make the wings of the origami paper swan?
Fold the two sides of the triangle inwards and then fold the edges of the triangle up to make the wings. Glue the wings together and the origami paper swan is complete.
Can I use any type of paper to make the swan?
Yes, any type of paper will work to make the origami paper swan.
This Easy To Make Origami Paper Swan Craft For Kids is a great activity for children to explore their creative side and have a fun time making something beautiful.
Follow us on Youtube for art and craft tutorials and much more.
More Articles from Kids Art & Craft
- Fruit Craft For Kids Using Leaves
- 3D Construction Paper Craft Ideas
- Easy & Simple Handprint Dog Painting For Kids
- Simple Paper Crab Craft – Step By Step Tutorial
- Felt Angel Ornaments Ideas