Kids Activities
Paper Clock Craft for Kids Step by Step Tutorial

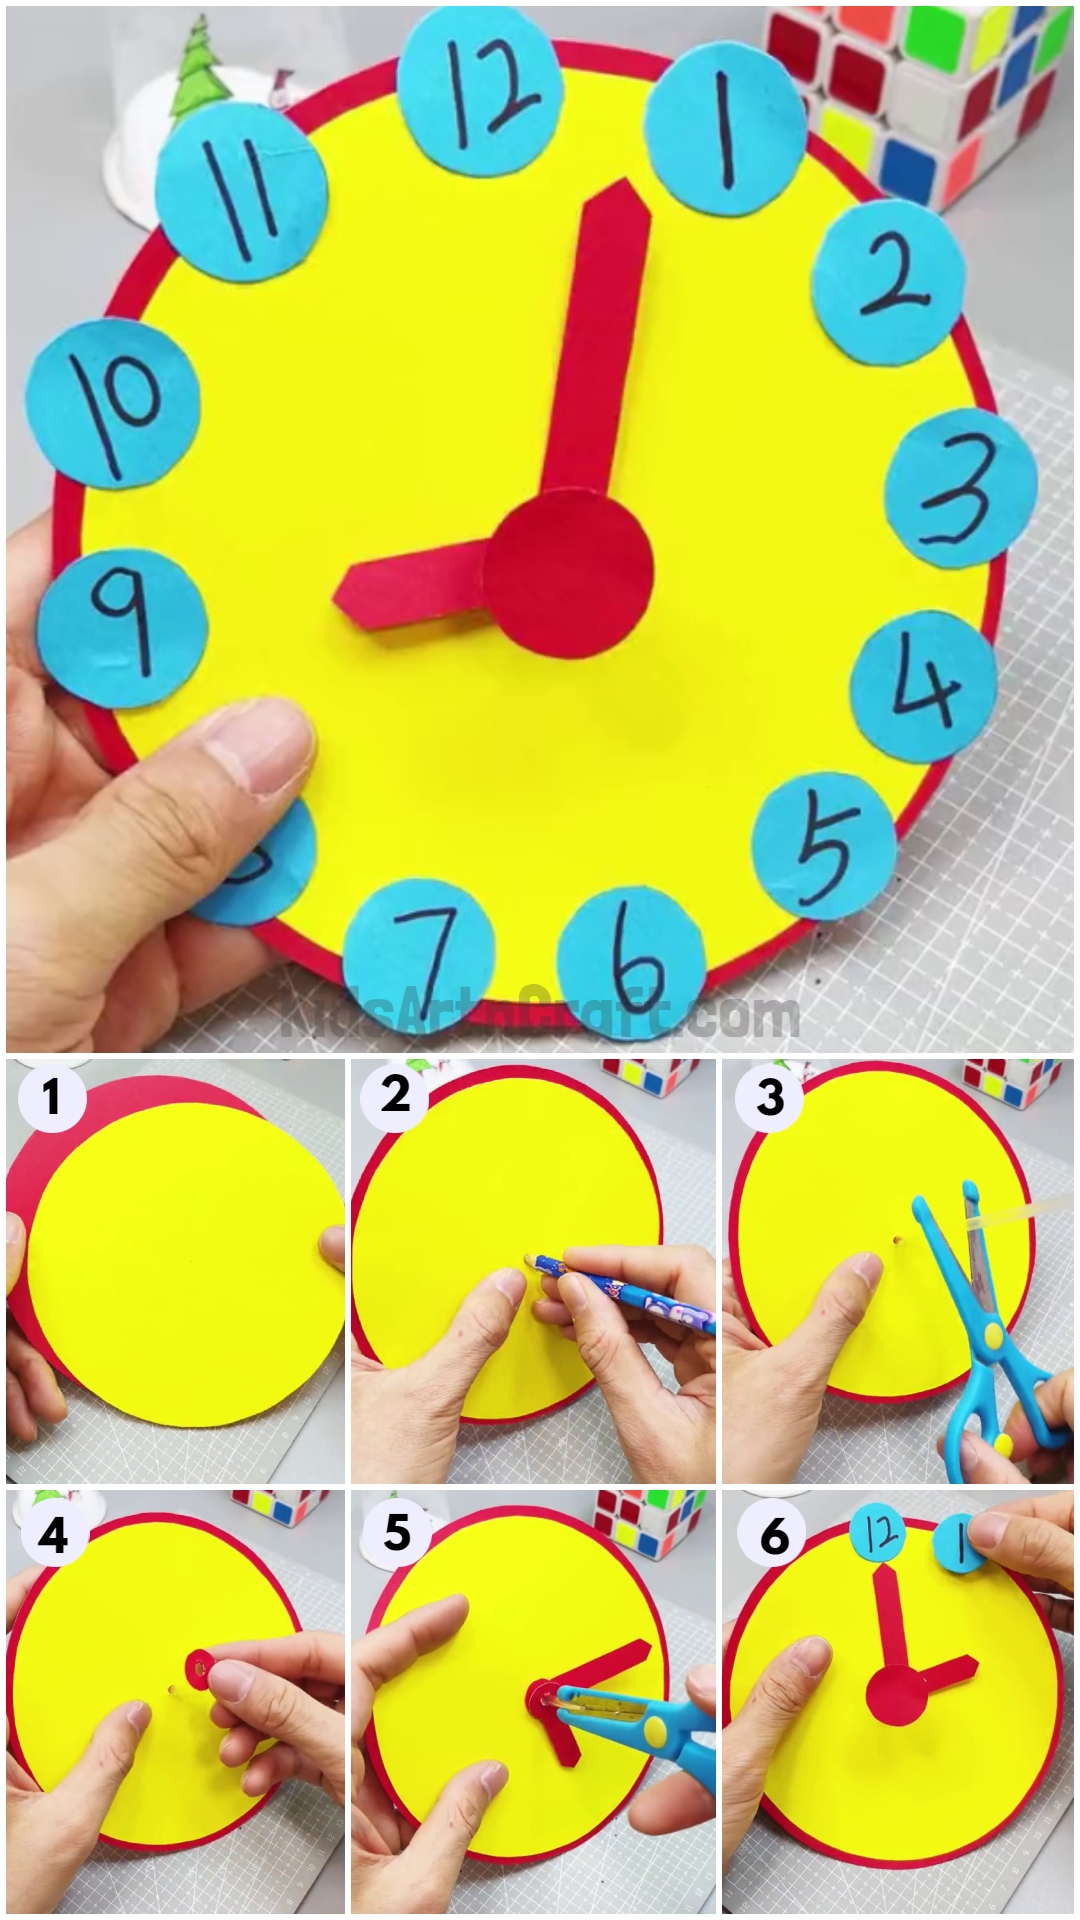
This tutorial will teach kids how to make an eye-catching paper clock craft. Step-by-step instructions and illustrations make it easy to follow along and create a unique and fun time-telling decoration for any room.
Welcome to this fun and easy paper clock craft tutorial! This tutorial is perfect for anyone looking to create a unique and personal gift, or simply add a bit of décor to their home. With the help of this tutorial, you can create a stunning paper clock with step-by-step instructions. From cutting out the paper pieces to assembling the clock, this tutorial will help you create a beautiful piece of art in no time. So let’s get crafting!
Adorable Paper Clock Craft Tutorial With Step by Step Instructions

Read More: Beautiful Paper Card Crafts Video Tutorial for Kids
Materials Required
- Colored Paper ( Red, Yellow, Blue)
- Black marker
- Straw
- Glue
- Tape
- Scissors
Procedure
Step 1: Cutting Out A Red Circle


Let’s start this adorable craft by taking a piece of red-colored paper and cutting it down into a circle.
Step 2: Cutting Out A Yellow Circle

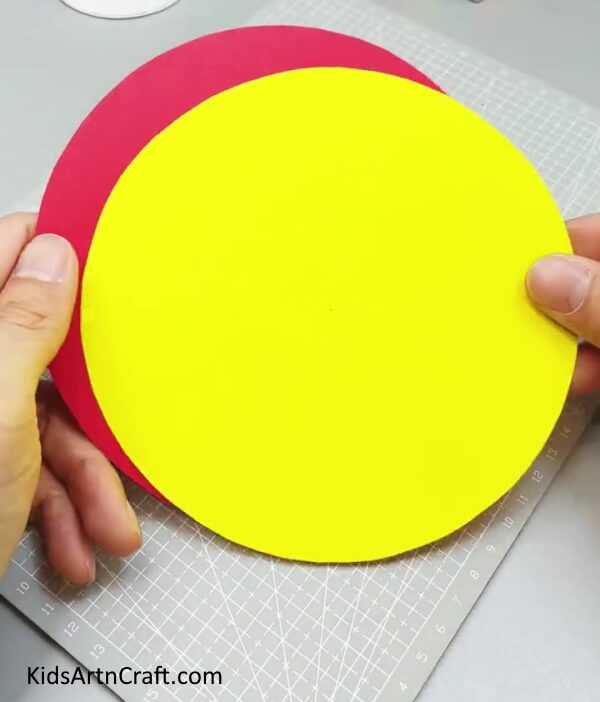
Cut out a yellow-colored circle slightly smaller than the red one. Then Stick it over the red one in the middle to make a clock.
Step 3: Making A Hole In Between The Circle

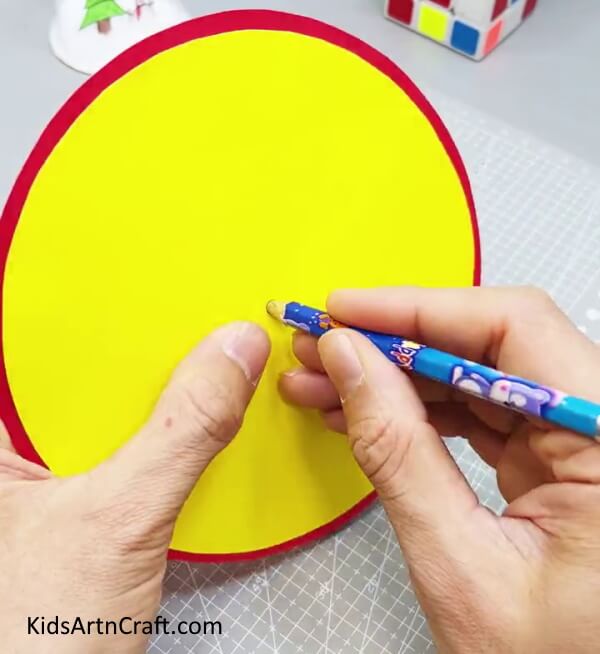
Take a pencil to make a hole in between the clock.
Step 4: Putting A Straw In The Hole

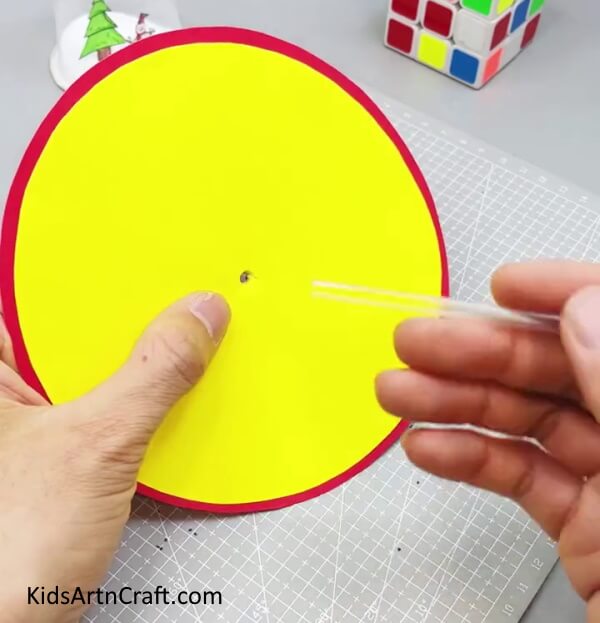
Put a straw inside the hole.
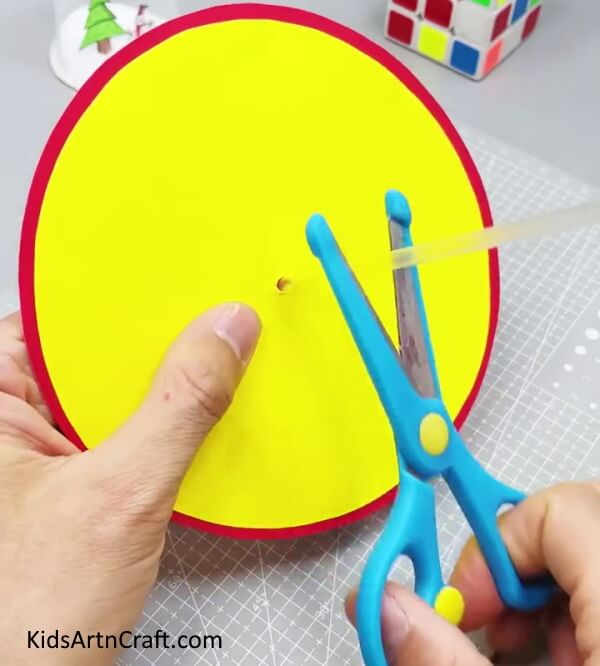
Step 5: Cutting The Straw From Behind

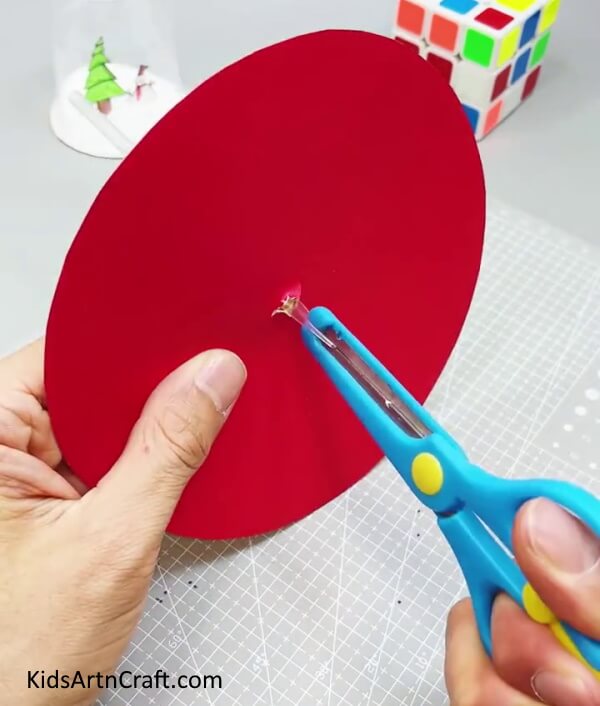
With scissors, cut the end of the straw in two from the middle to the back of the clock.
Step 6: Pasting The Ends Of The Straw

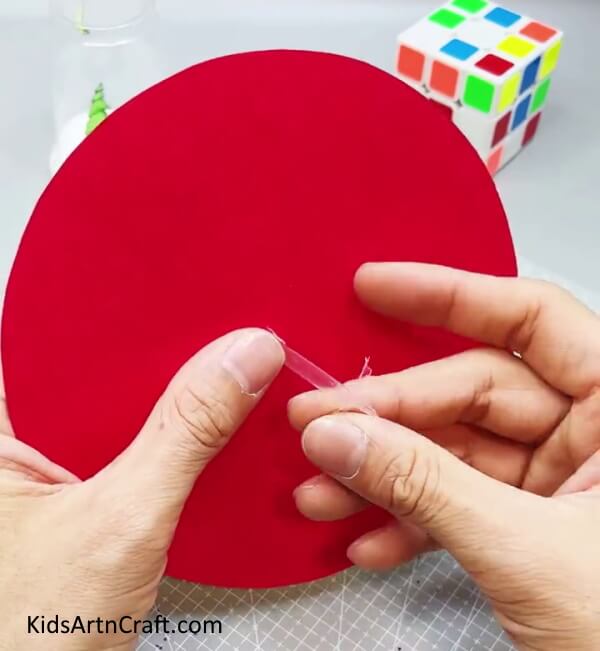
Pasting both ends of the straw with tape to the clock.
Step 7: Sealing The Straw Strands With A Circle

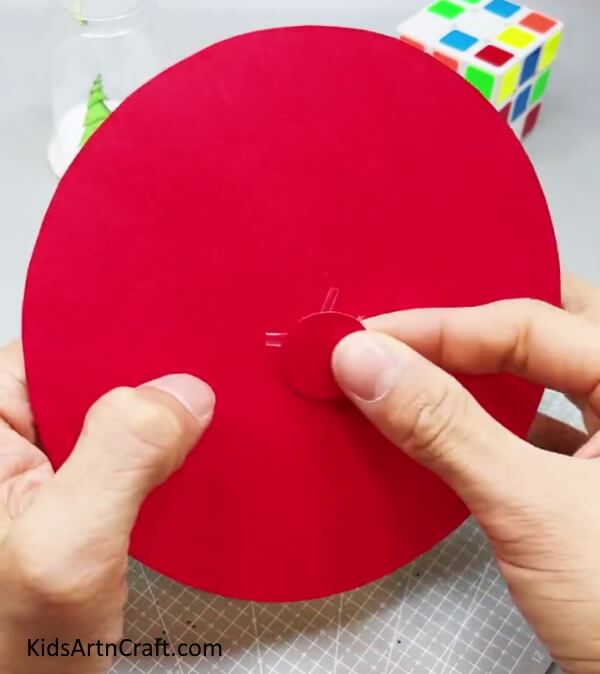
Seal the straw strands in the back of the clock by pasting a red small circle over it.
Step 8: Applying Tape Over The Seal

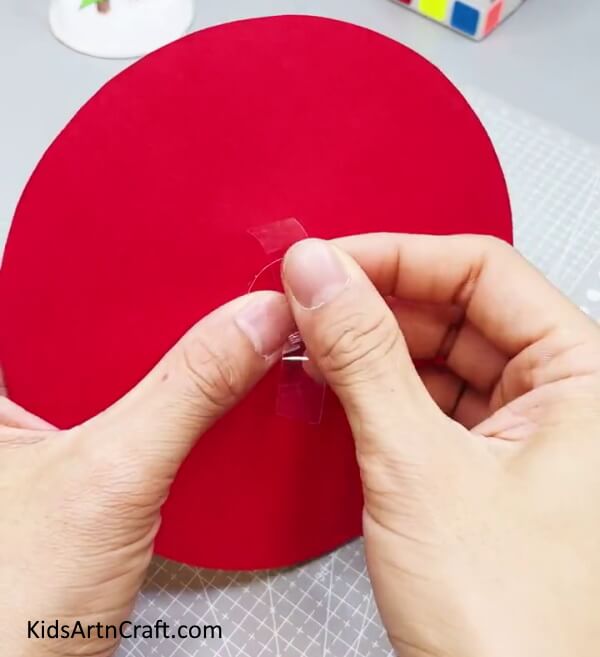
Apply tape over the sealed red circle to secure it.
Step 9: Cutting The Straw From The Front

Cut the straw small from the front of the clock.
Step 10: Making Hands Of The Clock


Cut out 2 hands of the clock in a way having a circle, in the end, having an arrow. Make holes between both circles and push them inside the straw.
Step 11: Cutting The Straw From The Mid

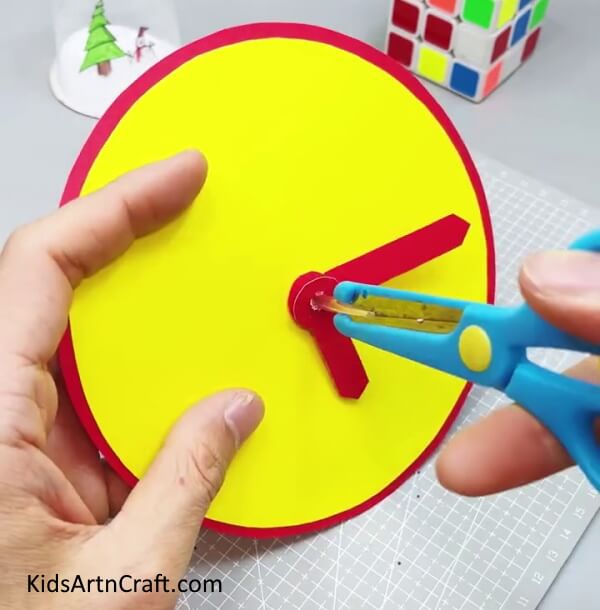
Cut the straw from mid just like before and paste the strands with tape.
Step 12: Sealing The Strands With A Red Circle

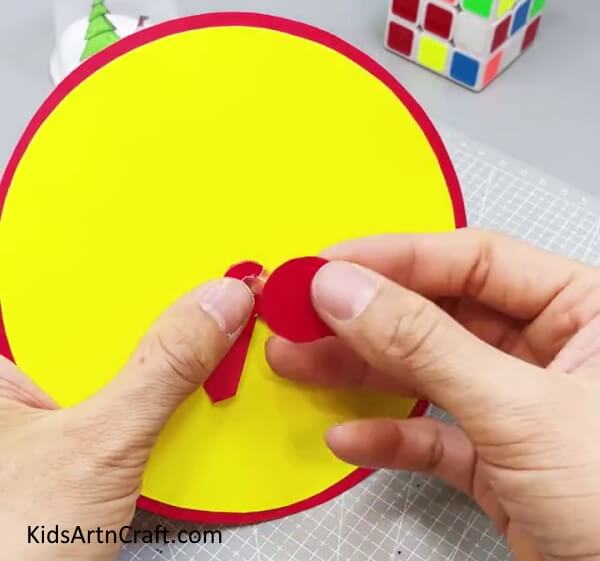
Again seal the strands by pasting a red cut-out circle.
Step 13: Pasting Numbers Of The Clock.

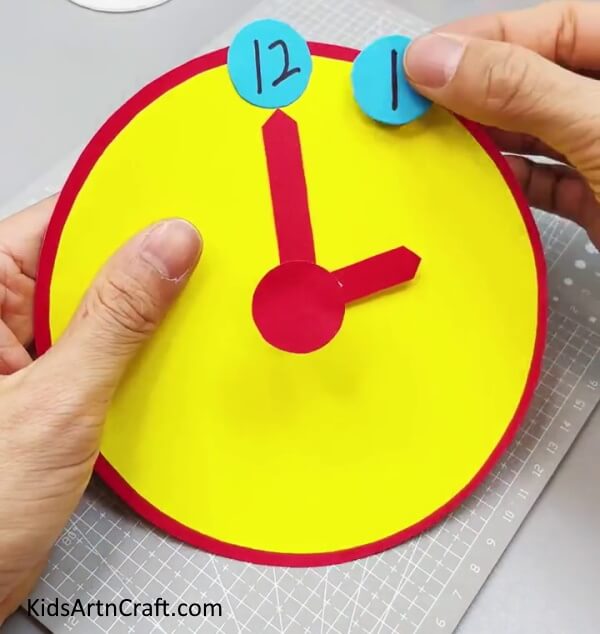
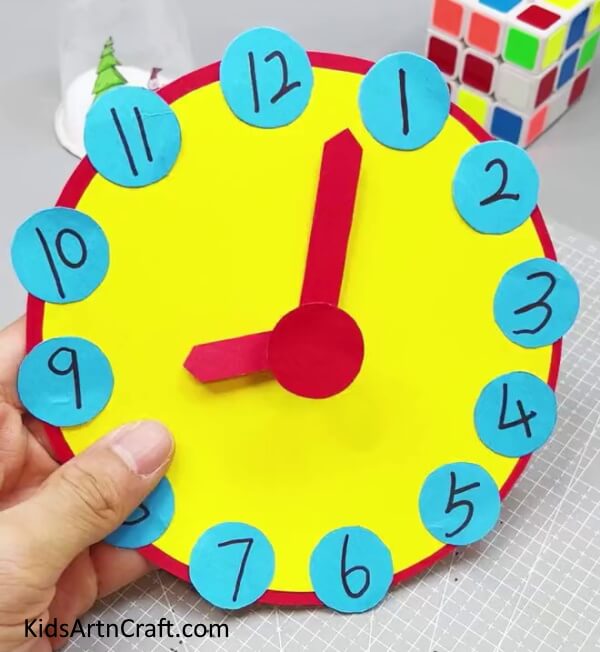
On a blue-colored sheet cut out 12 small circles and number them 1 to 12 using a black marker. Then paste the numbers around the clock at a certain distance line-by-line.
Your Adorable Paper Clock Craft Is Ready!
This Adorable Paper Clock Craft Tutorial is a great way to make a fun and creative project with your kids. With easy-to-follow step-by-step instructions, it’s sure to be a hit!
This Adorable Paper Clock Craft Tutorial is a perfect way to get creative and have fun with your kids. With clear and detailed instructions, you can make a beautiful paper clock with ease. Give it a try!
FAQs Related To Paper Clock Craft For Kids
1. What materials are needed to make a paper clock craft?
To make a paper clock craft you will need: paper, scissors, a pencil, a glue stick, and other mentioned things.
2. How do I create the clock hands?
To create the clock hands, cut two different-sized circles out of paper for the hands. Then, attach a paper fastener to the center of each circle and attach them to the clock face.
3. How do I attach the clock face to the paper?
To attach the clock face to the paper, use a glue stick to glue the clock face in the center of the paper.
4. What type of paper should I use for the clock craft?
You can use any type of paper for the clock craft.
5. How do I make sure the clock hands stay in place?
To make sure the clock hands stay in place, use paper and tape to attach them to the clock face.
6. Is a template necessary to make the clock craft?
A template is not necessary in order to make the clock craft, but it may make the process easier.
7. How do I make the clock craft more interesting?
To make the clock craft more interesting, you can decorate it with markers, crayons, glitter, stickers, or other decorations.
8. What age group is this craft suitable for?
This craft is suitable for kids ages 5 and up. Younger children may need assistance with the craft.
Follow us on Youtube for art and craft tutorials and much more.
More Articles from Kids Art & Craft
- Paper Crafts And Activities Video Tutorial for Kids
- Recycled Plastic Bottle Dragon Craft Tutorial for Kids
- How To Make Cardboard Tube Swan Craft Tutorial For Kids
- Origami Paper Crafts and Fun Activities Video Tutorials for Kids
- Easy To Learn Creative Paper Craft Ideas Step-by-Step Video Tutorial For Kids