Paper Crafts
Easy Paper Cup Car Craft For Kids – Step By Step Tutorial

This easy paper cup car craft is the perfect activity for kids! Follow this step-by-step tutorial to create a fun paper cup car that will provide hours of fun. All you need is a few paper cups and a few simple craft supplies to get started.
Are you looking for a fun and creative way to keep your kids entertained? Look no further than this easy paper cup car craft! Not only is it a great way to pass the time, but it also encourages imagination and creativity in children. This step-by-step tutorial will guide you through the process of making your own paper cup car. All you need is some basic craft supplies to get started. So grab your supplies, and get ready to make a masterpiece!
Fun To Make Easy Paper Cup Car Craft For Kids

Read More: Super Simple Pine Cone Crafts For Kids
Material Used:
- Paper Cup
- Red, Black, White, and Orange Craft Paper
- Glue Stick
- Black Sketch
- Thermocol Cutter
Instructions: –
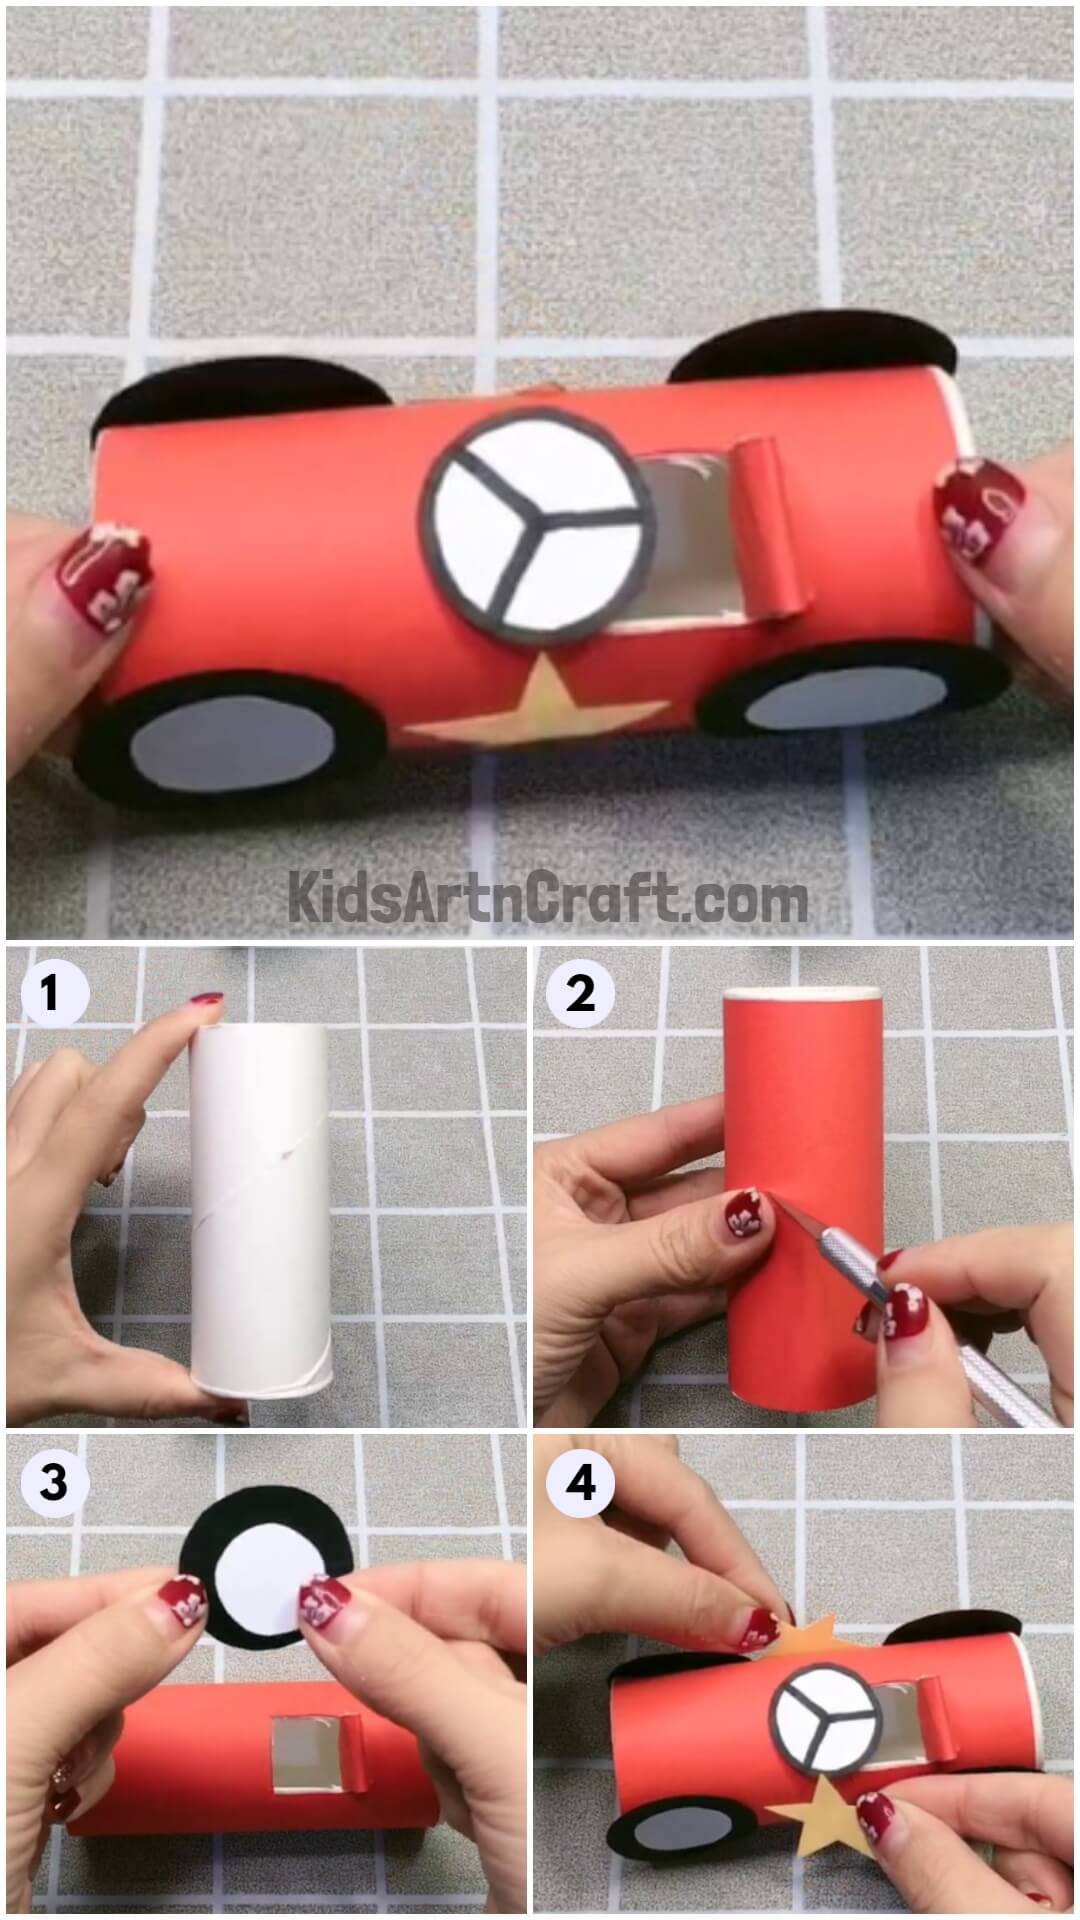
Step 1: Take a Paper Cup for Car


Taking a paper cup for making the main body of the car. You can easily find a paper cup from the inside of the remains of toilet paper.
Step 2: Pasting a Red Paper On the Paper Cup
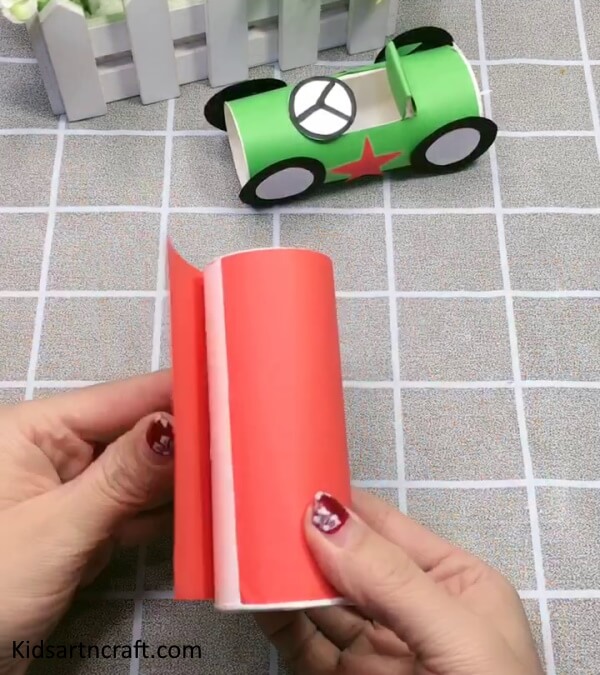

Take a glue stick and put it all over the paper cup and paste red craft paper on the paper cup.
Step 3: Cutting the Paper Cup
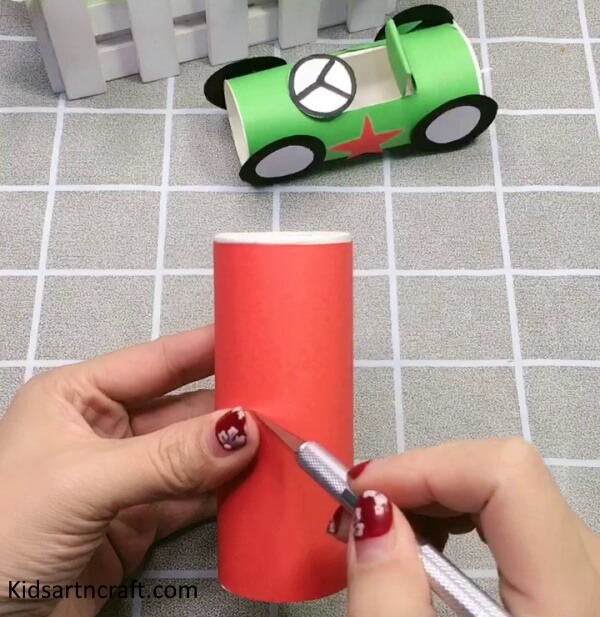

Now, take a thermocol cutter and cut a small section in a rectangular shape. Only cut the three sides of the rectangle i.e., both the length and one breadth, and let the other breadth uncut.
Step 4: Making a Seat Of The Car
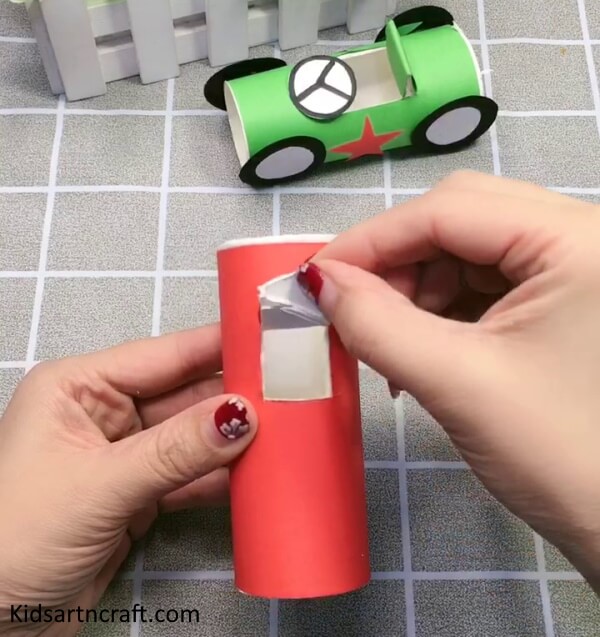

Fold the part that was cut in two halves and fold it towards the uncut part in order to make a seat.
Step 5: Making Wheels For The Craft

Now, we need wheels for our car for which you need to take the black and white paper. Cut the black paper into a big circle and the white paper into a small circle. Paste the white circles on the black circles.
Step 6: Fitting The Wheels On The Car
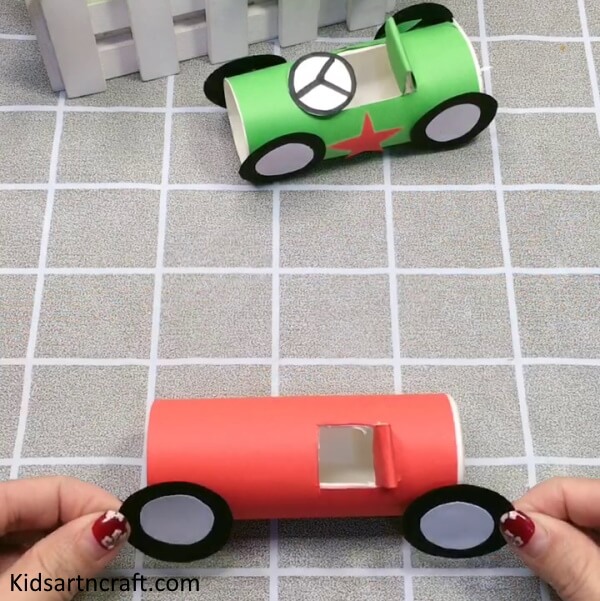

After making the wheels paste all four wheels on the car.
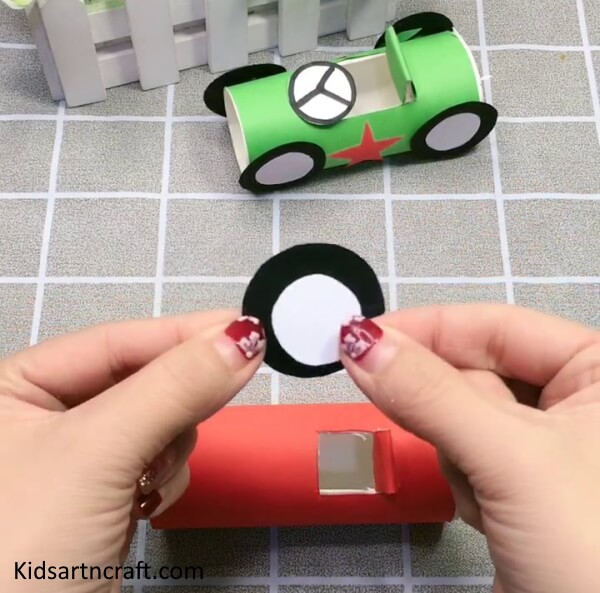
Step 7: Giving Our Car the Steering Wheel
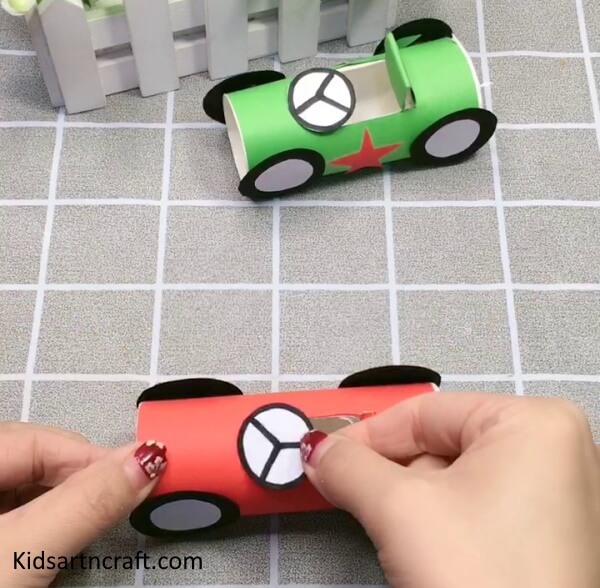

Now we need another important thing which is a steering wheel. For that, you need white paper and cut that white paper into a circle shape and draw a border with a black sketch and draw three lines connecting centers to the circle.
Step 8: Pasting a Star On Both the Side Of The Car
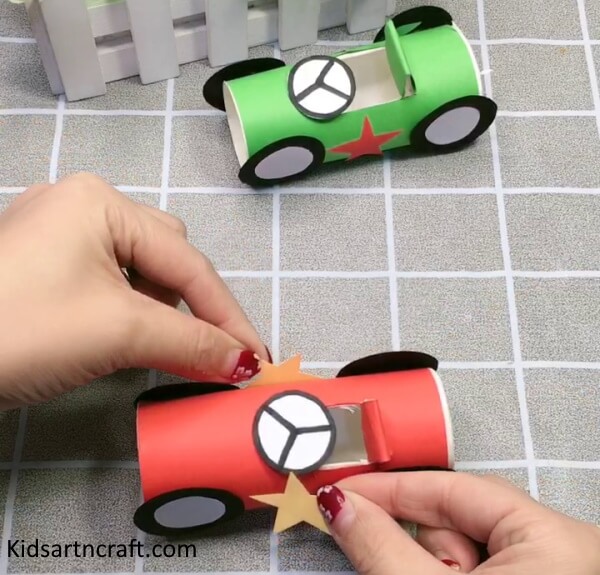

In order to enhance your craft, make two stars from orange craft paper and paste each on both sides of the car.
Final Step: This is How Your Rider Car Will Look After The Final Completion
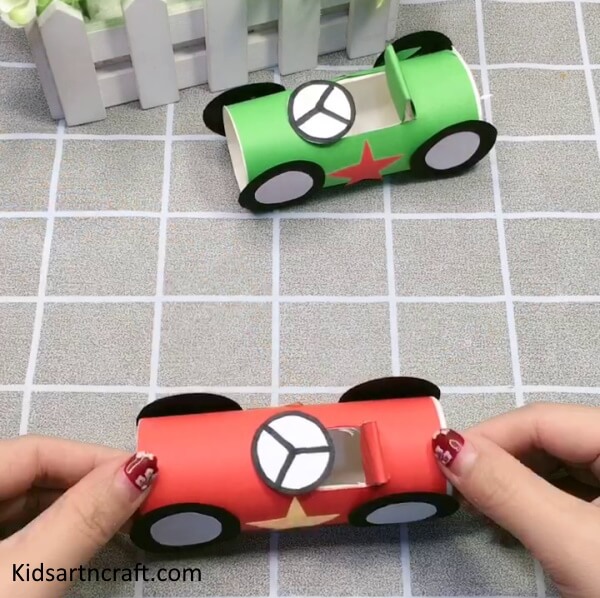

This is how your car will look after the completion and your car is ready to be driven. With only three or four things in your hand, you can make this excellent craft at home.
FAQs
What supplies do I need for this craft?
You will need cardstock or construction paper, scissors, tape, markers, and paper cups.
How long will it take to make the car?
Depending on the age of the child, it should take anywhere between 10-15 minutes.
How old should the child be to do this craft?
This craft is suitable for children ages 4 and up.
What type of paper cups should I use?
You can use any kind of paper cups.
What other decorations can I add to the car?
You can add anything you like to decorate the car, such as stickers, glitter, sequins, or other craft supplies.
This easy paper cup car craft is a great way to keep your little ones entertained. With a few simple materials, you can make an adorable car that your kids will love. Follow the step-by-step tutorial to create a car that your kids can play with for hours.
Follow us on Youtube for art and craft tutorials and much more.
More Articles from Kids Art & Craft
- World Parrot Day Coloring Pages For Kids – Free Printables
- Poppy Coloring Pages For Kids – Free Printables
- Lion Drawing & Sketches for Kids
- Crumpled Paper Animal Crafts for Kids
- Meditation Coloring Pages For Kids – Free Printables