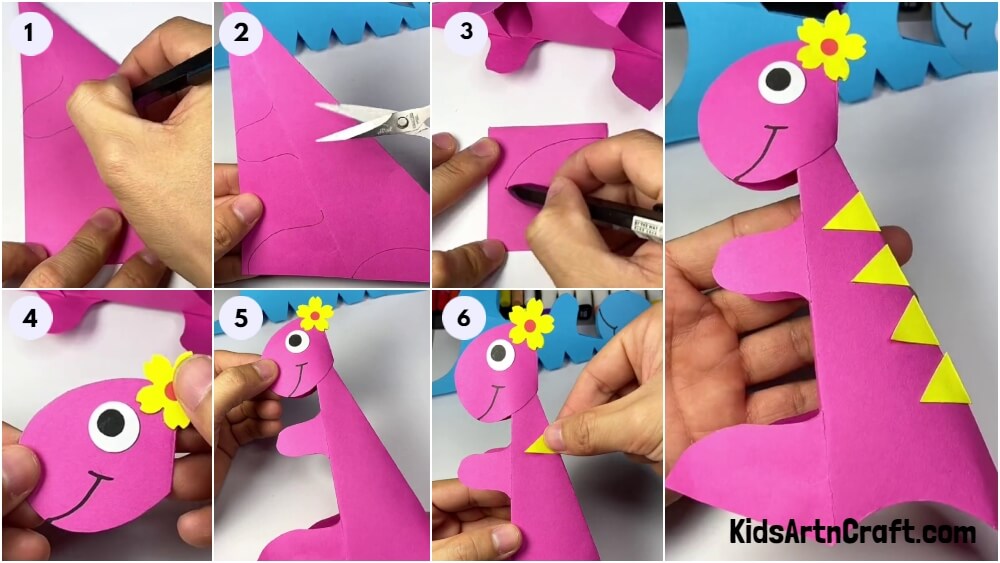
Paper Crafts
Cute Paper Dinosaur Craft Tutorial for Beginners

This tutorial will teach you how to make a super cute paper dinosaur! All you need is a few supplies and you can make it, whether you’re a kid or an adult. Follow the steps and you’ll have a fun and unique home decoration!
Welcome to this step-by-step tutorial on Cute Paper Dinosaur craft for beginners. This fun and easy project is perfect for kids. In this tutorial, with a few simple steps, you’ll get a Cute Paper Dinosaur craft in no time. You’ll need just a few materials, like craft paper, scissors, and a glue stick. With some basic craft skills, you’ll be able to make your own paper dinosaur in no time. Let’s get started!
DIY Cute Paper Dinosaur Craft Tutorial
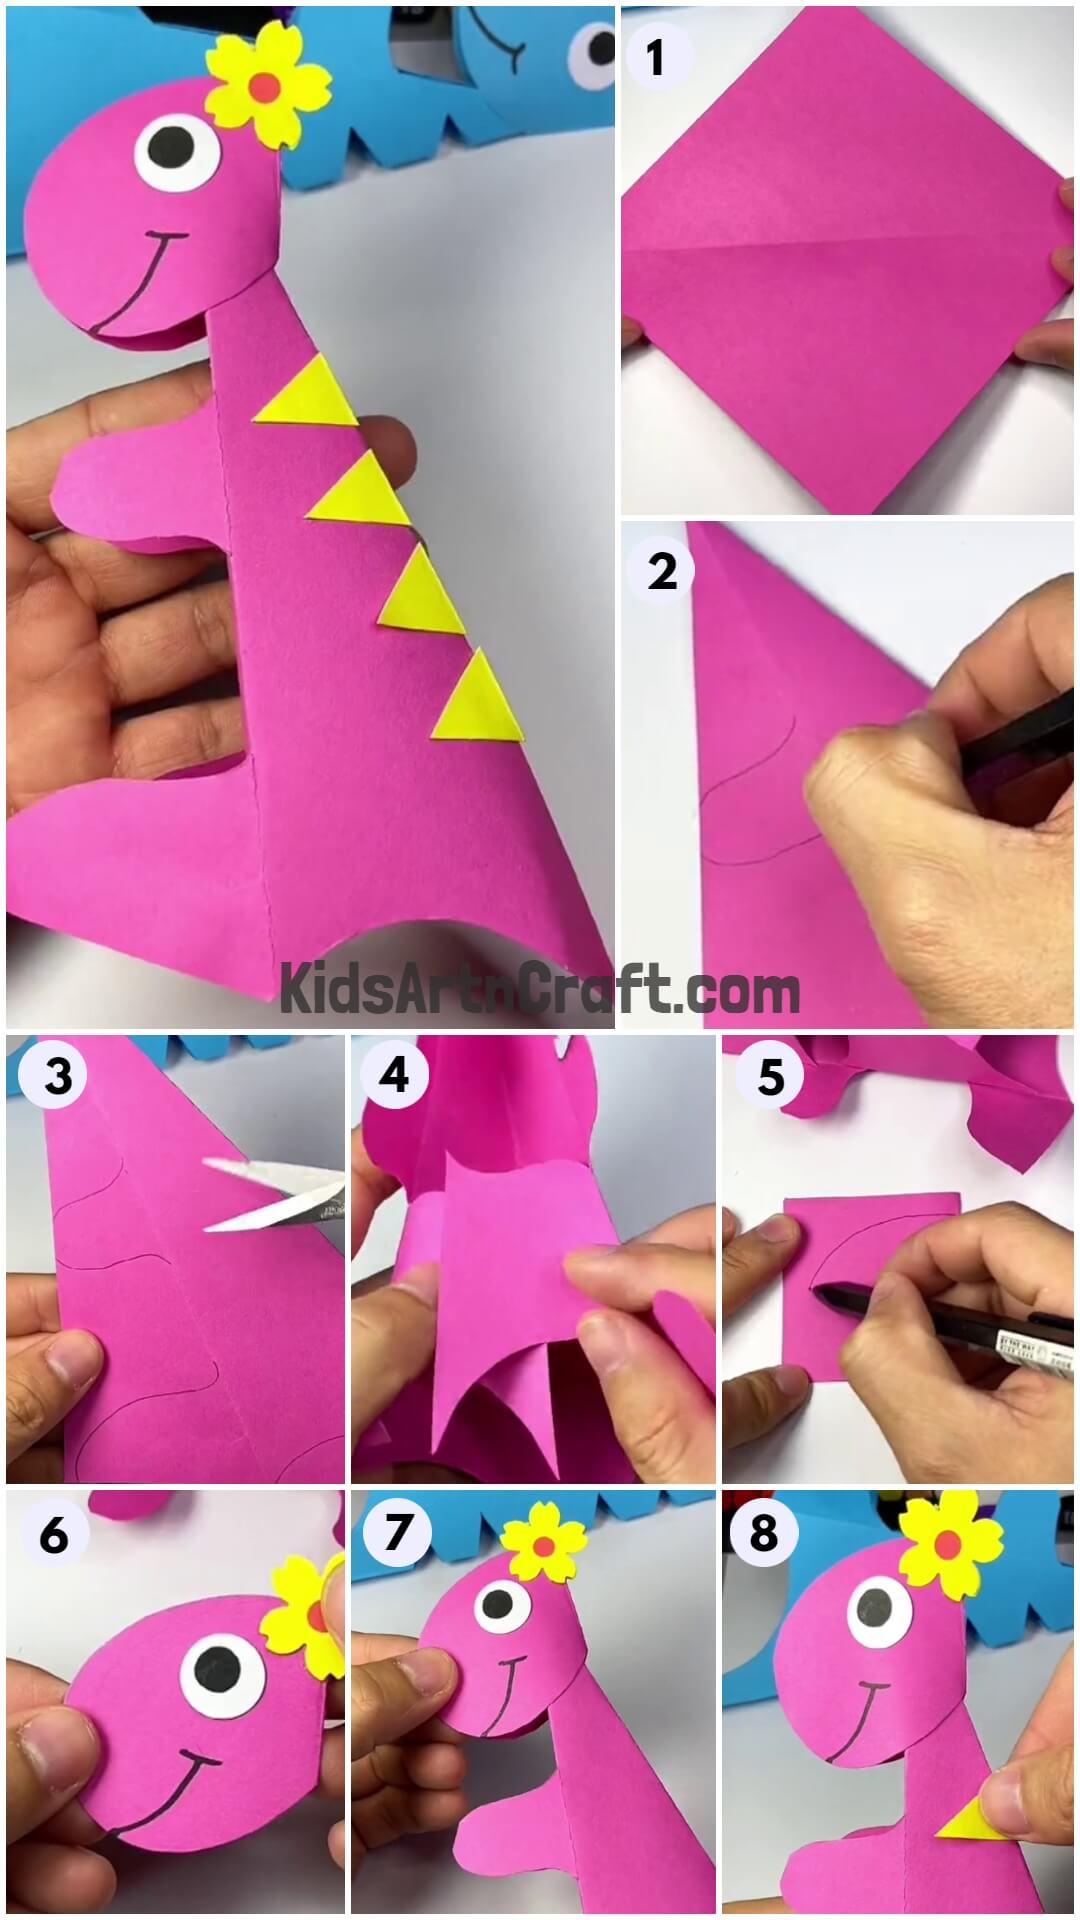
Read More: Easy Chinese Paper Dragon Craft Tutorial
Materials Required
- Craft sheets ( Pink, Yellow, White, Orange )
- Black marker
- Scissors
- Glue
- Pencil
Procedure
Step 1: Folding A Pink Square
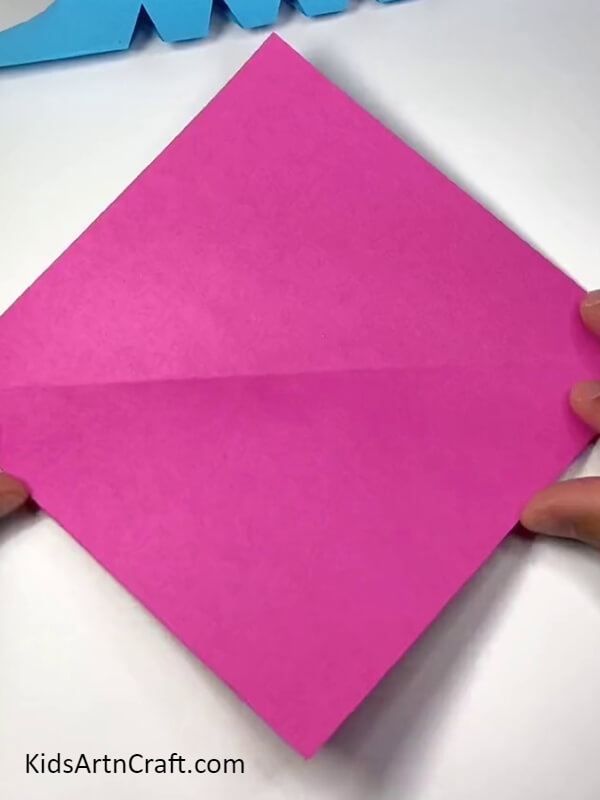
Let’s begin with pink craft paper. Cut it into a square shape and then fold it diagonally.
Step 2: Making One More Fold
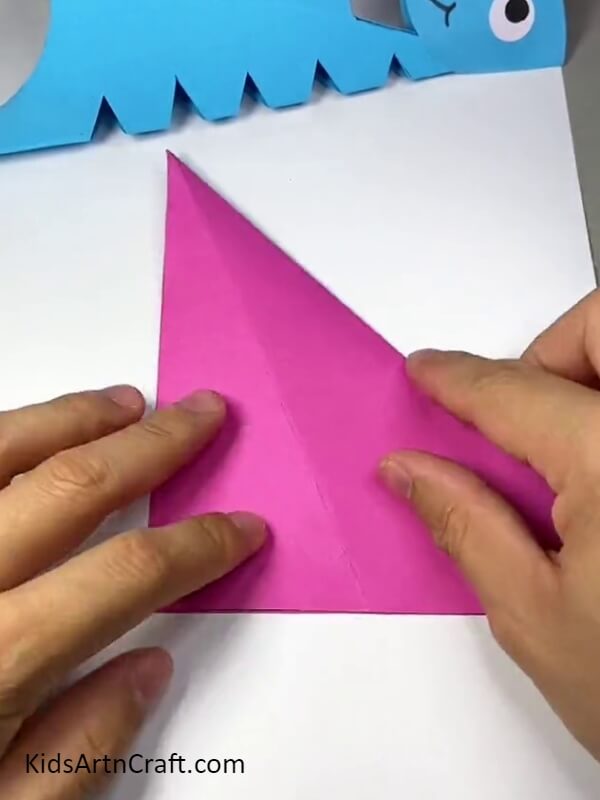
Fold the paper one more time so that the triangle formed in the previous step is divided in half.
Step 3: Drawing The Dinosaur’s Body
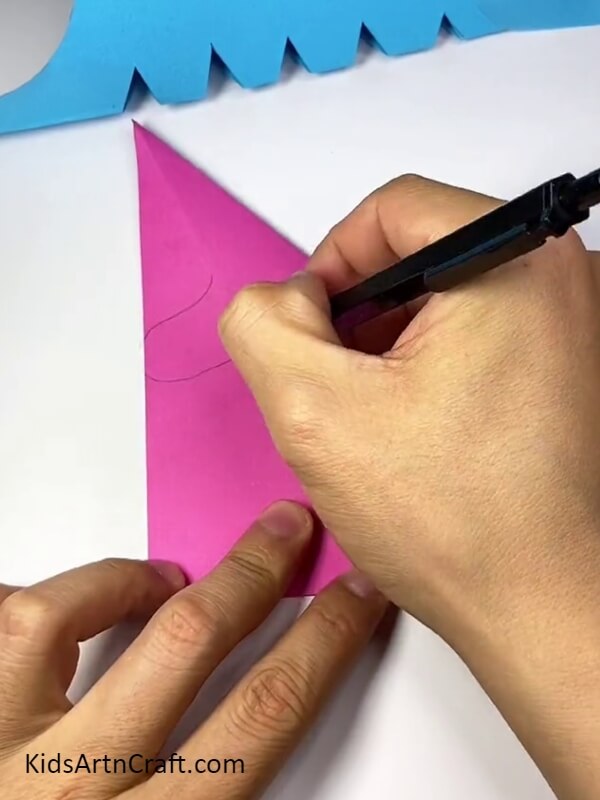
After getting a crease out of the second fold as shown, grab a pencil, and draw lines as shown to get the body of the dinosaur.
Step 4: Cutting The Dinosaur’s Body
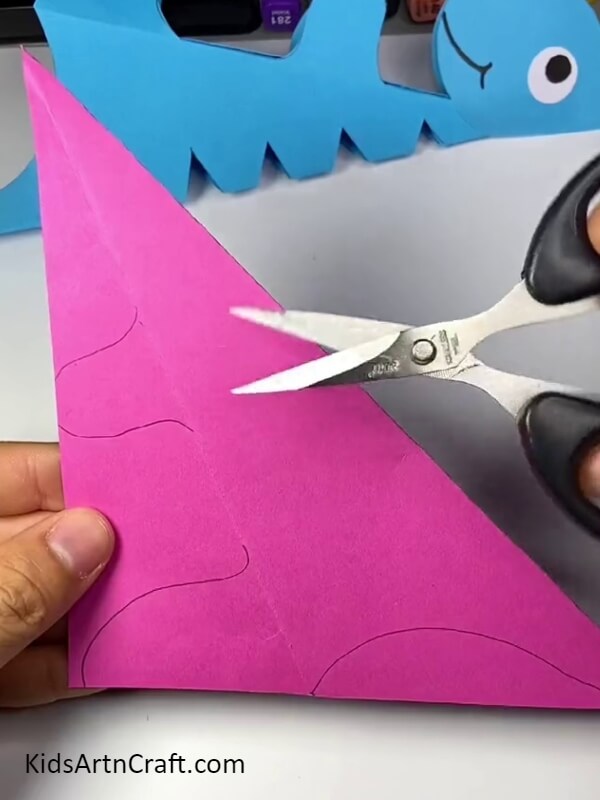
Cut along the lines drawn to get the body of the dinosaur.
Step 5: Pasting The Middle Flaps
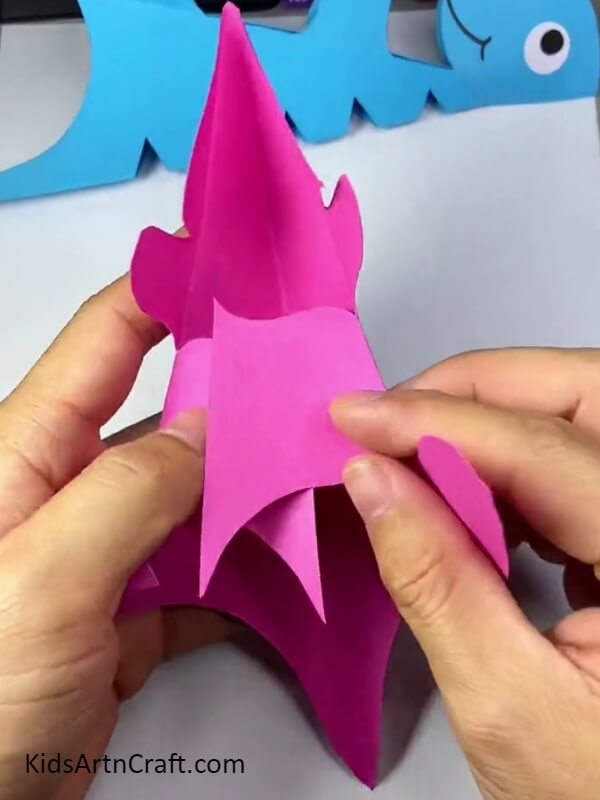
Paste the middle flaps as shown in the picture above, to get the body of the dinosaur craft.
Step 6: Folding A Rectangle
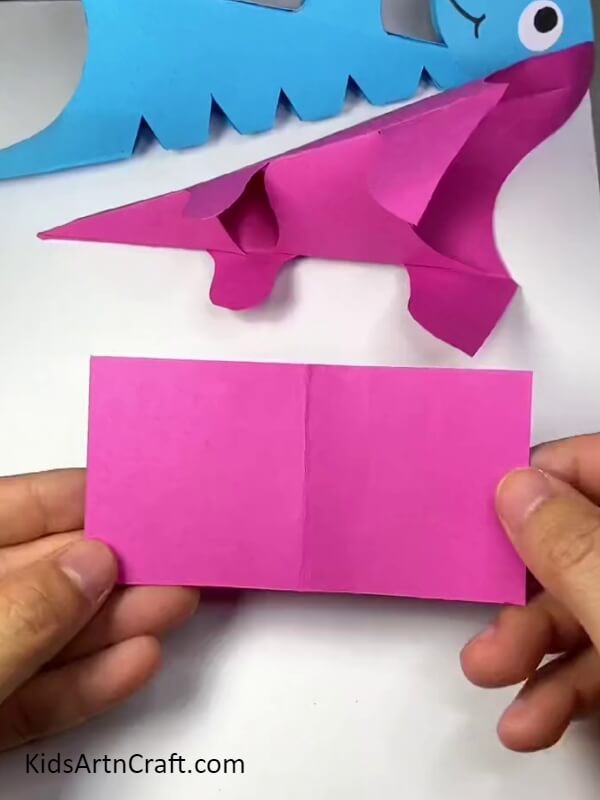
Then take a rectangular piece of pink craft sheet and fold it into two equal parts.
Step 7: Making The Dinosaur’s Face
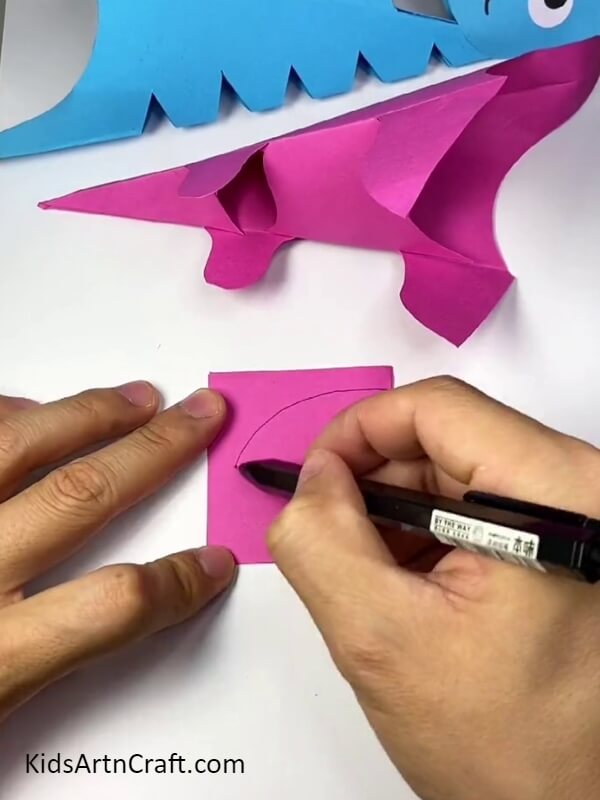
Draw across the folded sheet as shown in the picture to get the face of the dinosaur.
Step 8: Adding A Smile
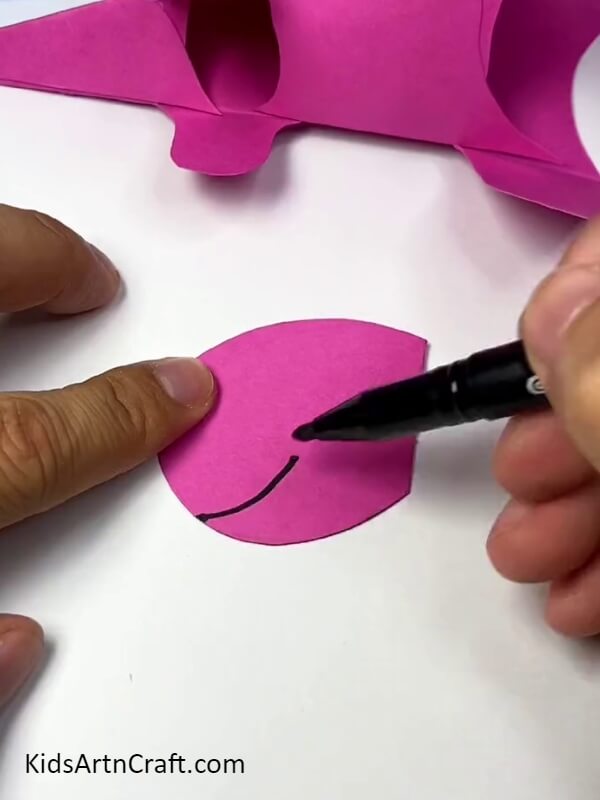
Cut along the outlines to get the face of the dinosaur and then using a black marker, draw a smile on the dinosaur’s face as shown.
Step 9: Pasting The Eye
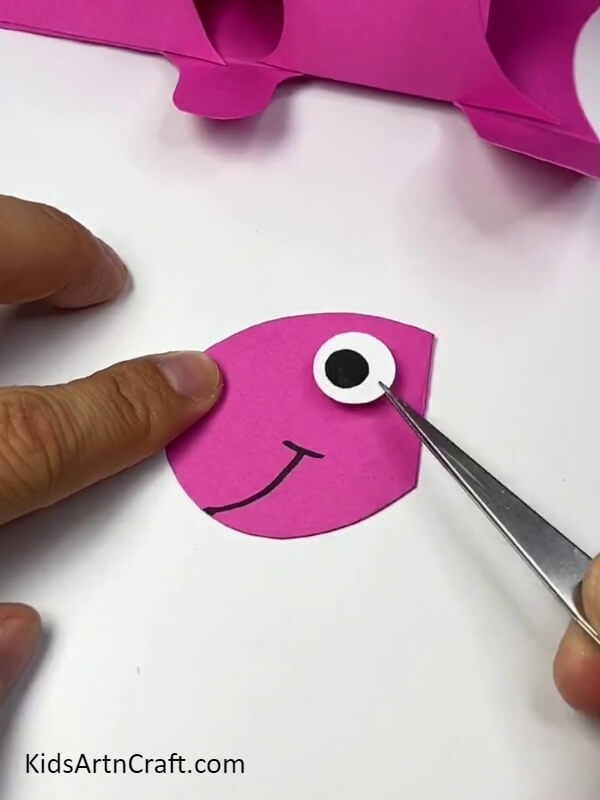
To make the eye, take a piece of white paper and cut a small circle out of it. With the help of a black marker, draw a smaller inner circle. Paste the eye on the dinosaur’s face.
Step 10: Pasting A Flower
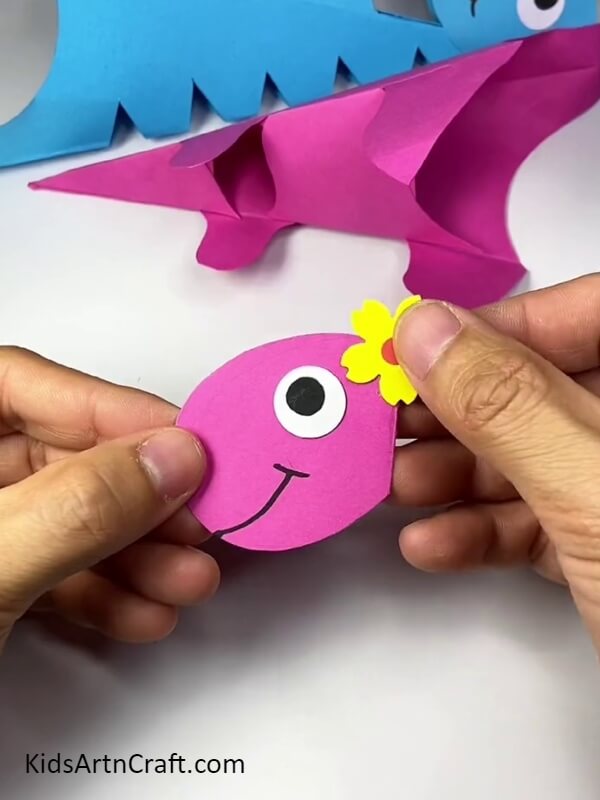
Next, draw a lily or a flower of your choice on the colored sheet and cut it out to stick on the head of the dinosaur.
Step 11: Sticking The Face On The Body
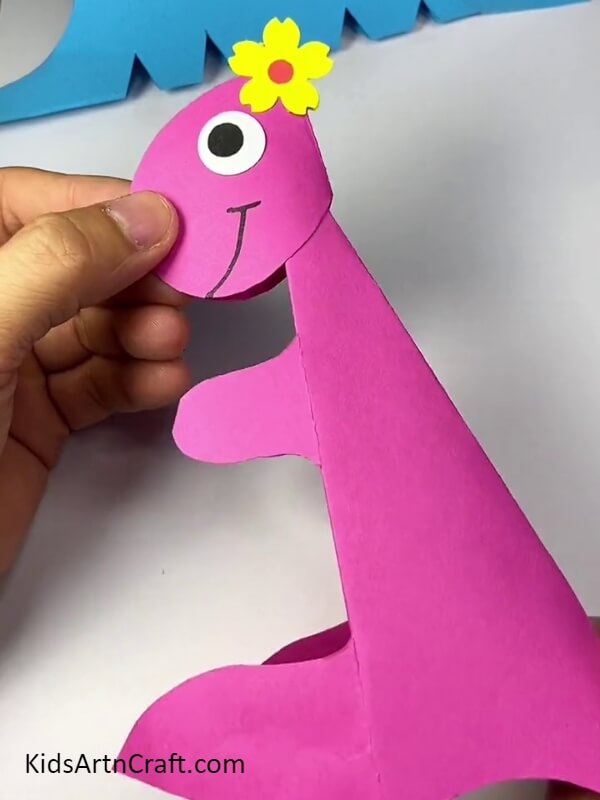
Stick the head you prepared on the body of the dinosaur you made earlier with glue and let it dry.
Step 12: Making The Spikes
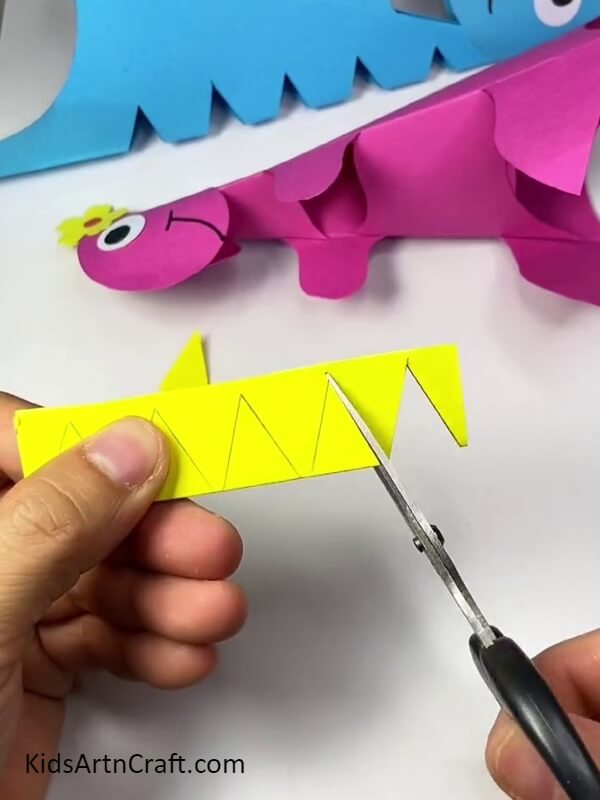
Take a strip of yellow craft paper and draw triangles on it using a pencil. Cut them accordingly.
Step 13: Pasting The Spikes
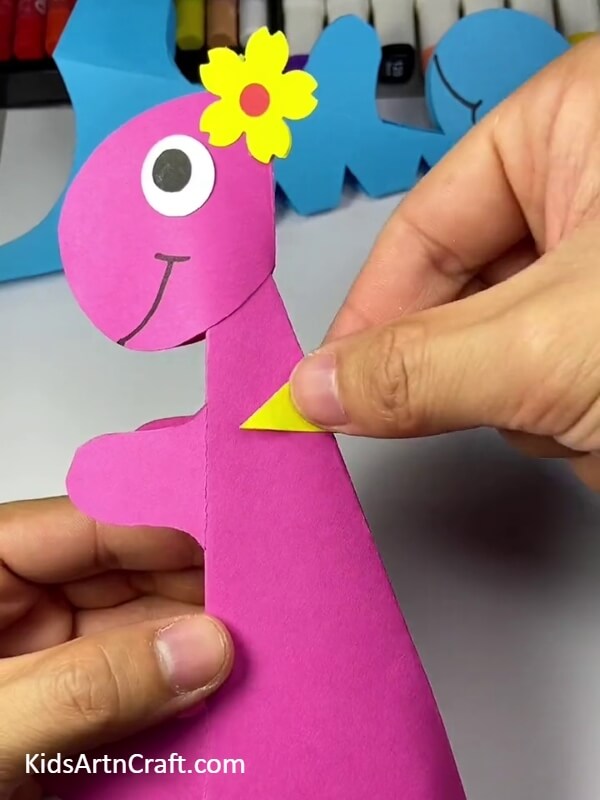
Now, paste the triangular spikes on the back of the dinosaur as shown in the image.
Ta-da! Your Cute Paper Dinosaur Craft Is Ready!
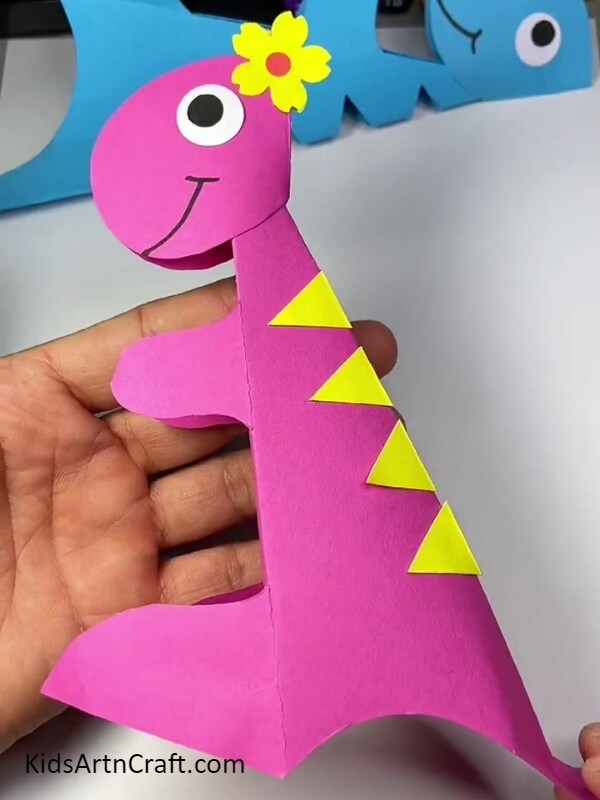
Congratulations! You have completed a cute dinosaur paper craft with simple supplies and little effort! And there you have a Barney from Disney World in your hands!
Some More Dinosaur Craft Tutorial
Dinosaur Craft Using Leaves For Kids
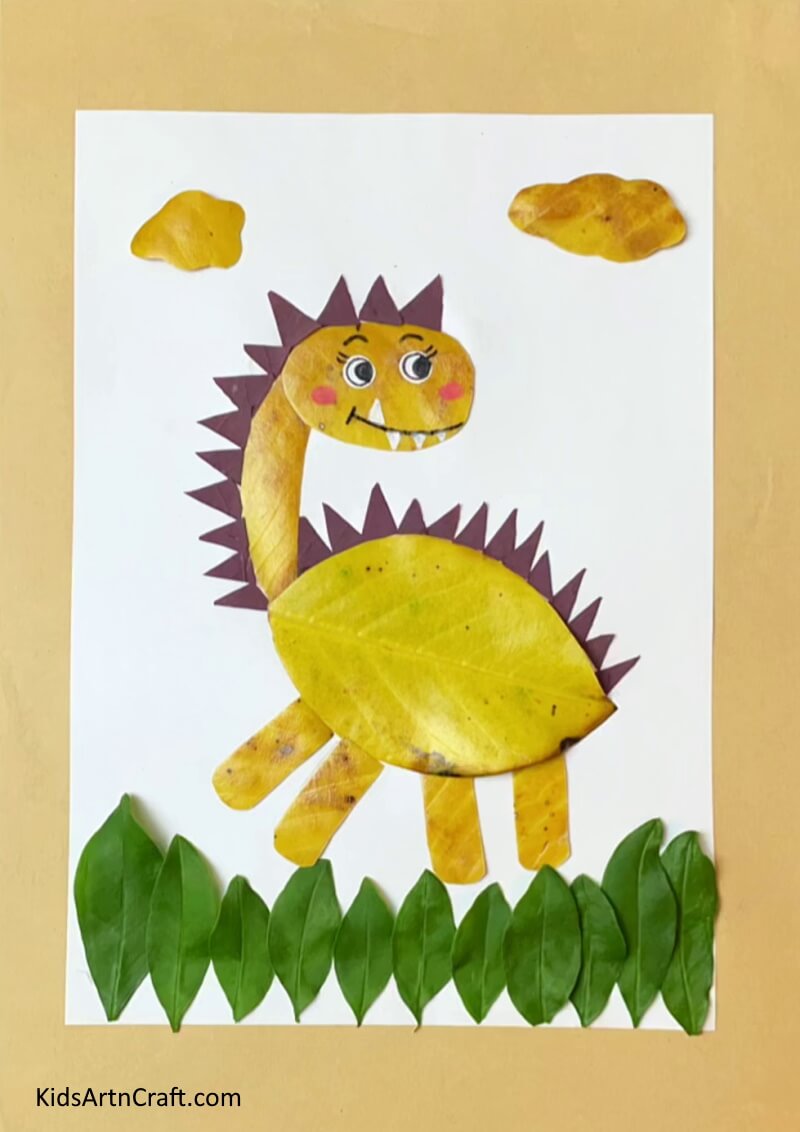
Image Source/Tutorial: Kids Art & Craft
This fun dinosaur craft is perfect for kids to make with a few simple materials. All you need are leaves, glue, and some construction paper. Kids can create a colorful dinosaur collage with the leaves and express their creativity.
Hope you enjoyed our cute paper dinosaur craft tutorial. This papercraft will be loved by both kids and adults alike. Do share your thoughts and views in the comment section below. And don’t forget to check out other tutorials on the website.
Thank you for visiting our website!
Follow us on Youtube for art and craft tutorials and much more.
More Articles from Kids Art & Craft
- Simple Paper Crab Craft – Step By Step Tutorial
- How To Make Cardboard Tube Swan Craft Tutorial For Kids
- Easy Ladybug Craft For Kids Using Leaves and Paper
- Easy Paper Folding Crafts Video Tutorial for Kids
- Paper Tiger Craft Step by Step Tutorials for Kids


