Paper Crafts
DIY Paper Strips Flower Craft Step by Step Tutorial

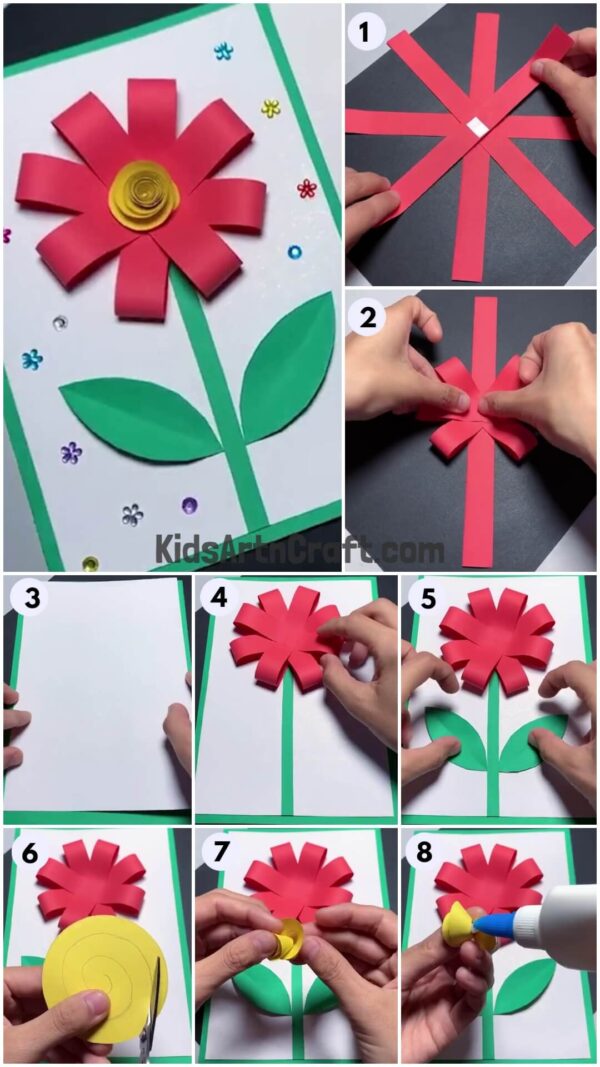
This tutorial will show you how to make pretty paper flowers. Follow the directions to make realistic flowers using paper strips. Perfect for decorating your house, weddings, or other special events.
Hey everyone! welcome to this tutorial. Wall paintings and decorating items are quite expensive right? Why don’t you create all those items at you home? In this tutorial, we give you a step by step tutorial about how to create paper strips flower craft. If you want to decorate your home or your room with some colorful and cute decorative item, then this craft will help you. We going to make this craft with the use of color papers. Shall we start?
DIY Paper Strips Flower Craft Step-by-Step Tutorial

Read More: Beautiful Paper Flower Step-by-Step Tutorial
Materials Required
- Color paper (Red, Yellow& Green)
- White sheet
- Scissors
- Glue
- Pencil
- Color stones
Precaution
Step 1: Cutting Red Color Paper
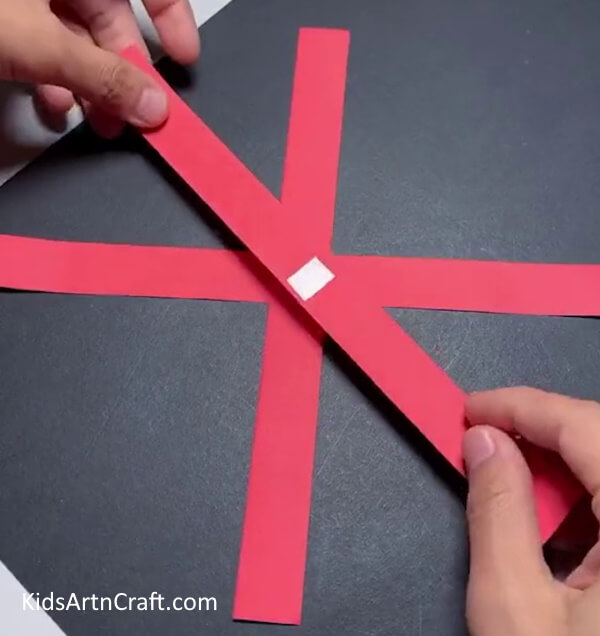

Grab your scissors, cut four long rectangle pieces from red color paper and apply some glue in the middle of each pieces.
Step 2: Pasting Every Strips From Red Paper


After applying glue, paste every middle of each pieces of strips one by one as shown in the image above. Then let it dry.
Step 3: Applying Glue At The End Of Each Pieces
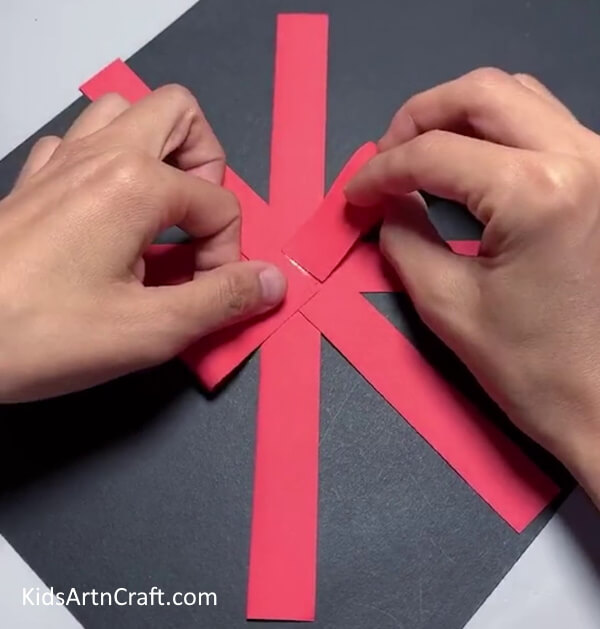

Apply some glue at the end of every red color paper.
Step 4: Folding And Pasting Strips
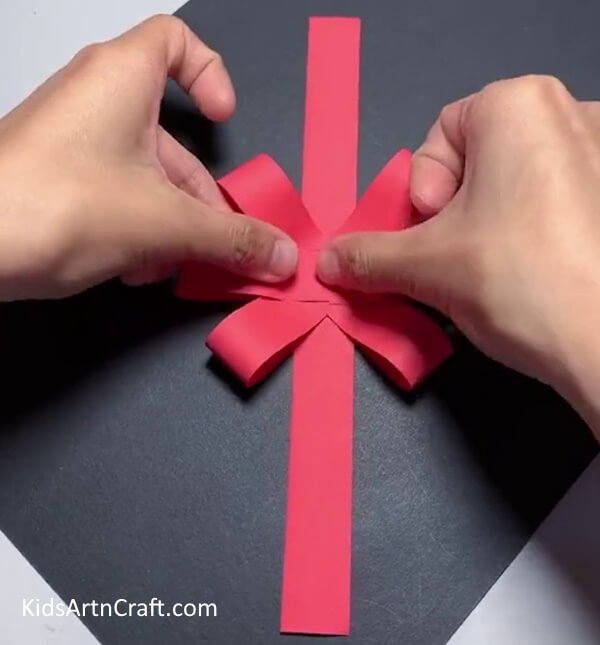

After applying glue at the end, without any pressure fold every pieces inside and paste all the end in the middle as shown. Make it look like flower and keep it for later use.
Step 5: Pasting Our Flower In The White Sheet

Paste white sheet in any frame, if you don’t have frame, take a piece of cardboard instead of frame and paste white sheet on it.
Step 6: Pasting Our Flower In Our Frame

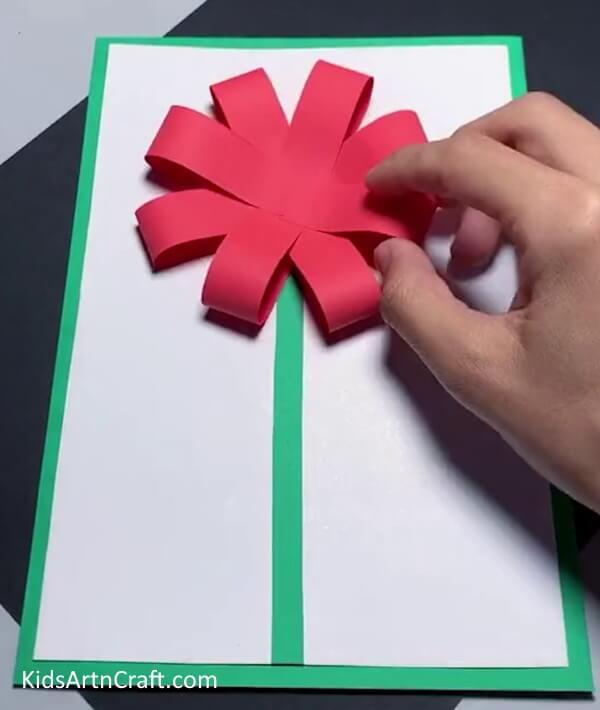
Now, take your green color paper and cut a lengthy piece from it and paste it in the middle of white sheet for make stem of flower. Then, take your flower and paste it at the top of green piece as shown.
Step 7: Cutting Leaves From Green Color Paper

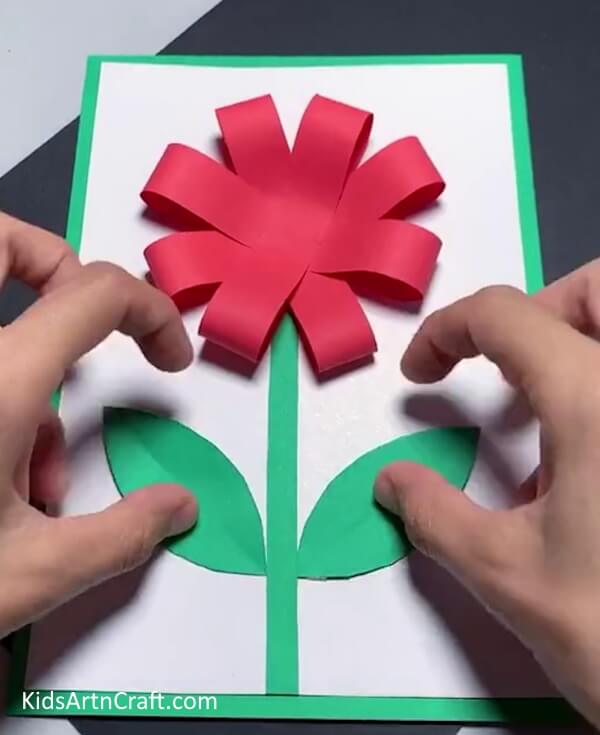
With use of scissors, cut two leaves from green color paper and paste it on both side of stem.
Step 8: Cutting Pollen From Yellow Color Paper

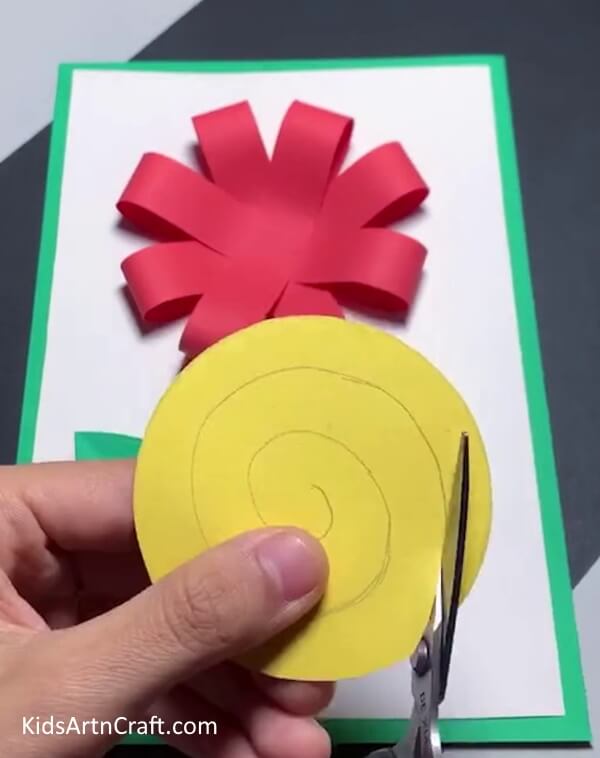
Now we going to make pollen. Take your yellow color paper and cut a circle from it with the use scissors. Then draw spiral on it and cut the spiral just as shown in the image.
Step 9: Making Pollen For Our Flower

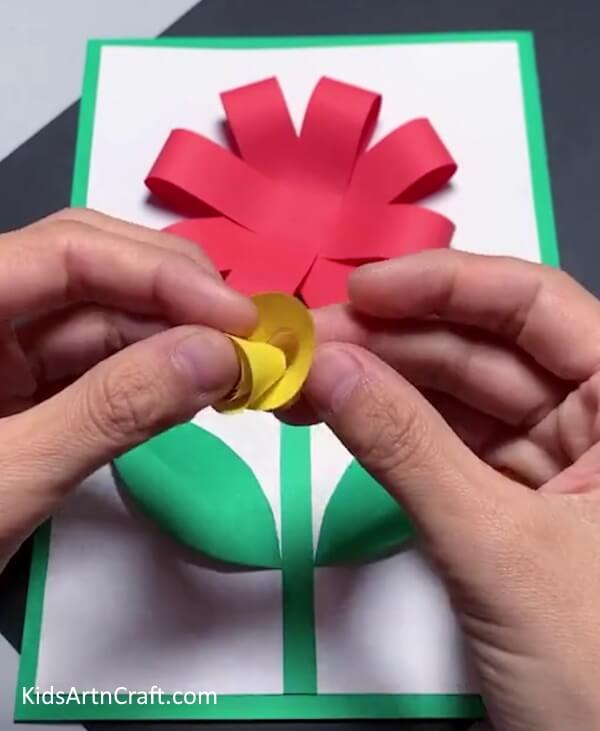
Then roll that piece of yellow paper as shown.
Step 10: Applying Glue On Pollen

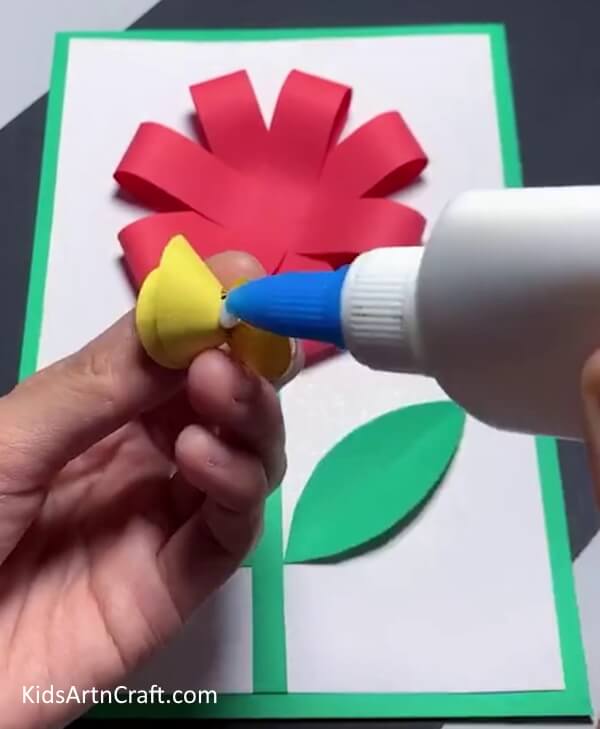
Apply some glue at the back side of pollen.
Step 11: Pasting Pollen In The Middle Of Our Flower

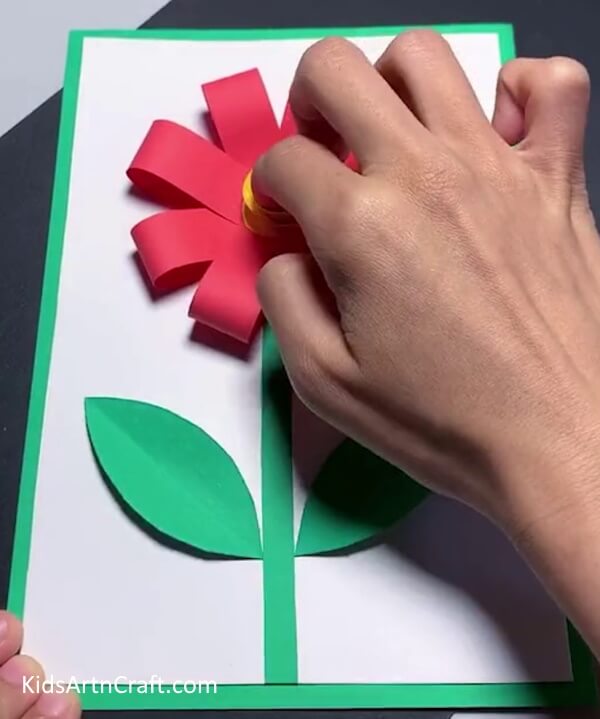
Then paste yellow pollen in the middle of our flower and let it dry.
Your Craft Is Read!!

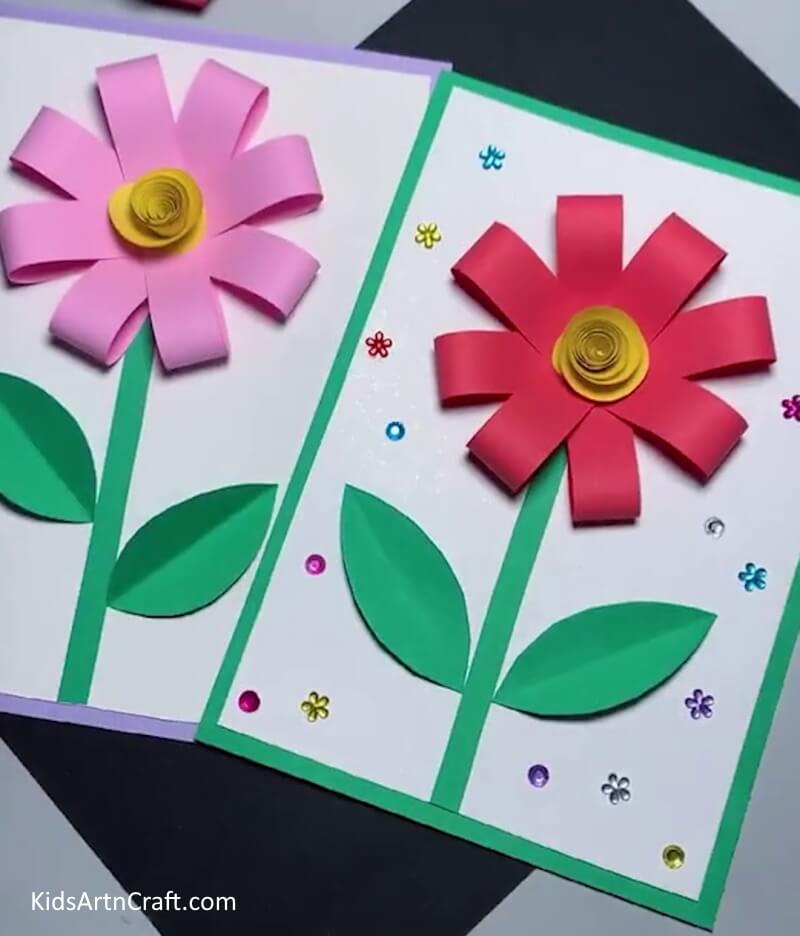
For decoration, paste color stones randomly on white sheet.
This super easy craft would be a grate decorative item for your home. Also, this is an interesting craft to create. Not only with red color, try to use different color paper to create more. Please leave some comment on comment box to encourage our work. Check out our website for more useful and simple craft like this.
Some More Flower Craft Tutorial
Forming Paper Flower Craft For Young Ones

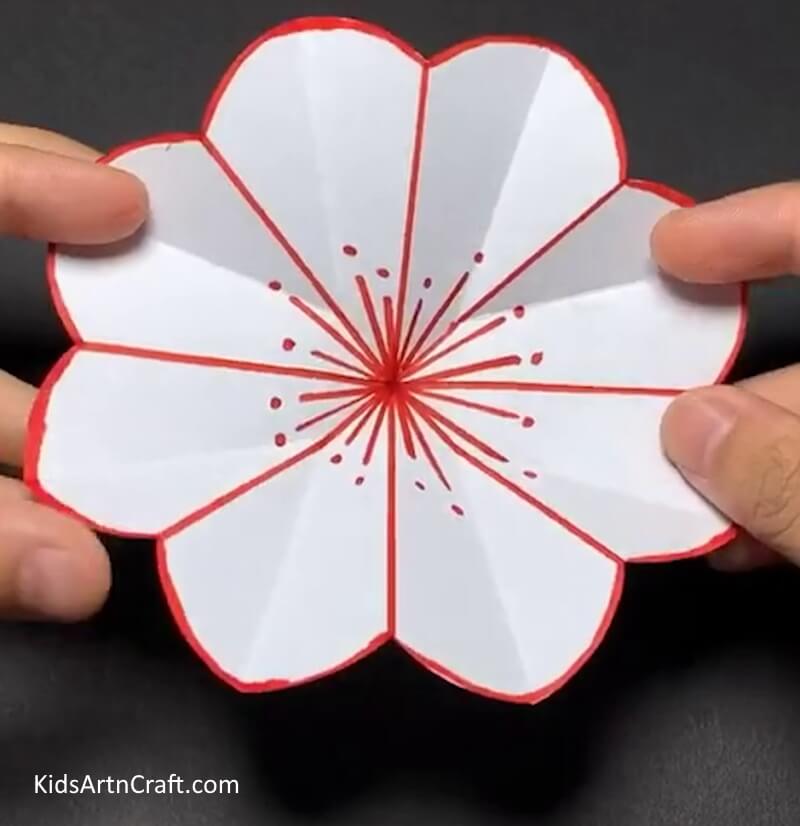
Image Source/Tutorial: Kids Art & Craft
Making paper flowers is a great way to show children the beauty of nature. It is a fun and creative activity that can be used for a variety of occasions. With a few simple materials, children can make beautiful flowers that will last for years to come. It’s a great way to keep young ones occupied with a creative and enjoyable activity.
Thank you for visiting us!
Follow us on Youtube for art and craft tutorials and much more.
More Articles from Kids Art & Craft
- Paper Strips Frog Craft Step By Step Tutorial
- DIY Paper Butterfly Easy Craft For Kids
- DIY Easy Paper Flower Craft For Kids
- DIY Paper Flower Hanging Craft Step-by-Step Tutorials
- How to make Paper Strips Boat Craft Tutorial For Kids