DIY and Crafts
Paper Strips Frog Craft Step By Step Tutorial

Make a fun and easy Paper Strips Frog Craft with this step-by-step tutorial. Create a colorful and unique frog with paper strips and a few basic craft supplies. Perfect craft activity for kids of all ages. Are you looking for a fun and easy craft for the kids? This DIY frog craft made with paper strips is perfect for all ages and requires minimal supplies. You and the kids can enjoy making this unique and creative craft. With just a few simple materials, you can turn paper strips into fun frogs. Follow the easy instructions below to create your own paper strip frog!
DIY Frog Craft Made With Paper Strips

Materials Required:-
- Green Paper
- Two Bottle Caps
- Tape
- Scissors
- Glue
Read More: Easy Paper Craft Activities At Home Video Tutorial for All
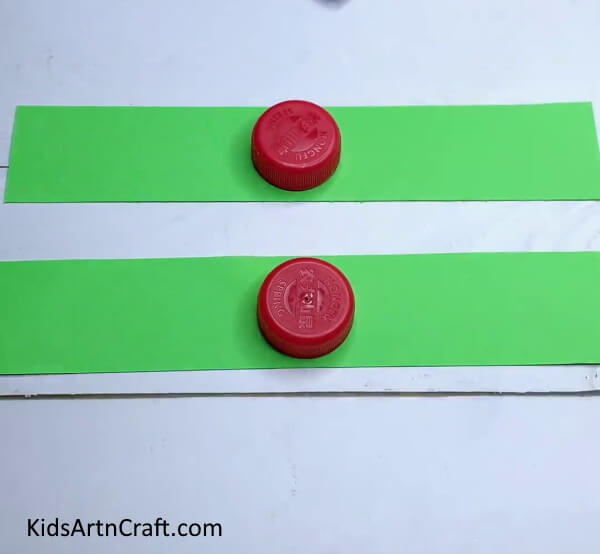
Step 1: Cutting Wide Green Paper Strips
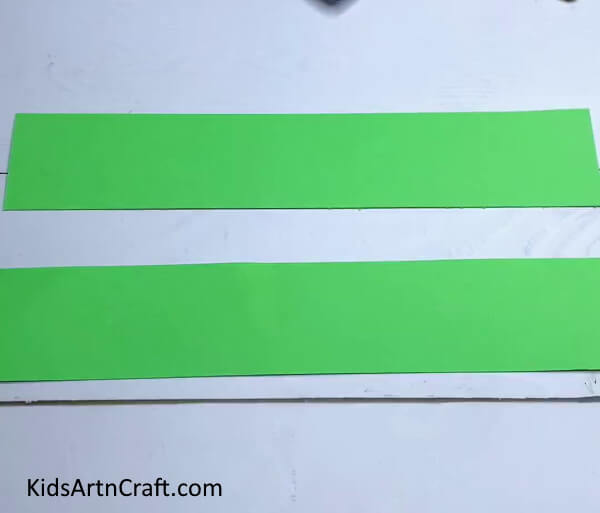

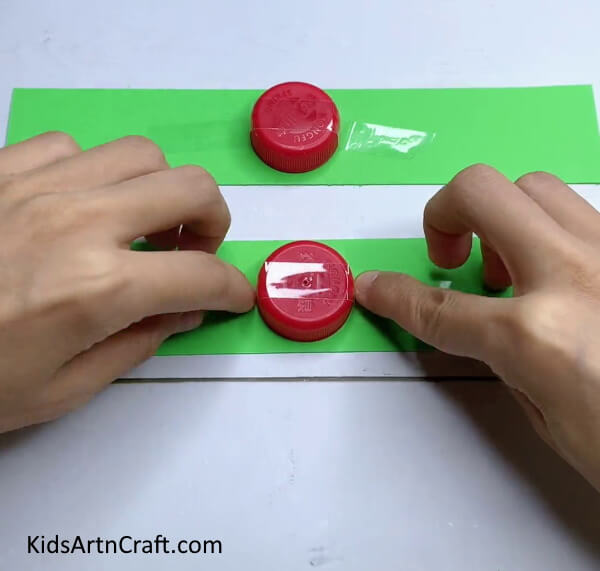
Step 2: Placing Bottle Caps On Strips

Step 3: Applying Tape On Bottle Caps

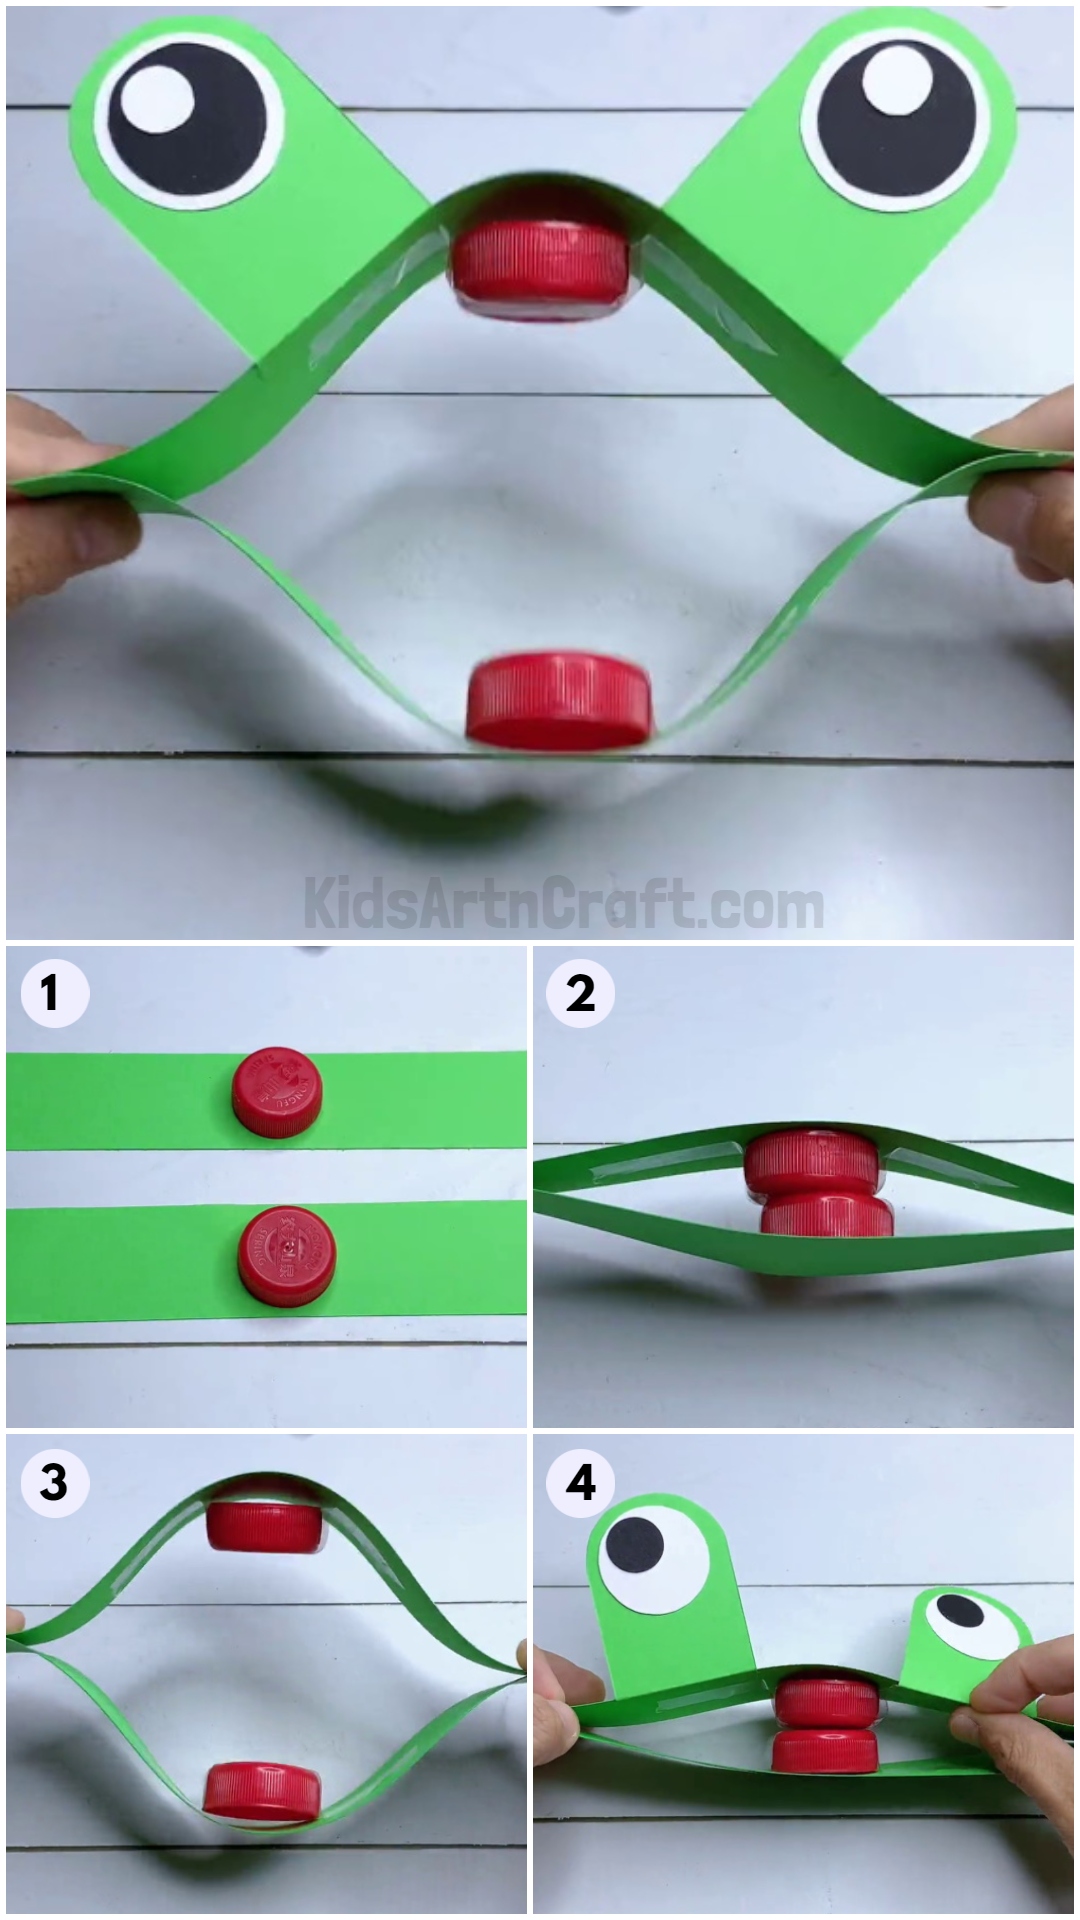
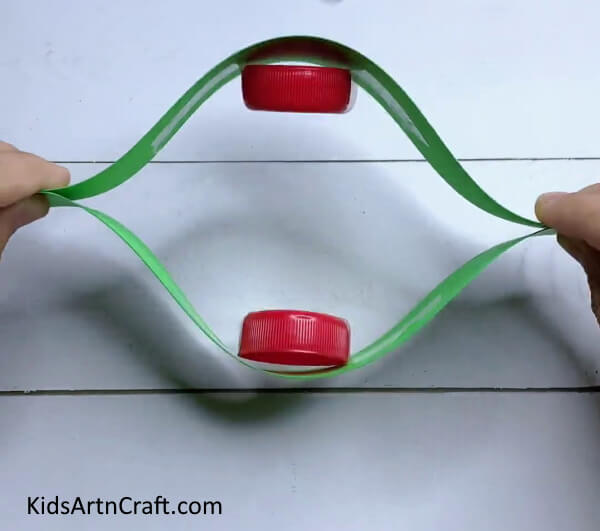
Step 4: Placing Strips On Each Other
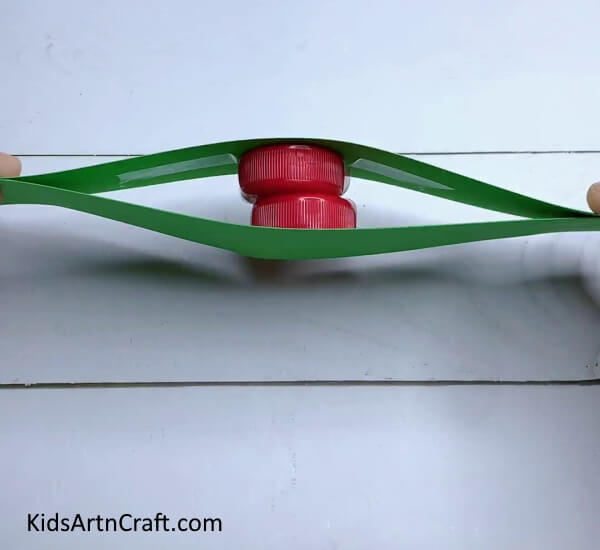

Step 5: Pushing In The Strips

Step 6: Making Eyes Of The Frog


Step 7: Pasting Other Eye
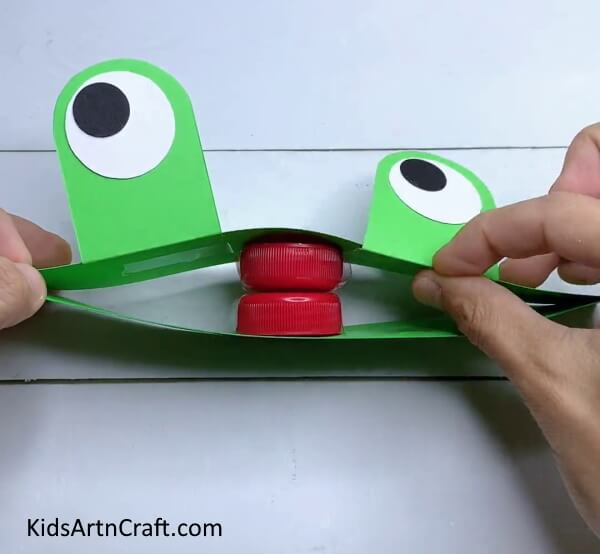
Step 8: Pushing In The Strips
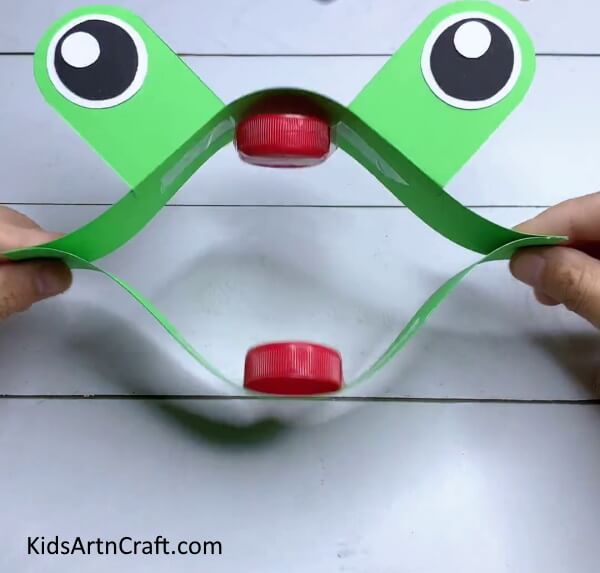

Final Image – Unique Paper Strip Frog Craft Is Finished!


Some More Frog Craft Tutorial
Ideas For Kids To Make Frog Craft

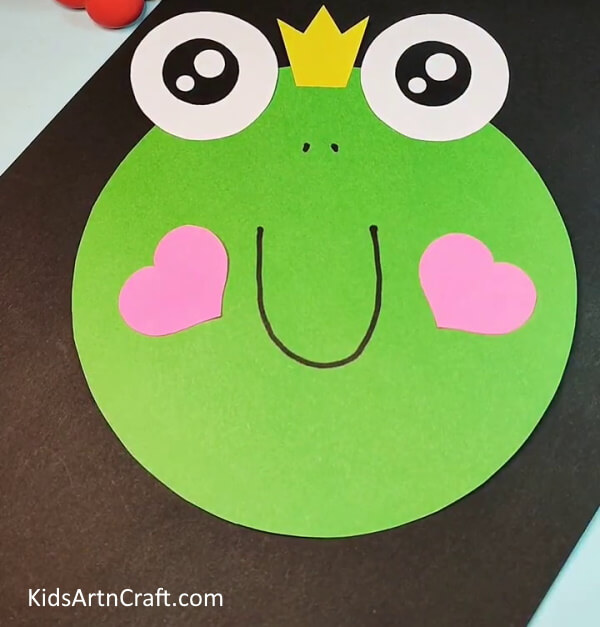
Image Source/Tutorial: Kids Art & Craft
Frog craft is an enjoyable activity for kids. It can help develop their creativity and motor skills. There are many fun ideas available such as making paper bag frogs, sock frogs, paper plate frogs, and even frog puppets! Let your child’s imagination run wild and have fun making frog craft!
FAQs Related To Paper Strips Frog Craft Step-By-Step Tutorial
1. What materials do I need for the paper strips frog craft?
You will need a few sheets of green paper, scissors, glue, a black marker, and optionally, some googly eyes.
2. How do I cut the paper strips?
You can use scissors to cut the paper into 1-inch strips.
3. How do I fold the paper strips?
You can fold each paper strip in half and then accordion fold it.
4. How do I assemble the frog?
Glue the paper strips together in a circular pattern to form the frog’s body. Then use the black marker to draw two eyes and a mouth. Optionally, you can glue on some googly eyes for a more realistic look.
5. Do I need to use a specific type of paper?
No, you can use any type of paper for this craft. However, green paper will work the best.
6. Can I make the frog craft with different colors?
Yes, you can use different colors for the paper strips to make different-colored frogs. Follow us on Youtube for art and craft tutorials and much more.
More Articles from Kids Art & Craft
- DIY Paper Crafts Video Tutorial for All
- Creative Art & Craft Activities Video Tutorial for All
- Easy Craft Activities that Make Everyone Video Tutorial for All
- Simple Paper Crab Craft – Step-By-Step Tutorial
- DIY Star Wand Ideas for Kids