Popsicle Stick Crafts
How to make Pinwheel from Popsicle Sticks And bottle cap

Looking for a cool working DIY toy craft? Search no more! This step-by-step tutorial will guide you to make a budget-friendly working pinwheel!
Working crafts are the most interesting ones to make! So, today we brought you this amazing working pinwheel toy craft which will be a delight for every kid to play! Kids will love to have fun with the craft toys they make on their own! This craft will enhance their creativity, confidence, and motivation with themselves! This craft is a hands-on sensory activity for the little ones and they can create in their boring afternoon time to make something cool and productive in their free time! This craft is budget-friendly as most of the materials required to make it involves recycled ones or the ones that you already have at your home!
DIY Popsicle Sticks Pinwheel Craft Made With Bottle Cap

Read More: How to Make Paper Umbrella Craft for Kids Tutorial
Materials Required
- 2 Bottle Caps
- 3 Popsicle Sticks
- Green And Red Markers
- Glue Gun
- Thick Thread
- Toothpick
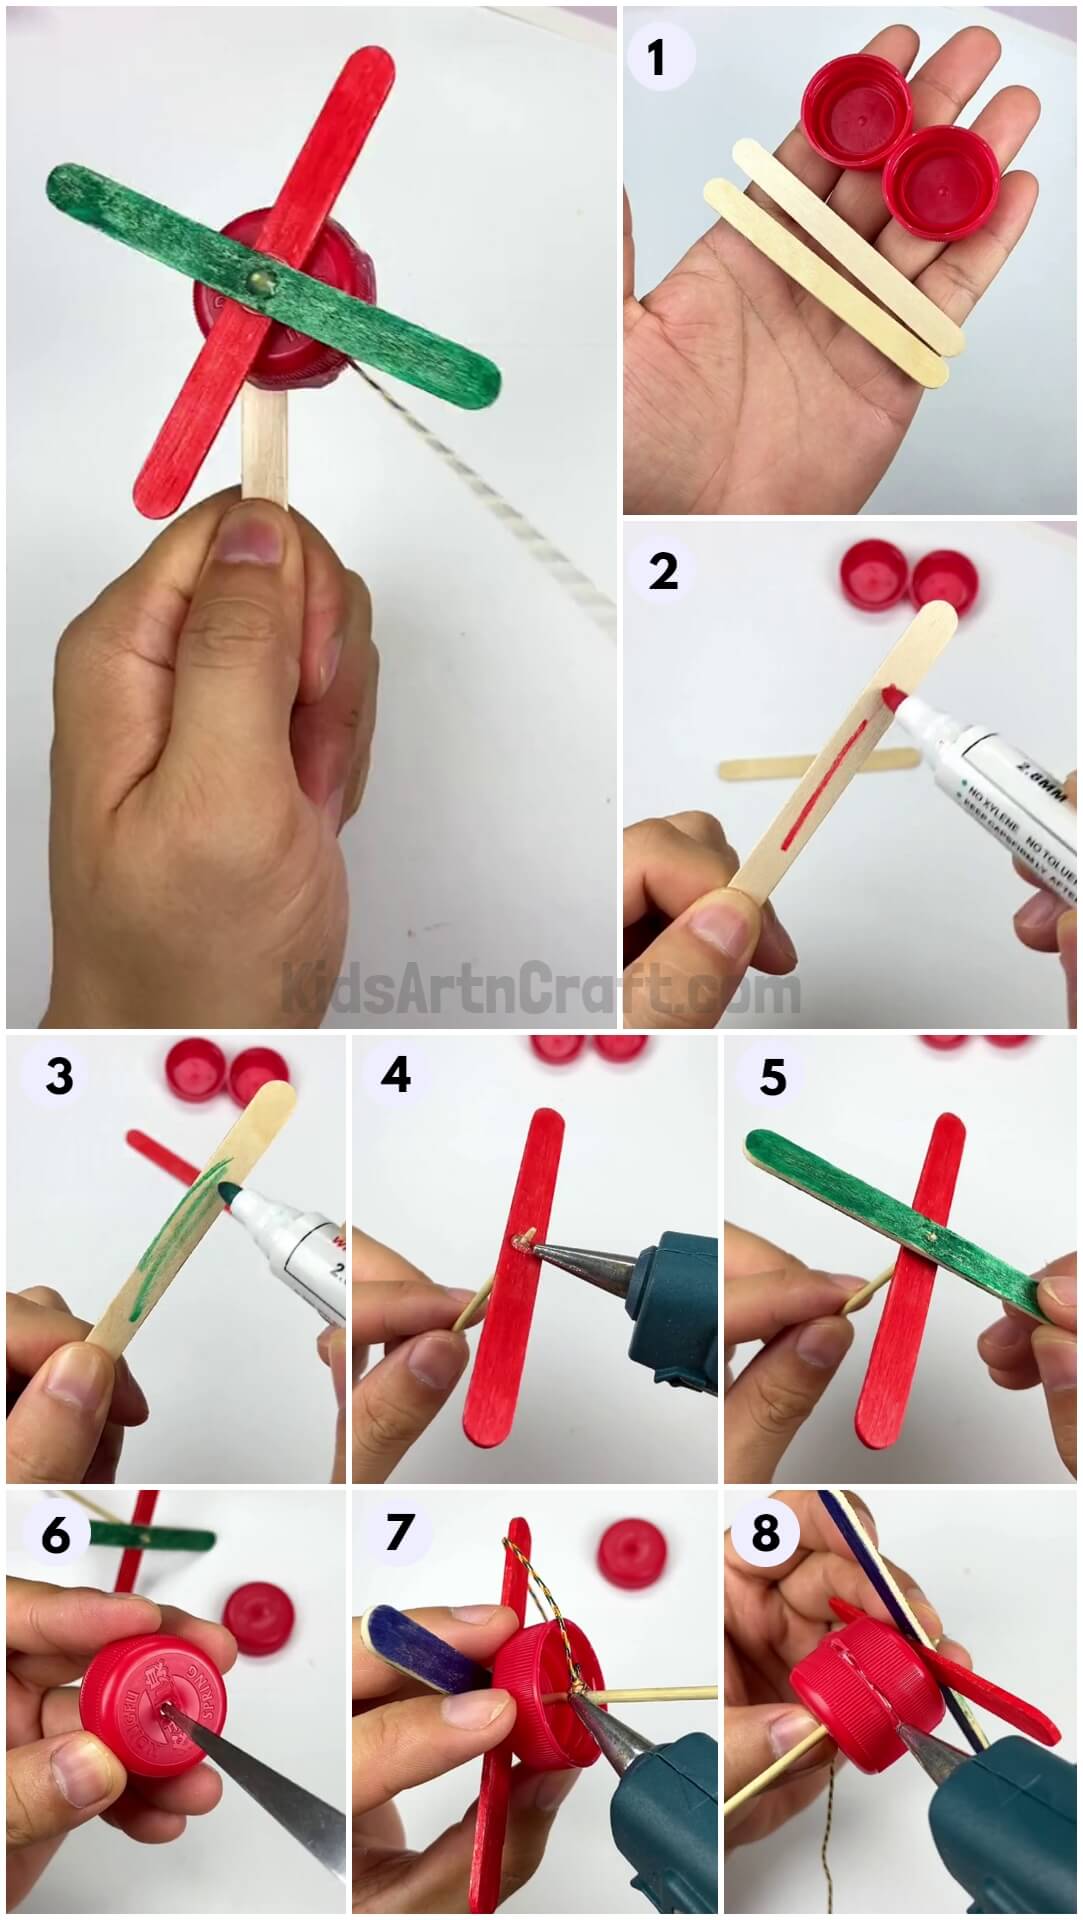
Procedure
Step 1: Take 2 Bottle Caps And Popsicle Sticks

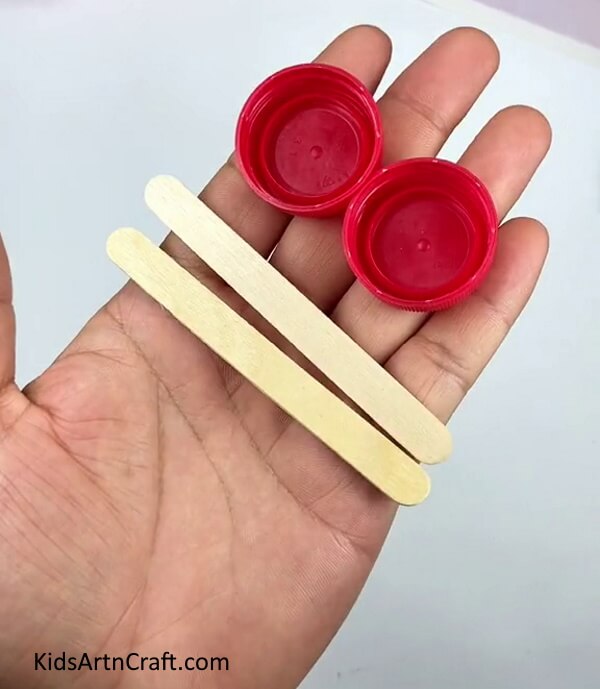
For starting this craft, gather 2 bottle caps and popsicle sticks.
Step 2: Coloring The Popsicle Stick Into Red

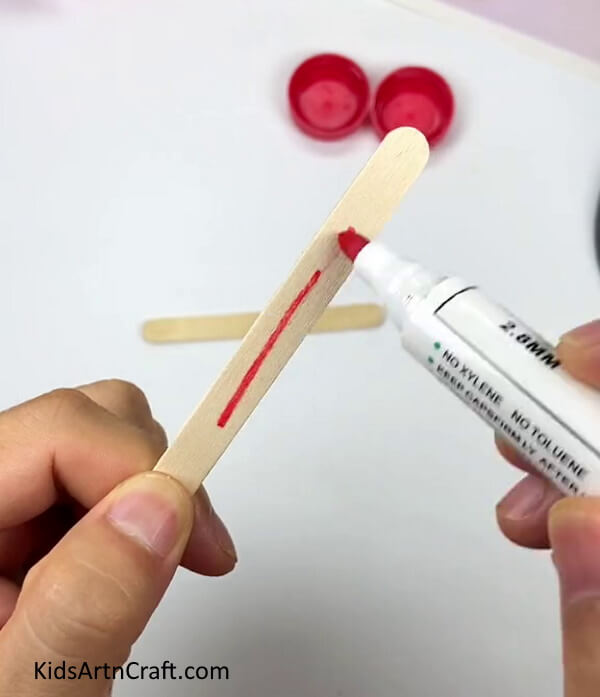
Take a red marker and color the popsicle stick with it.
Step 3: Coloring The Other Popsicle Stick Into Green

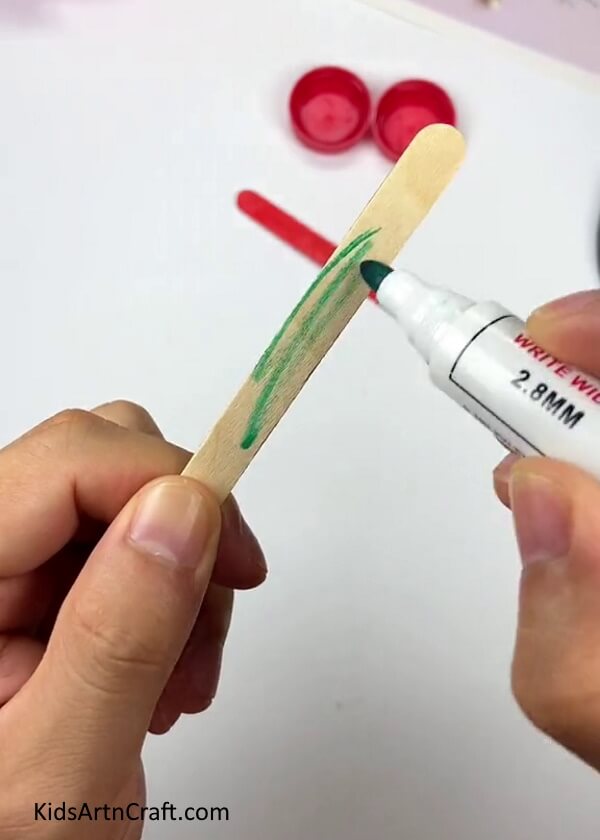
Coor the other popsicle stick with a green marker.
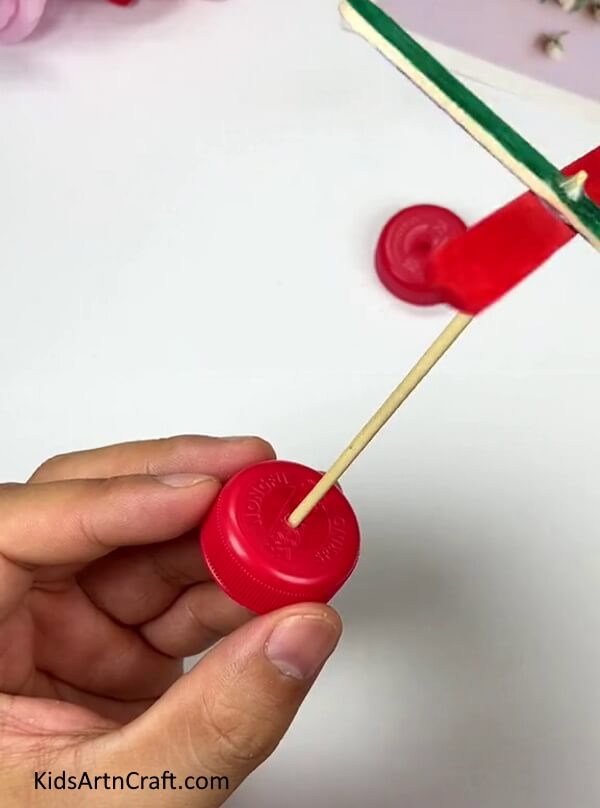
Step 4: Inserting A Toothpick Into Red Popsicle Stick

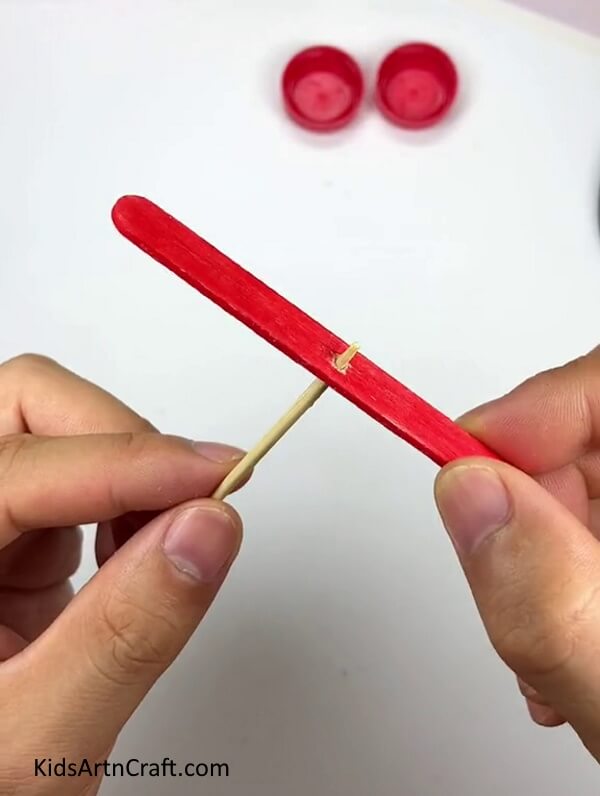
Make a hole in between the red popsicle stick and insert a toothpick in it just from the tip of it.
Step 5: Glueing The Toothpick To Popsicle Stick

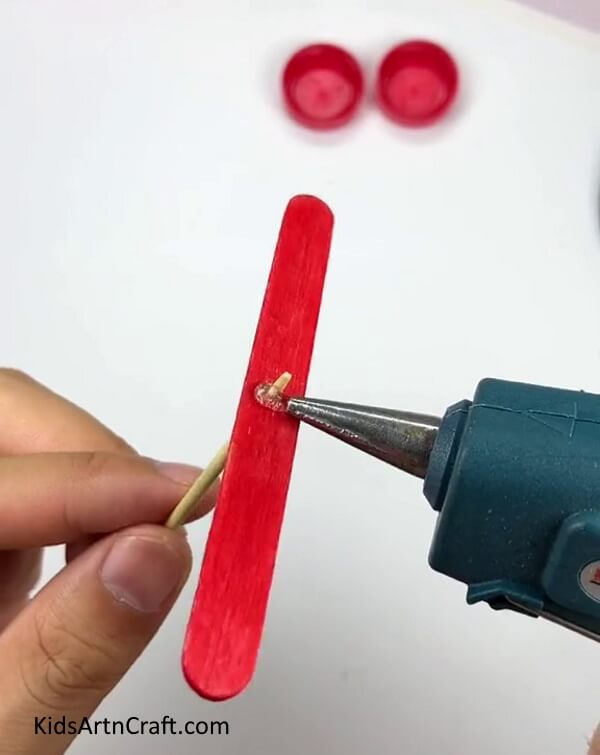
Glue the toothpick over the popsicle stick using the glue gun.
Step 6: Inserting Over Another Popsicle Stick

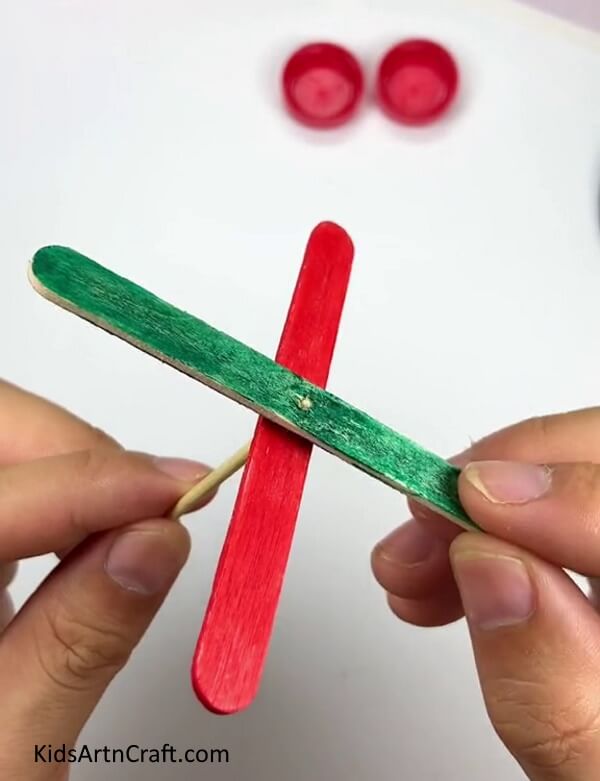
Now take the green popsicle stick, and make a hole in it too, now insert the toothpick in the green one too from over the red one, making a cross shape.
Step 7: Making A Hole In The Bottle Cap
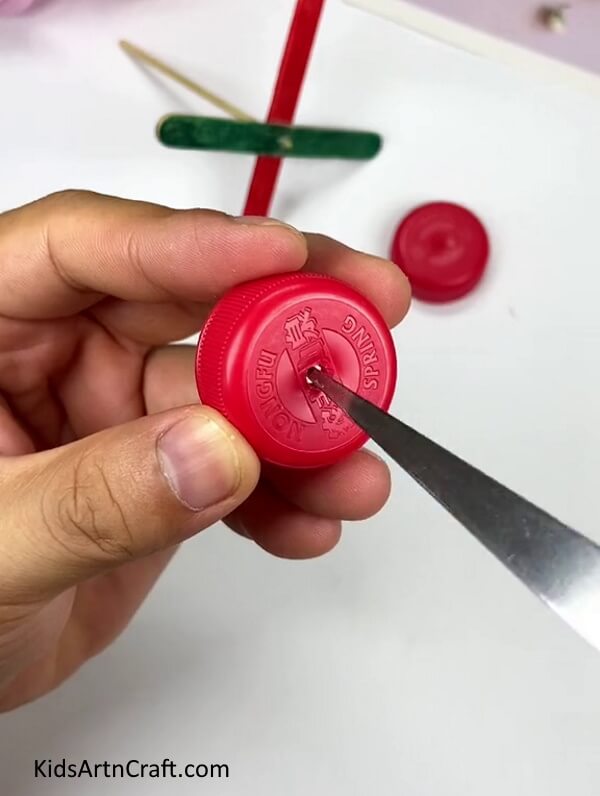
Using a craft knife, make a hole in the center of the bottle cap.
Step 8: Inserting The Toothpick Into Bottle Cap Hole

Insert the other side of the toothpick into the bottle cap’s hole to the cross.
Step 9: Tieing And Glueing A Thick Thread

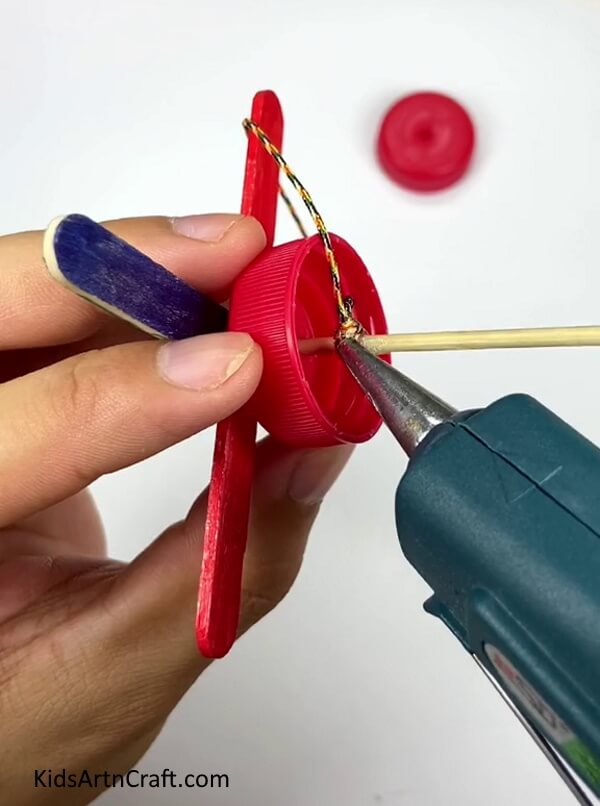
From behind the bottle cap, tie a thick thread to the toothpick and secure it with the glue gun.
Step 10: Inserting Another Bottle Cap

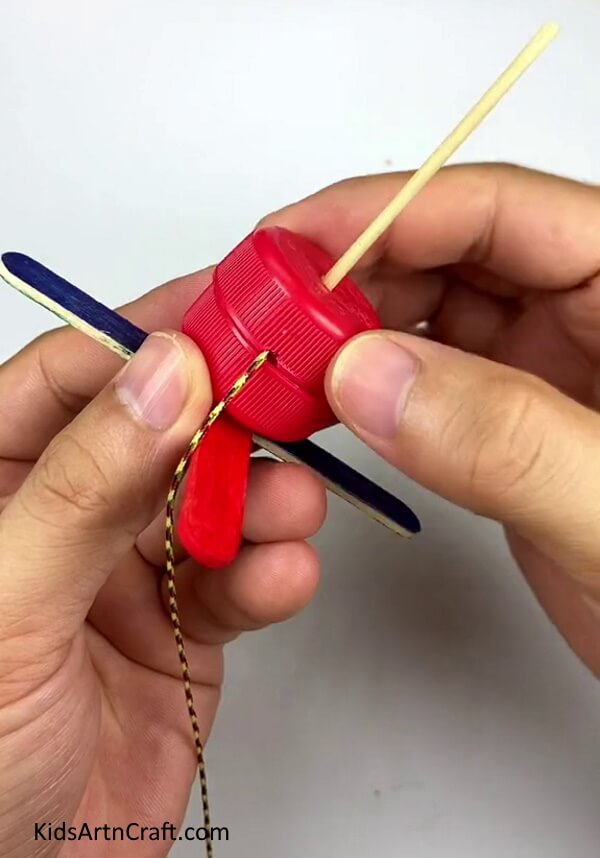
From the other side as before, insert another bottle cap by making a hole in it too while enclosing the 2 bottle caps. Also, make a hole in between the bottle caps and stretch out the thread from that hole.
Step 11: Glueing Both The Bottle Caps Together

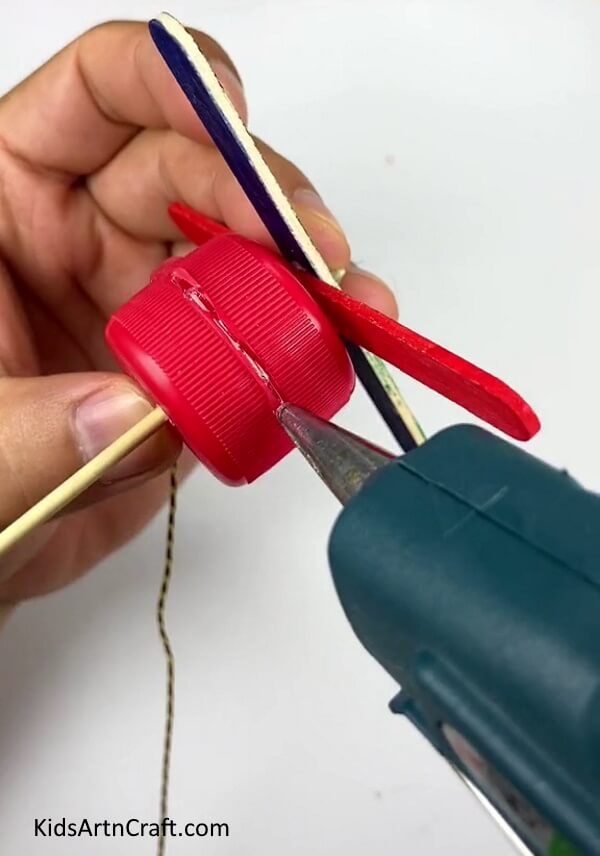
Apply a glue gun between both bottle caps to secure the structure.
Step 12: Applying Glue To The Toothpick


After leaving a small distance from the bottle caps, apply a glue gun around the toothpick as shown in the image.
Your DIY Pinwheel Craft Toy Is Ready!

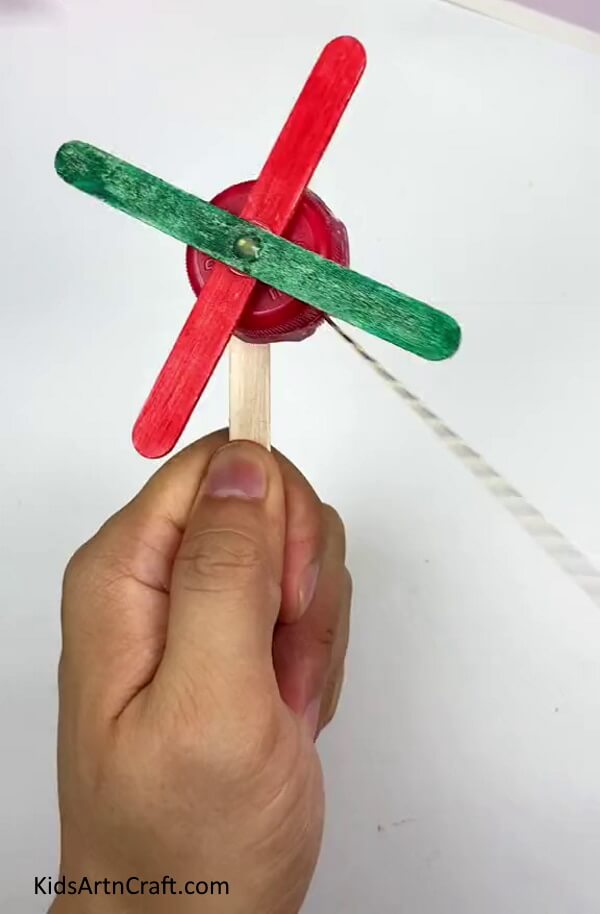
At last, stick another possible stick to the back of the pinwheel over the bottle cap using a glue gun. Stretch the thread to make your pinwheel move.
Look at the ravishing results! This pinwheel is fun to play with! Isn’t it?!
This pinwheel will serve as a great working toy craft for your ordinary craft collection! Stun everyone with your amazing creation, craft, and innovation skills! This can also be a cool science project for younger kids! The materials were also so easily accessible and the craft turned out amazing! You can also teach the kiddos importance of recycling through this craft-making! Let the add their touch of creativity to this craft by customizing it!
Some More PinWheel Craft Tutorial
How To Make Pinwheel Craft From Popsicle Stick

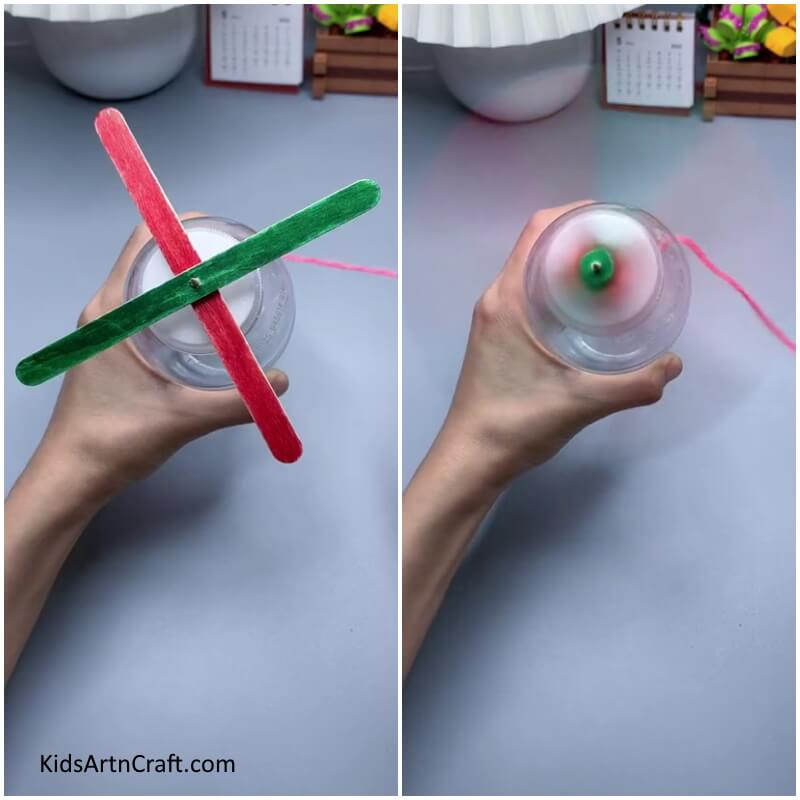
Image Source/Tutorial: Kids Art & Craft
Making a pinwheel craft from a popsicle stick is easy and fun. All you need is a few sticks, glue, and some colorful paper. Create a unique pinwheel and enjoy the mesmerizing effect it creates when it spins in the wind!
Follow us on Youtube for art and craft tutorials and much more.
More Articles from Kids Art & Craft
- Butterfly Popsicle Stick Crafts For Kids
- How to Make Frog by Toilet Paper Roll Step-by-Step Tutorial
- DIY Paper Cup Bunny Craft For Kids
- How to Make Paper Lavender Flower Easy Tutorial
- Learn To Make Popsicle Stick Dragonfly Craft