Clay Crafts
Plant Garden Artwork Craft Using Clay And Peanut Shells

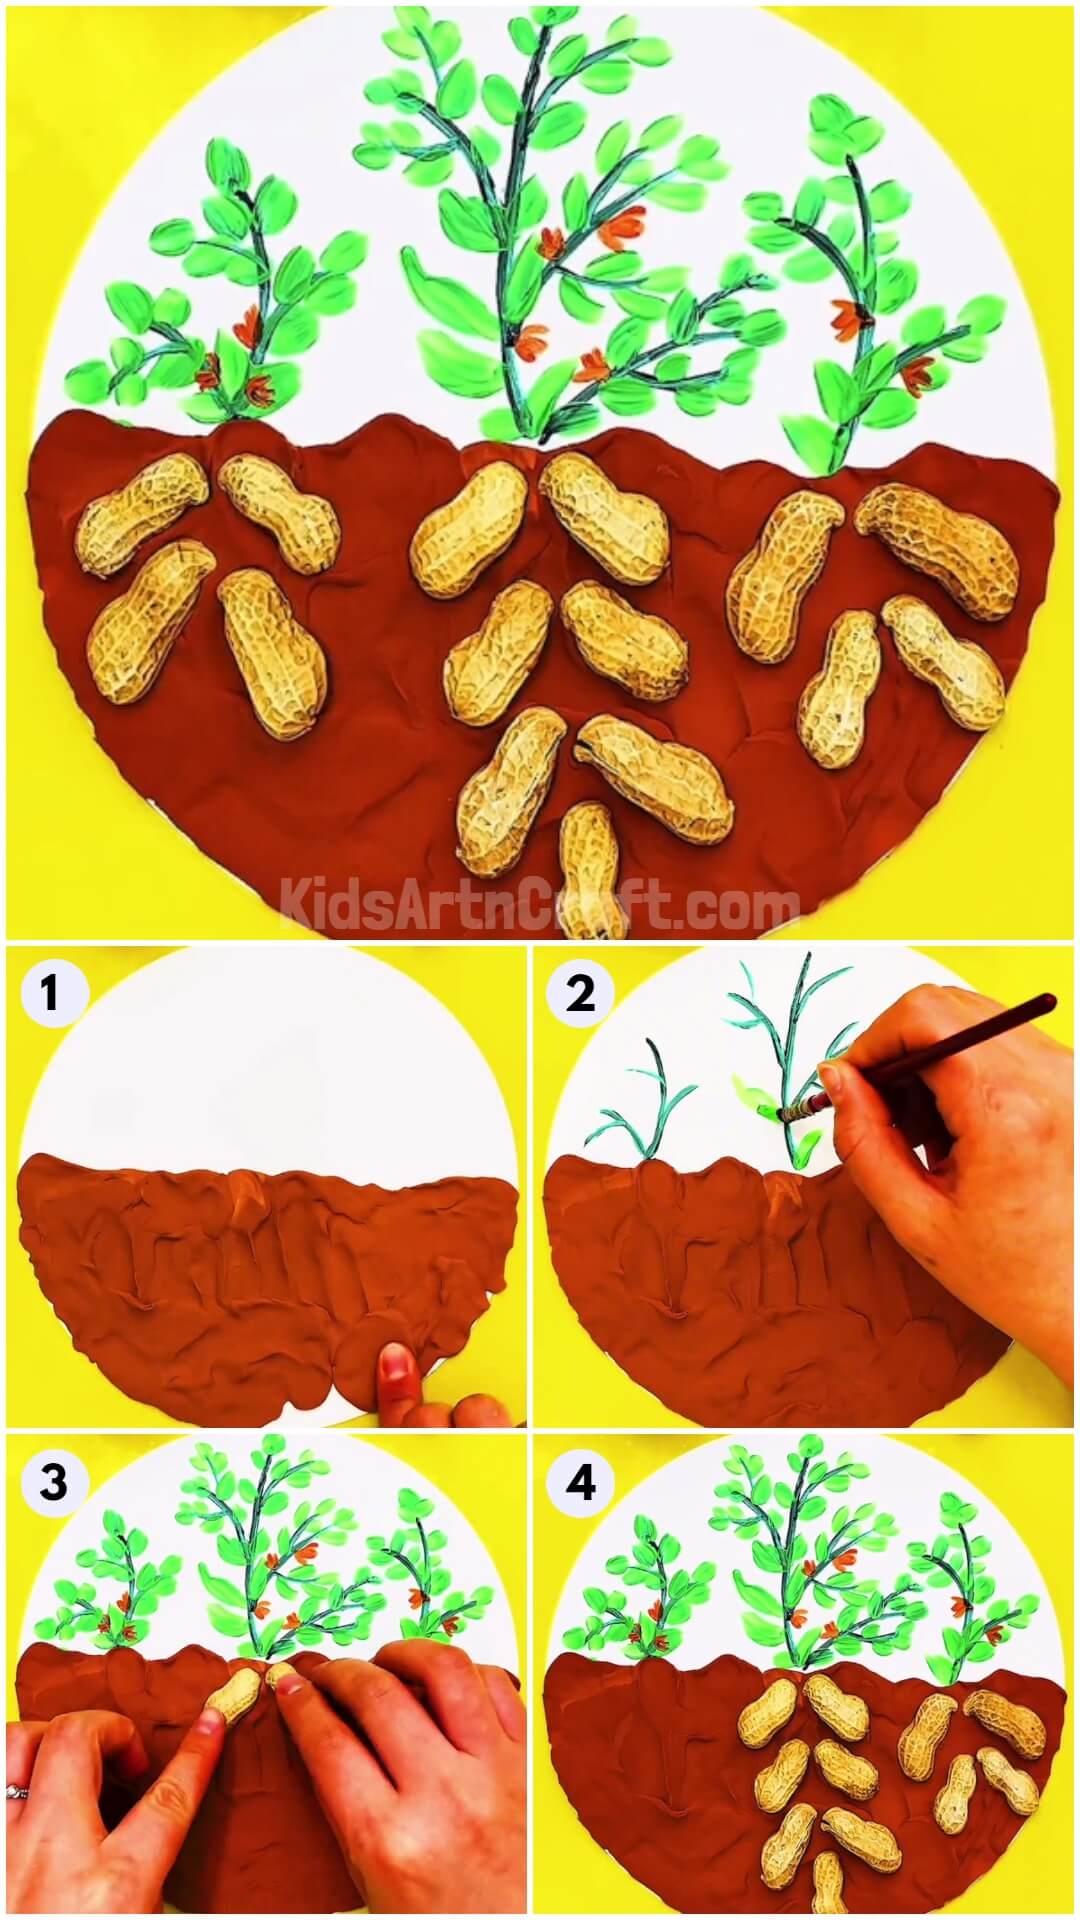
This step-by-step tutorial will guide you to make a plant garden using peanut shells, clay, and paints! Discover a whole plant with this craft!
Learn to make this amazing plant garden craft with our easy step-by-step tutorial! Our tutorial will guide you through each and every step to not mess things up and give astonishing results! This craft will be a creative one as you will be using the waste peanut shells in it! You can make this craft in the boring afternoon hours to spend fun learning quality time with your friends and family, rather than engaging yourself in the screen and devices! This craft-making can also be the perfect classroom activity to make the kids learn about plants, their parts, and even their properties! You can also use this craftwork as your school project!
DIY Plant Garden Artwork Craft Using Clay

Read More: DIY Clay Giraffe Step-by-Step Tutorial For Kids
Materials Required
- White Circular Paper Sheet
- Peanut Shells
- Brown Clay
- Rounded Paintbrushes (Thin And Thick)
- Paint Colors (Light Green, Drak Green, And Orange)
Procedure
Step 1: Molding Brown Clay
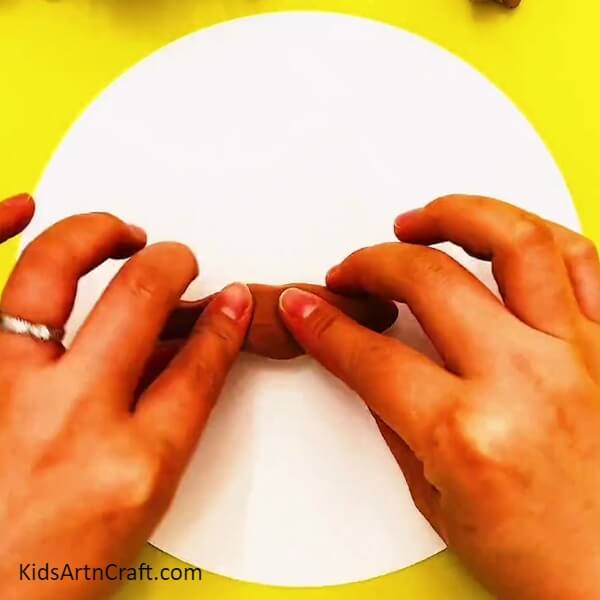

To begin this craft, take a white circular sheet as the base and brown clay. Mold the brown clay over the sheet to form the ground.
Step 2: Forming The Ground
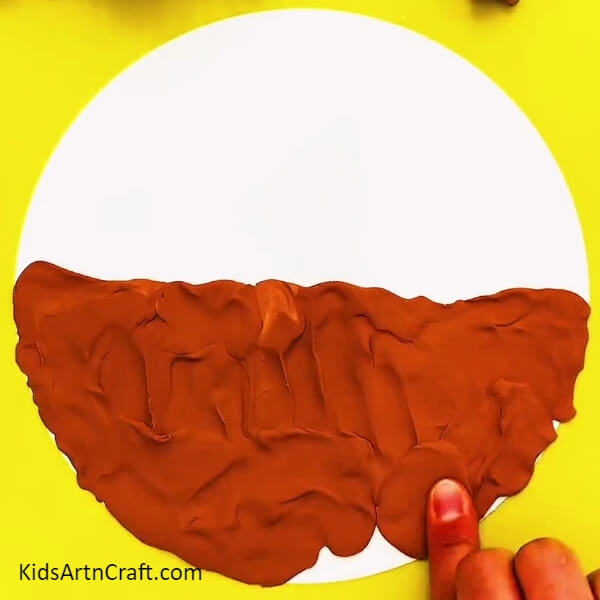
Press and spread the brown clay over half of the base to make the ground using your fingers.
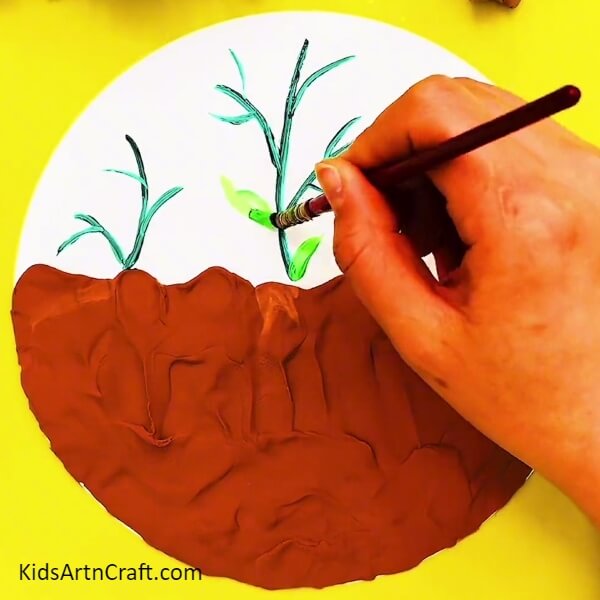
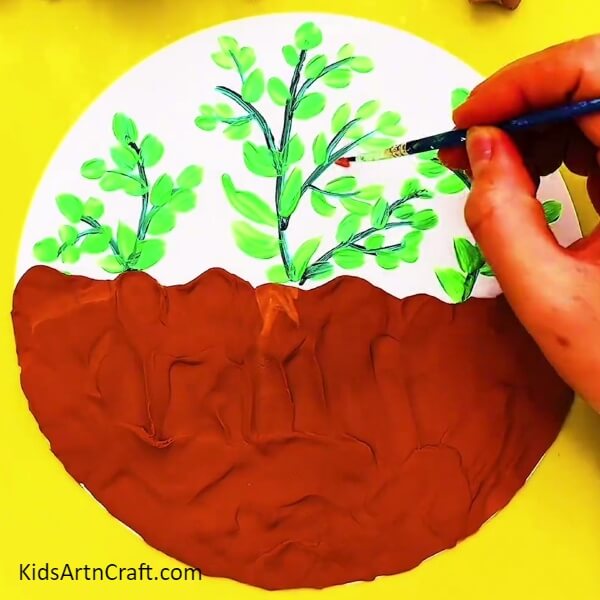
Step 3: Painting Stems Of The Plants

Dip a thin round paintbrush into dark green paint and make 3 plant stems and bases above the ground.
Step 4: Painting Leaves
Dip a thick rounded paintbrush into light-green paint and make leaves attached to the stems of the plant.
Step 5: Painting Flower
Dip the thin rounded paintbrush into orange paint and start making a 3-stroked flower over the stem of the middle plant.
Step 6: Completing Making Flowers
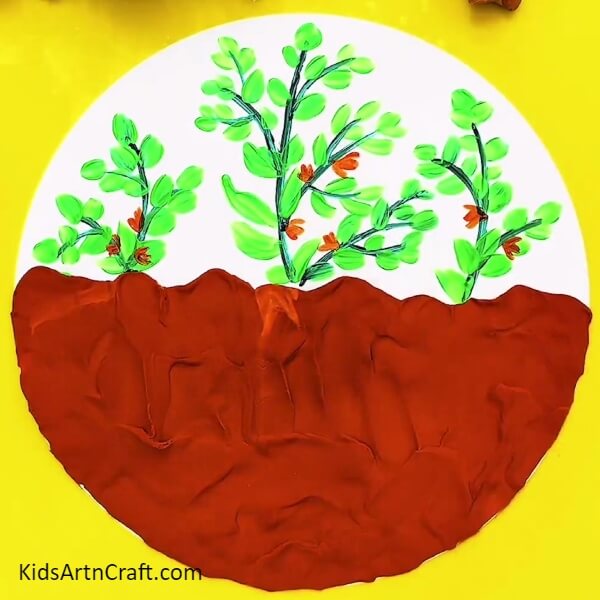
Make the flowers over each plant randomly attached to the stems.
Step 7: Sticking Peanut Shells
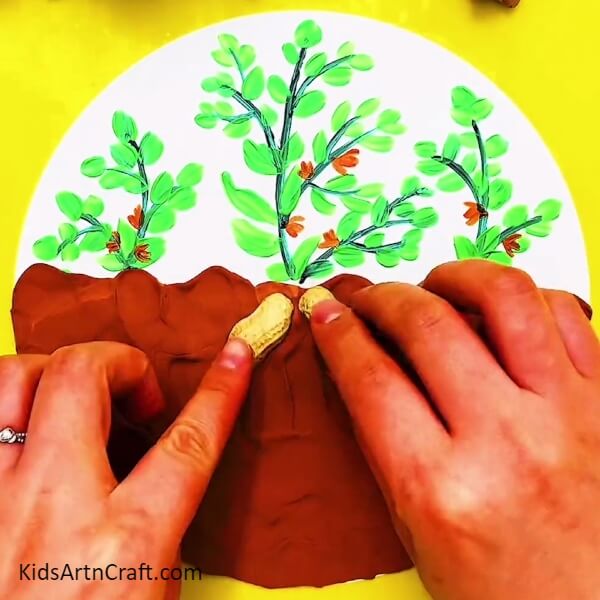
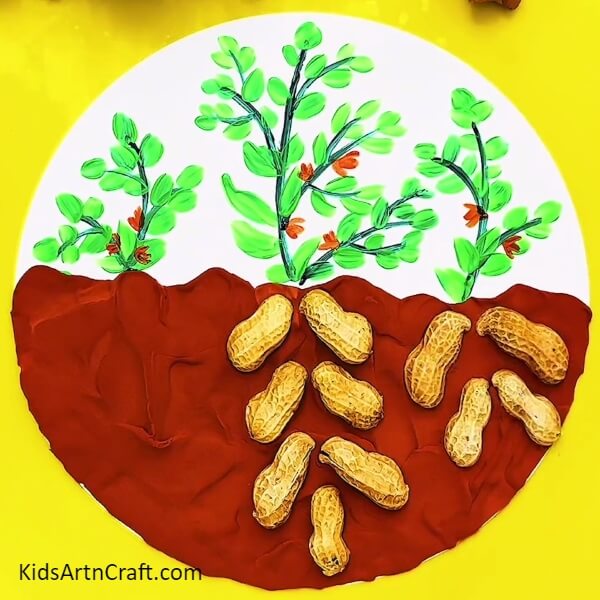
Take half the peanut shells and place the slightly tilted below the plant over the clay ground. Press them over the clay to make them stick to the clay. This will be the roots of the plant.
Step 8: Completing Making Roots Of The Middle Plant
Line by line stick the peanut shells one below the other and stick a straight shell at the bottom to complete the roots of the middle plant.
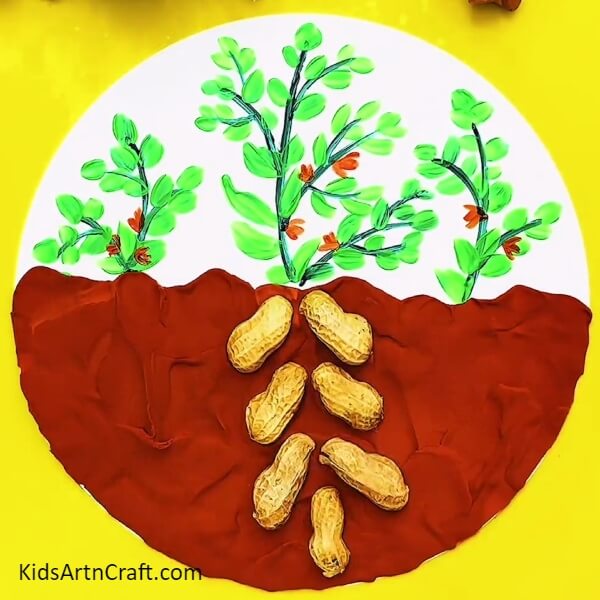
Step 9: Making Roots Of Right-Side Plant
Follow the same previous steps to make roots of the right side plant till the base ends.
Wow, The Final Look Of Your Plant Garden!
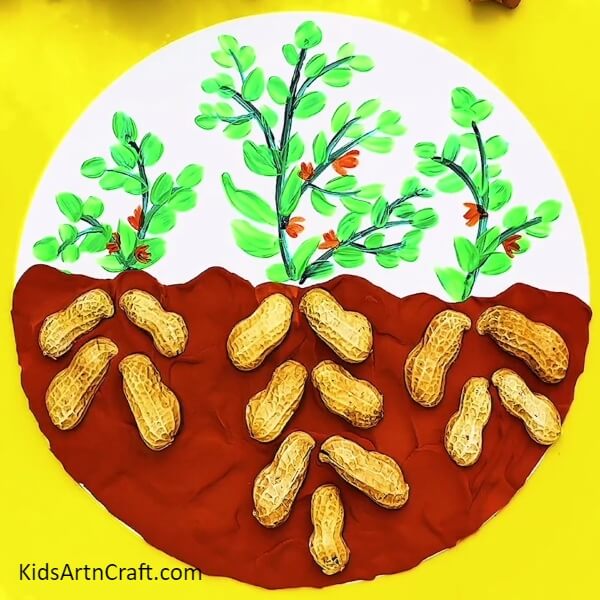
Complete the craft by making the peanut shell roots of the left-side plant.
Voila! Your plant garden craft is completed in the blink of an eye! You can now decorate your craft piece over your wall or can even show it off to everyone in the classroom by submitting it as your project! Let everyone envy your project and creativity! I’m sure your teacher will love the concept and creativity in this craft project! You can also customize this craft by making the leaves by pasting the fall leaves, etc. Your imagination is the limit!
Follow us on Youtube for art and craft tutorials and much more.
More Articles from Kids Art & Craft
- Easy to Make Cactus Desert Artwork Craft Using Clay
- Simple & Tasty Ice-Cream Craft Using Clay – Step-by-Step Tutorial
- How to Make a Clay Bird Easy Artwork tutorial for kids
- Clay watermelon ice cream easy craft tutorial
- How To Make Caterpillar Eating Apple Using Clay