Home Decor
Realistic Ribbon Roses Making Craft For Beginners

This tutorial is ideal for anyone who is a beginner in making ribbon roses. All you need to do is gather the materials and follow the instructions for a lovely outcome.
Flowers are always a beautiful gesture if you want to make someone feel special or make their day. Especially roses, which are also called the symbol of love. You can give roses to anyone that you love or is close to your heart. The roses become even more special when you make them with your own hands. So, today we are going to make handmade roses. Let’s get started!
DIY Realistic Ribbon Roses Making Craft

Read More: DIY Paper Flower Hanging Craft Step-by-Step Tutorials
Materials Required
- Pink ribbon
- Needle
- Thread
- Lighter
- Scissors
Procedure
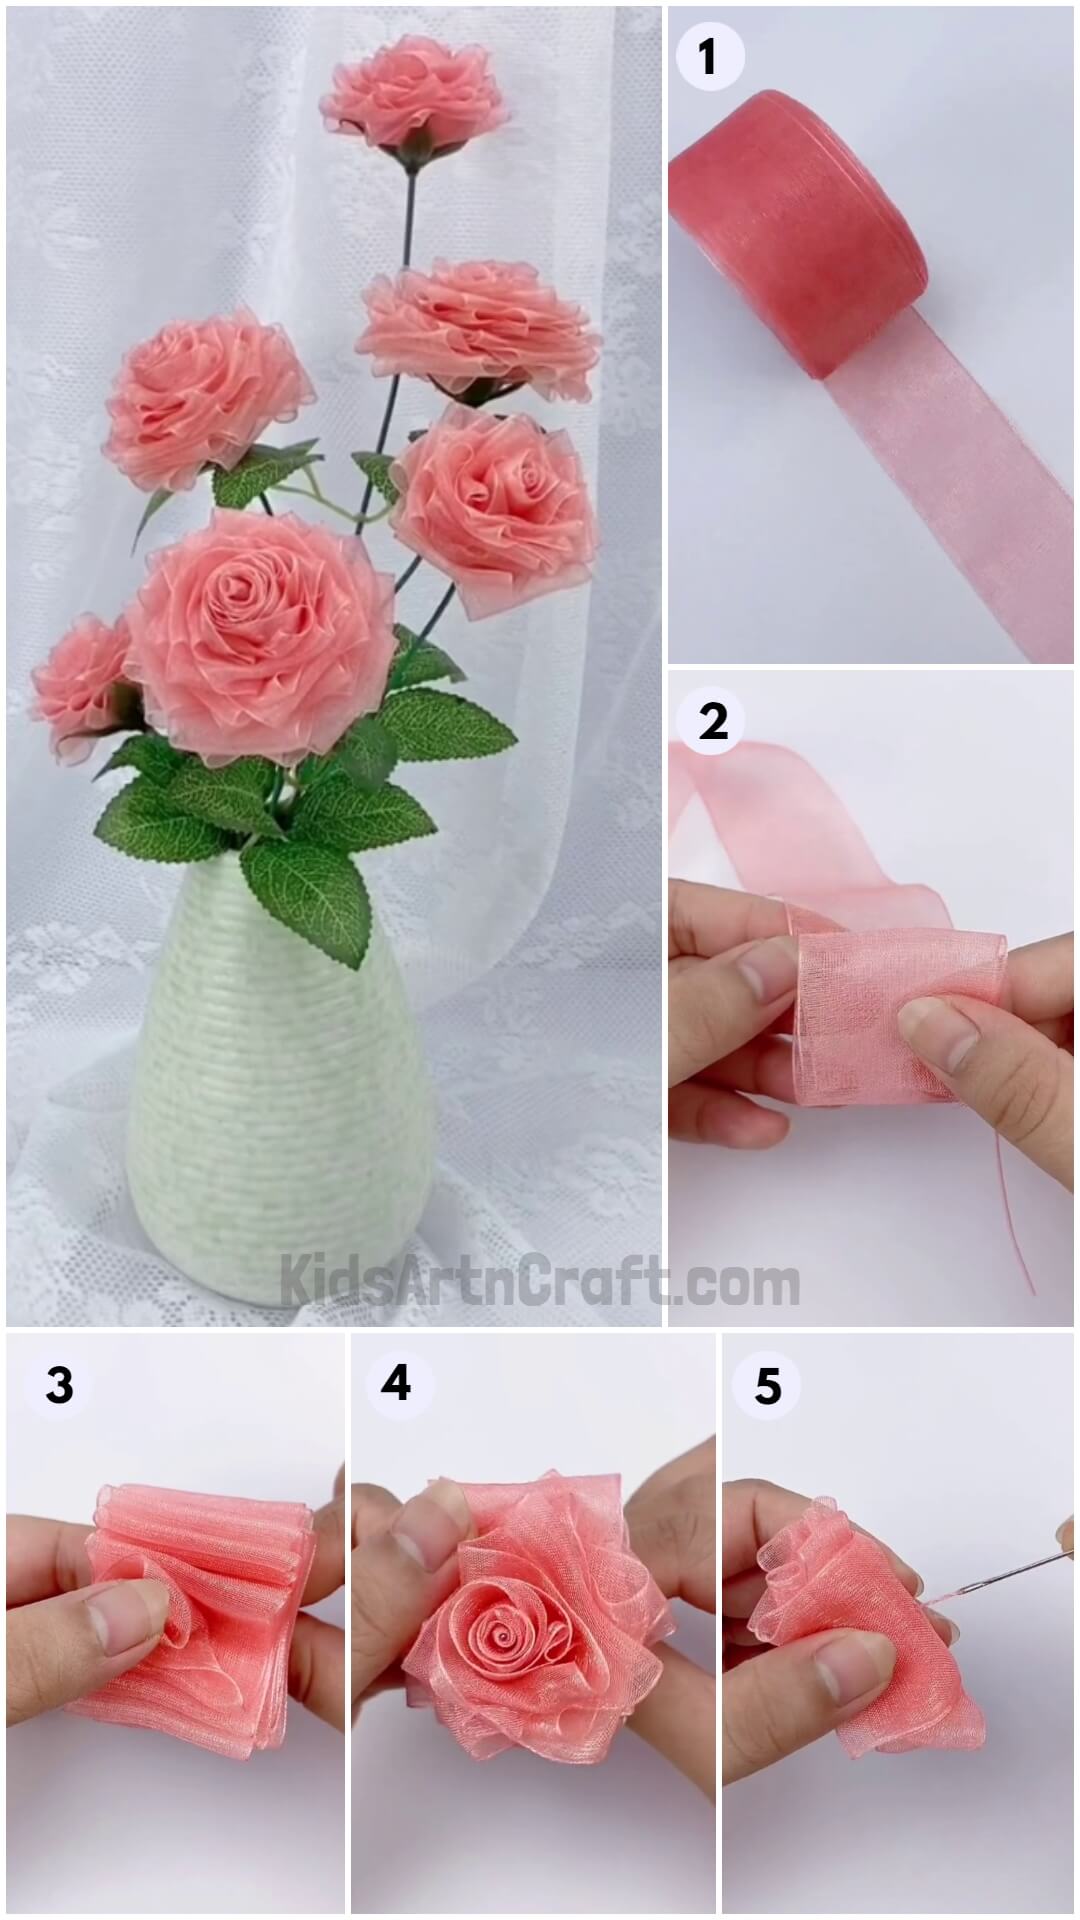
Step 1: Take A Thick Pink Ribbon
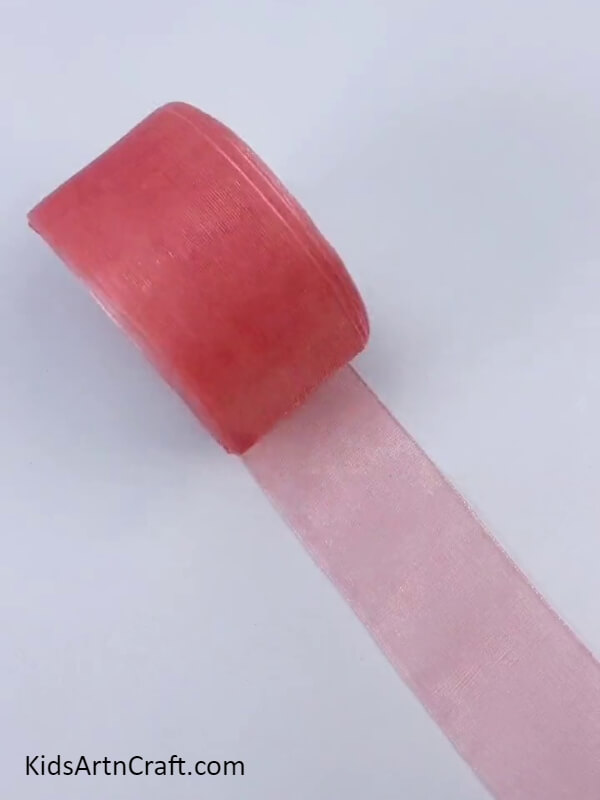

Your first step is to take a pink ribbon. Take the whole roll of the pink ribbon. The pink ribbon should be thick in size.
Step 2: Cut The Ribbon From The Corner With Scissors
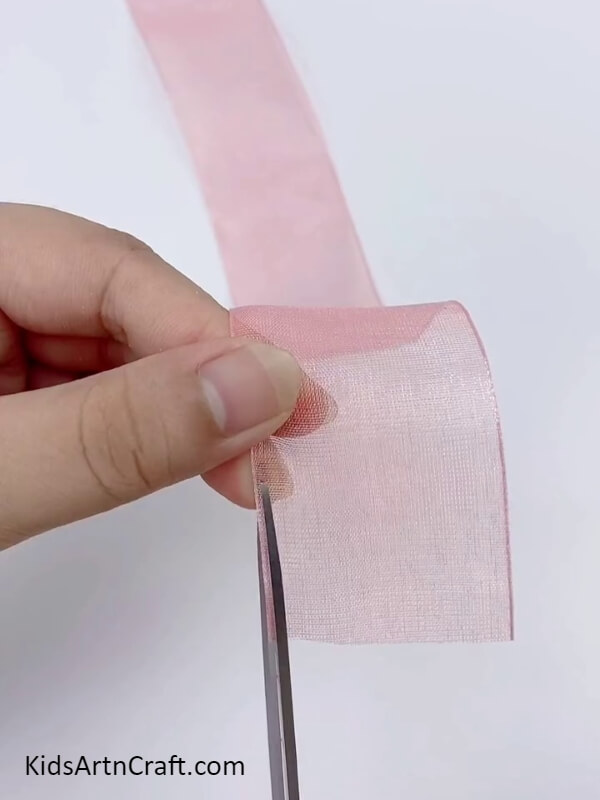
Now, with the help of scissors, cut the thick pink coloured ribbon from the corner or borders of the pink ribbon roll.
Step 3: Cut The Ribbon In A Diagonal Way
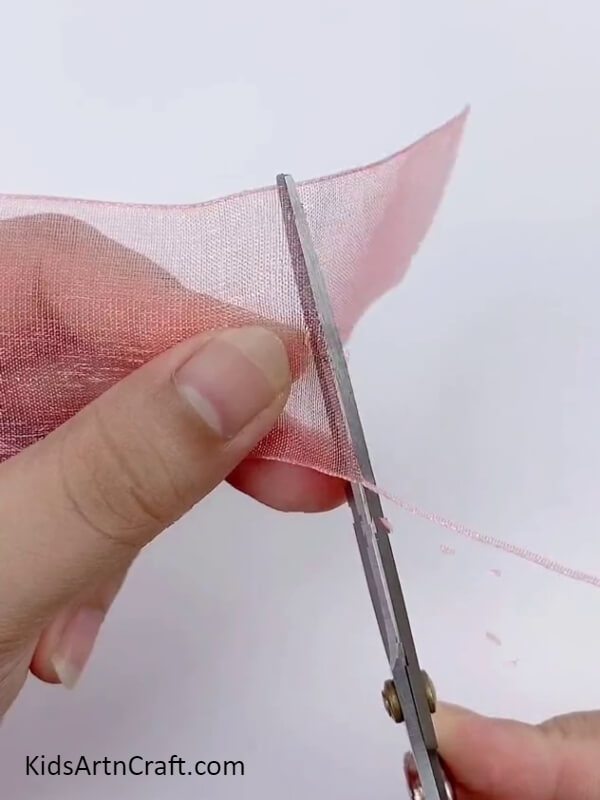
With the use of scissors cut the thick pink coloured ribbon in a diagonal or slant way as shown in the image.
Step 4: Fold The Pink Ribbon Alternatively
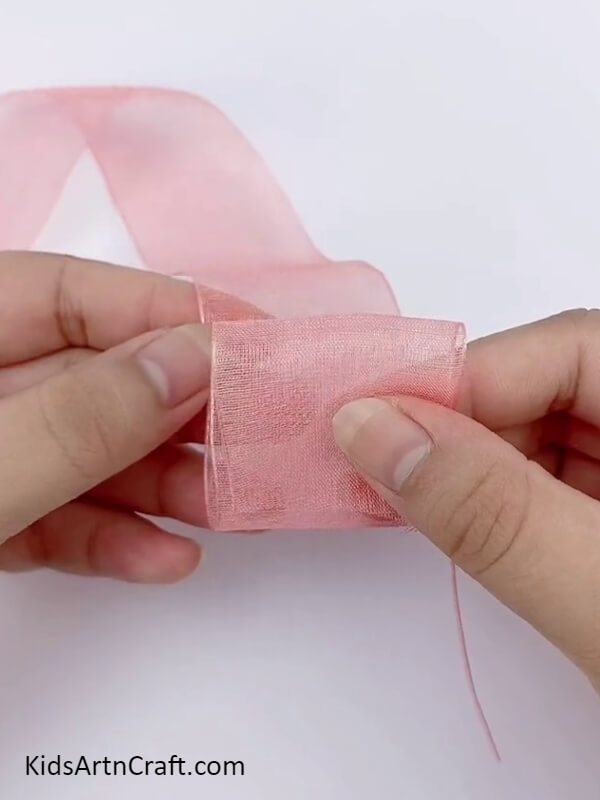
Now, fold the thick pink ribbon alternatively as you would fold a piece of paper to make a chinese fan.
Step 5: Make More Folds From The Pink Ribbon
Keep repeating the step of folding the thick pink ribbon alternatively till you reach the end part of the particular ribbon. Hold the bunch of folds tightly tightly, otherwise all your hardwork will go in vain.
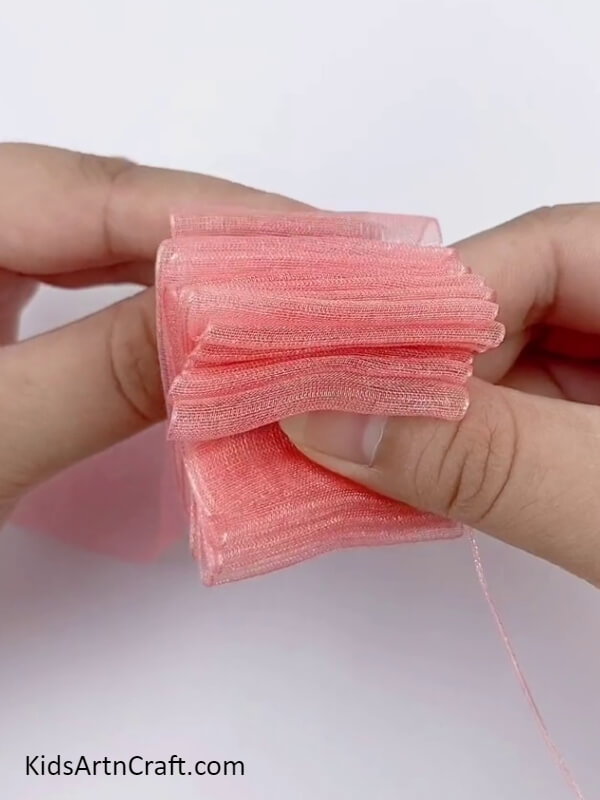
Step 6: Insert A Needle In The Pink Ribbon
Take a needle. After taking a needle, insert the needle in the folded thick pink ribbon as shown.
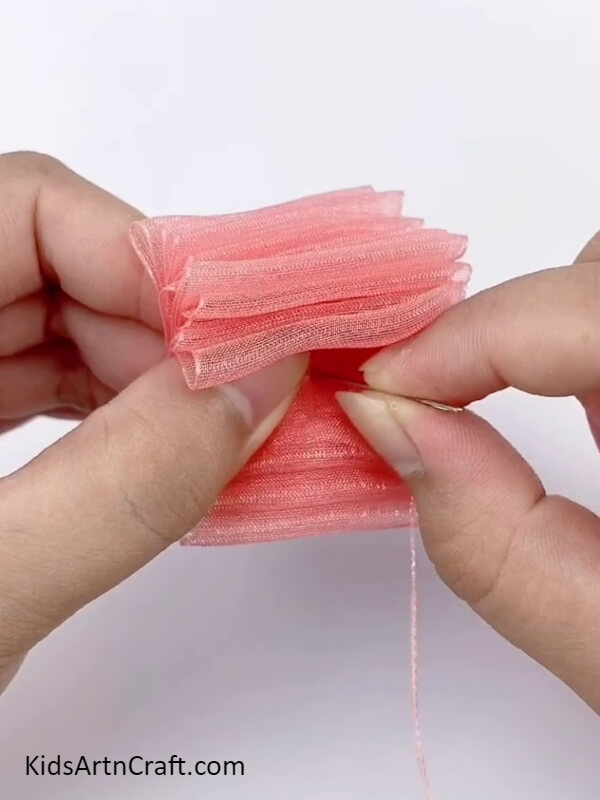
Step 7: Fold From The Front Of The Ribbon
Now, fold the thick ribbon from the front. Make many folds so that it forms the shape of the flower rose. Do this with the help of needle which you have inserted in the pink ribbon in the above step.
Step 8: Make A Rose Shape From A Pink Ribbon
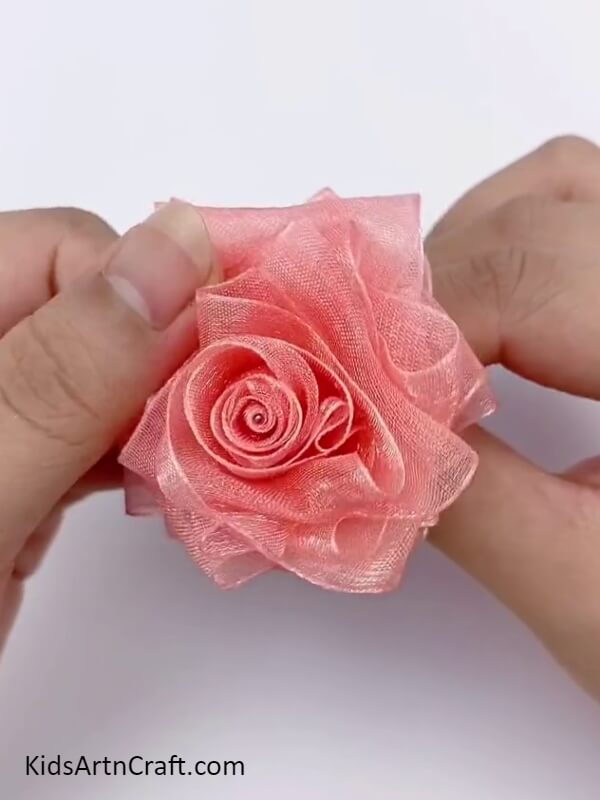
Keep repeating the above step to make a perfect rose form from the thick pink coloured ribbon with the help of needle.
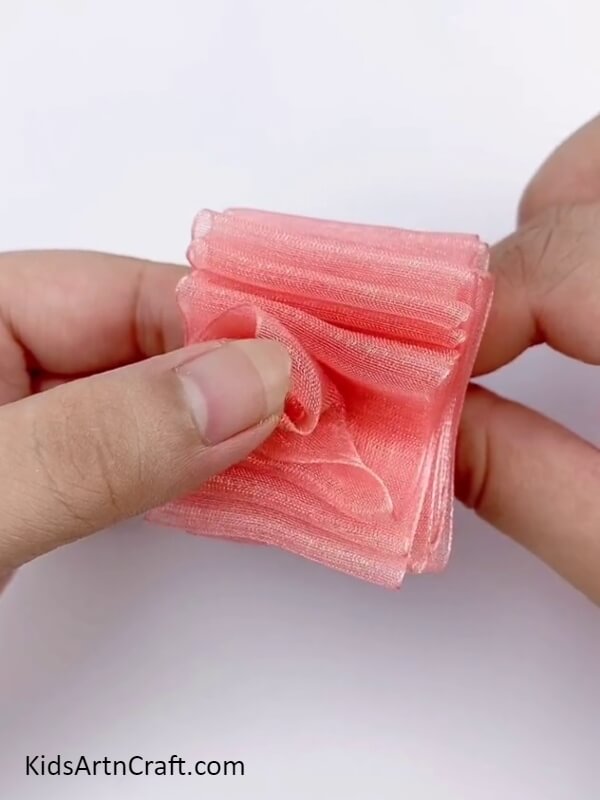
Step 9: Pull Out The Needle From The Pink Ribbon
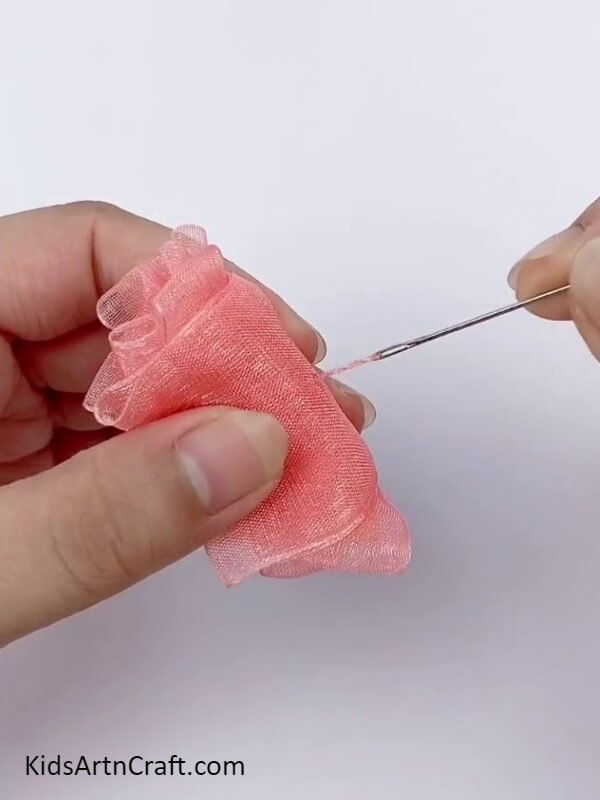
After making the perfect rose shape from the needle and the thick pink coloured ribbon, pull out the needle from behind the rose shape as shown in the picture.
Step 10: Light The Ribbon Slightly
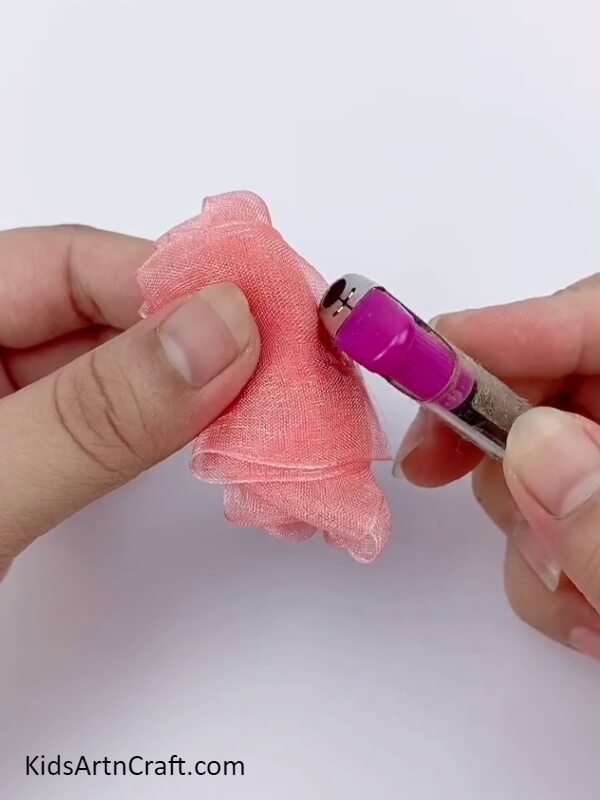
Do this step very carefully and if child, do it under parental guidance. For this step you need a lighter. After taking a lighter, light the lighter behind the rose as shown so that you can attach the stem to the rose. Do this step very carefully.
Congratulation, Your Beautiful Roses Are Ready To Make Someone’s Day
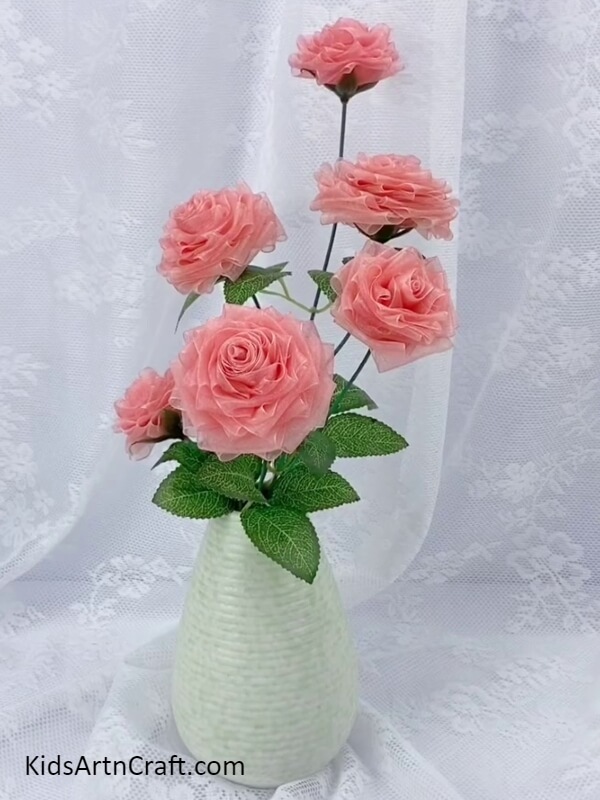
Finally, your beautiful roses are ready to make someone’s day. These roses are really looking very pretty and aeshtetic. This craft is little hard but once you get it, it really does get easy and the end result you can see is satisfying as ever. If you have reached till here, I see you and appreciate all your hard work. Keep it up! You can learn many things from this craft. You can even use it as a decoration purposes or you can give this to special someone to make their day cheerful.
Some More flower Craft Tutorial
Lovely Origami Rose Craft With Children

Image Source/Tutorial: Kids Art & Craft
This craft is perfect for children of all ages! It is simple and fun to make an origami rose with just a few pieces of paper and a few folds. It’s a great way to spend time together and make a keepsake at the end.
Transform Paper Into Flower Craft Using Paper Cup

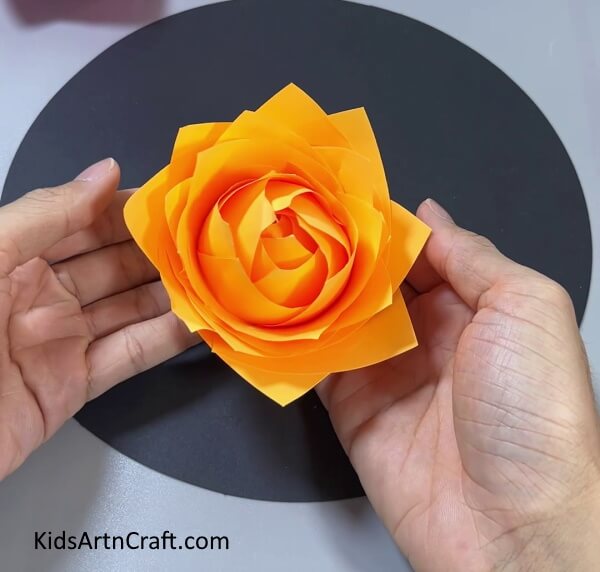
Image Source/Tutorial: Kids Art & Craft
This craft is the perfect way to upcycle paper into a beautiful flower. Using a paper cup, this craft is easy to make and requires no special skills. With a few simple steps, you’ll have a beautiful paper flower that will look great in any room.
These handmade roses are to die for. So, what are you waiting, go and make some roses now to give your love to someone who needs it or you can even make it for yourself.
Follow us on Youtube for art and craft tutorials and much more.
More Articles from Kids Art & Craft
- How to Make Paper Rose Flower step by step For Kids
- How to make Sunflower From Paper Cup Craft
- How to Make Clay Flower Easy Tutorial for Kids
- Handmade Paper Flower Craft For Home Decor
- DIY paper Sunflower Easy craft For Kids