Paper Crafts
Little Paper Teddy Craft Tutorial For Kids

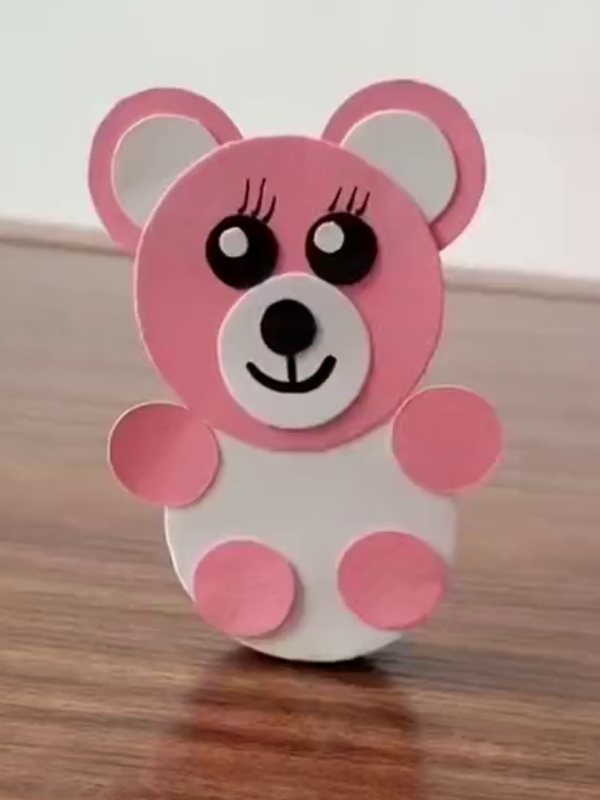
This craft tutorial is perfect for kids! It teaches how to make a little paper teddy bear with simple steps and materials. The end result is a cute and creative teddy bear that your child can proudly display or even give away as a gift. Give it a try!
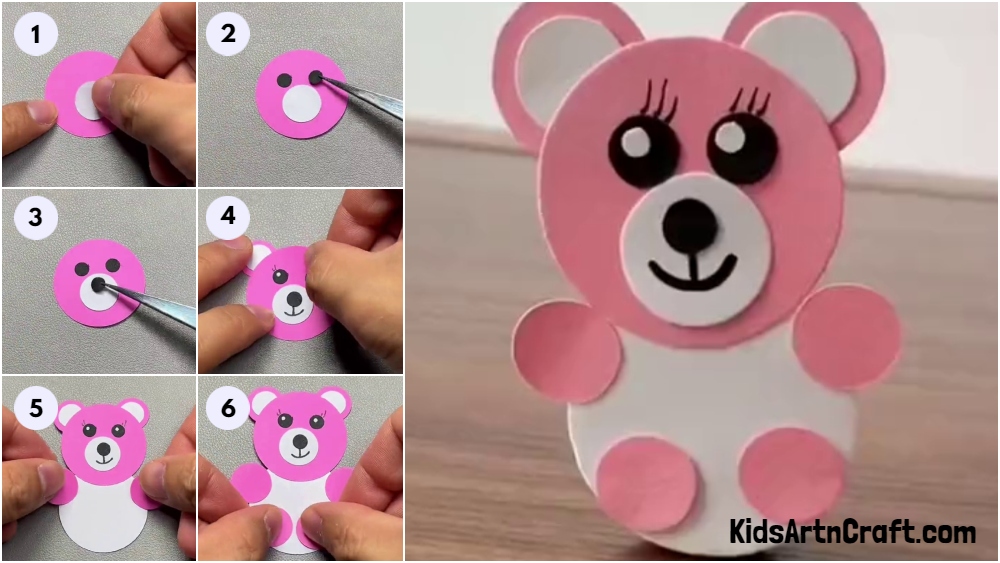
Welcome! This is a simple paper teddy craft tutorial! This is an easy craft that anyone can make using colored craft papers, sketch pens, and a bottle cap. We present to you a step-by-step tutorial to make the stunning teddy craft. The most interesting fact about this craft is that it can stand on its own and hence is perfect for home decor purposes. Grab your supplies and let’s get started!
Little Paper Teddy Craft Tutorial For Kids

Read More: DIY Egg Carton & Paper Flower Wreath Craft For Home Decor
Materials Required
- Colored Paper(White, Black, Pink)
- Pencil
- Sketch Pen(Black)
- Scissors
- Glue
- Bottle Cap
Procedure
Step 1: Making The Teddy’s Head
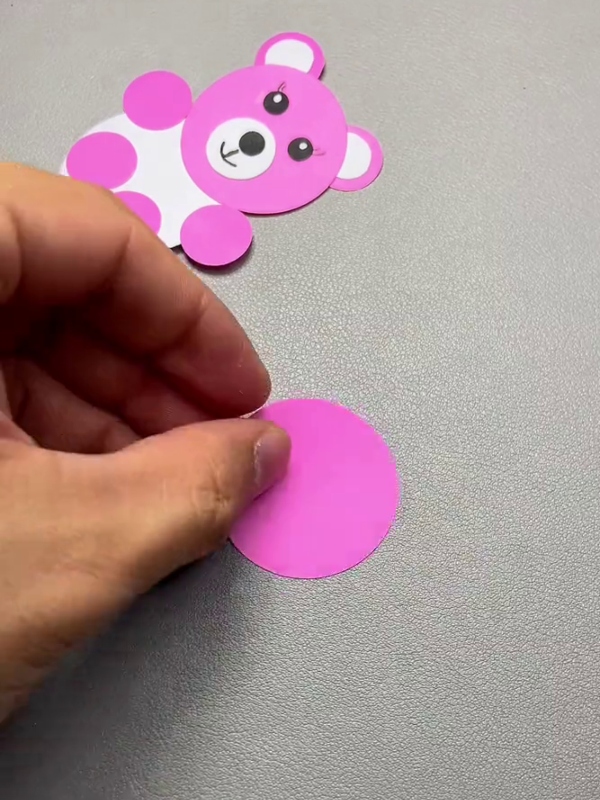
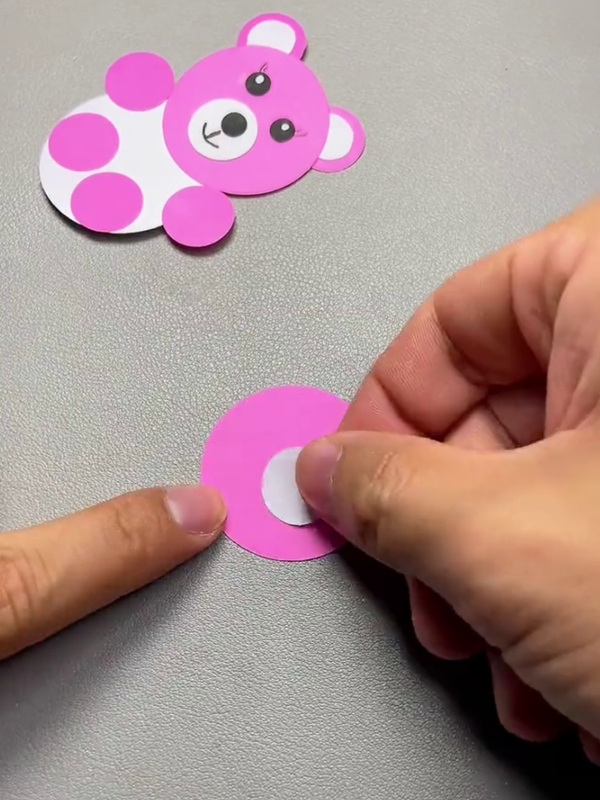
Cut a small circle out of pink paper.
Step 2: Making The Teddy’s Mouth
Take the white paper and draw a circle, then cut it and paste it on the pink circle, as shown in the image.
Step 3: Making The Eyes
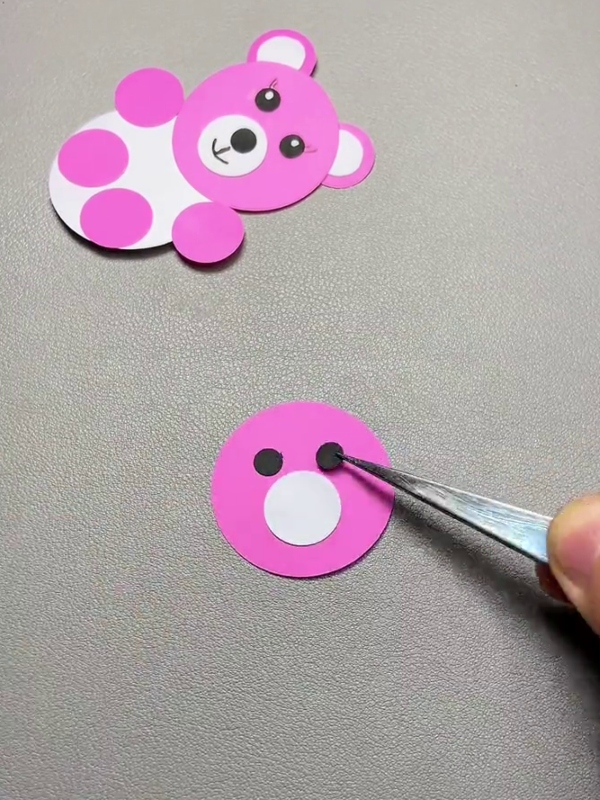
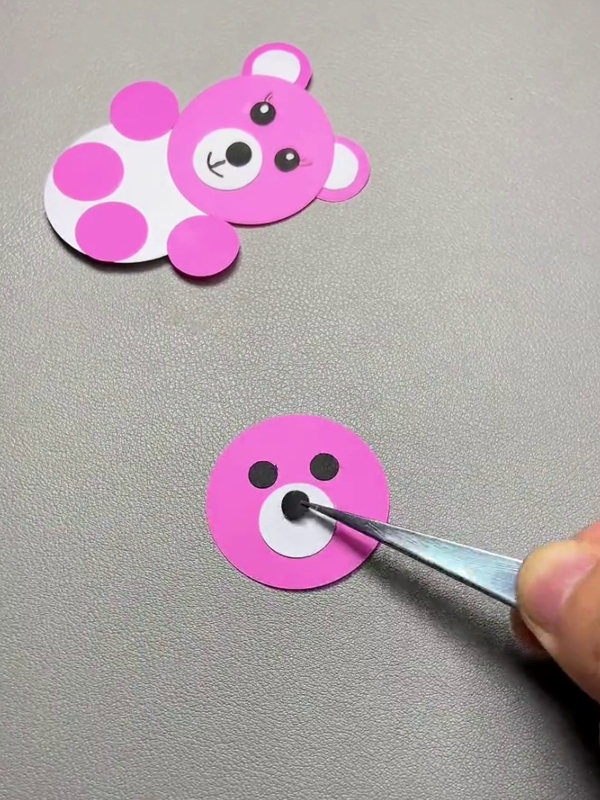
Take black paper for the eyes and cut it into three small circles as shown in the image. Then paste the two black circles above the white circle.
Step 4: Making The Nose
After that, paste the remaining black circle in the middle of the white circle to make his little nose.
Step 5: Drawing Eyelashes And A Mouth
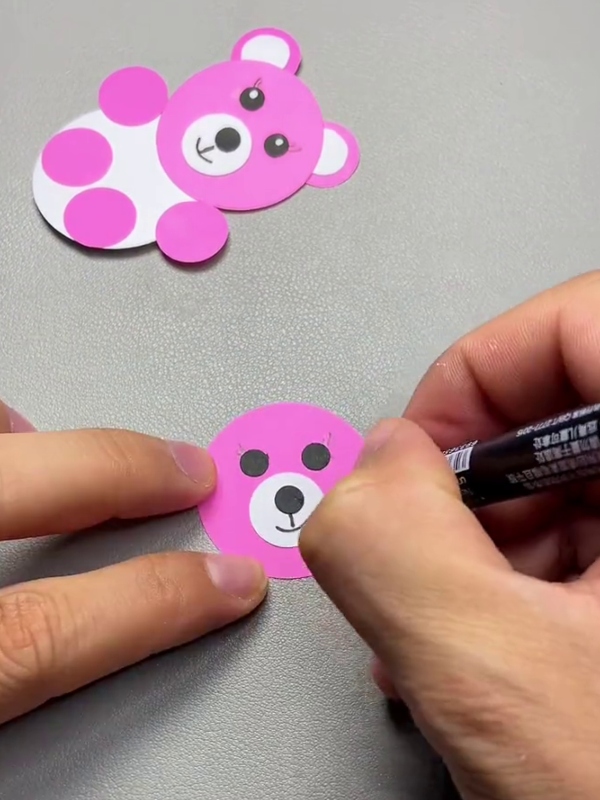
Then take a black sketch pen and draw the eyelashes and a smile on the teddy’s face.
Step 6: Making The Ears
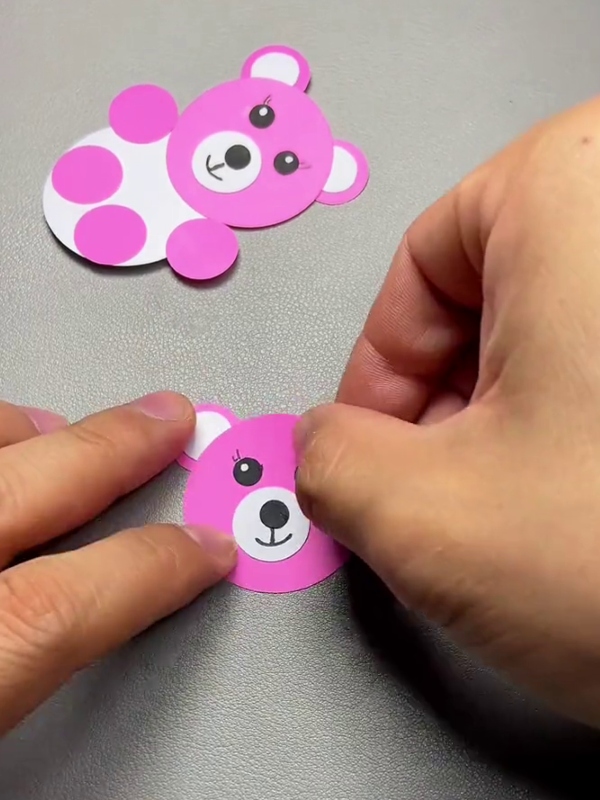
Take the pink paper and cut two small circles for the ears. Next, take a piece of white paper and cut two relatively smaller white circles to make the inner ears. Paste the white circles inside the pink circles. The ears are ready. Paste the ears on the top behind the bunny’s face as shown.
Step 7: Making The Teddy’s Belly
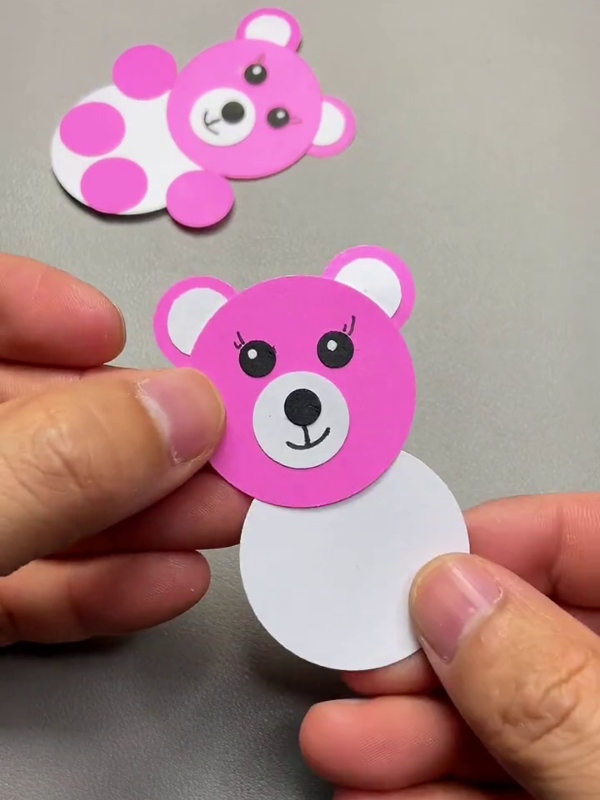
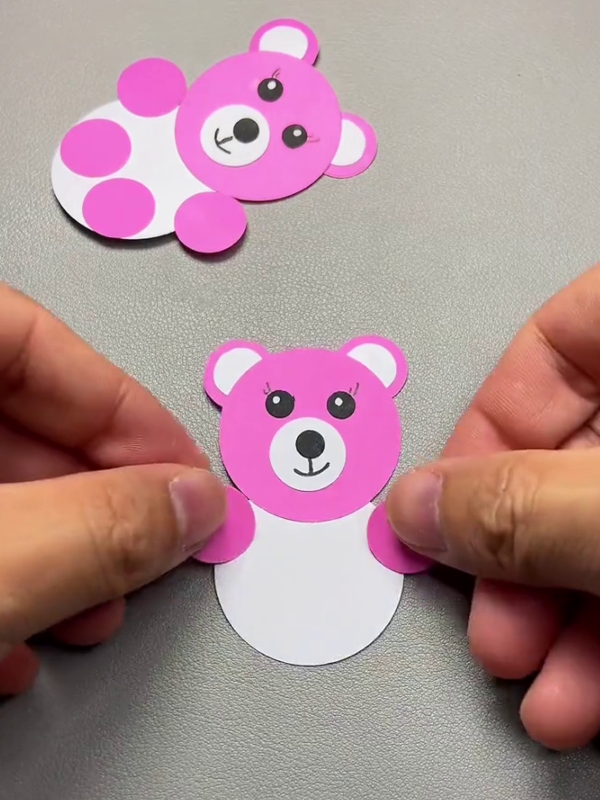
Draw a white circle in the white chart and cut and paste it behind the head part as shown in the image to make his body.
Step 8: Making The Arms
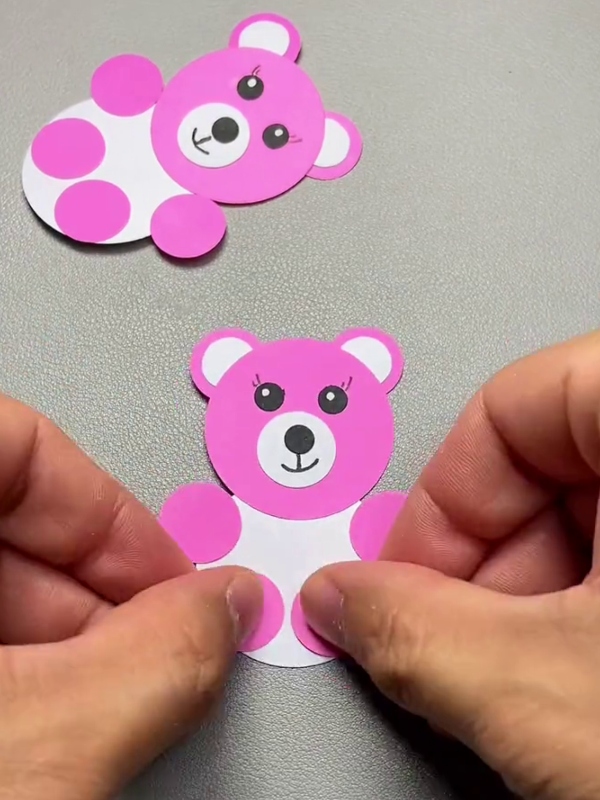
Draw four circles in the pink chart and cut them. Then take two circles and paste them under his head to make his arms.
Step 9: Making The Legs
And take the remaining two circles and paste them at the bottom of his body to make his legs.
Step 10: Making The Bottle Cap Stand
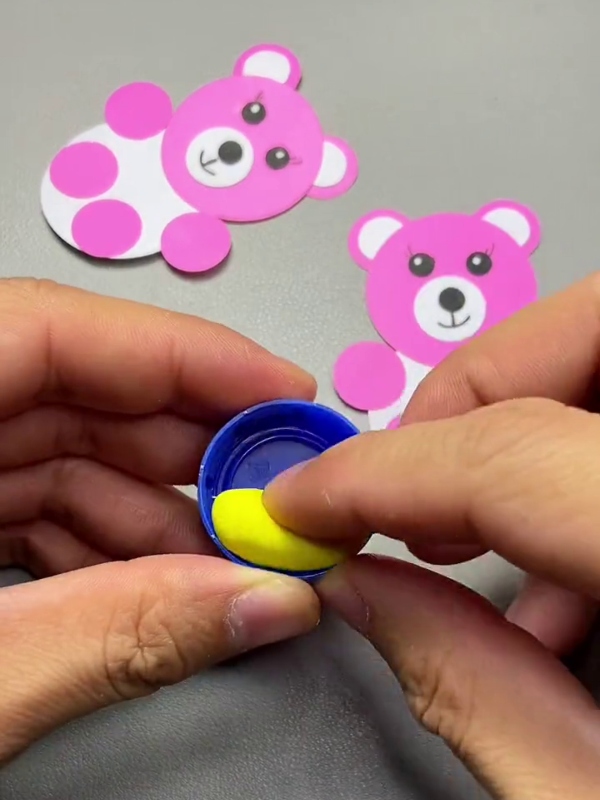
Then take a little amount of clay and a bottle cover. Paste the little amount of clay on the cap on one side of the bottle cap and make it stable to make the teddy stand.
Step 11: Pasting The Teddy On The Cap
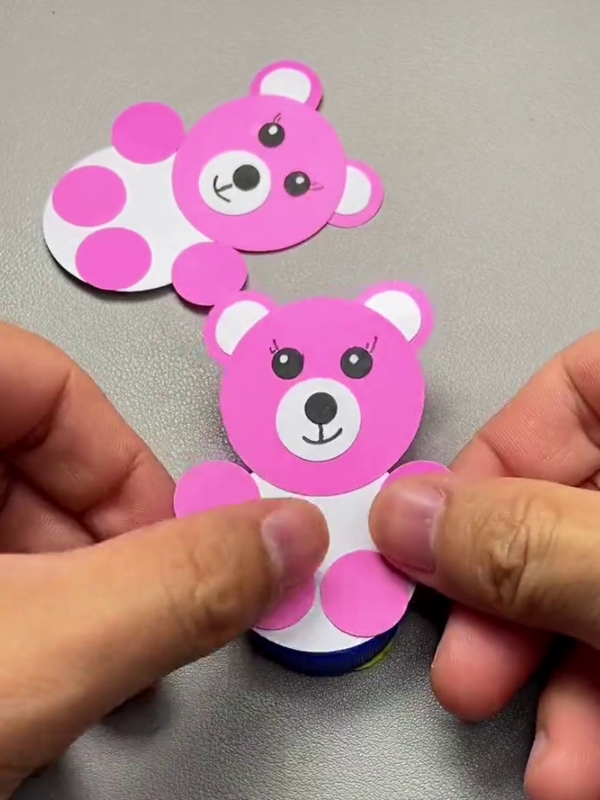
Paste your teddy on the bottle cap. Make sure that you only paste his belly area on the bottle cover.
The Paper Teddy Craft Is Ready!
Finally, make your teddy stand and play with him. The final look of the teddy craft looks awesome!
We hope this simple tutorial with simple and easy instructions will be helpful to make this paper teddy craft. This teddy can roll and spin sideways and will be loved by the kids. It can also be a perfect home decor or a showpiece for the kid’s room. We continuously deliver amazing craft ideas like this, stay tuned for more and please leave your comments to encourage us and let us know if this was helpful for you or not.
Follow us on Youtube for art and craft tutorials and much more.
More Articles from Kids Art & Craft
- How to Make Paper Flower Craft With Paper Cup
- DIY Paper Flower Craft – Step-By-Step Tutorial
- How To Make Sunflower Clock Craft Using Paper
- DIY Origami Paper Butterfly Craft – Step-by-Step Image Tutorial
- Origami Heart Shaped DIY Bracelet for Valentine’s Day


