


DIY and Crafts
Autumn Leaf Squirrel Craft Tutorial For Beginners

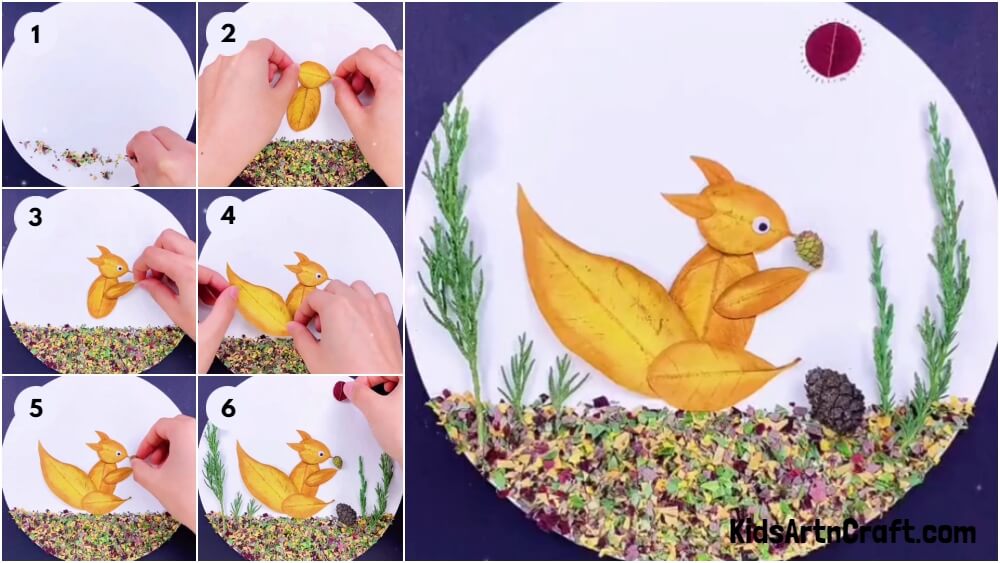
Leaf Squirrel Artwork Craft – An Easy Step-by-Step Tutorial For Beginners
Read More: Fun & Wonderful Fall Leaf Crafts Video Tutorial for All
Materials Required
- Semi-dried yellow leaves
- Colorful dry leaves
- Glue
- Conifer cones or pine cones
- Tall leaf stems
- Googly eyes
- Marker(Red)
- A plain white sheet of paper
- Scissors
Procedure
Step 1: Starting off
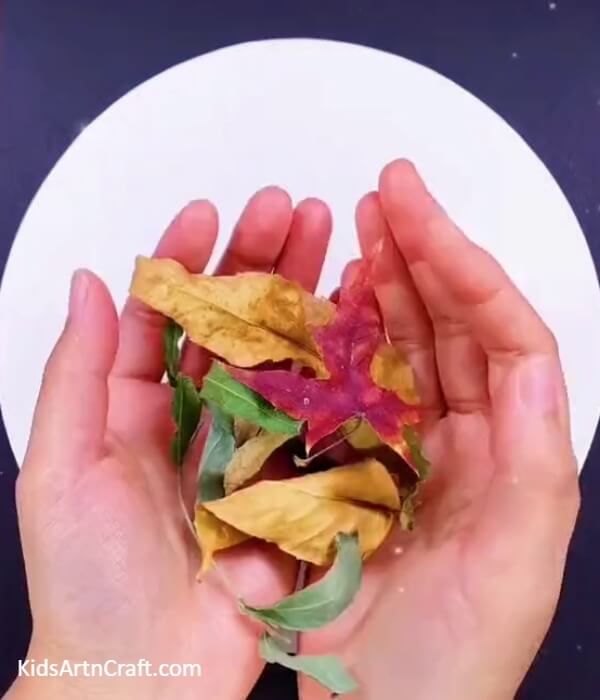
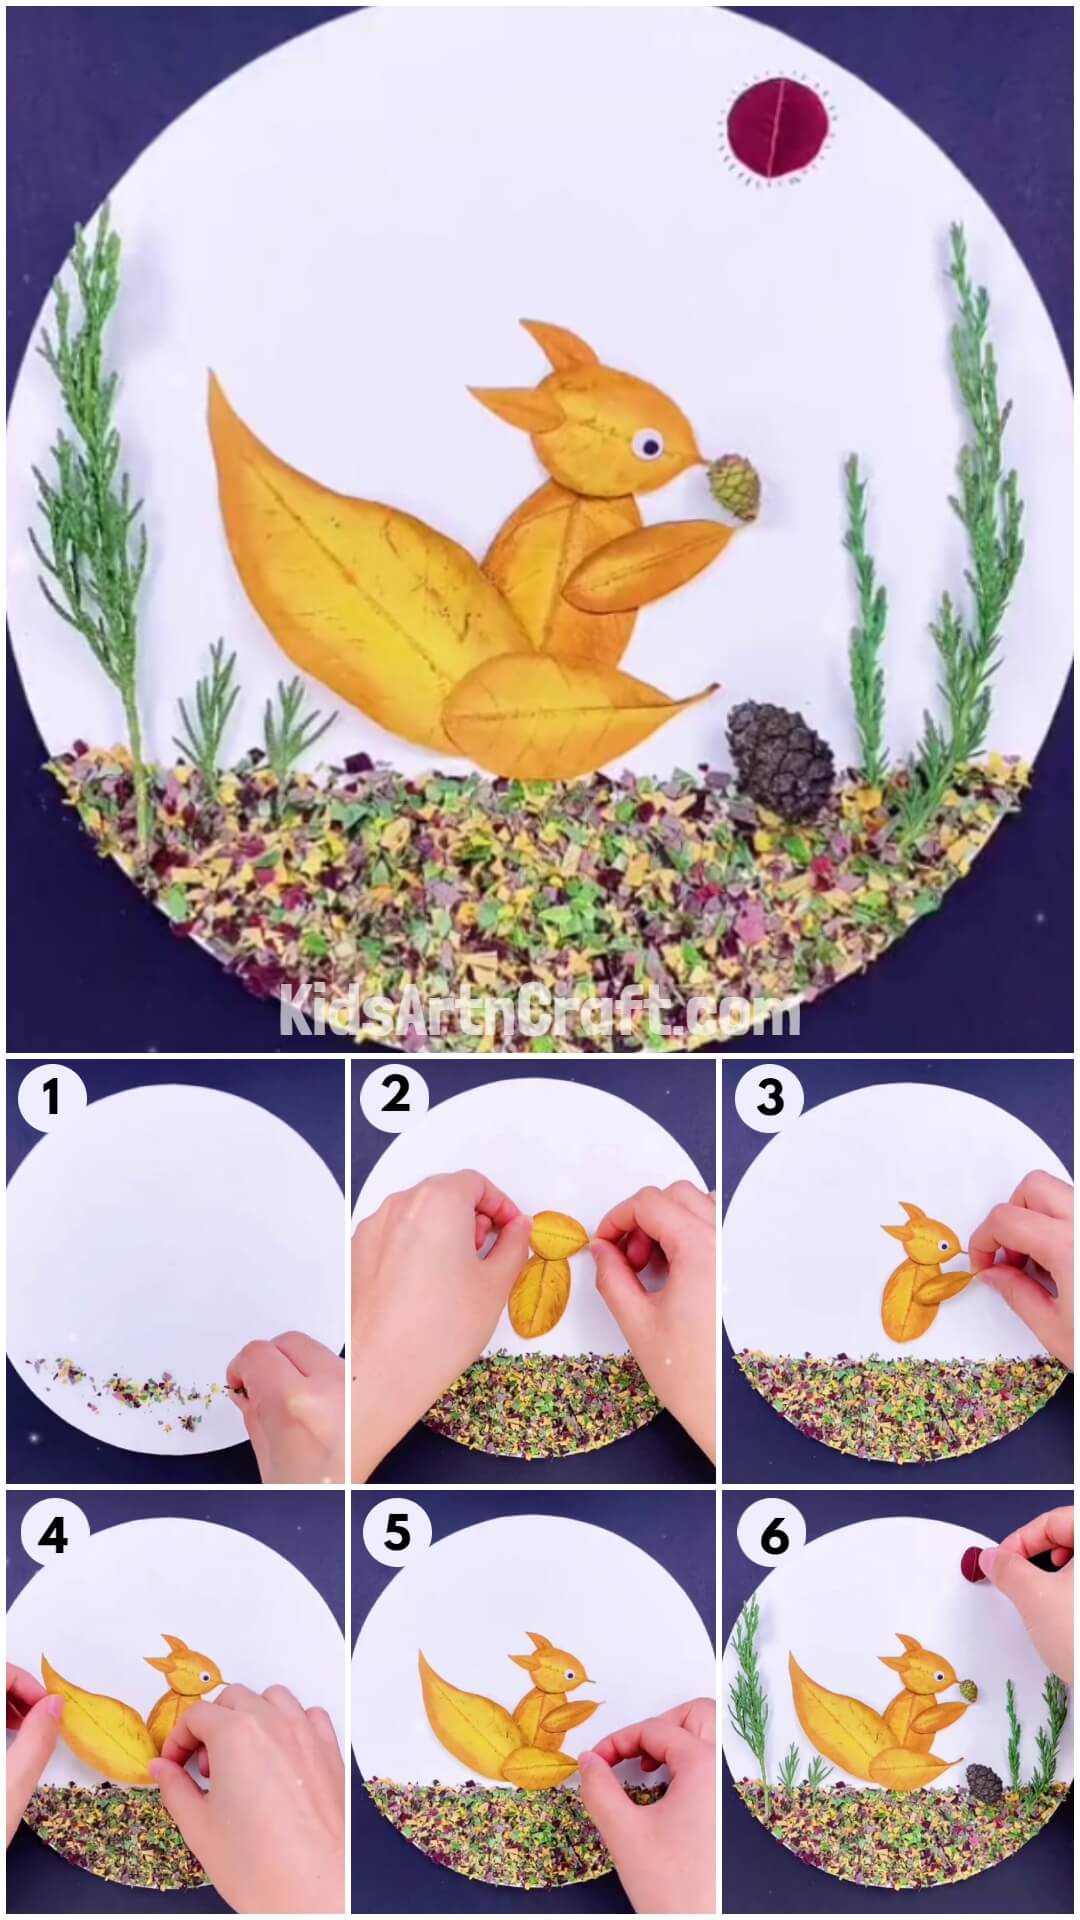
You will start off by taking a white sheet of paper and cutting it into a circle. Take some glue and spread it out on the bottom half of your circle. Next, take some colorful dried leaves in your palm.
Step 2: Crushing The Leaves
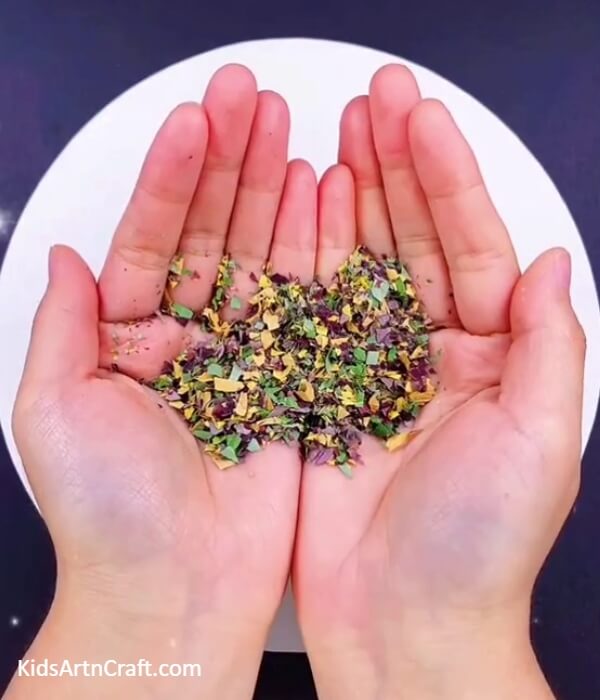
Tightly squeeze and grind the leaves so as to crush all the dried leaves. Keep crushing until you have tiny bits of the leaves. Make sure not to crush too much, we don’t want leaf powder!
Step 3: Making A Ground For The Squirrel
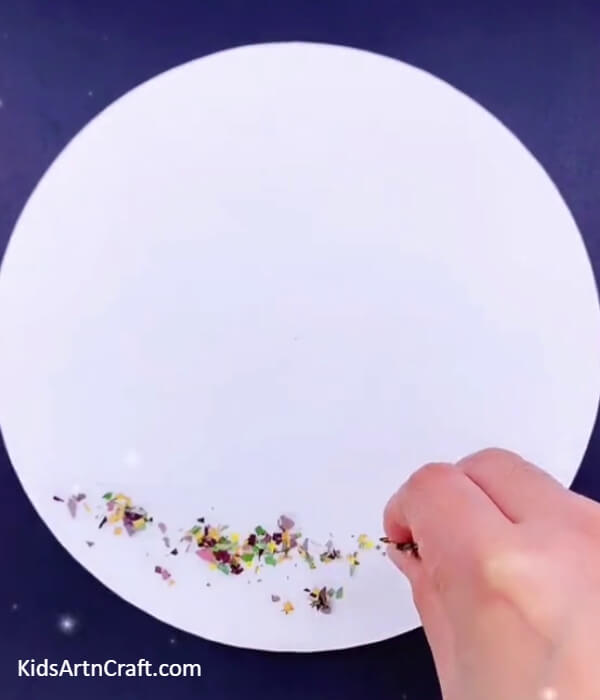
Now, take the crushed leaves and sprinkle them all over the part where you have spread the glue. Make sure to spread them evenly enough, so as to fill the space and not let any white spots show. Crush more leaves if needed!
Step 4: Making The Squirrel
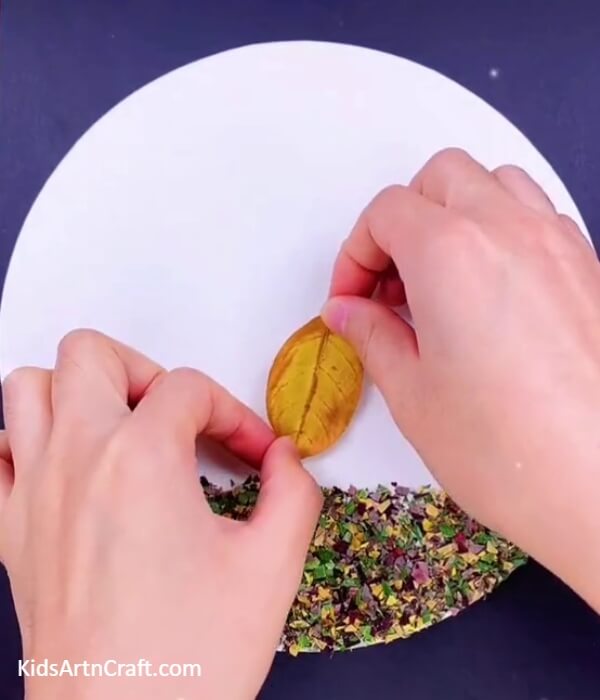
You will now start working on the squirrel. Pick up one big yellow leaf and carefully stick it on the paper using glue. Make sure to stick it in a slightly tilted position. This leaf will be the body of the squirrel.
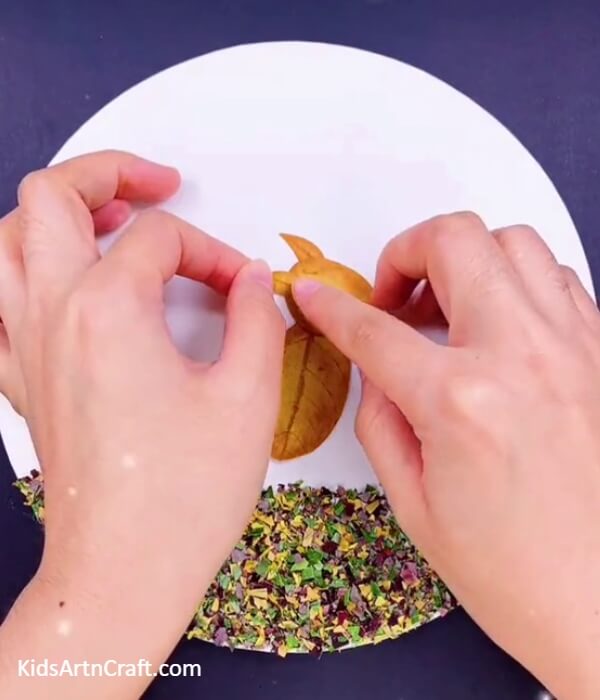
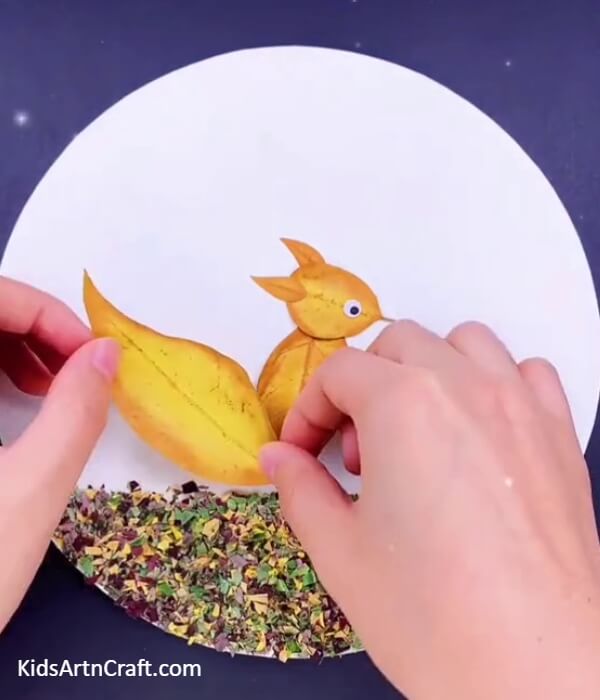
Step 5: Making The Squirrel’s Face

Take a smaller yellow leaf and place it on the previous leaf in such a manner that the pointy side faces slightly downwards. The pointy side will be the mouth of the squirrel. Make sure to cover the tip of the first leaf with the second leaf.
Step 6: Making The Ears And Eyes Of The Squirrel
Next, pick up two tiny yellow leaves. These leaves will be the ears of your squirrel! Using glue stick them on the head of the squirrel, in such a way that the pointed part of the leaf is outwards. Now, stick a googly eye on the face of the squirrel. Your squirrel’s face is ready!
Step 7: Making The Squirrel’s Arm
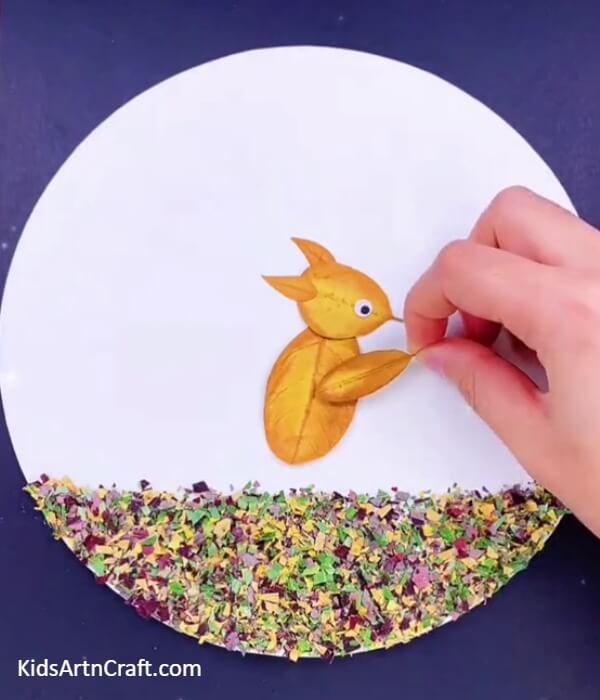
Pick up another leaf from the pile of yellow leaves. This leaf will be used as the arm of the squirrel. Using glue, stick it at the center of the main body. Place it in a tilted manner and make sure the pointed side is facing outwards.
Step 8: Making The Tail
You will now add a tail for the squirrel. Using the biggest leaf from your pile, stick it on the squirrel, such that the pointed end is facing outwards. Make sure it covers a bit of the squirrel’s body to make it look like a fluffy tail!
Step 9: Making The Legs Of The Squirrel
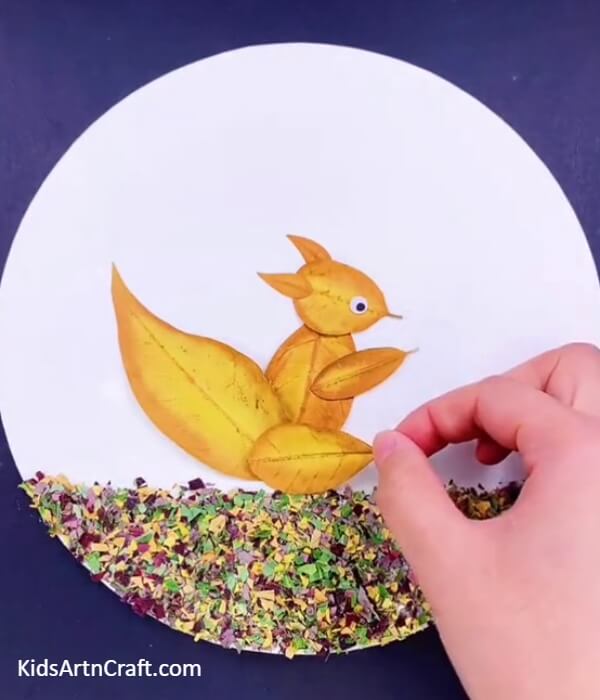
Using another leaf, move on to make a leg for the squirrel. Stick the leaf in a horizontal position at the bottom of your squirrel. Make sure the pointed side is facing outwards.
Step 10: Adding The Squirrel’s food- A Pine Cone!
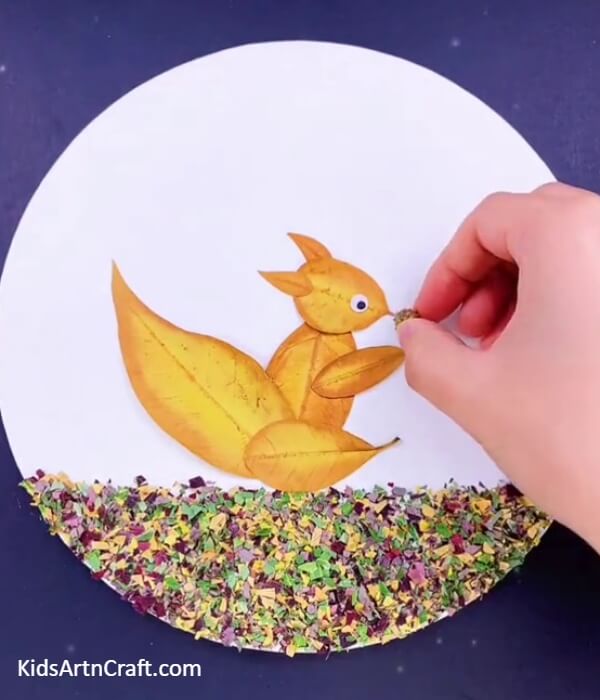
Our squirrel is all ready! Why not give it something to eat? Pick a small pinecone from your collected ones, and paste it near the mouth of the squirrel. It should look like the squirrel is holding the cone in its hands.
Step 11: Adding Another Pine Cone And Some Grass
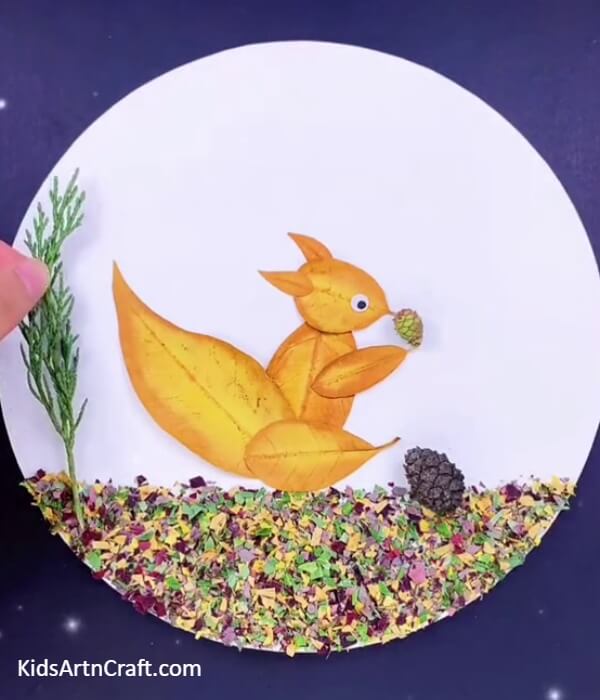
Take another pine cone, and paste it near the ground in front of the squirrel. Take your long stem leaves and stick them around the squirrel, representing the grass. Take varying lengths to give it a realistic effect.
Step 12: Adding The Sun
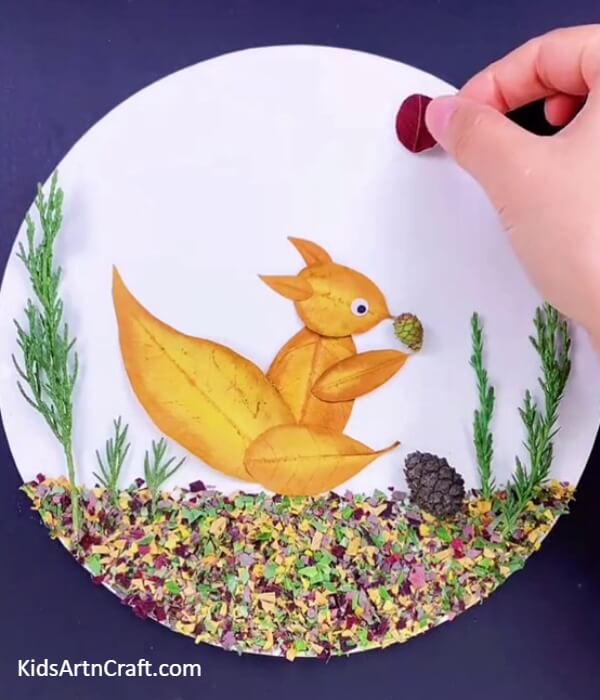
Now we move on to the background. Pick up a red leaf and cut out a circle from it. Stick this circle on the top right corner of the sheet.
Step 13: Adding More Details
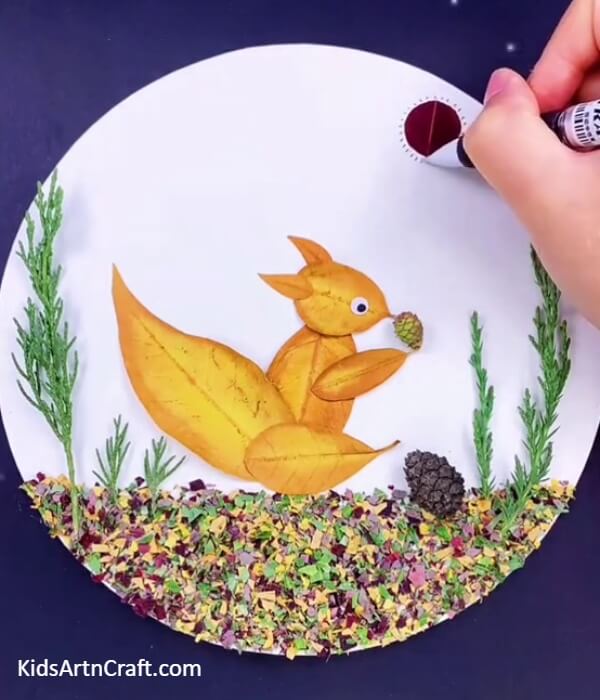
Adding the final touches, pick up a red marker and draw tiny rays of sunshine around the sun.
Your Natural Squirrel Artwork Craft is Ready!
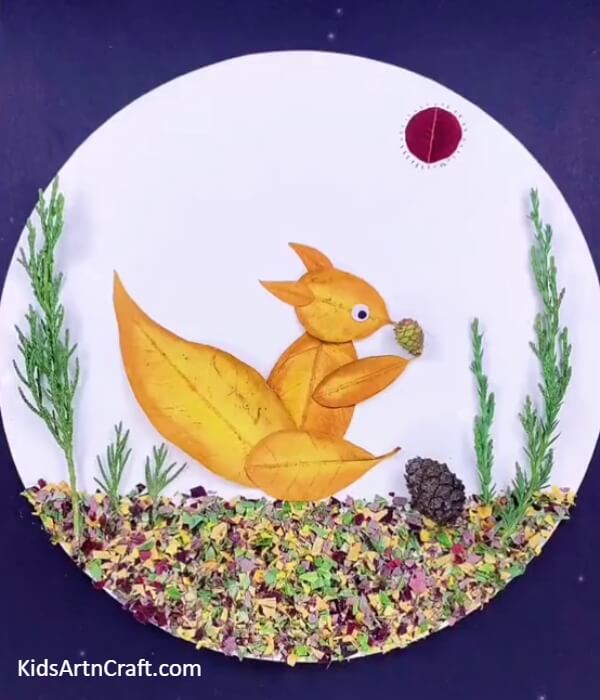
Drumroll, please! Your Natural Squirrel Artwork Craft is ready!! Using easy-to-find materials from nature, you can make beautiful artwork to get your creative skills rocking. This can be used as a gift, wall hanging, showpiece, etc. By referring to this easy tutorial, anyone can make their own natural squirrel artwork craft! You can get even more creative by drawing more details on your artwork. This craft is fun and creative and will be liked by all! So give it a try and engage yourself and your kids in a fun craft-learning activity!
Hope you like this step-by-step tutorial on Natural Squirrel Artwork craft. We would love to hear your thoughts in the comment section below. And be sure to visit our other articles for more fun and creative ideas!
Thank You for visiting our website!
Follow us on Youtube for art and craft tutorials and much more.
More Articles from Kids Art & Craft
- Easy Snail Craft using Egg Carton and Leaf – Step by Step Tutorial
- Easy Dinosaur Craft For Kids Using Fresh Leaf
- How to Make Handmade Straw Fan Tutorial for Kids
- Easy to Make Snowman by Bottle Craft Tutorial
- Easy Fall Leaf Craft Step by Step For Kids


