Kids Activities
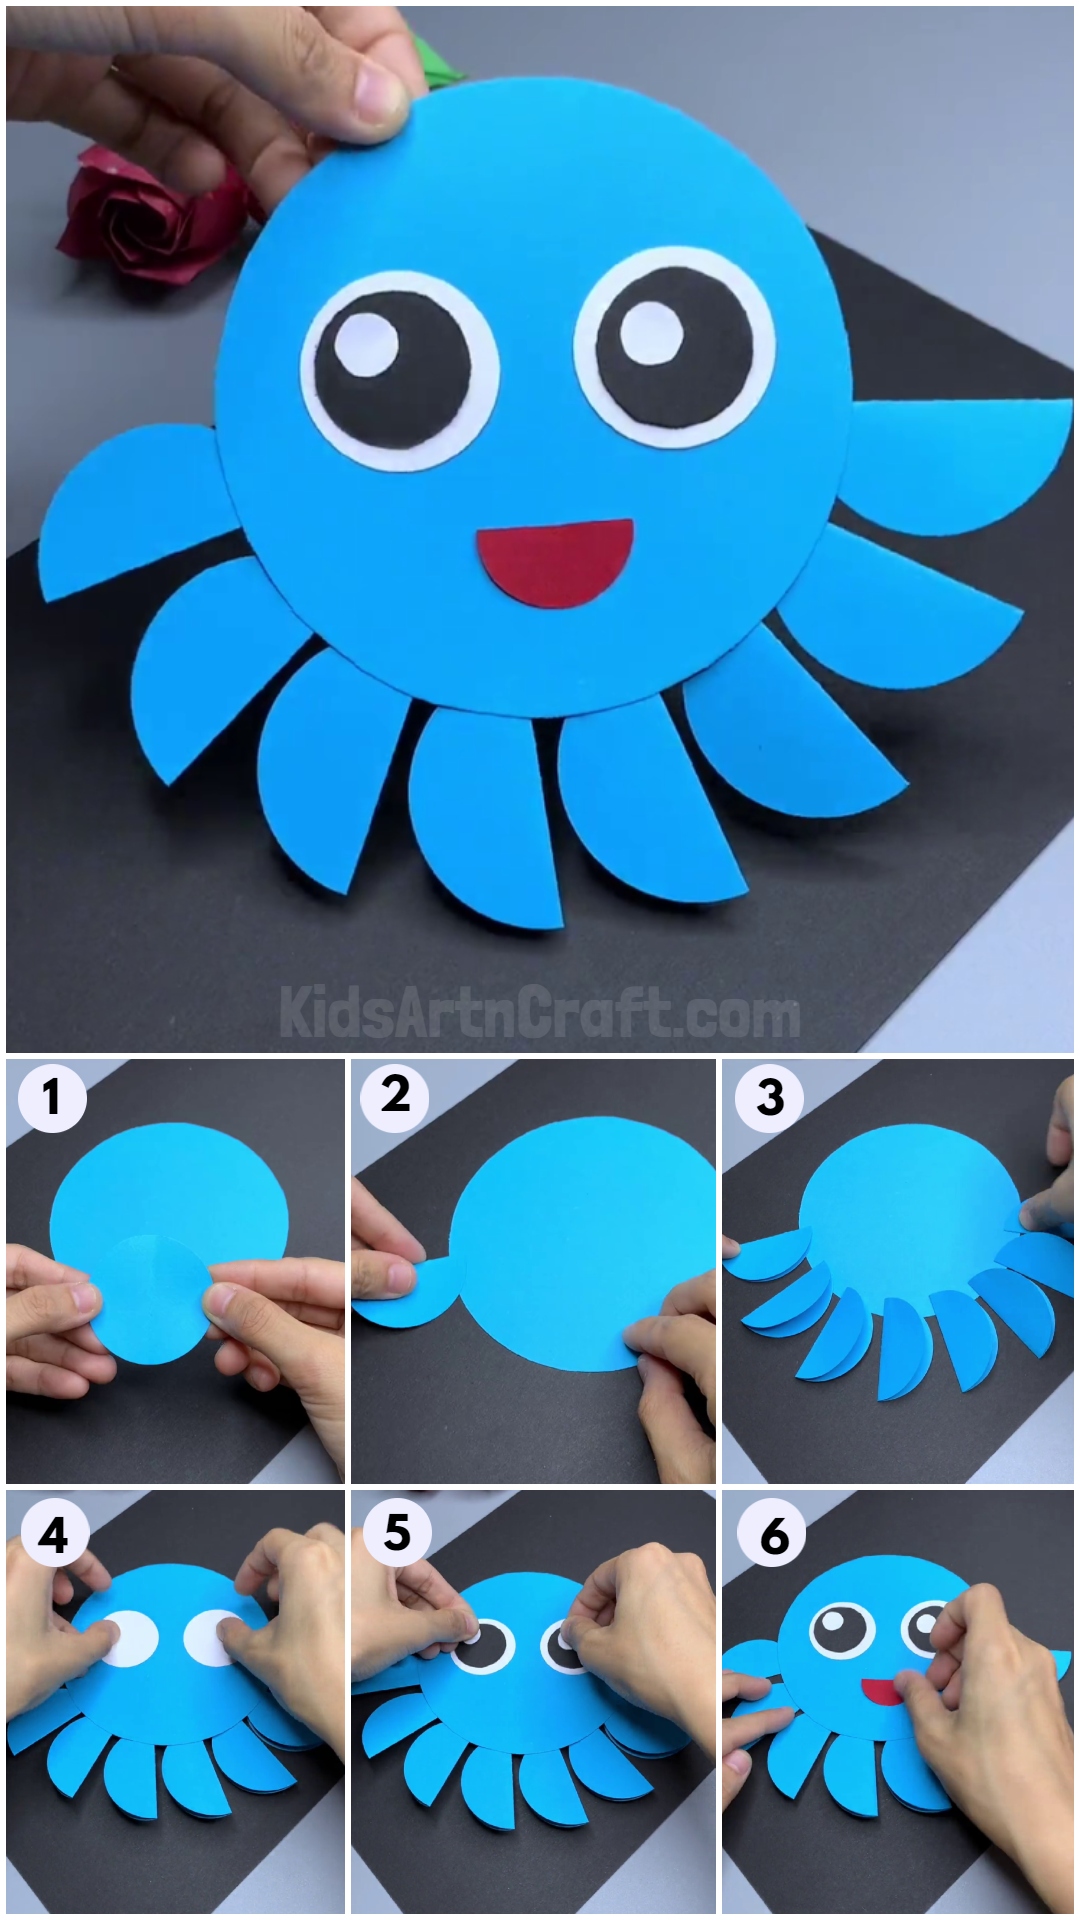
Blue Paper Octopus Craft – Step-by-Step Instructions

Bring some fun and color into your home with this easy-to-follow Blue Paper Octopus Craft! Step-by-step instructions show you how to create this adorable paper octopus that will brighten up any room. Perfect for kids of all ages and skill levels.
Welcome to this blue paper octopus craft tutorial! In this tutorial, we will be showing you how to make cute and fun paper, glue, and scissors. The tutorial will provide detailed instructions, step-by-step, on how to create an octopus shape with the paper, and then how to decorate it with designs and colors. After the octopus is complete, it can be used as decoration or to build a diorama. This craft tutorial is a great way to spend a fun afternoon with family or friends and is sure to bring a smile to everyone’s face. So let’s get started!
Handmade Blue Paper Octopus Craft Tutorial With Step By Step Instructions

Materials Required:-
- Colored Paper (Blue, White, Black, and Red)
- Glue
- Scissors
Read More: DIY Paper Flower Craft – Step-By-Step Tutorial
Step 1: Making The Body of The Octopus
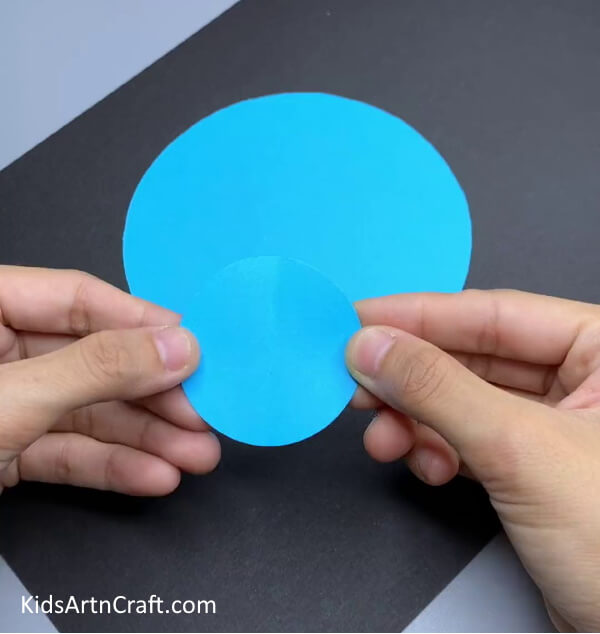

First, we need to make the body of the octopus. To make the body, take a blue sheet and cut it down into a circle.
To make the legs of the octopus, take a blue sheet and cut it down into a medium size circle.
Step 2: Making The Legs of The Octopus
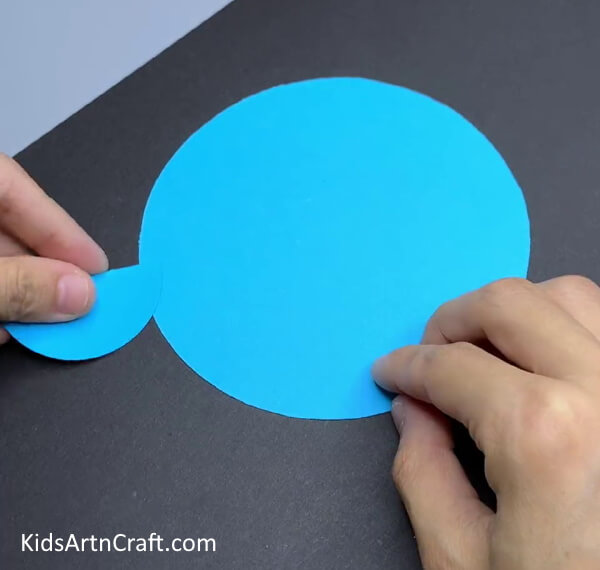

Fold the circle from the middle into the shape of a semicircle and paste it on the corner of the body of the circle.
Step 3: Making The Legs
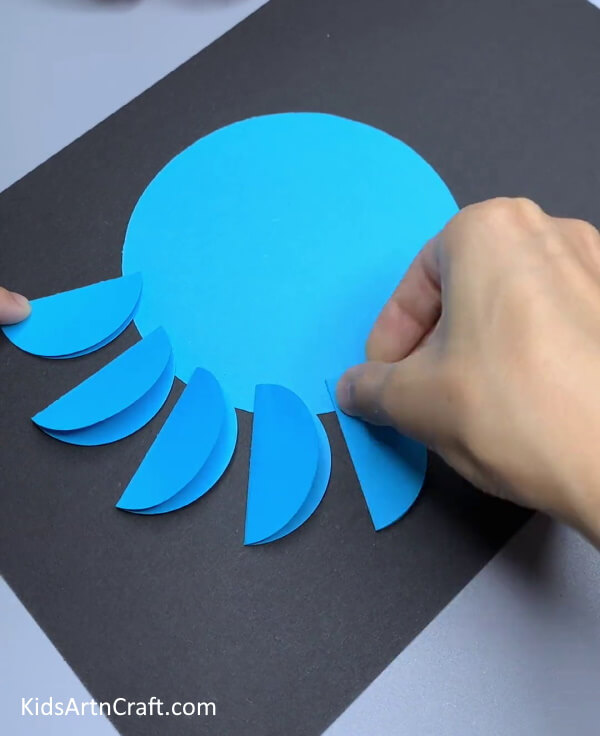

Repeat the process and stick more legs to the body of the circle.
Step 4: Pasting The 8 Legs
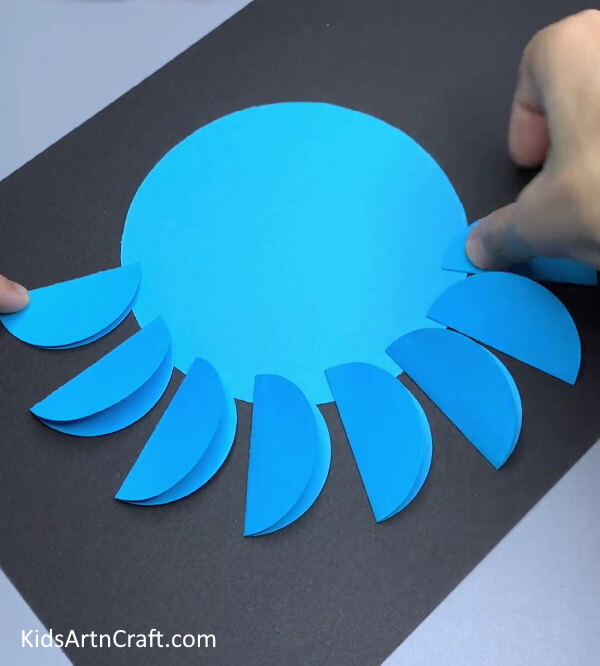

As the octopus has 8 legs, make 8 legs of the circle and paste it to the body using glue.
Step 5: Making Eyes Of The Octopus
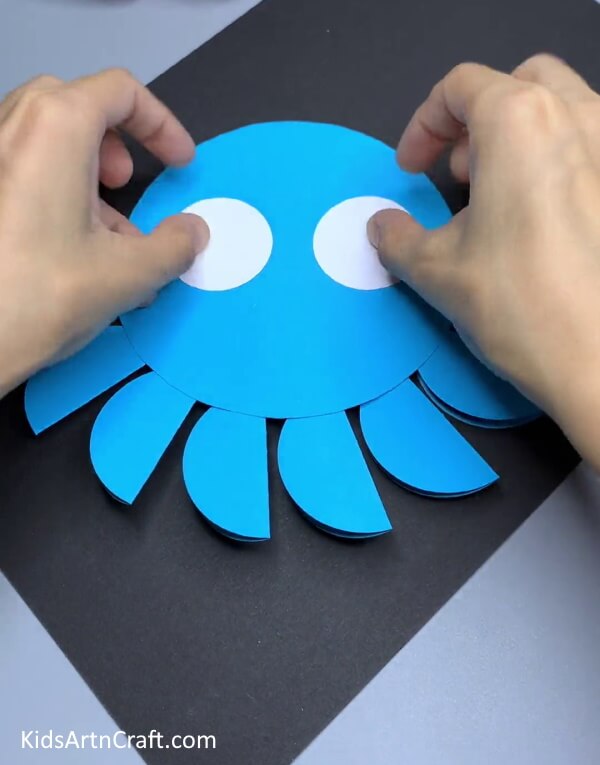

After pasting the legs, let’s make the eyes of the octopus. To make the eyes, we will cut two white circles using scissors and paste them on the body of the octopus using glue.
Step 6: Making Eyes
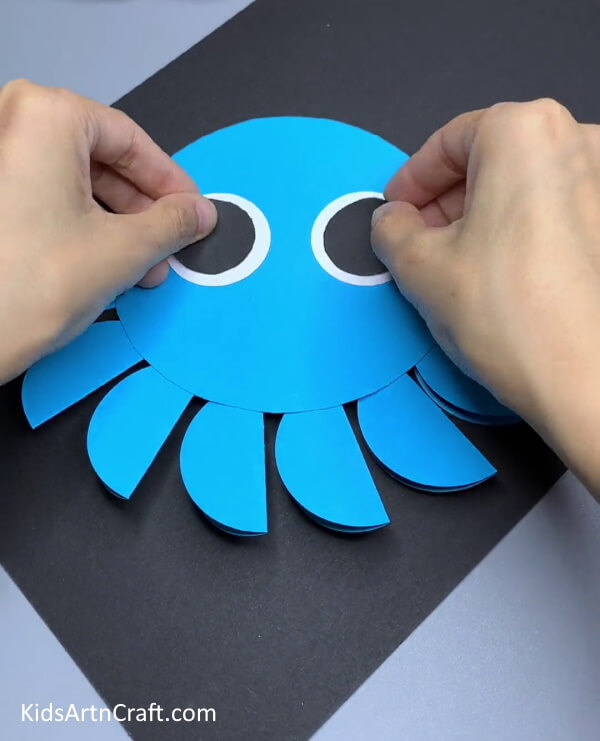

Now, take a black sheet and cut it down into smaller circles as compared to the white circles. And paste them on the white eyes of the octopus.
Step 7: Paste White Circle On Black Eyes
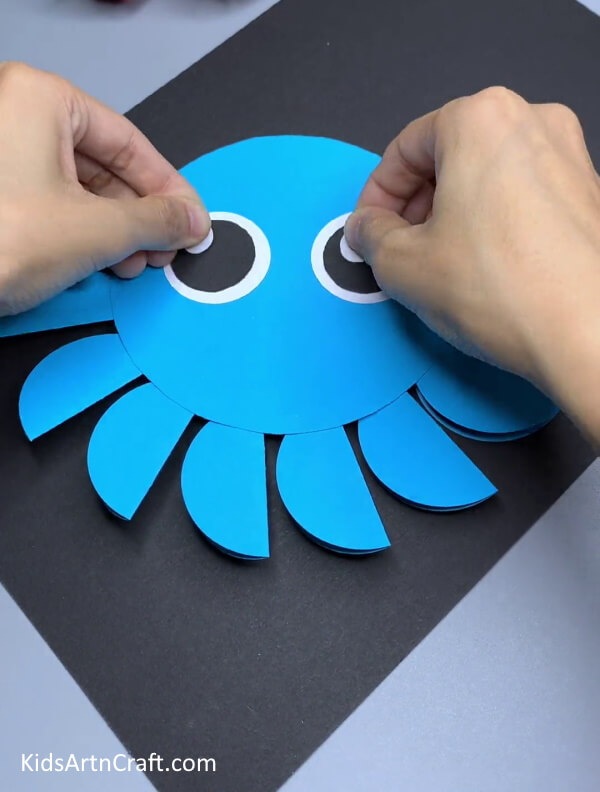

Cut down two small circles from the white sheet and paste them on the black circles using glue to give the eyes a final look.
Step 8: Making The Octopus Smile
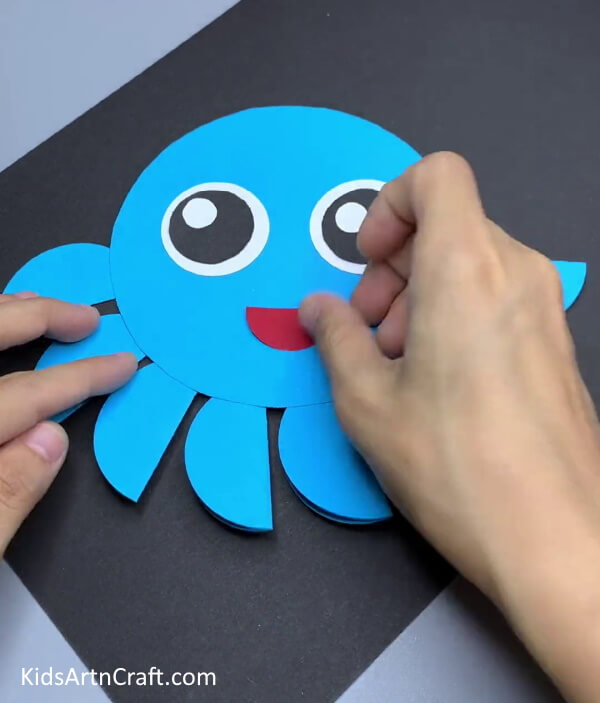

Now, finally, add a smile to the face of the octopus. Cut a semicircle from the red paper and paste it on the face of the octopus to give it a smiley look.
Cute Blue Paper Octopus Is Ready!
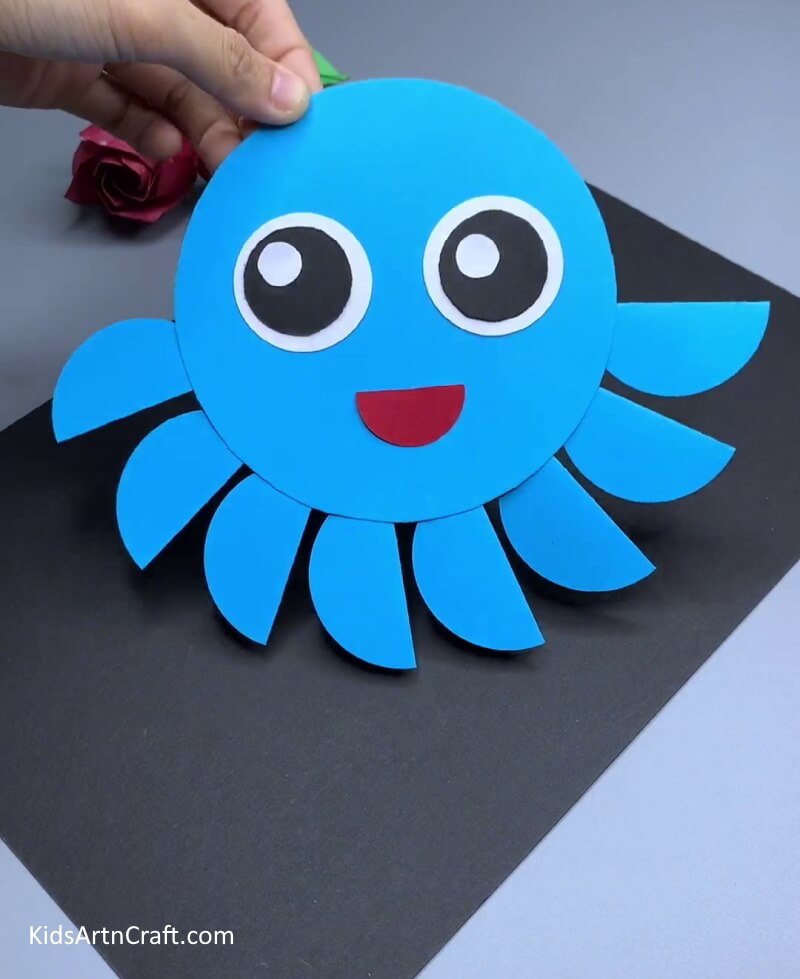

This Blue Paper Octopus Craft Tutorial is a fun and creative way to make an octopus out of paper. It’s easy to follow and the end result is a fun and colorful octopus that will brighten up any room.
Some More Octopus Craft
Creative Activity of Making Paper Octopus

Image Source/Tutorial: Kids Art & Craft
Making paper octopus is a fun and creative activity that is suitable for kids. It is easy to do and requires few materials. They can use colorful paper, scissors, glue and some other decorations to create their unique octopus. It is a great way to spend time, be creative, and have fun.
Easy To Make Paper Cup Octopus For Kids

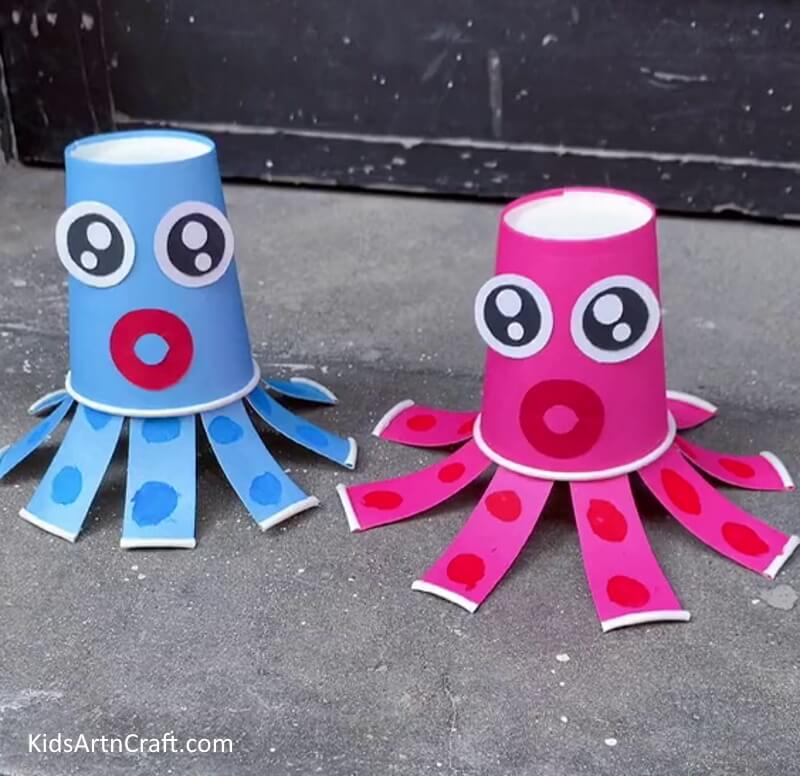
Image Source/Tutorial: Kids Art & Craft
This fun and easy paper cup octopus is a great craft project for kids! With just a few simple supplies, kids can create their own unique octopus to display in their room or give as a gift. Get creative and have fun!
Simple To Make Paper Cup Octopus With Crown Craft For Kids

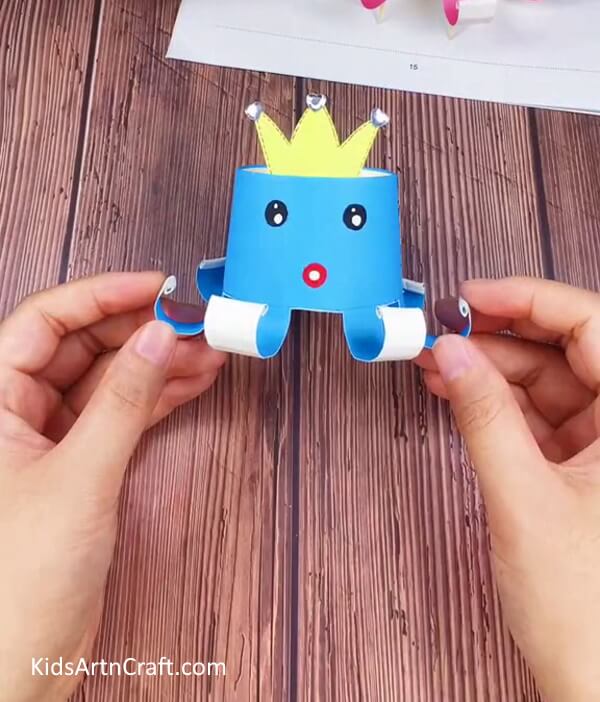
Image Source/Tutorial: Kids Art & Craft
This fun craft is perfect for kids to make. With just a few supplies, they can create a simple paper cup octopus with a crown. It’s a great activity to do at home or in the classroom. It’s sure to bring a smile to everyone’s face!
Easy to Make paper Cup Octopus Craft For kids


Image Source/Tutorial: Kids Art & Craft
This craft is creative for kids ! With just a few simple materials, kids can create paper cup octopus that will bring a smile to their faces. It is very easy to make at home.
FAQs Related To Blue Paper Octopus Craft
1. What materials are needed to make a blue paper octopus?
You will need paper, scissors, glue, and markers.
2. How do I begin cutting the paper to make the octopus?
Start by folding the paper in half lengthwise. Draw the octopus shape on the paper and then cut it out.
3. What is the next step after cutting the octopus shape?
Unfold the paper and draw the legs of the octopus on each side. Cut out the legs and set aside.
4. How do I assemble the pieces of the octopus?
Glue the head and arms of the octopus onto the body. Then, glue the legs into place.
5. How do I make the eyes for the octopus?
Use markers or crayons to draw two eyes onto the head of the octopus.
6. How can I add details to my octopus?
Glue on googly eyes, buttons, or other small items to give your octopus more character.
7. How long will it take to make a blue paper octopus?
Depending on your skill level, it should take about 30 minutes to complete.
This Blue Paper Octopus Craft is a fun and easy craft that is perfect for young children. With just a few supplies and a bit of patience, you can help your little one create a cute and colorful octopus!
Follow us on Youtube for art and craft tutorials and much more.
More Articles from Kids Art & Craft
- How to Make Paper Flower Craft With Paper Cup
- Fun To Make Paper Chick Craft
- Easy and Fun Creative Crafts Video Tutorial for Kids
- Simply Creative Paper Animal Crafts Video Tutorial for Kids
- DIY Animal Paper Crafts Video Tutorial for Kids