Recycled Crafts
Bubble Wrap Honey Bee Artwork Craft Tutorial For Kids

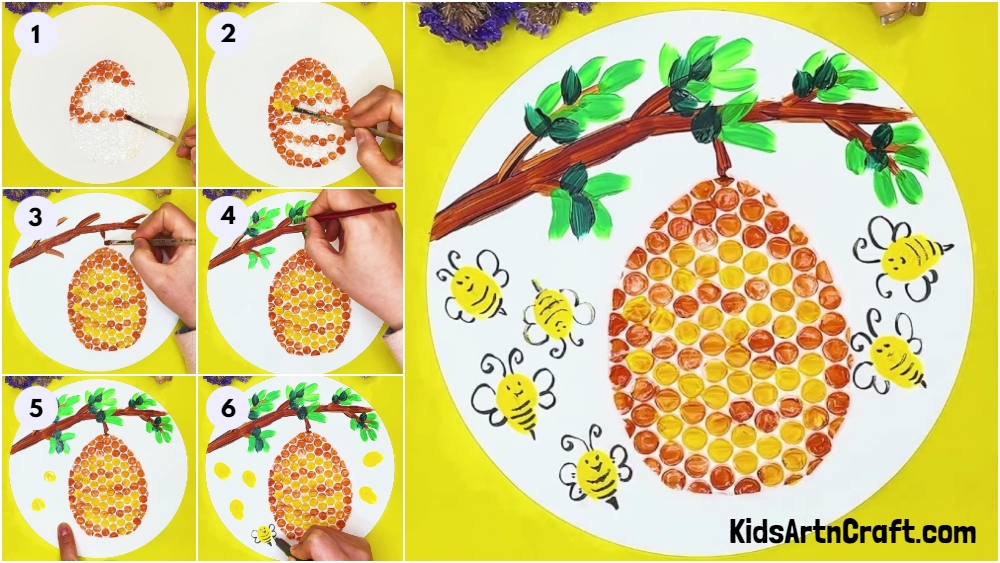
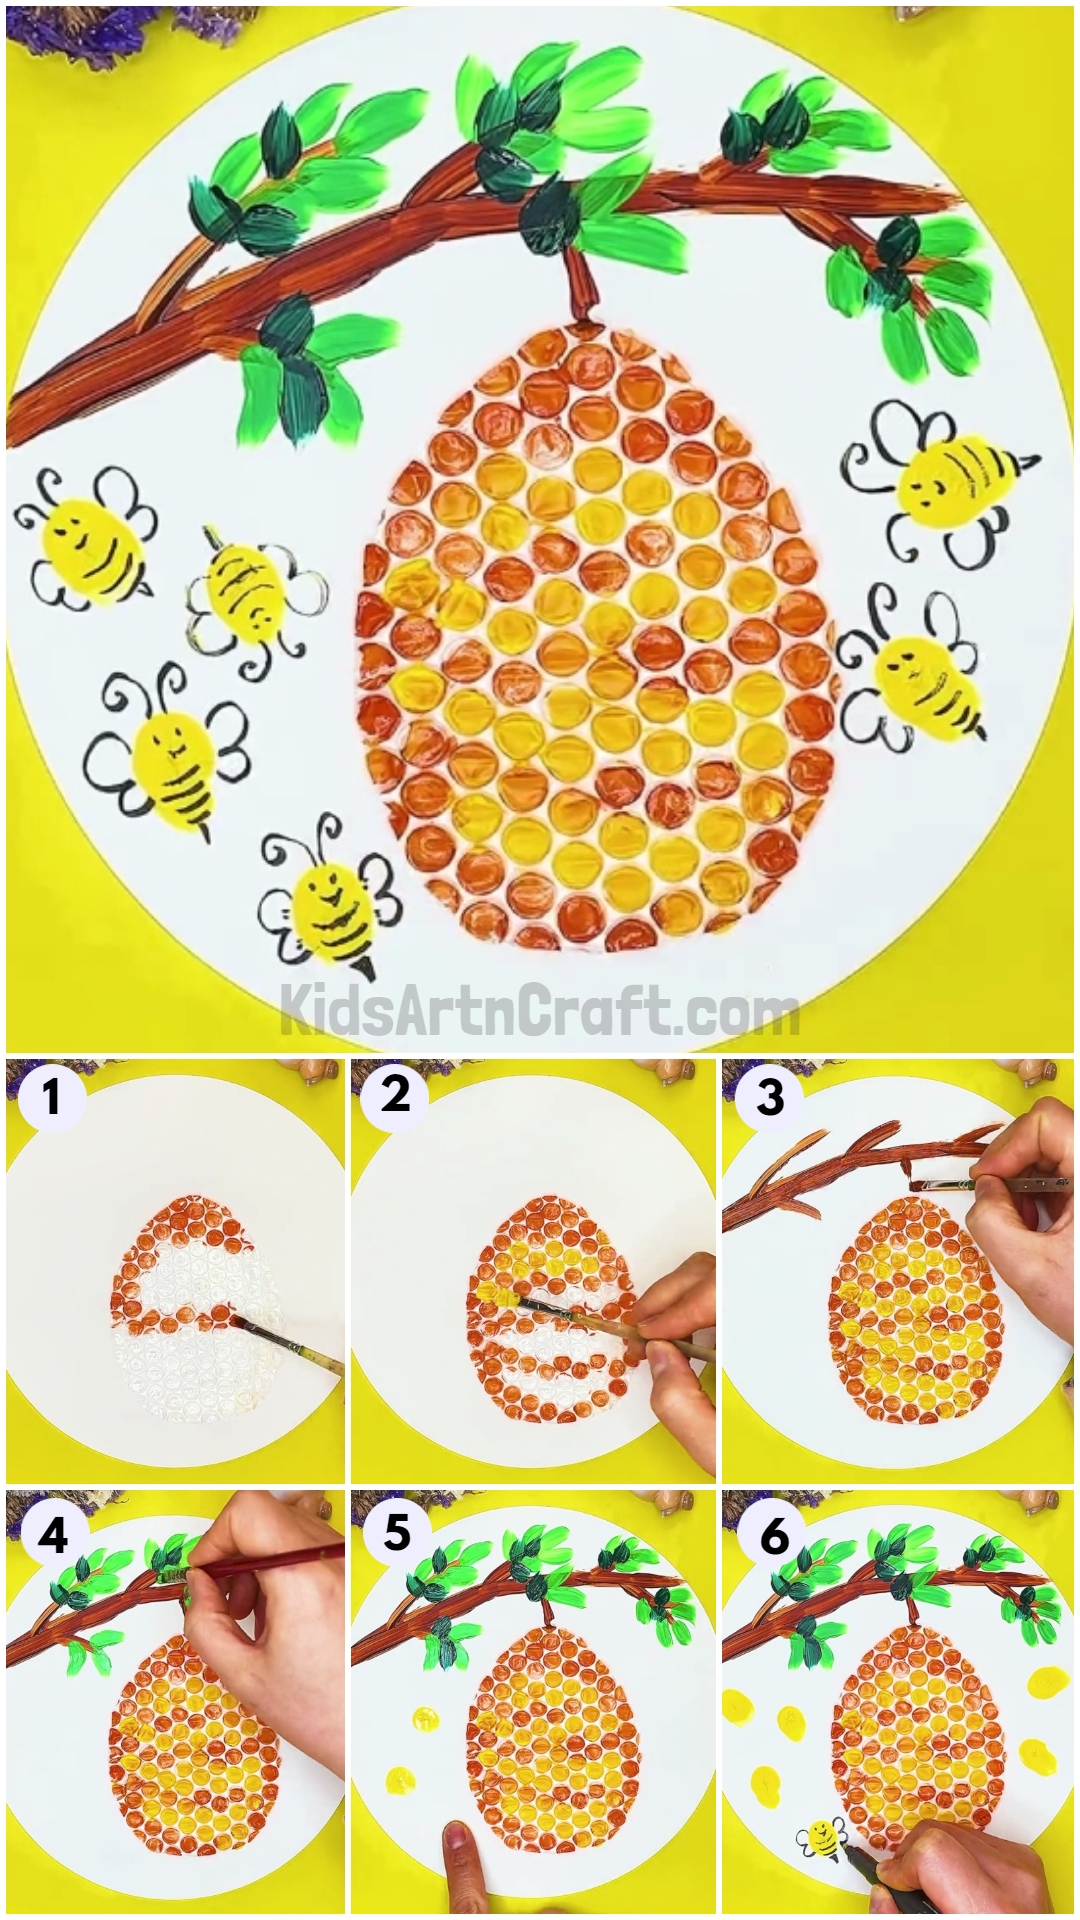
This craft tutorial will show kids how to make a unique and fun honey bee artwork using bubble wrap and other materials. Learn how to create a beautiful work of art with your children and help them develop their creativity and motor skills.
Welcome to this step-by-step tutorial on how to make a Bubble Wrap Honey Bee Comb Craft! You’ll need just a few materials, such as Bubble Wrap, scissors, Paint, and a glue stick. With some basic craft skills, you’ll be able to make your own Bubble Wrap Honey Bee Comb in no time. Let’s get started!
Easy To Make Bubble Wrap Honey Bee Artwork For Kids
Read More: Simple Corn Craft Using Bubble Wrap Tutorial For Beginners
Materials Required
- White Craft Paper
- Bubble wrap
- Water paint
- Black Marker
Procedure
Step 1: Beginning With Cutting In An Oval Shape
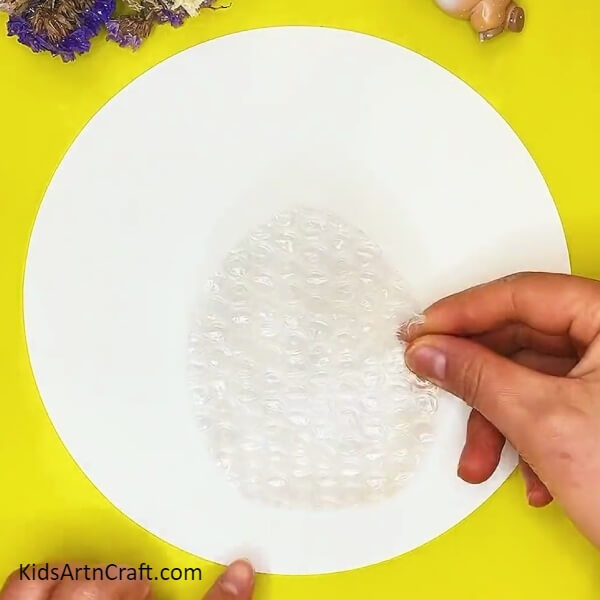
Let’s begin creating a Bubble Wrap Honey Bee Comb by cutting a Popped Bubble Wrap in an Oval shape and sticking it on the white craft paper using a glue stick and letting it dry.
Step 2: Painting The Bubble Wrap Using Brown Color
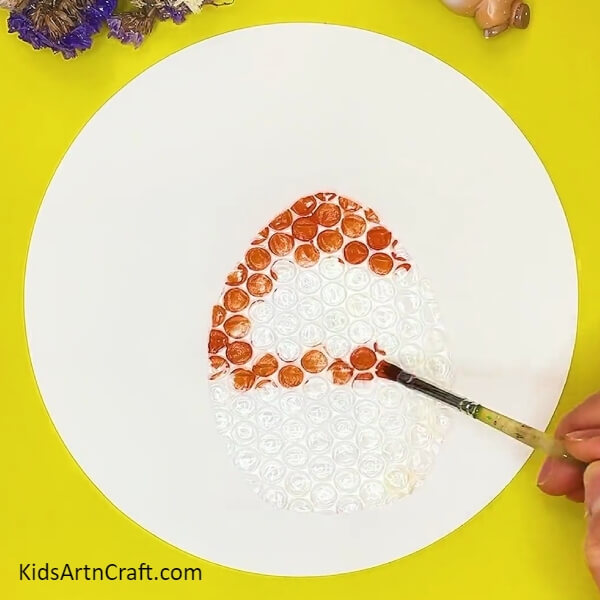
After sticking the Bubble wrap on the craft paper, make sure it is tried. Paint the borders of the Bubble wrap brown, and some inwards too, as shown in the picture.
Step 3: Adding Yellow In The Rest And Give It An Ombre Effect
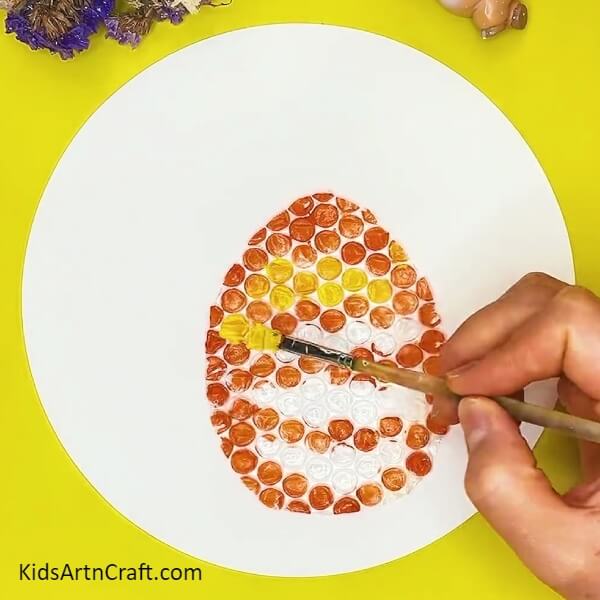
Add up yellows in the remaining areas, and blend its edges with the brown to give it an Ombre effect. Let it dry.
Step 4: Now, Painting The Branches
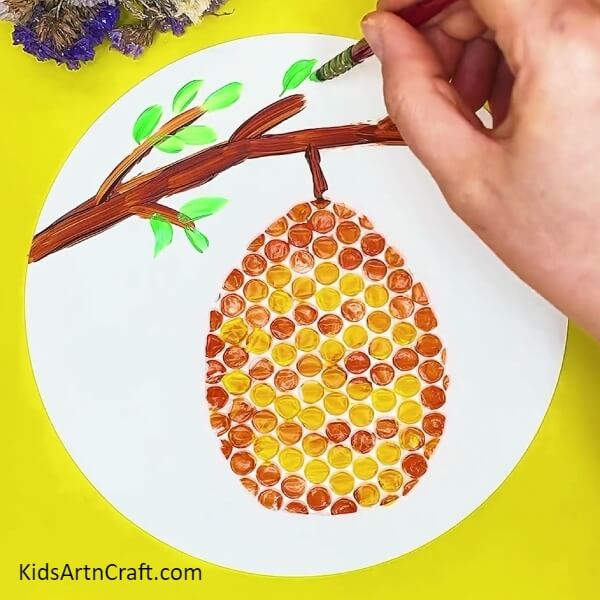
Now, paint the branches with brown Color. Make sure the main branch is thicker than its sub-branches.
Step 5: Painting Leaves For Those Branches
Now that the Branches are ready, start painting leaves in light green for all sub-branches using your painting skills.
Step 6: Painting Some Darker Green Leaves
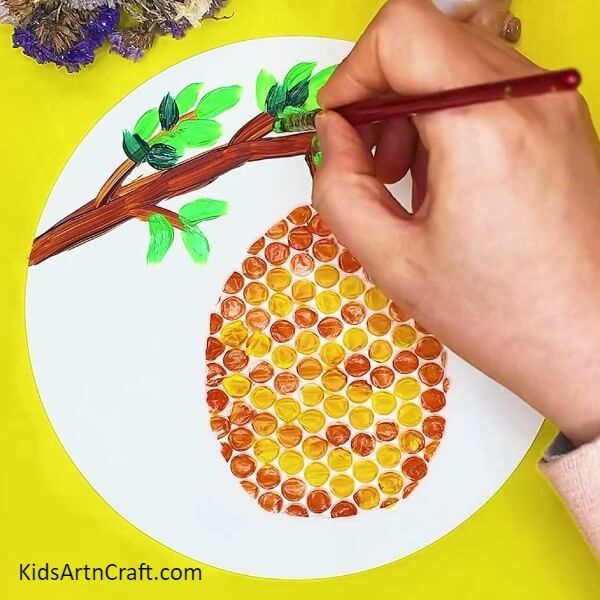
Now for the next step, paint a few tinier leaves in the middle of light green leaves, in dark green as shown in the picture
Step 7: Finishing Up The Branches
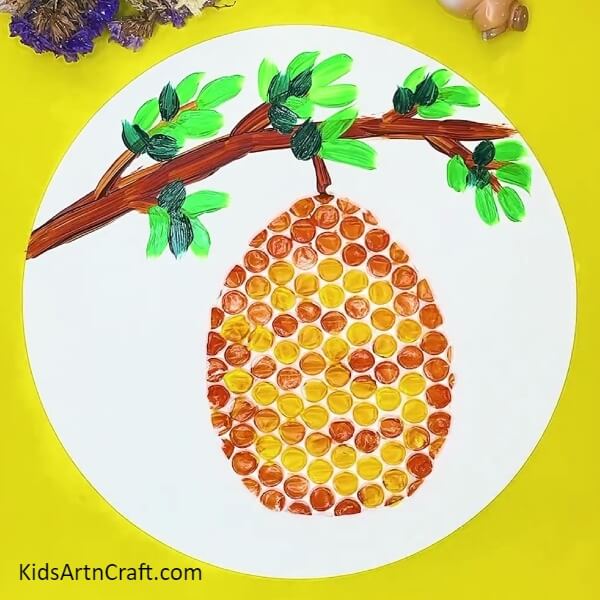
Finish up the Branches with light green and dark green shades of paint and let them dry.
Step 8: Painting Bees Around The Honey Comb
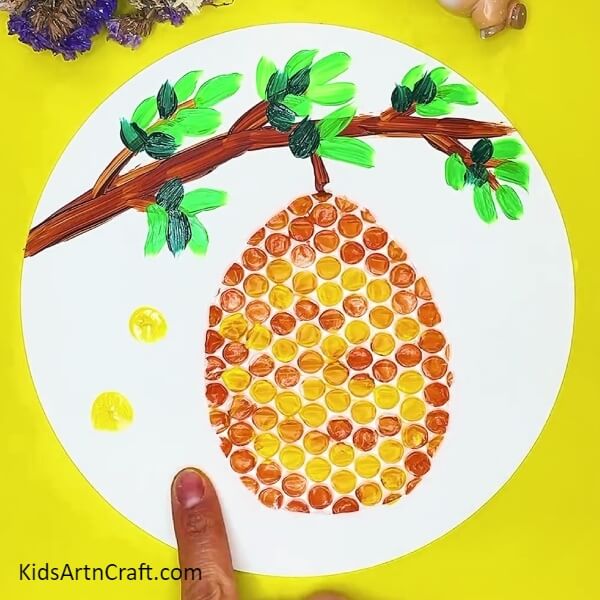
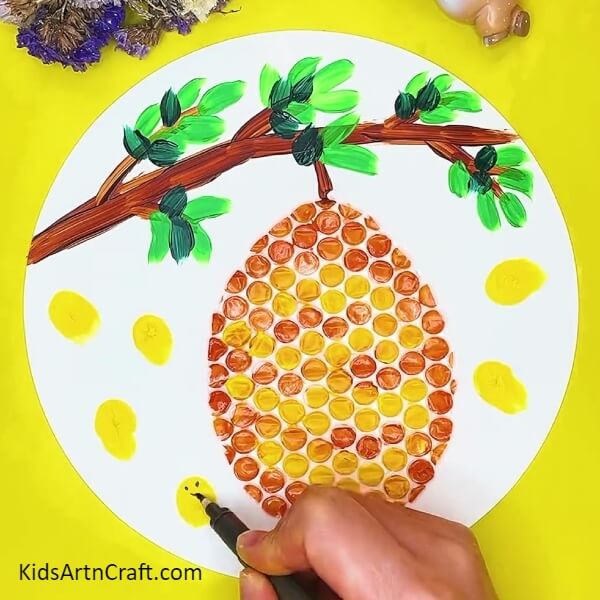
To paint Bees around Honey Comb, Place the tip of your finger in yellow paint and apply the paint from your fingers on the Artwork as shown in the picture above.
Step 9: Drawing Eyes And Mouth On The Yellow Prints
Print the yellow paint around the Honey Comb. Make it five-six and let them dry until the next step. Start drawing eyes and mouths in the yellow print.
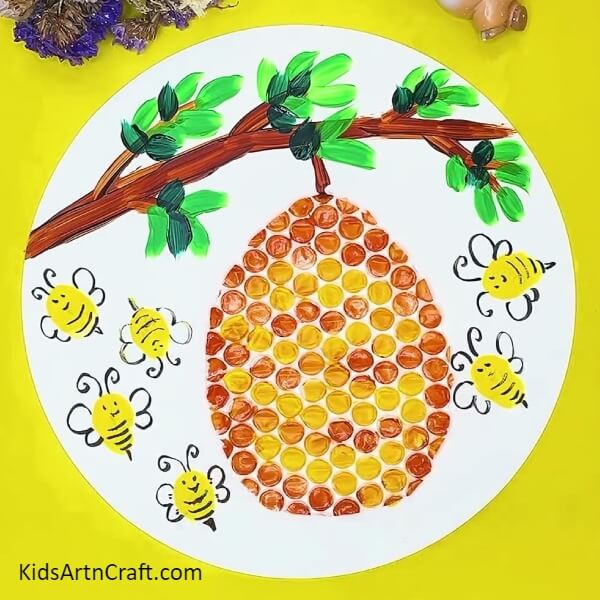
Congratulations, Your Bubble Wrap Honey Bee Artwork is Ready!!
To continue, draw 3 lines below the mouth. With wings and a tiny tail, also the ears. Do the same with all the yellow prints. Ta-da! Your Bubble Wrap Honey Comb Artwork is ready! You can frame this on the wall of your room.
Hope you enjoyed making this Fun and Creative Bubble Wrap Honey Bee Comb Artwork with us. Do let us know your thoughts and views in the comment section below. Don’t forget to check out our website for more such craft ideas.
Thank you for visiting our website
Follow us on Youtube for art and craft tutorials and much more.
More Articles from Kids Art & Craft
- How to Make Handmade Straw Fan Tutorial for Kids
- Easy to Make Snowman by Bottle Craft Tutorial
- DIY Foam Net Home Craft For Kids
- Recycled Plastic Bottle Dragon Craft Tutorial for Kids
- Simple Fall Leaf Boy Craft Tutorial For Kids


