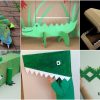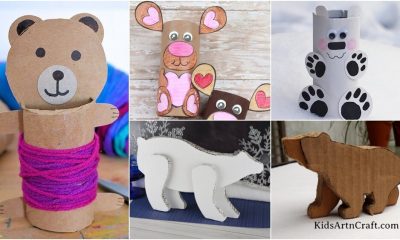


Cardboard Craft
How to Make Cardboard Alarm Clock Recycled Craft For Kids

Create your own DIY alarm clock that will look just like the real one! This step-by-step tutorial will guide you to make a craft alarm clock!
Learn to make an alarm clock craft with us! Welcome to this amazing tutorial for making an alarm clock craft that will look exactly like the real one, including the buzzers, stand, and everything! You will definitely love to create this 3D model of it! This craft is made using the basic crafty materials that you can already find at home, and that makes this craft budget-friendly too! Let the kids explore their creative side through this alarm clock-making craft! So many benefits to creating this alarm clock cardboard craft so, let’s begin!
DIY Cardboard Alarm Clock Recycled Craft For Kids
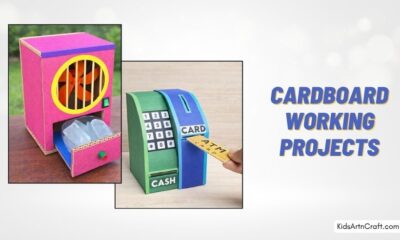
Read More: DIY Cardboard Tube Owl Craft
Materials Required
- Cardboard
- Scissors
- Hot Glue Gun
- All Pin
- Colored Papers (White, Red, And Black)
- Red Sketch Pen
- Wooden Sticks
- Black Marker
Procedure
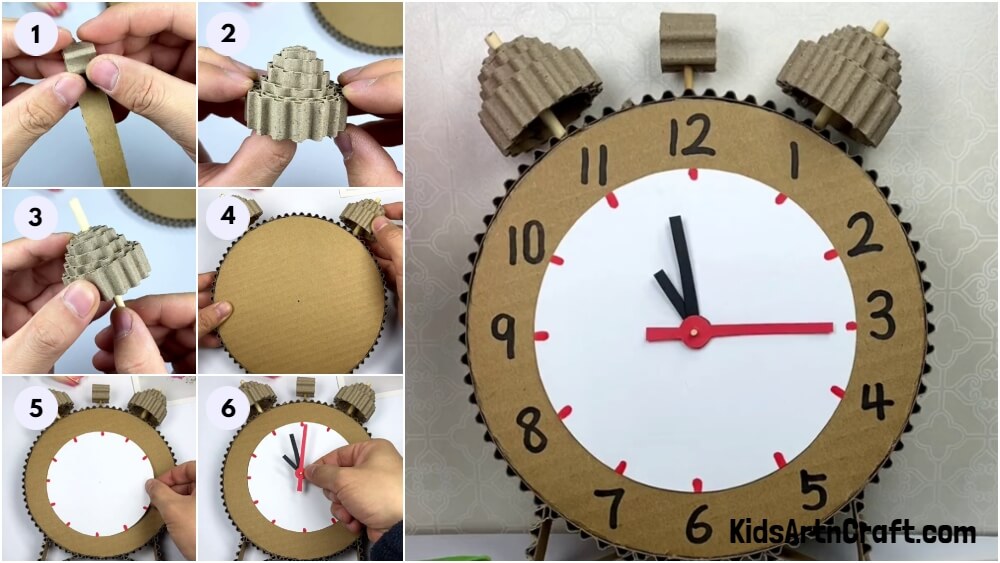
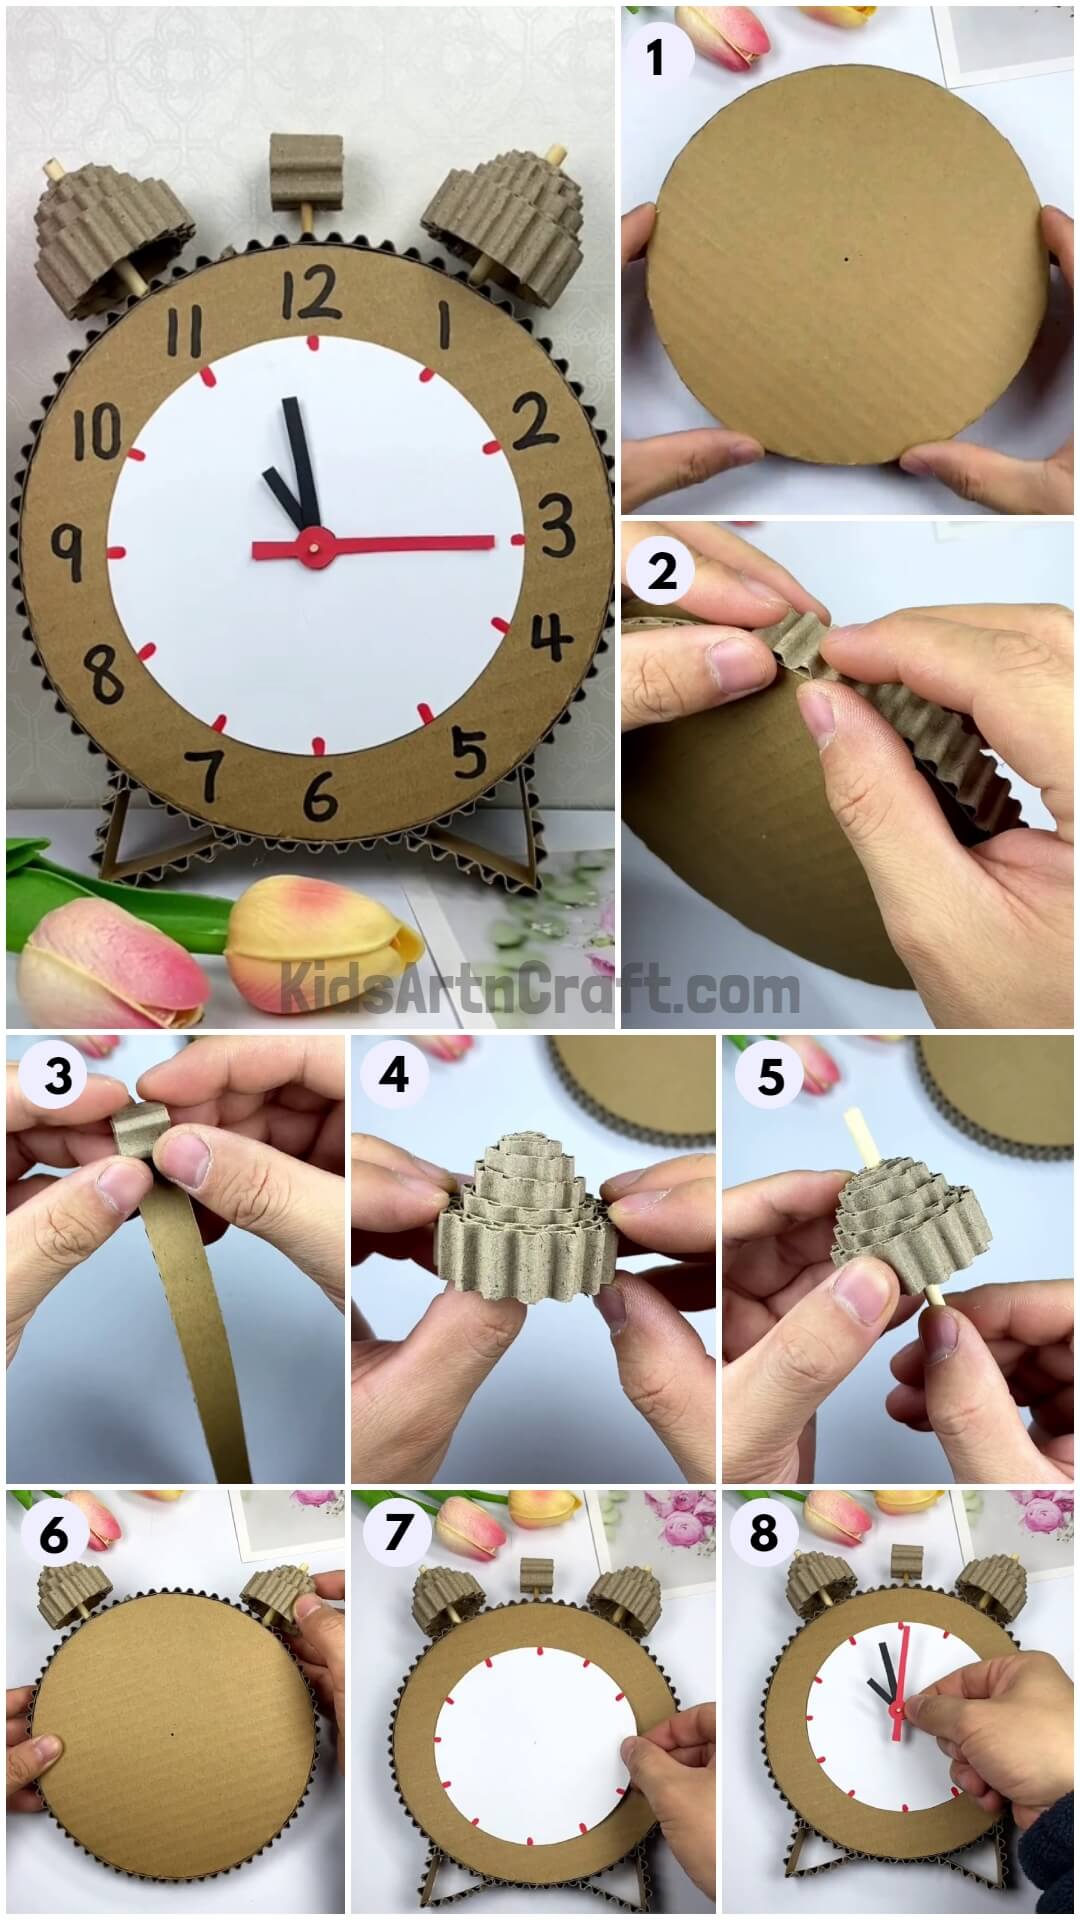
Step 1: Applying Hot Glue Around The Hole

To begin this craft, take a circular cardboard and make a hole in its center. Now, using a glue gun apply hot glue around the hole as shown in the image.
Step 2: Pasting A Cardboard Piece
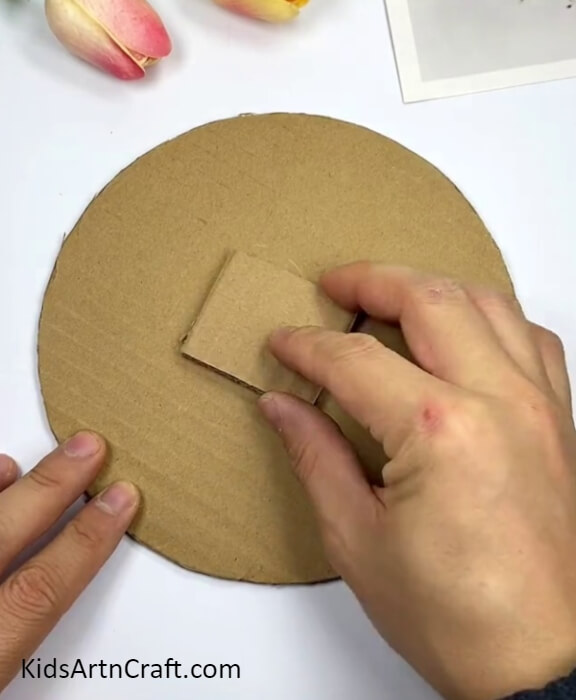
Now, cut out a square piece of cardboard using scissors and paste it onto the center to stick it with the hot glue applied.
Step 3: Pasting Another Circle Carboard

Cut out an identical circle with the hole in the middle using scissors and paste it over the cardboard square piece using hot glue to overlap the previous circle.
Step 4: Pasting Wavy Cardboard Strip
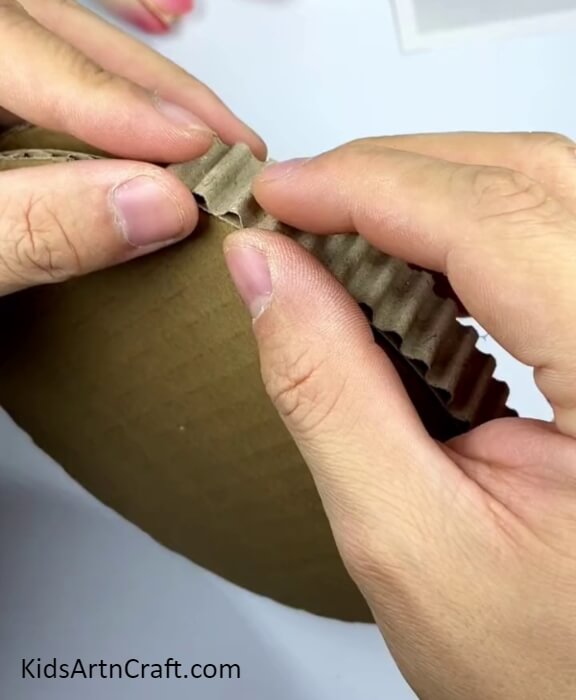
Cut out a strip of cardboard as thick as the boundary of the 2 circles and remove the upper layer of the cardboard strip to see a wavy layer inside it. Paste the cardboard strip over the circles’ boundary keeping the wavy layer outside using hot glue.
Step 5: Rolling A Wavy Cardboard Strip
Again make a wavy cardboard strip as we made before and roll it over in the way to keep the wavy part outside.
Step 6: Completing Roling The Strip
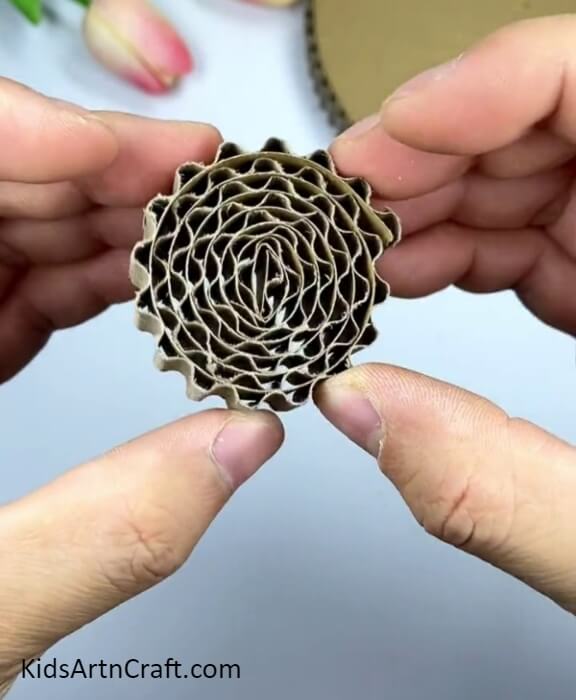
Completely roll the whole strip to make a spiral circle and secure the end by apply hot glue.
Step 7: Pushing Out The Spiral From The Center

Now, push out the center of the spiral circle to see each step of it lower than the first one.
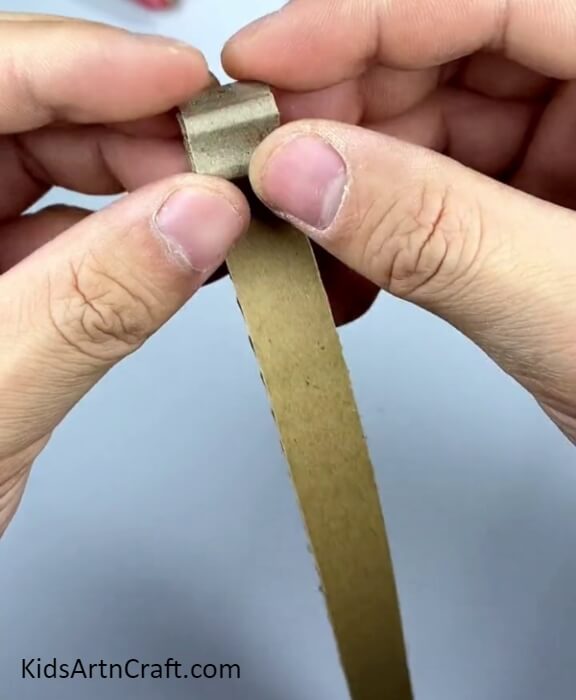
Step 8: Putting A Piece Of Wooden Stick In The Middle Of The Spiral
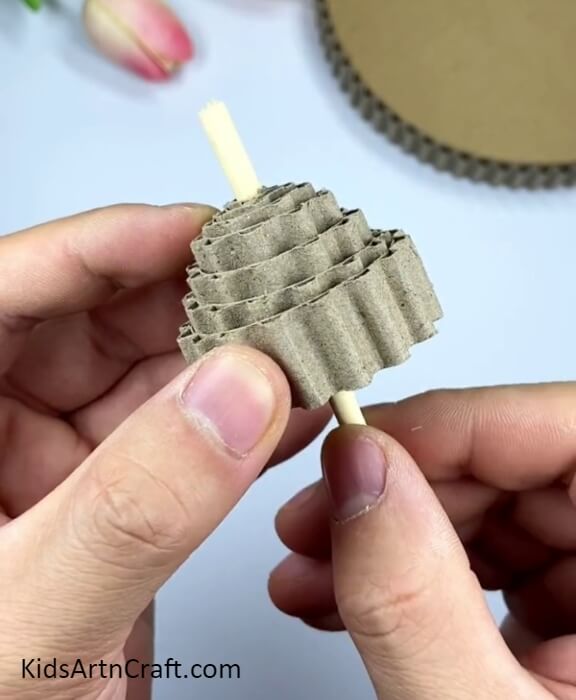
Push a piece of wooden stick in the center of the spiral.
Step 9: Pasting The Wooden Stick Of Spiral
Using hot glue, paste the wooden stick spiral over the wavy boundary of the circle.
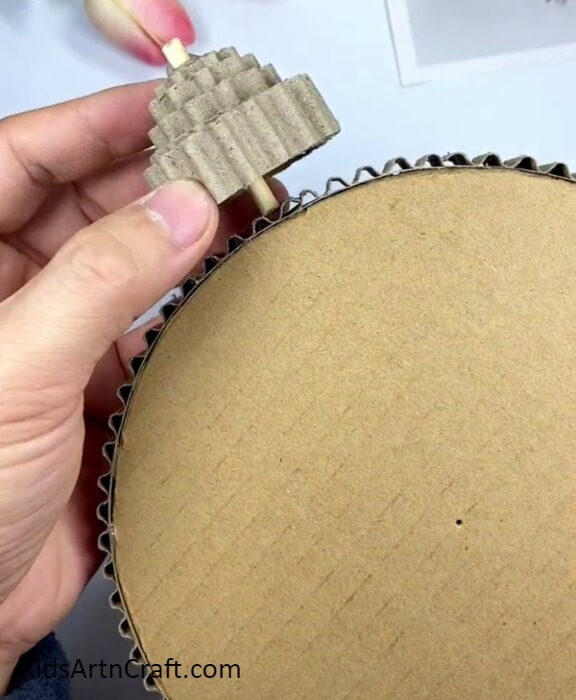
Step 10: Pasting Another Wooden Stick Spiral
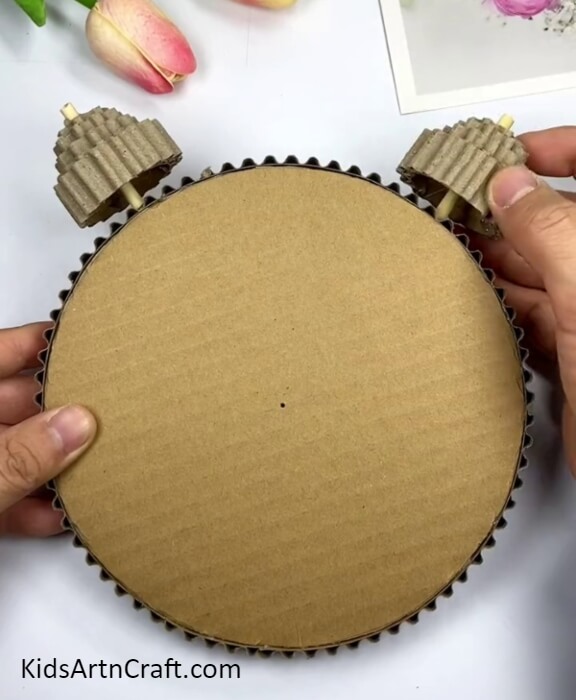
Following the same previous steps make and paste another wooden stick spiral on the wavy boundary at a certain distance from each other so they look like ears. These become the buzzers over your alarm clock.
Step 11: Pasting A Wooden Stick Circle
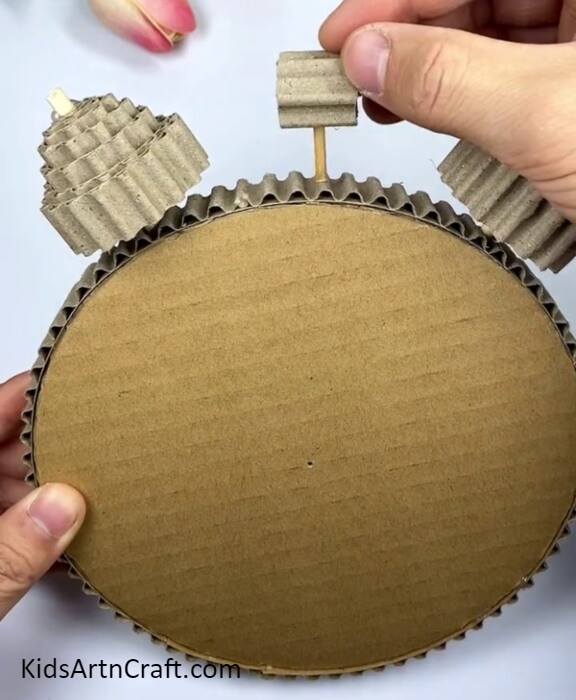
Again roll over a wavy strip to form a circle and paste a wooden stick below it and paste the whole structure in the middle of the buzzers using hot glue.
Step 12: Making The Stand And Pasting A White Paper Circle
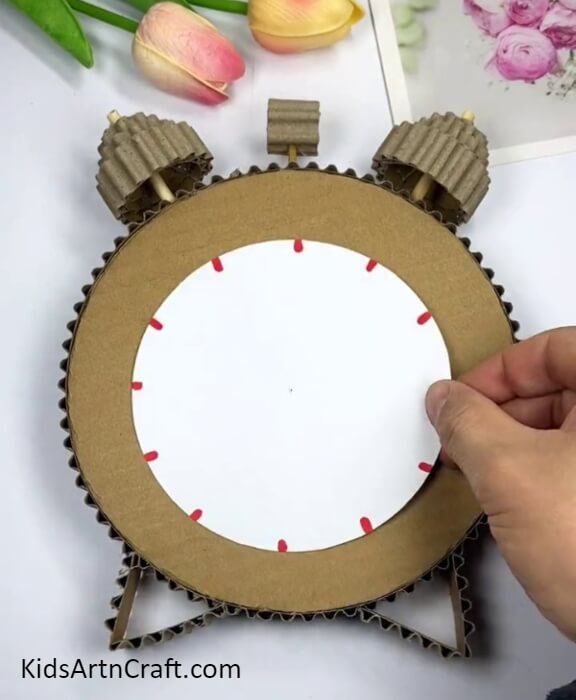
Take 2 small wavy cardboard strips and fold them in half then paste them below the clock to make the triangular stand using the hot glue gun. Now, cut out a white paper circle, slightly smaller than the clock circle cardboard, and using a red sketch pen, mark the 12 markings of a clock on the boundary of it. Paste this circle in the center of the clock with a hole in the middle.
Step 13: Making Hour And Minute Hands Of The Clock
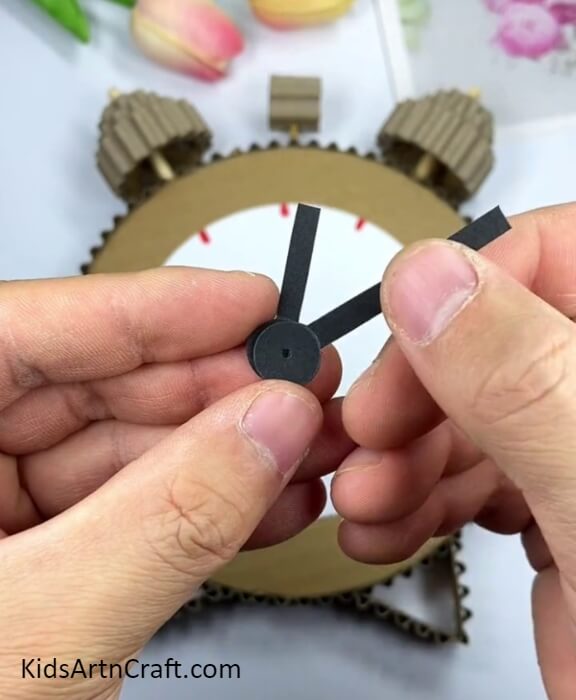
From a piece of black paper, cut out an hour hand and a minute hand from it using scissors in the shape with a circle attached with a strip, also make holes in the middle of the circles. Make sure to keep the minute hand longer than the hour one.
Step 14 : Making A Second’s Hand

From red paper cut out a second’s hand the same way to make the hour and minute ones. Make sure to keep this hand longest and also keep the strip of this hand from backward too from the circle.
Step 15: Sticking The Hands With All Pin
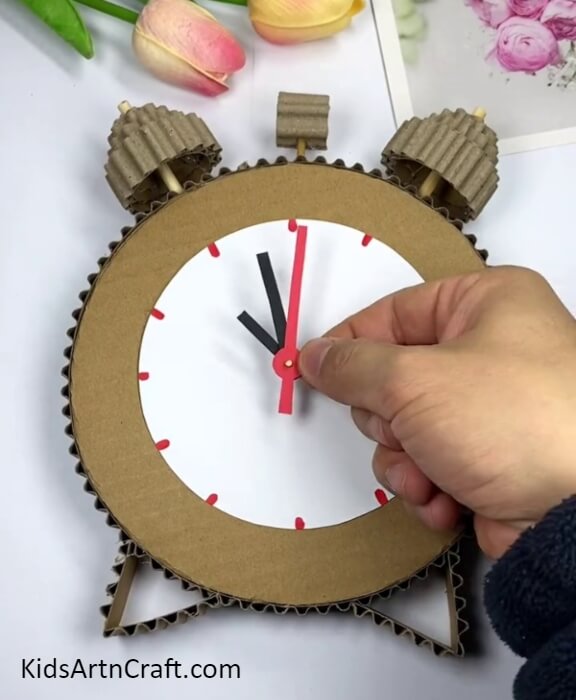
Put an all pin in the holes of the hands and using hot glue put and paste the pin inside the hole of the clock.
This Is The Final Look Of Your Alarm Clock!
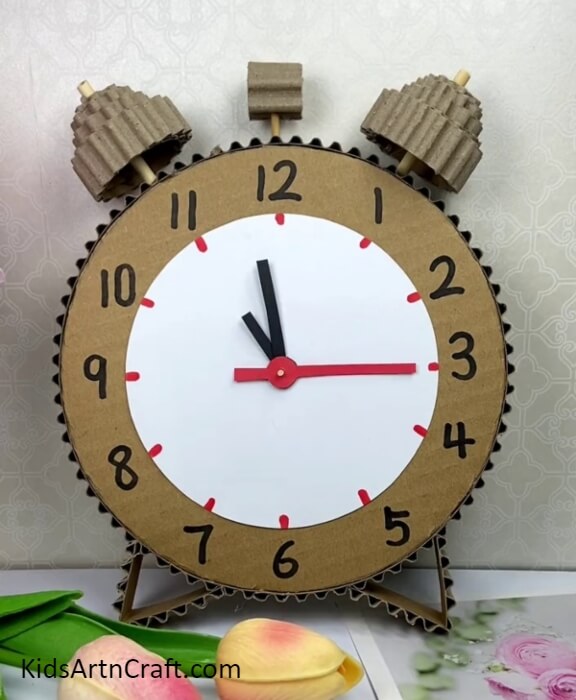
For the last step make the number markings on the cardboard area beside each red marking.
Buzz, buzz! You can hear it by looking at your alarm clock, right!? You can also move your clock’s hands!
You can now show off your creation to your friends and family! You can also customize your alarm clock any way you like, painting it, decorating it, anything! Make it as unique as you are! You can put it up in your room as a new addition to your craft collection! This clock model can also be a school craft project that everyone will admire and your classmates will be envious of you being the teacher’s favorite!
Follow us on Youtube for art and craft tutorials and much more.
More Articles from Kids Art & Craft
- Toilet Paper Roll Bat Tutorial for Kids
- How to Make Fighter Tank Using Cardboard Tube & Paper Cup
- DIY Superman Craft from Cardboard Tube
- Learn To Make Cardboard Tube Flower Bracelet Tutorial
- DIY Cardboard Tube Flowers Step-by-Step Tutorial