Painting
Juicy Cherries Over Tree Painting Step by Step Tutorial

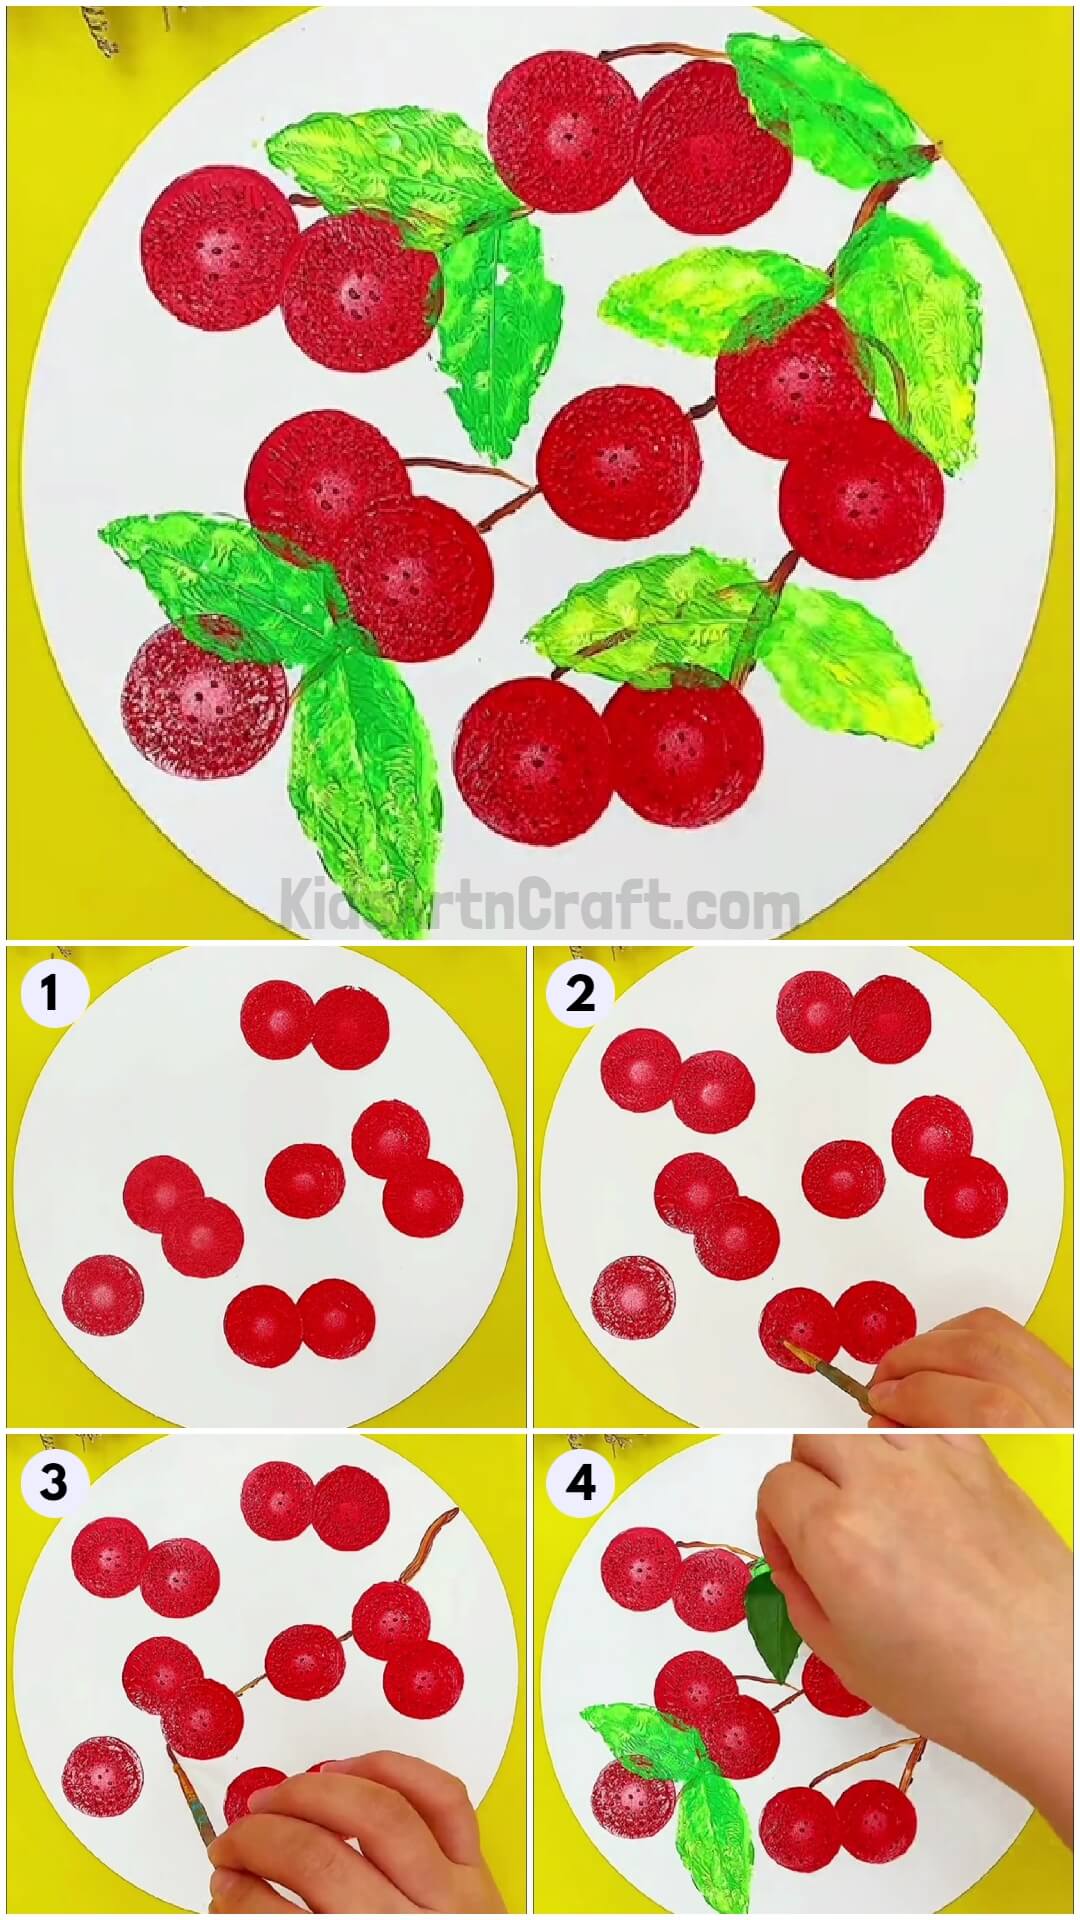
This tutorial will show you, step by step, how to make a beautiful painting of a tree with cherries. Follow the instructions and you will be able to create a gorgeous artwork to decorate your home.
This tutorial will teach you to make a simple cherry painting using an easy stamping method. The art will hardly take you five minutes to complete and the results will blow your mind. The painting will be having big red cherries with some leaves attached to it. Speaking of leaves, you will be required to collect some small leaves as a part of the material required to make this craft. Do not pluck from the trees, pick some fallen one’s. So, collect the rest of the material required and let’s start making this art.
DIY Juicy Cherries Over Tree Painting

Read More: Creative Butterfly Painting Using Sponge Idea For Kids
Materials Required
- A white sheet of paper
- A pair of scissors
- A circular stamp
- Water colours
- Small green leaves
- A paint brush
Procedure
Step 1: Starting With The Sheet Of Paper
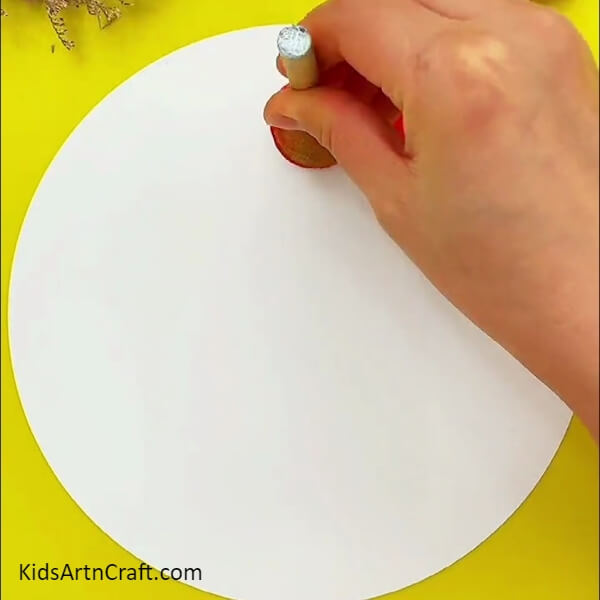

Take a white sheet of chart paper and cut a circle out of it and place it on the table. Now, spread some red paint on a palette and taking the circle stamp, dip it in the paint before making an imprint on the top of the circle sheet right in the middle. See the picture below for reference.
Step 2: Making More Such Stamps
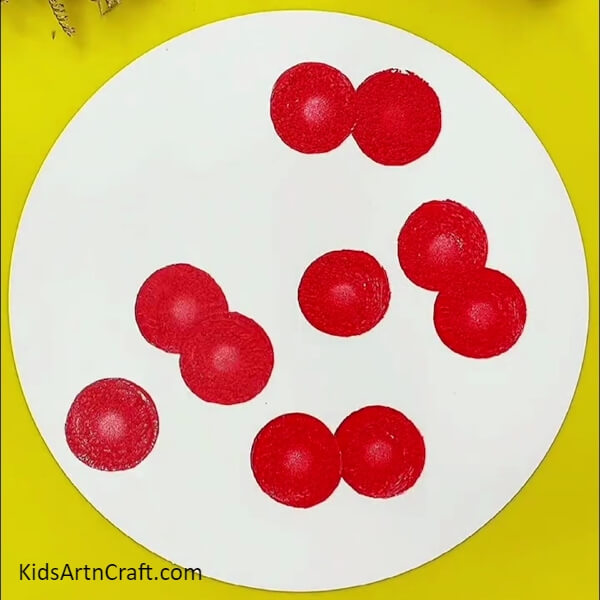
Stamp another such red circle right next to the previous stamped circle. Now, stamp three more such closely placed circles on the rest of the sheet. Finally , stamp two single circles, one between the already stamped circles and another near the bottom left circumference of the sheet. See the picture below for reference.
Step 3: Making Two Final Stamps
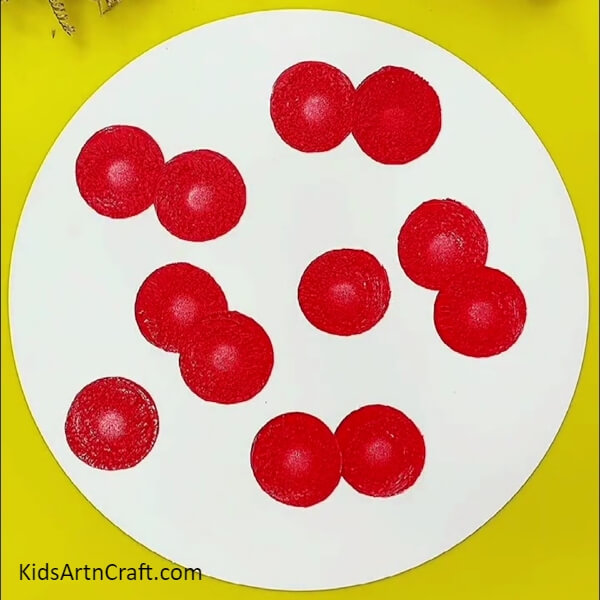
Make another two circle stamps next to each other on the top left side of the sheet as shown in the picture below. These circles shall act as cherries in this painting.
Step 4: Making Some Dots On The Cherries

Take a thin paint brush and dipping it in a little brown paint, make tiny, light dots in the middle of each circle. See the picture below for reference.
Step 5: Painting The Branches
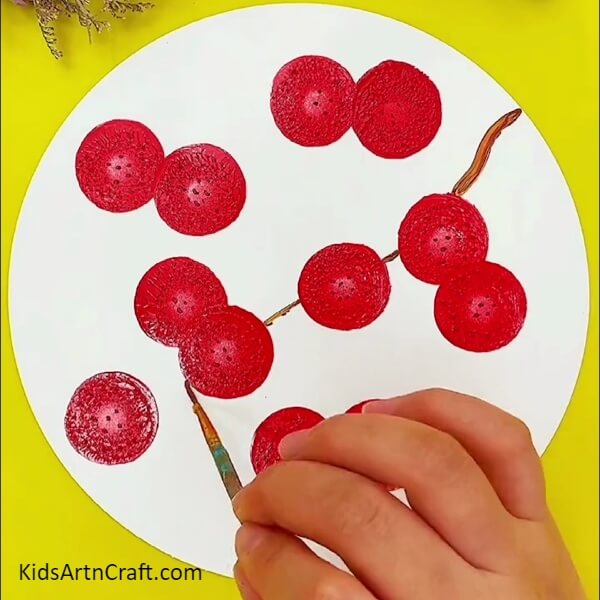
Take some brown paint onto a paint brush and starting from the circumference on the right side, draw a stroke connecting it to the cherries next to it and then connecting the cherries in the middle to each other right upto the single cherry on the extreme left side of the sheet. See the picture below for reference.
Step 6: Making Some Mire Branches
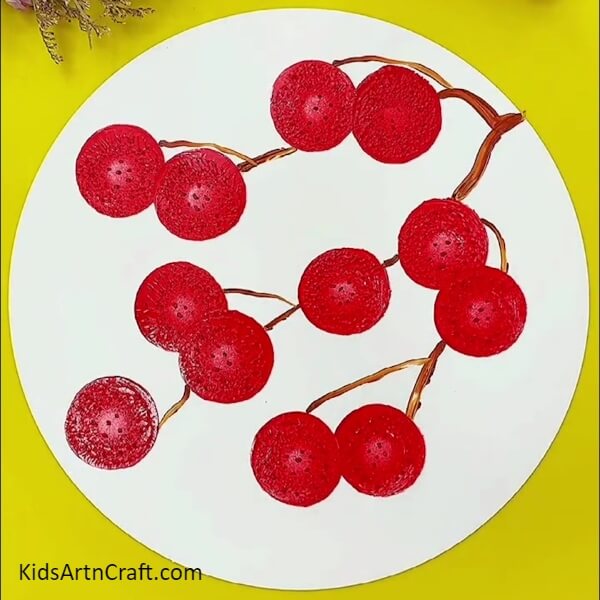
Make some more branches connecting the cherries with each other. Draw one connecting the cherries at the top, one connecting the cherries at the bottom. Make two branches for the double cherries and one for the single one’s. See the picture below for reference.
Step 7: Stamping Some Leaves On The Sheet
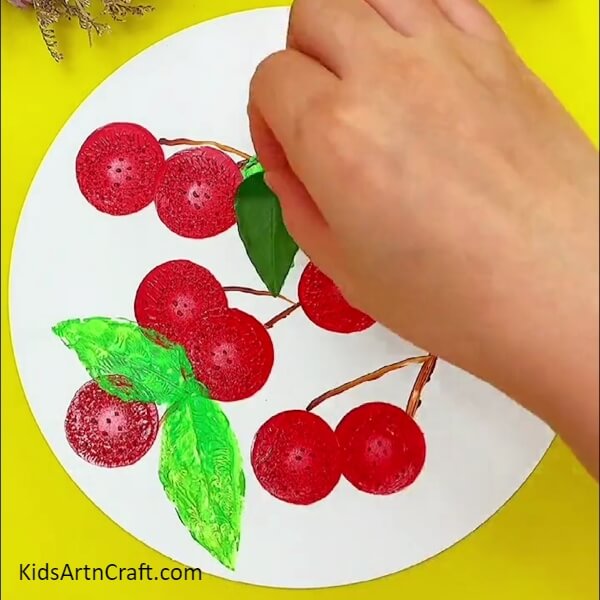
Take some green paint onto a palette and dip a small green leaf in it before stamping it on the sheet. Stamp one on the side of the branch connected to the cherry on the extreme left of the sheet. Now, stamp another one on the other side of the branch. Then, stamp another one on the branch connected to the cherry at the top of the sheet. See the picture below for reference.
Finally Our Juicy Cherries Are Ready!!
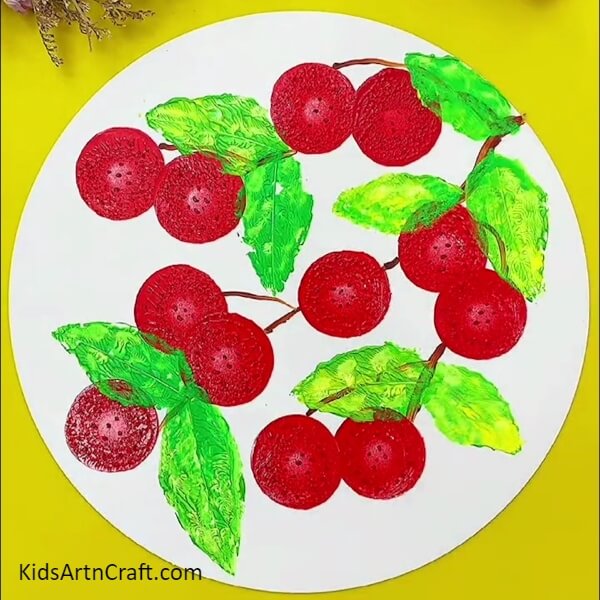
Stamp another leaf on the other side of the branch that you just stamped a leaf to. Now, stamp more leaves on other branches as well, following the same pattern. See the picture below for reference.
This completes today’s tutorial and we are left with a beautiful and simple painting of cherries. The cherries themselves look very realistic and juicy and the leaves have replicated the imprint of the real one’s quite closely. Overall the painting looks very professional and clean and let’s not forget the simplicity that lies in its making. You learned some unique and innovative painting techniques in this tutorial. You can hang it on the walks of your room or paste it in your art book. Keep practicing the techniques that you learn in these tutorials and keep up the good work.
Keep following the tutorials to learn more innovative craft. Good luck
Thank you for visiting the website.
Follow us on Youtube for art and craft tutorials and much more.
More Articles from Kids Art & Craft
- Rainbow Parrot Painting Step by Step Tutorial For Kids
- Cute Birds Over Tree Painting Step by Step Tutorial
- Easy Painting Video Tutorial for Beginners
- Red Turnip Painting Artwork Step by Step Tutorial
- Silhouette Landscape Paintings