Painting
Rainbow Parrot Painting Step by Step Tutorial For Kids

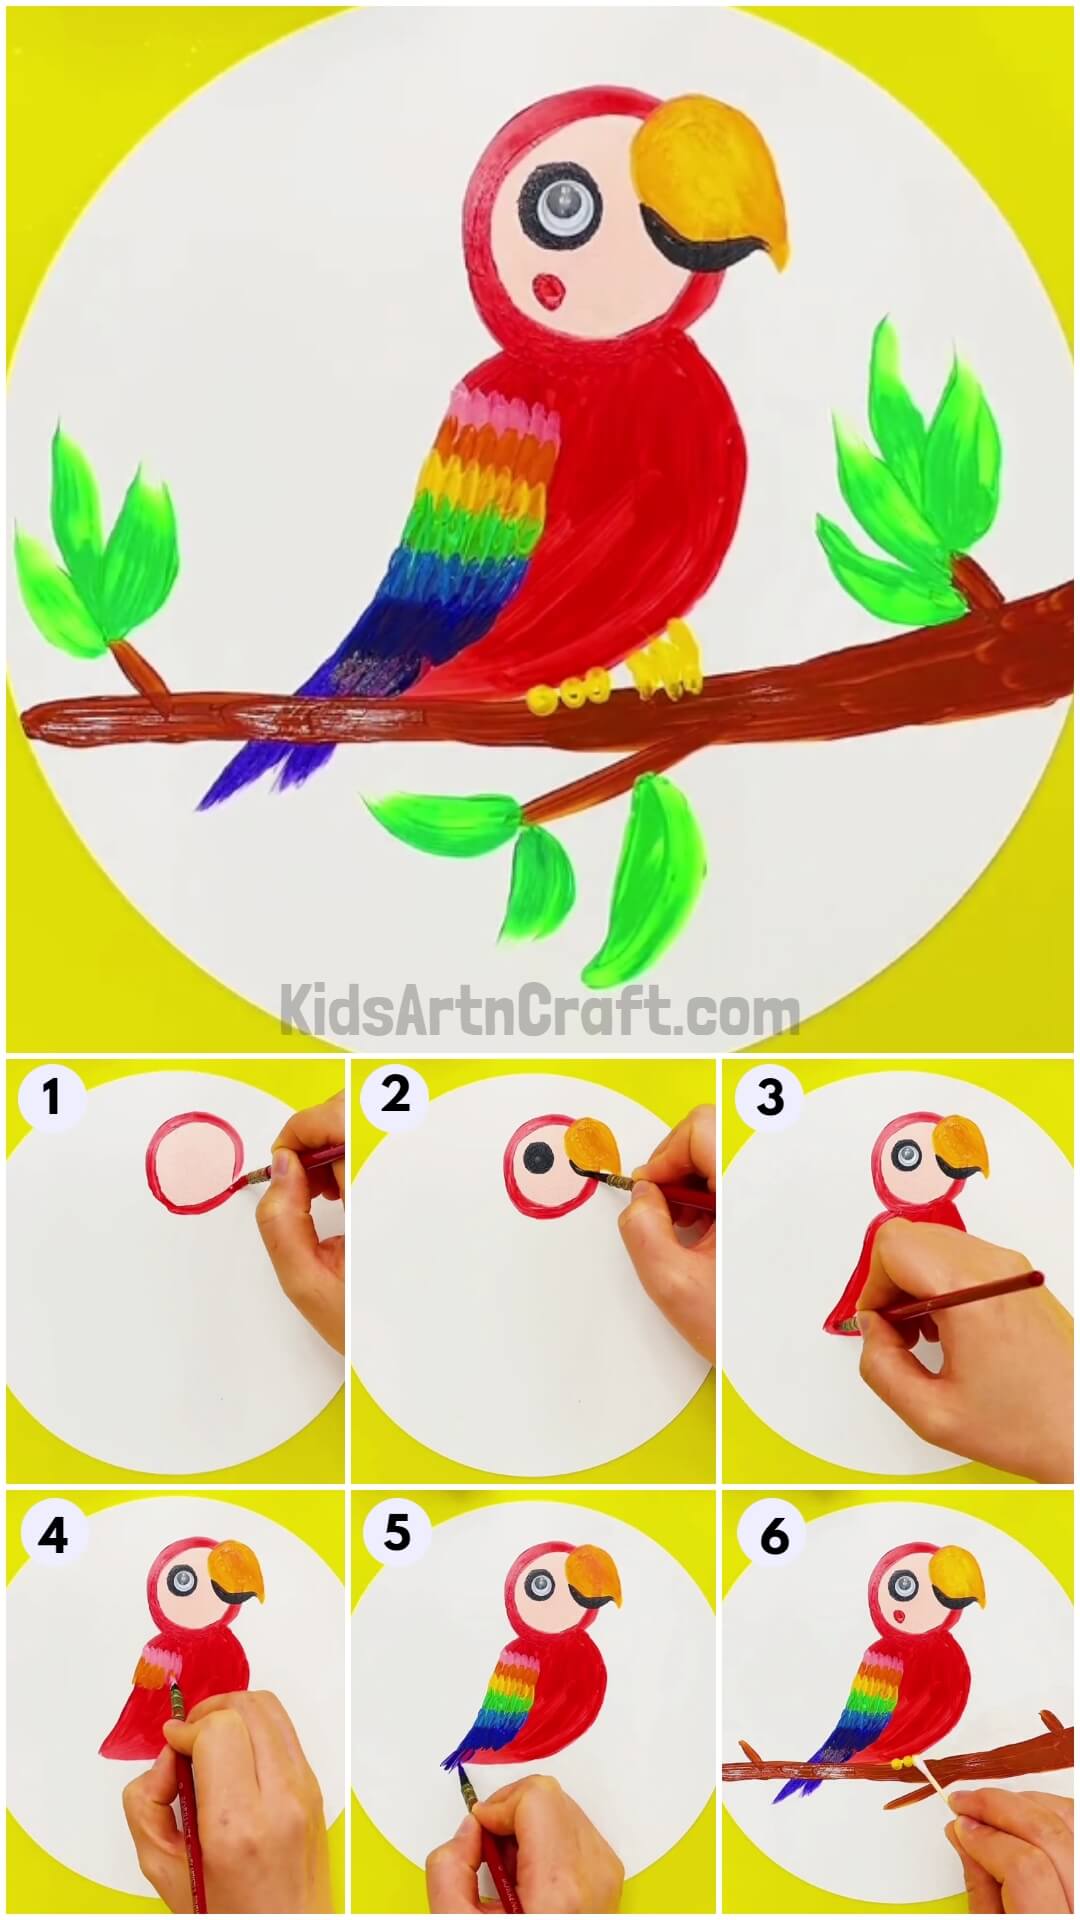
Learn to make a realistic colorful parrot painting like a pro! This step-by-step art tutorial will teach you to make this parrot art, you will be proud of!
Let’s make a parrot painting with our easy step-by-step tutorial that will guide you to the same! This parrot has rainbow-colored wings which are the main attraction of the whole painting! You will learn to paint like a pro with shading, mixing paints, and even creating textures, everything! I’m sure the results will definitely leave you in awe and you would be keen to showcase your artwork! This can also be the painting project for school and let everyone envy you becoming your art teacher’s favorite! Grab the art supplies and unleash the inner artist in you to begin!
Simple Rainbow Parrot Painting For Kids
Read More: Realistic Tree Landscape Stamp Painting Using Fruit Foam
Materials Required
- White Circular Paper Sheet
- Paintbrush
- Cotton Earbuds
- Paint Colors
- Googly Eyes
- Glue
Procedure
Step 1: Making Parrot’s Face
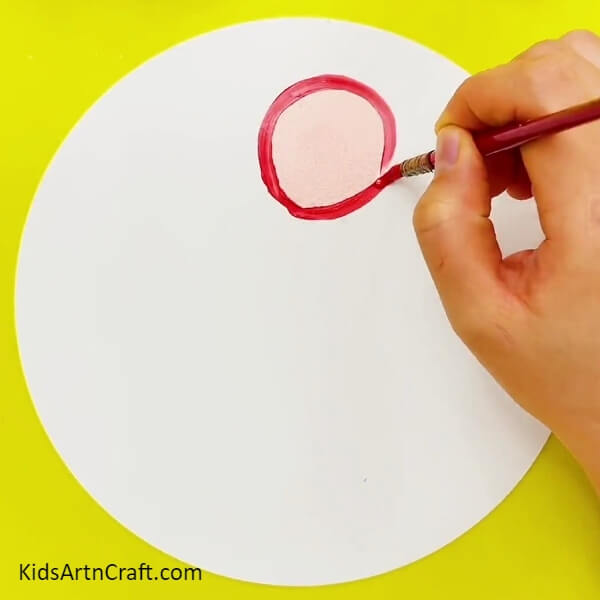
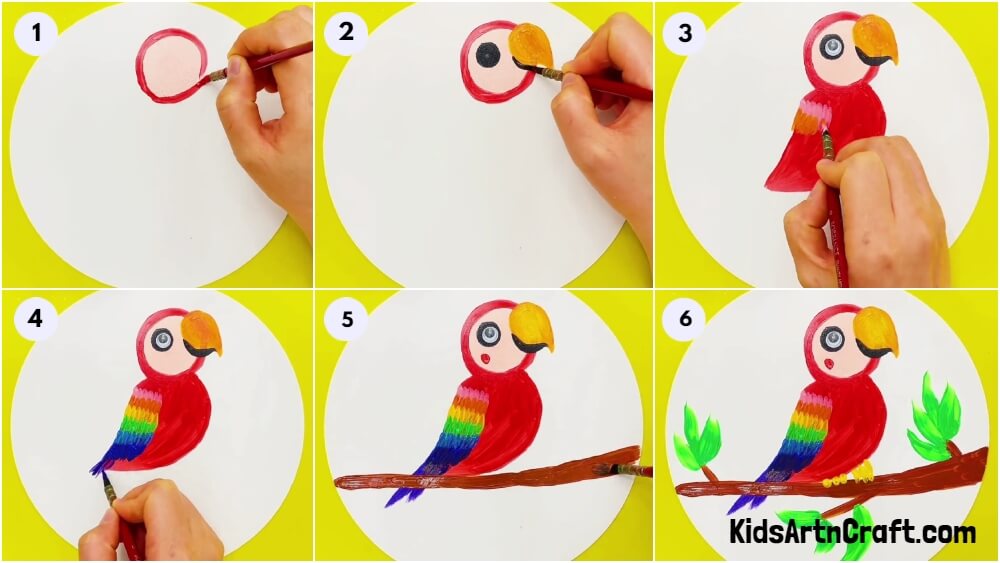
To begin this craft, take a white circular paper sheet as the base of the painting and a rounded paintbrush. Dip the paintbrush into skin-colored paint and make a free-handed circle over the mid-top of the base and paint it wholely. Now, dip the paintbrush into red paint and make a circular boundary around the skin-colored circle. This makes the face of the parrot.
Step 2: Stamping Parrot’s Eye
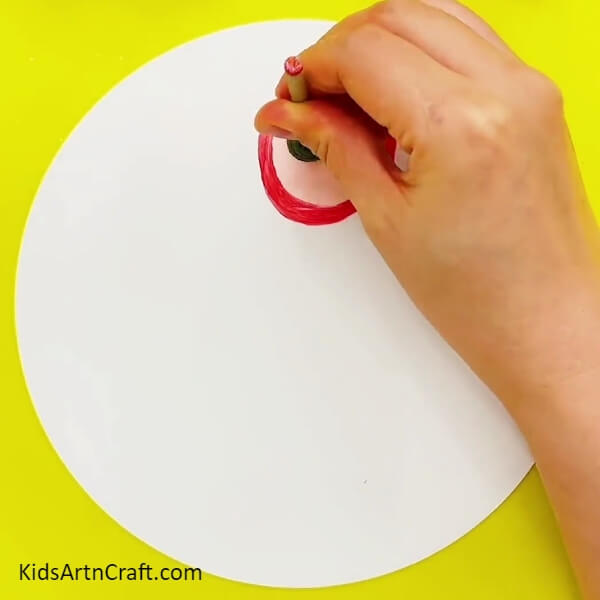
Dip a small circle stamp into black paint and dap it over the left top of the face of the parrot to make the eye of the parrot.
Step 3: Making A Beak
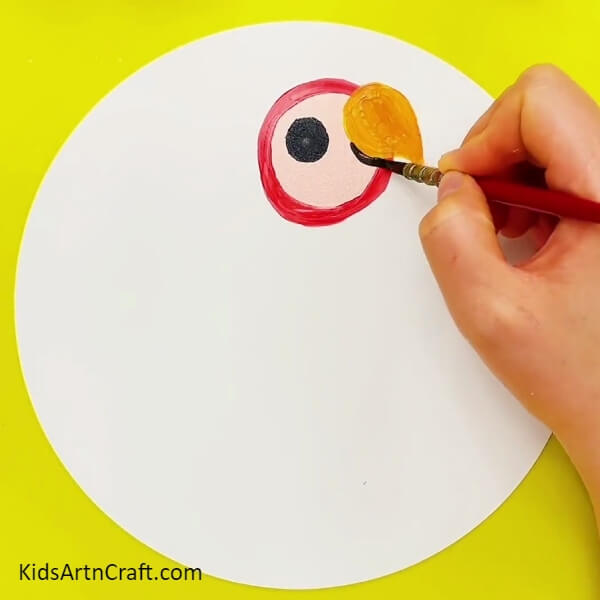
Using the paintbrush, make a tilted-curved drop-shape yellow beak at the circular face boundary beside the eye. Then, dip the paintbrush into black paint and make the wavy lower boundary of the beak to make it look like its shadow.
Step 4: Pasting Googly Eye And Making Body Of The Parrot
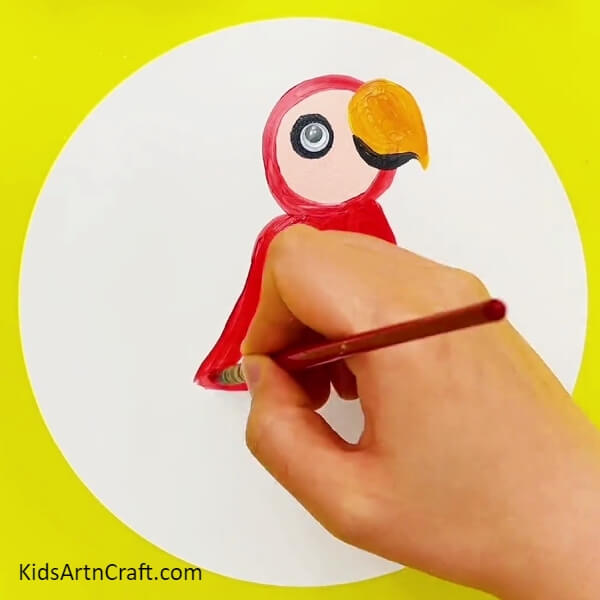
Using glue, paste a googly eye over the black eye base. Now, using the paintbrush make a red-colored left-curved drop shape below the face to make the body of the parrot.
Step 5: Making Rainbow Feathers Of The Parrot
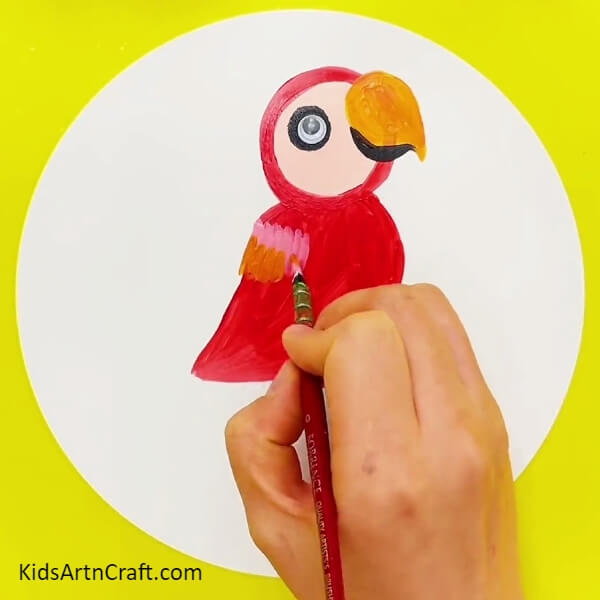
Using the paintbrush, make small line strokes on the left side of the body by leaving some space at the top. Below it, make orange strokes to make colorful feathers of the parrot.
Step 6: Completing Making The Feathers
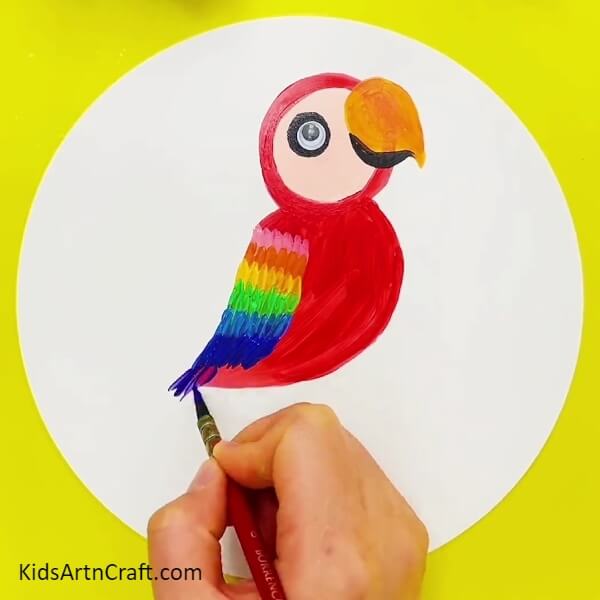
Make the feathers below one another in the color order of orange-yellow-green-light blue-dark blue-violet. Make sure to make the feathers in the thin-curved drop shape as shown in the image.
Step 7: Making A Tree Branch
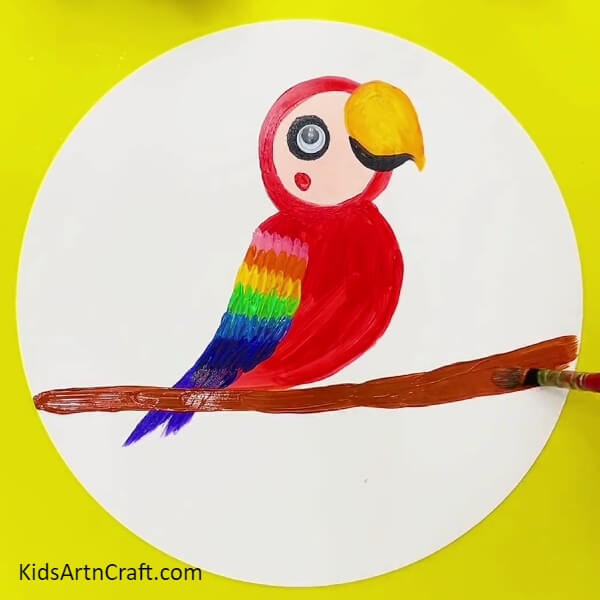
Make a horizontal tree branch beneath the parrot using brown paint.
Step 8: Making Parrot’s Legs
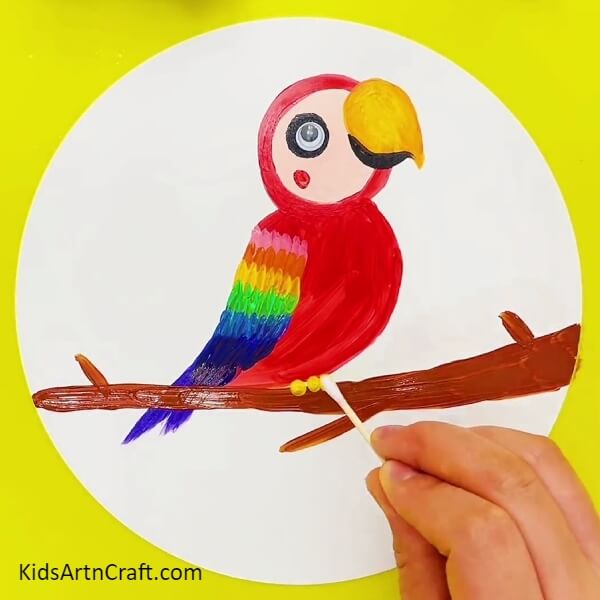
Dip a cotton earbud into yellow paint and make 3 consecutive dots below-right to the body and above the tree branch and 3 curved strokes ahead of it to make the legs of the parrot.
Step 9: Making Leaves
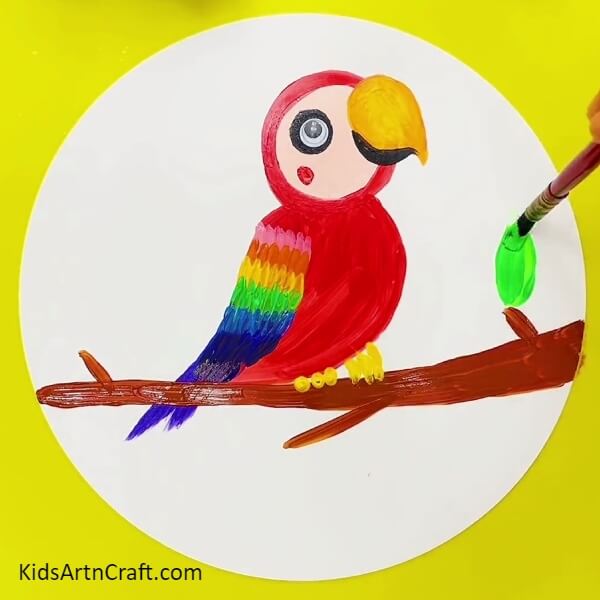
Dip the paintbrush into green paint and make leaves randomly over the tree branch.
The Final Look Of Your Parrot Art!
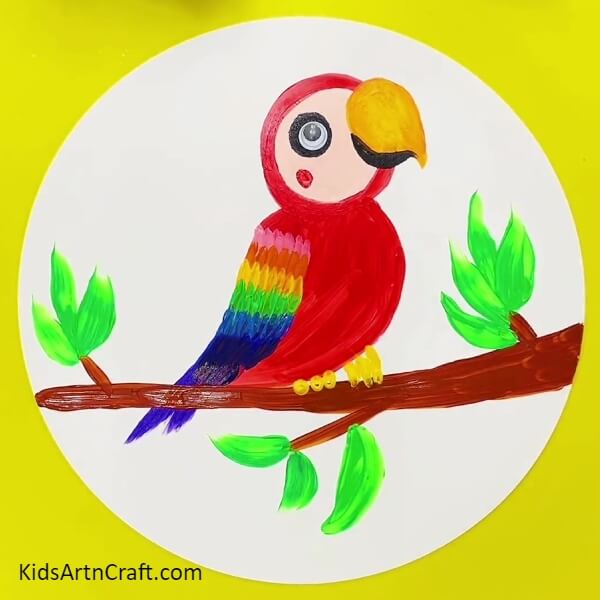
Well, well, can’t take your eyes off your beautiful parrot?!
Congratulations! Your parrot art is now ready to be displayed! You can even paste it into your art book to show it off in the classroom! Let everyone envy your creativity and painting skills! Also, flaunt your art skills by teaching others to make it too! You can also add your touch of creativity to this artwork, like making the parrot using green paint! Your imagination is the limit!
Follow us on Youtube for art and craft tutorials and much more.
More Articles from Kids Art & Craft
- Paper Butterfly Craft Easy Tutorial for Kids
- Fruit Foam Net Easy Corn Craft Tutorial for Kids
- Easy Bunny paper craft for kids
- Easy-to-make Christmas Tree Craft For Beginners
- Pretty Poppy Flower Garden Painting Art For Kids


