Clay Crafts
DIY Clay Ladybugs Craft Step-By-Step Tutorial For Kids

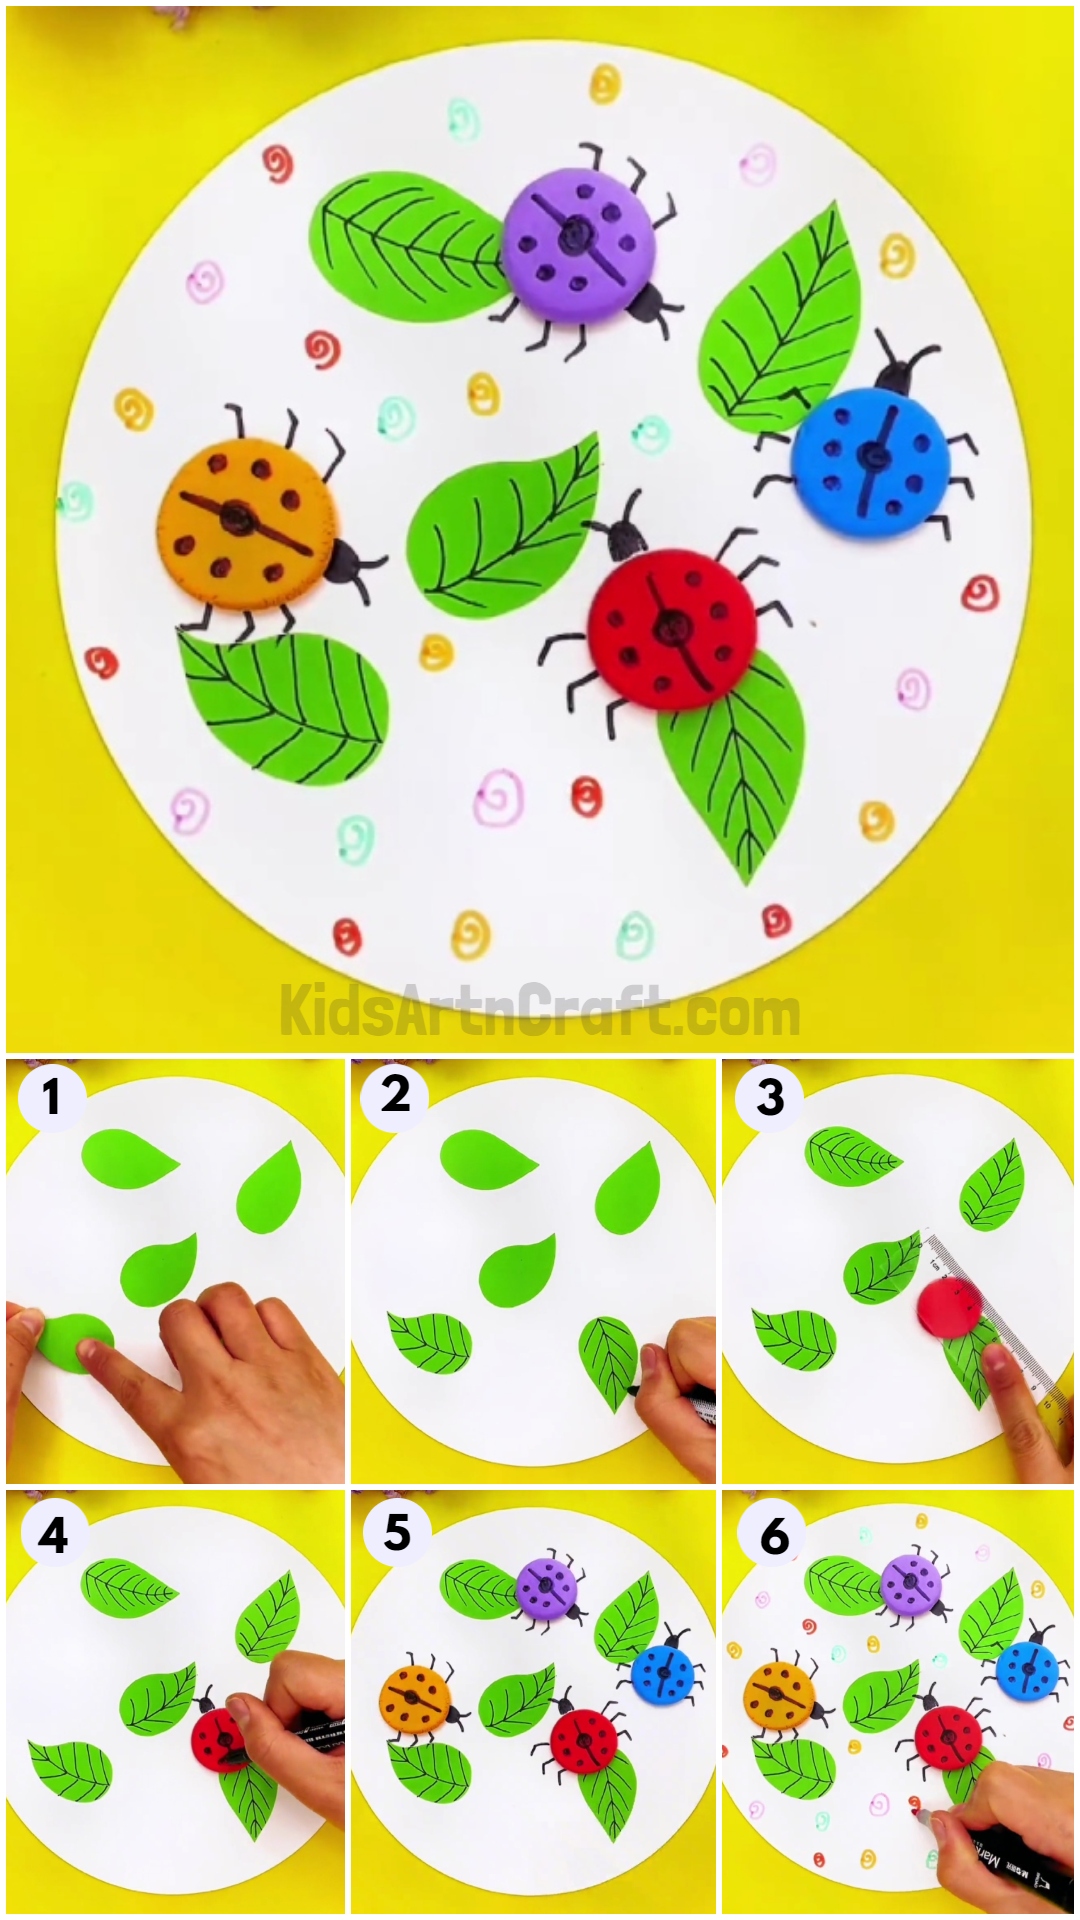
This DIY Clay Ladybugs Craft Step-by-step Tutorial will teach your kids how to create their own clay ladybugs! All you need are a few basic supplies and a bit of creativity.
Hello amigos! Here, we present to you an amazing art piece on creating a simple clay ladybug craft using simple steps. This is totally beginner-friendly and doesn’t require any fancy items. All the materials required for this craft are readily available in the local stores. We have used various color combinations to upgrade our craft and make it look more vibrant. You can use your own imagination and make this clay craft more appealing and interesting. So, grab your craft supplies, and let’s embark on this amazing journey of creating ladybugs using clay!
Simple Clay Ladybug Craft

Read More: How to Make Clay Flower Easy Tutorial for Kids
Materials Required
- Clay dough(Red, Orange, Purple, Blue)
- Craft paper(Green, White)
- Black marker
- Scissors
- Glue
- Sketch pens(Red, Yellow, Pink, Blue)
Procedure
Step 1: Pasting A Leaf
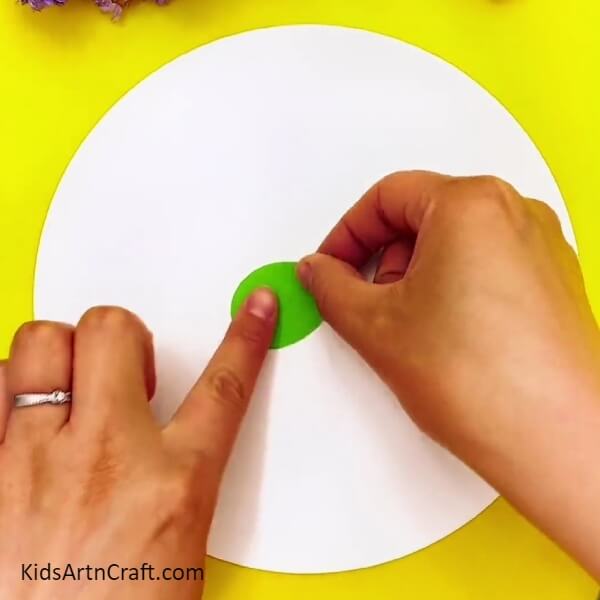

Let’s begin our craft by taking a white sheet of paper. Cut it into a circle. This will become the base of our craft. Now, we need to make the leaves. Take green craft paper and cut a leaf out of it as shown.
Step 2: Pasting More Leaves
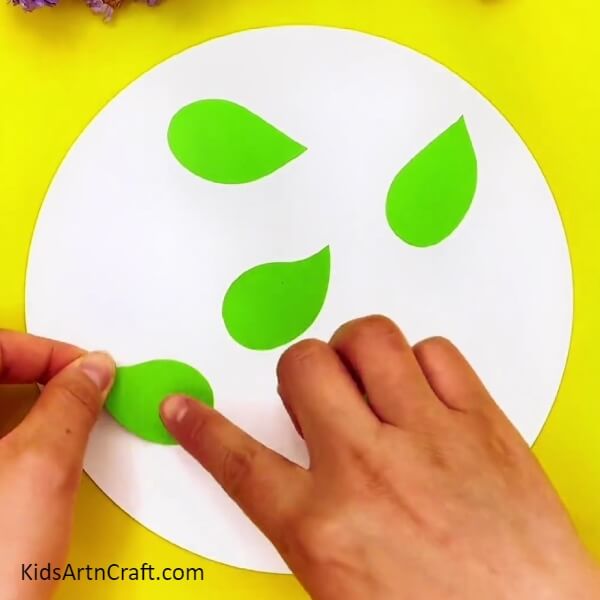
Cut more leaves from the green craft paper and make leaves out of it. Paste them randomly on the white circle as shown.
Step 3: Drawing The Veins
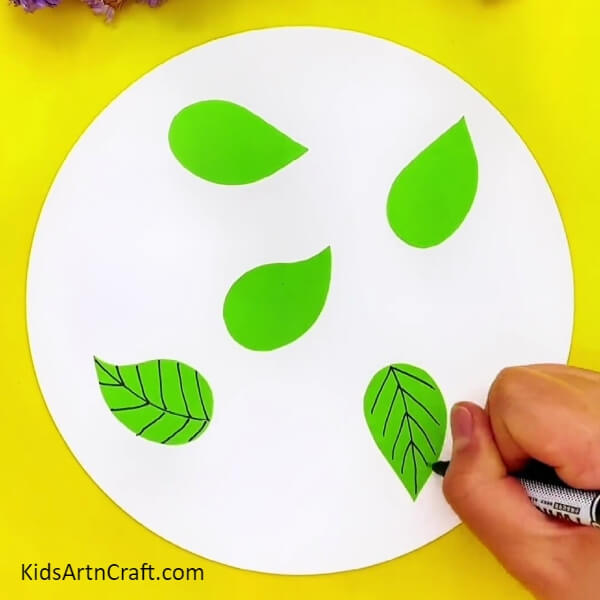
Take a black marker and draw veins on the leaf as shown.
Step 4: Drawing Veins On All Leaves
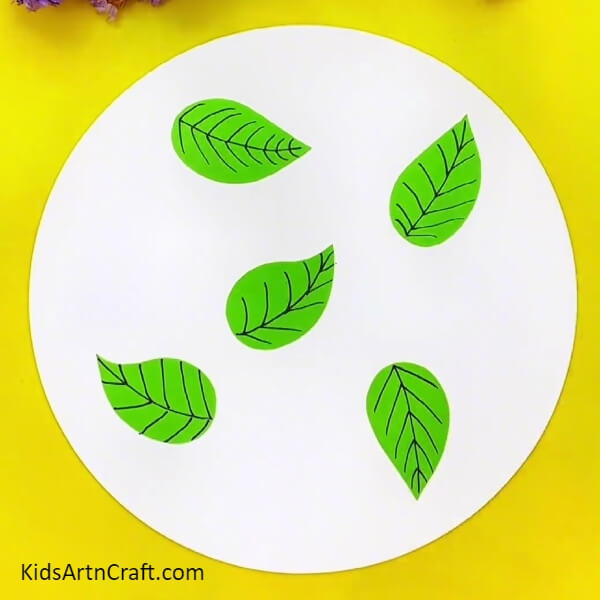
Repeat the above steps, and draw the veins on all the leaves.
Step 5: Getting The Red Clay
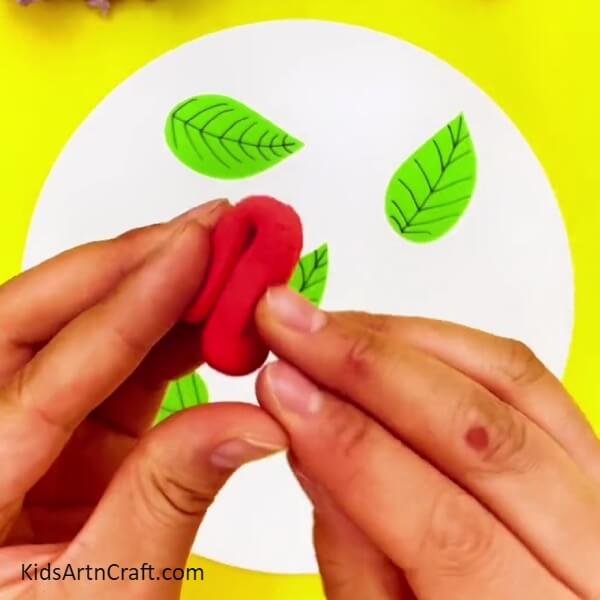
Take red clay dough to make the body of the ladybug.
Step 6: Making A Small Clay Ball
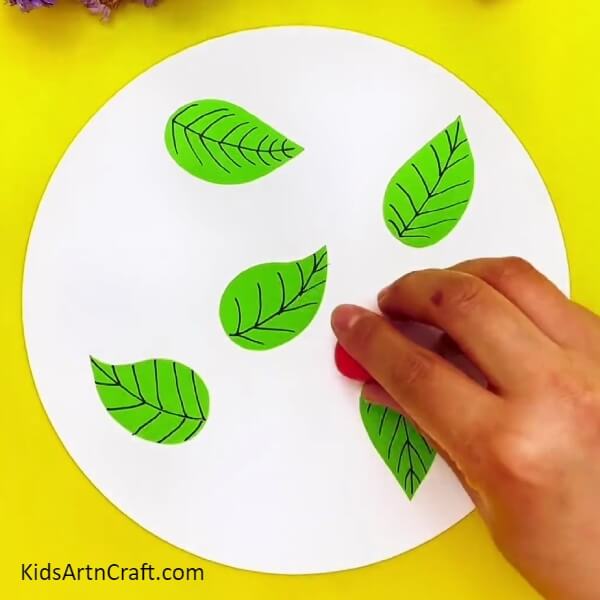
Using the red clay dough, make a small clay ball as shown.
Step 7: Flattening The Red Ball
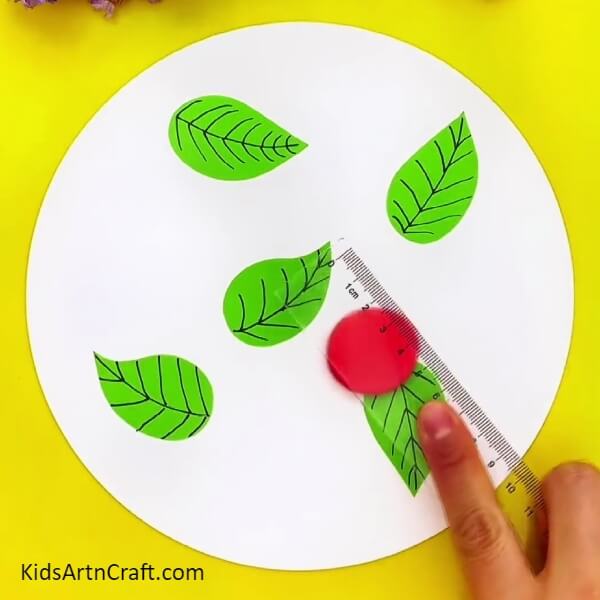
Make a red clay ball and flatten it using a ruler.
Step 8: Drawing The Ladybug
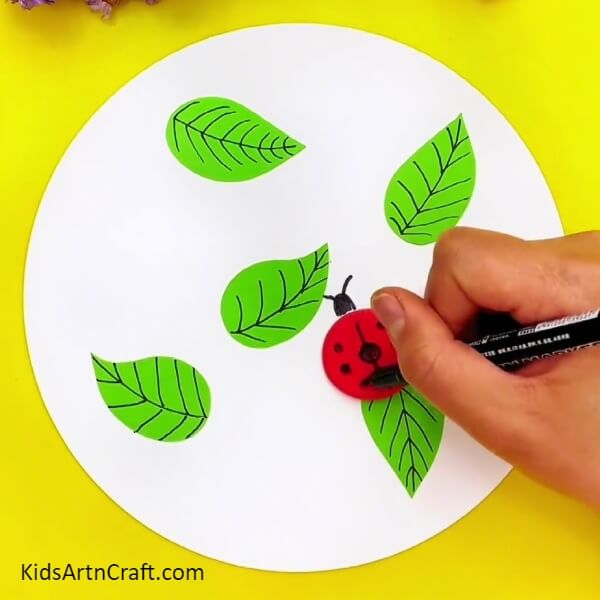
Take a black marker and draw the head, the antennas, and some black spots on the body of the ladybug as shown in the image.
Step 9: Making More Ladybugs
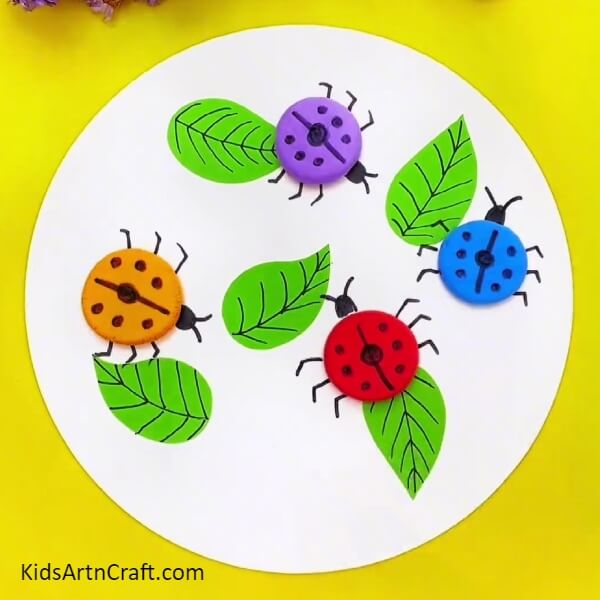
Take blue, purple, and orange clay and make more ladybugs. Using the black marker, draw the details on the ladybugs.
Step 10: Decorating The Background
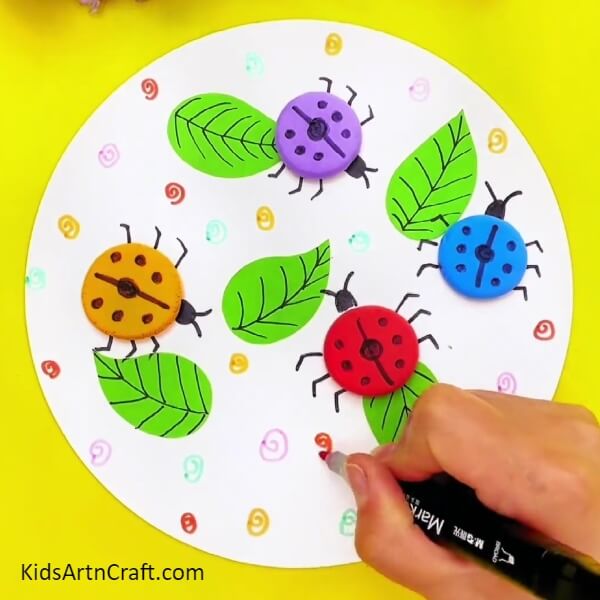
Use red, pink, yellow, and green sketch pens to make spirals on the white craft paper as shown. This will decorate the entire white circle completely.
Now, The DIY Clay Ladybugs Craft Is Ready!
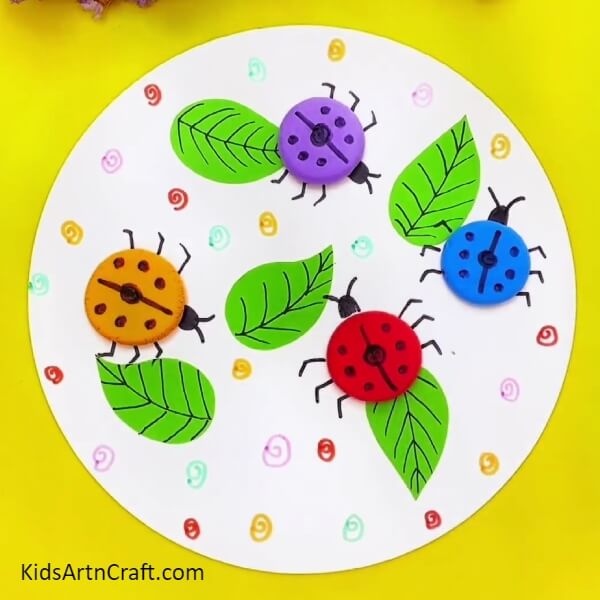
Congratulations on completing the DIY clay ladybugs craft!
Clay craft is a fun and interesting activity to indulge children in creative activities. They will enjoy the whole process and will love to show off their artwork to friends and relatives. Learning new shapes and forms will broaden their creative intellect and it will also encourage them to create more innovative art pieces. Keep following our website for more ideas.
Thank you for visiting our website!
Follow us on Youtube for art and craft tutorials and much more.
More Articles from Kids Art & Craft
- DIY Clay Giraffe Step-by-Step Tutorial For Kids
- Simple & Tasty Ice-Cream Craft Using Clay – Step-by-Step Tutorial
- DIY Miniature Clay Cake Craft Activities for Kids
- Clay watermelon ice cream easy craft tutorial
- How to Make Worms Using Clay For Kids