Recycled Crafts
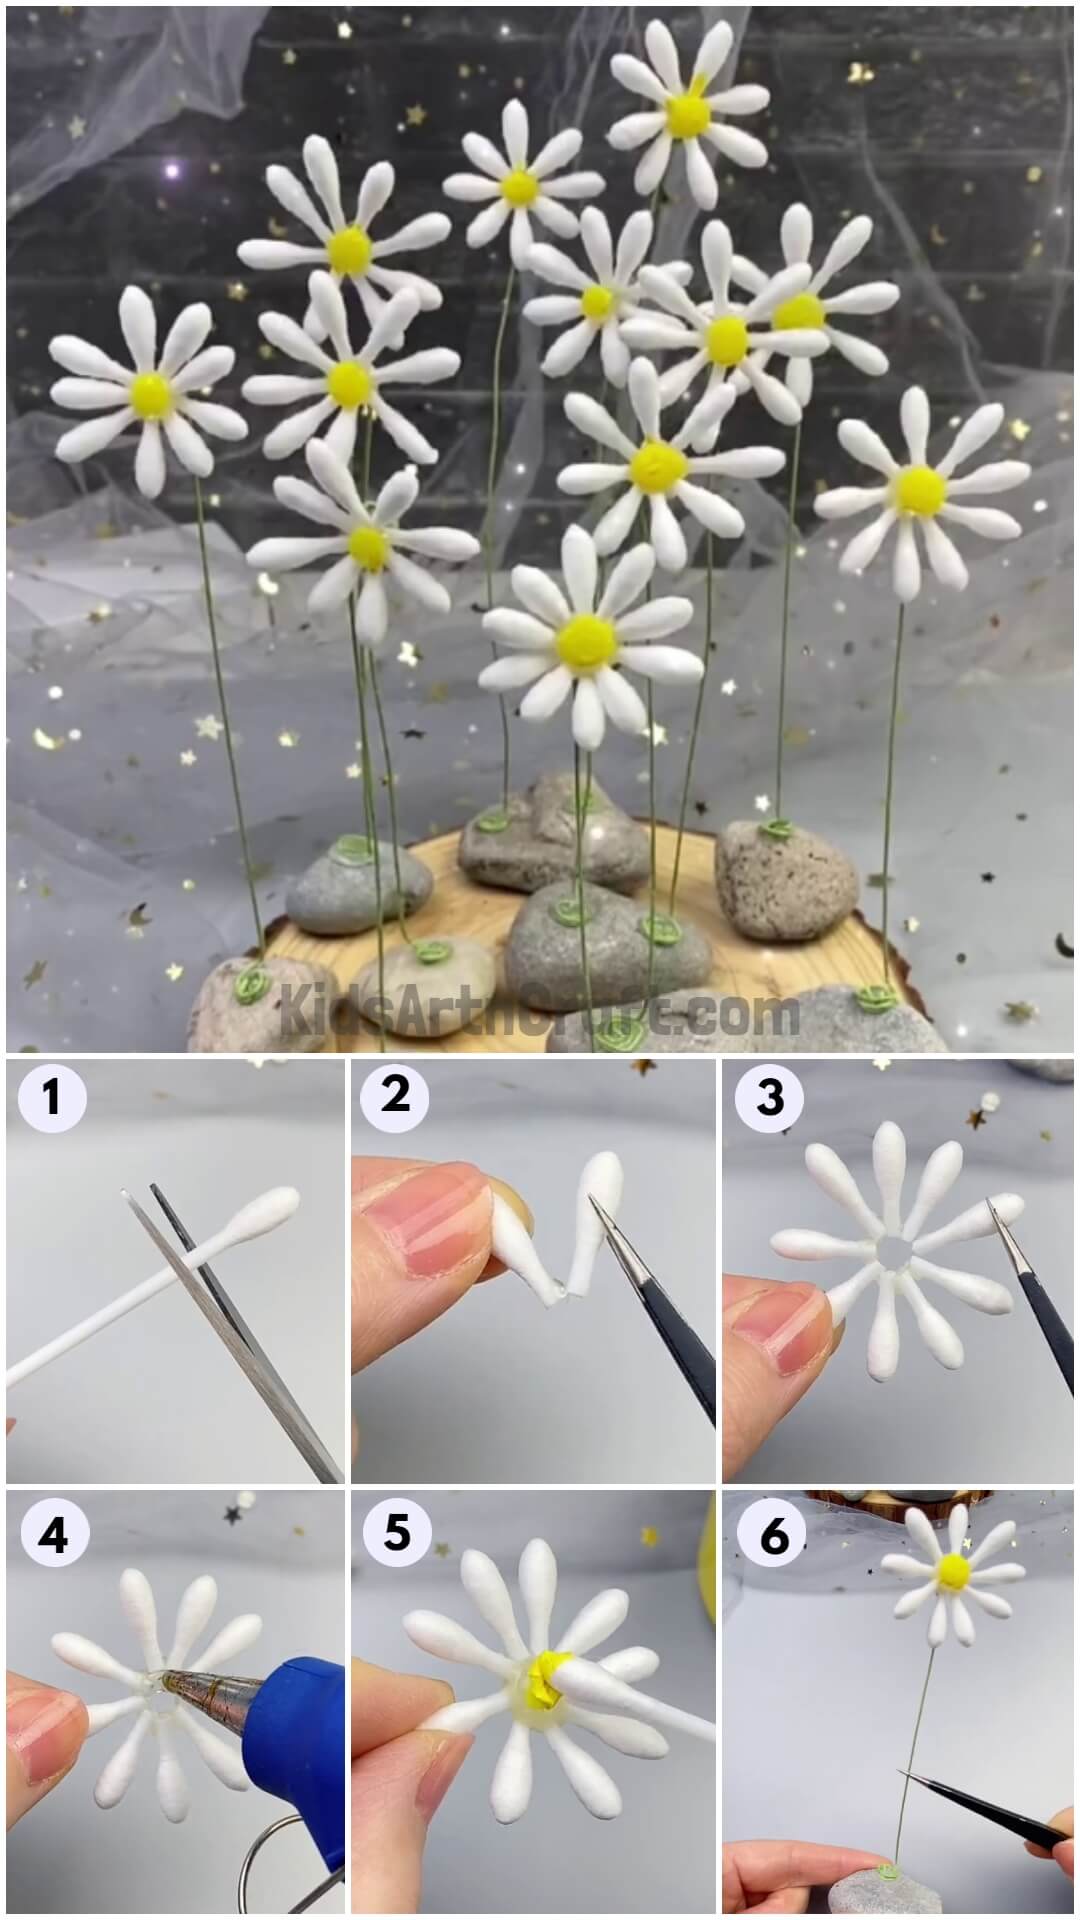
How To Make Cotton Earbud Flowers Craft Step by Step Tutorial

Make your own beautiful cotton earbud flower craft with this step-by-step tutorial! Learn how to make your own unique and creative flower decorations with this easy and fun project.
You must have tried many materials to make flowers like paper, popsicle sticks, straws, etc but have you ever tried to make a flower with earbuds? If not, then today let me show you how you can create such a cute and pretty flower with just the help of earbuds. Let’s get started!
How To Make Cotton Earbud Flowers Craft

Read More: Easy Chinese New Year Dragon Craft For Kids
Materials Required
- Earbuds
- Glue gun
- Yellow poster color
- Green stainless steel wire
- Rocks
- Tongs
- Scissors
Procedure
Step 1: Taking an Earbud and Scissors

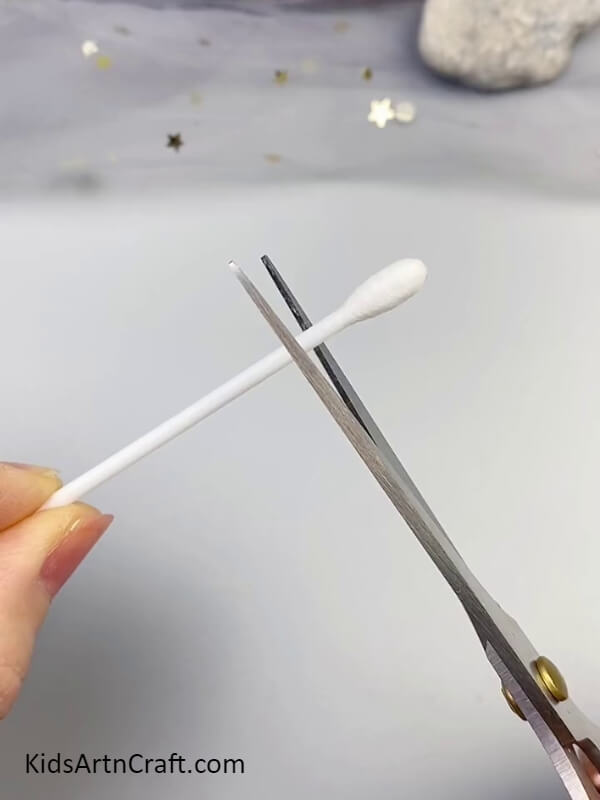
Your first step is to take an earbud. Then, take scissors and cut the earbud from a little below the cotton part as shown.
Step 2: Applying Glue Gun on Earbud
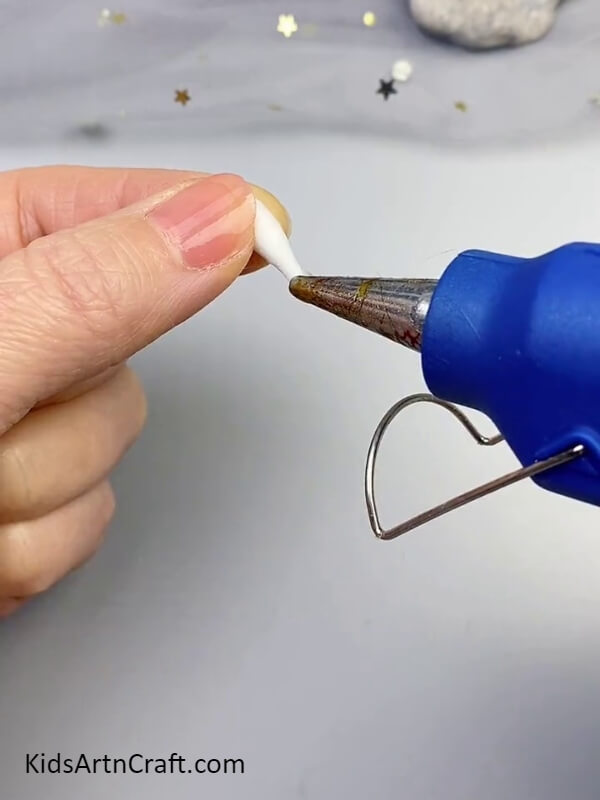
After cutting the earbud from the below, apply a glue gun from where you have cut the earbud. (If kid, then use glue gun under adult guidance)
Step 3: Sticking Another Earbud Part with Glue Gun
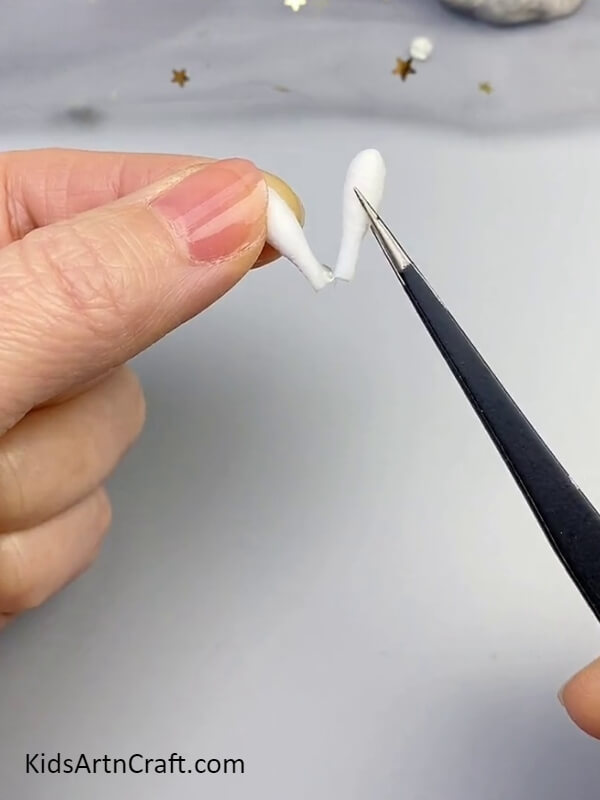
By repeating the same step, cut another part of the earbud of the same size with scissors and stick another earbud with a glue gun this way two earbuds will be joined as shown. Remember to use tongs while sticking the earbuds, so that you can avoid harming yourself with a glue gun.
Step 4: Sticking All Earbuds In Circular Motion
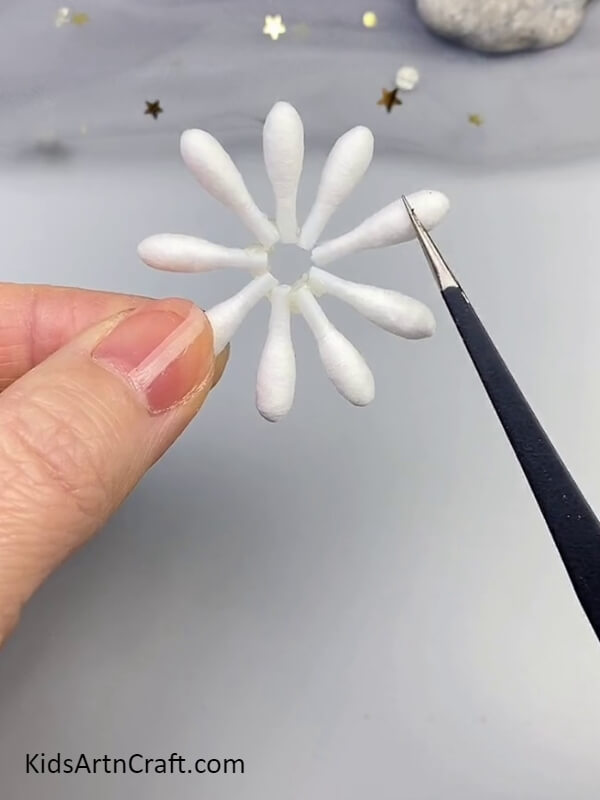
Keep repeating the same step of cutting the earbuds of similar size and sticking together each earbud with the help of a glue gun and tongs in a circular motion as shown in the picture.
Step 6: Applying Glue Gun in the Middle of the Earbuds
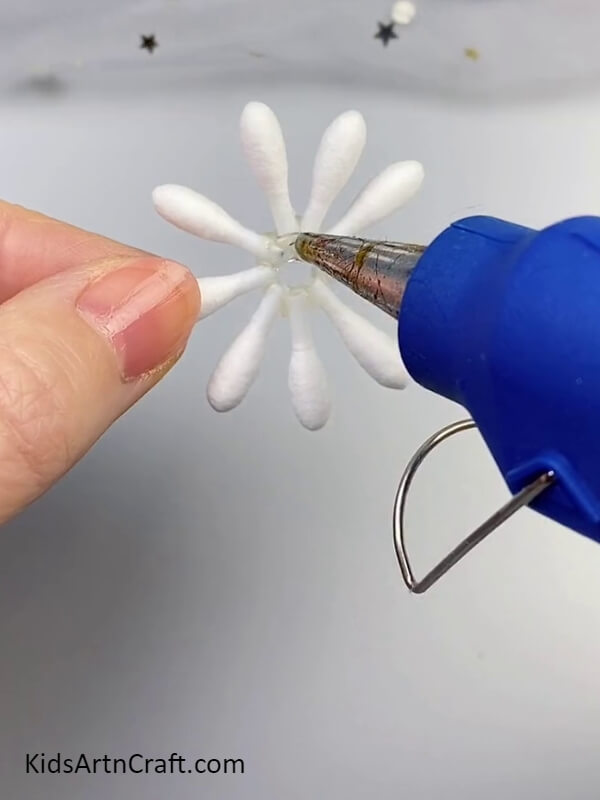
Now, with the help of a glue gun, apply the glue gun in the middle of the circular earbuds. Make a full whole circle in the middle of the earbuds with the use of a glue gun. Do this step very carefully.
Step 7: Applying Yellow Poster Colour in the Middle
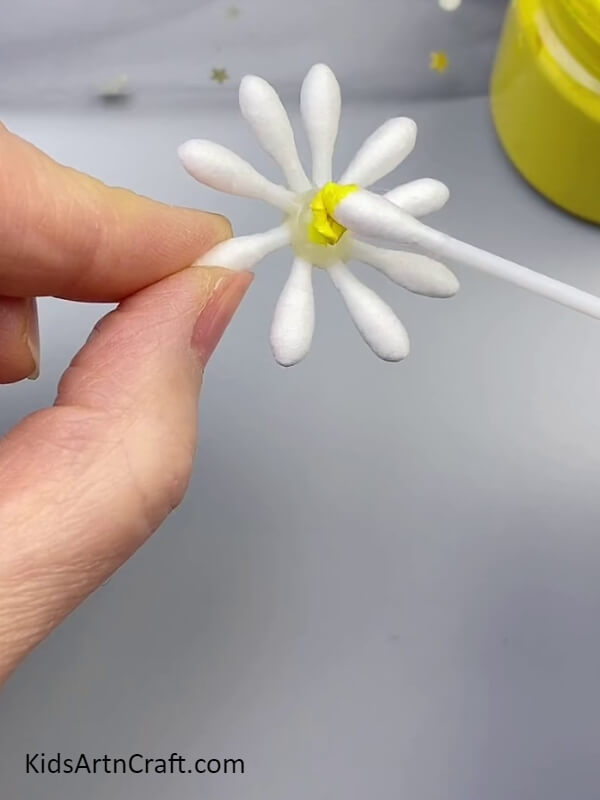
After applying the glue gun in the middle of the earbud by making a full whole circle, now apply the yellow poster color on the glue gun part with the help of earbud cotton as shown. Remember to apply the yellow poster color after some time of applying the glue gun as it still needs to dry, otherwise, you can harm yourself.
Step 8: Making A Stem
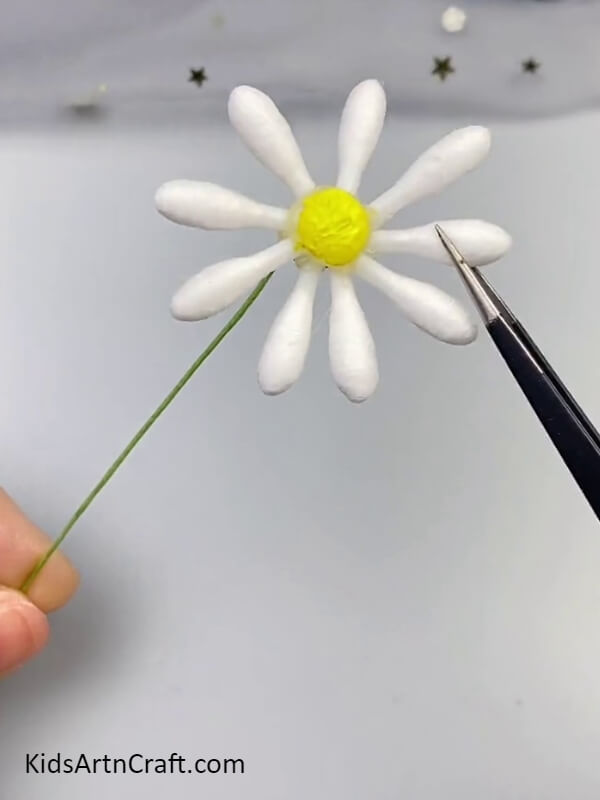
Now, take a green-colored stainless steel wire and stick it on the back of the earbud flower to make its stem with the help of the glue gun as shown. While sticking the green stainless steel wire, do it with the help of tongs, to avoid harming yourself.
Step 9: Placing The Stem Over The Stone
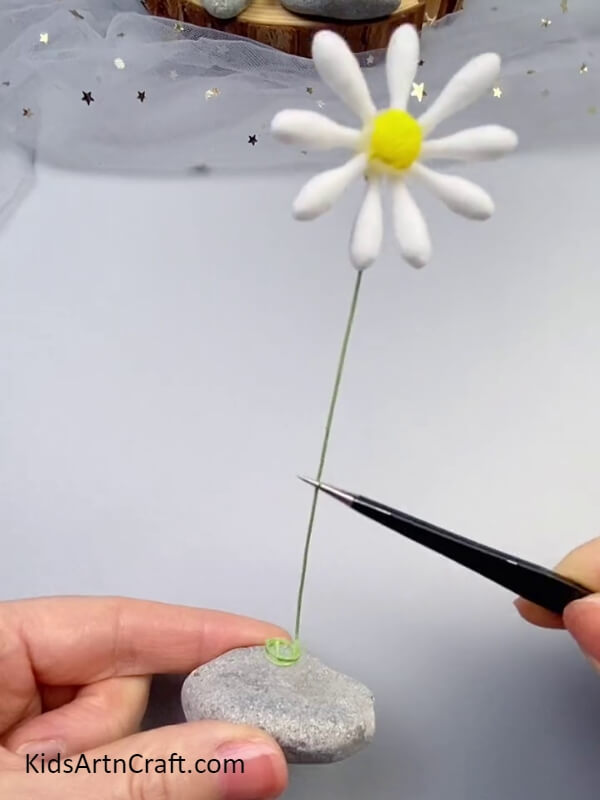
Now, with the help of the glue gun, stick the bottom part of the green stem on the stones as shown in the picture.
Step 10: Making More Flowers With Stems
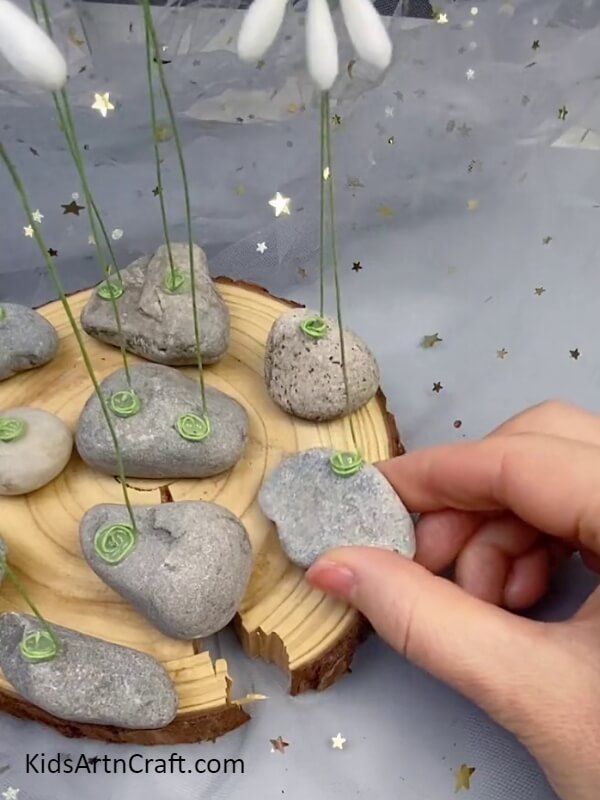
Using the same previous steps, make more flowers with their stems attached to the stones.
Finally, Your Craft Is Ready!!
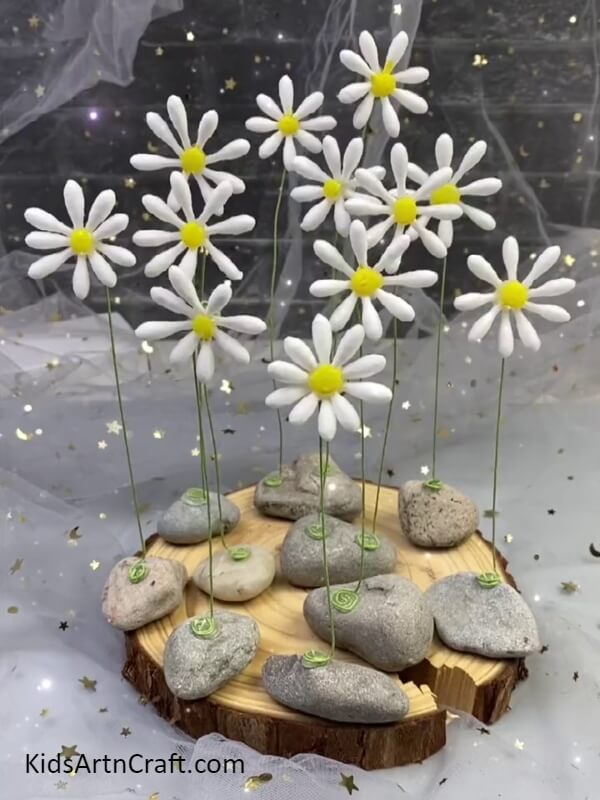
You can make a whole bunch of earbud flowers and keep them as a showpiece at your house. Damn, these flowers really look great though. Who would have thought that with just an earbud we could make such pretty and beautiful flowers? You should definitely try out this craft. Kids will learn about the use of small things in life.
Do you want to show everyone what great crafting skills you have? Then, what are you waiting for, go and make this easy and simple craft now by following the teeny tiny steps.
Follow us on Youtube for art and craft tutorials and much more.
More Articles from Kids Art & Craft
- Recycled Egg Tray Mushroom & Flower Craft – Step-by-Step Tutorial
- Water Bottle Airplane Tutorial for Kids
- DIY Cow Craft From Fruit Foam Net
- Easy Peanut Shells Giraffe Art And Craft For Kids
- Handprint Craft Paper Frog Easy Craft for Kids