


Christmas
DIY Christmas Tree Paper craft For Christmas Decoration

Create a festive holiday decoration with this fun and easy DIY Christmas Tree Paper Craft! Perfect for adding some holiday cheer to your home, this craft is quick and simple, perfect for all ages. Follow along and you’ll have your own festive tree in no time!
A DIY Christmas tree paper craft is one such option that is not only affordable but also allows you to personalize your decorations to your liking. A DIY paper Christmas tree is an excellent alternative for a fun family project or to add a handcrafted touch to your home.
DIY Christmas Tree Paper Craft
Read More: Easy Christmas Crafts for Kids to Make at Home
Materials Required
- Paper Sheet(Red, Violet, Green, White)
- A pair of scissors
- Any adhesive
- Earbud or Q-tip
- White painting colour
- Black and red coloured markers
Procedure
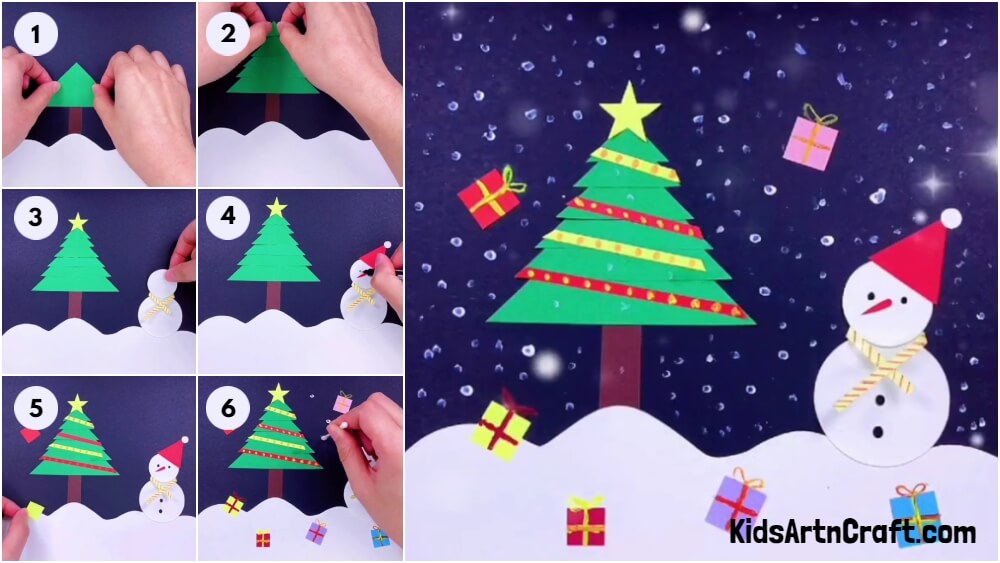
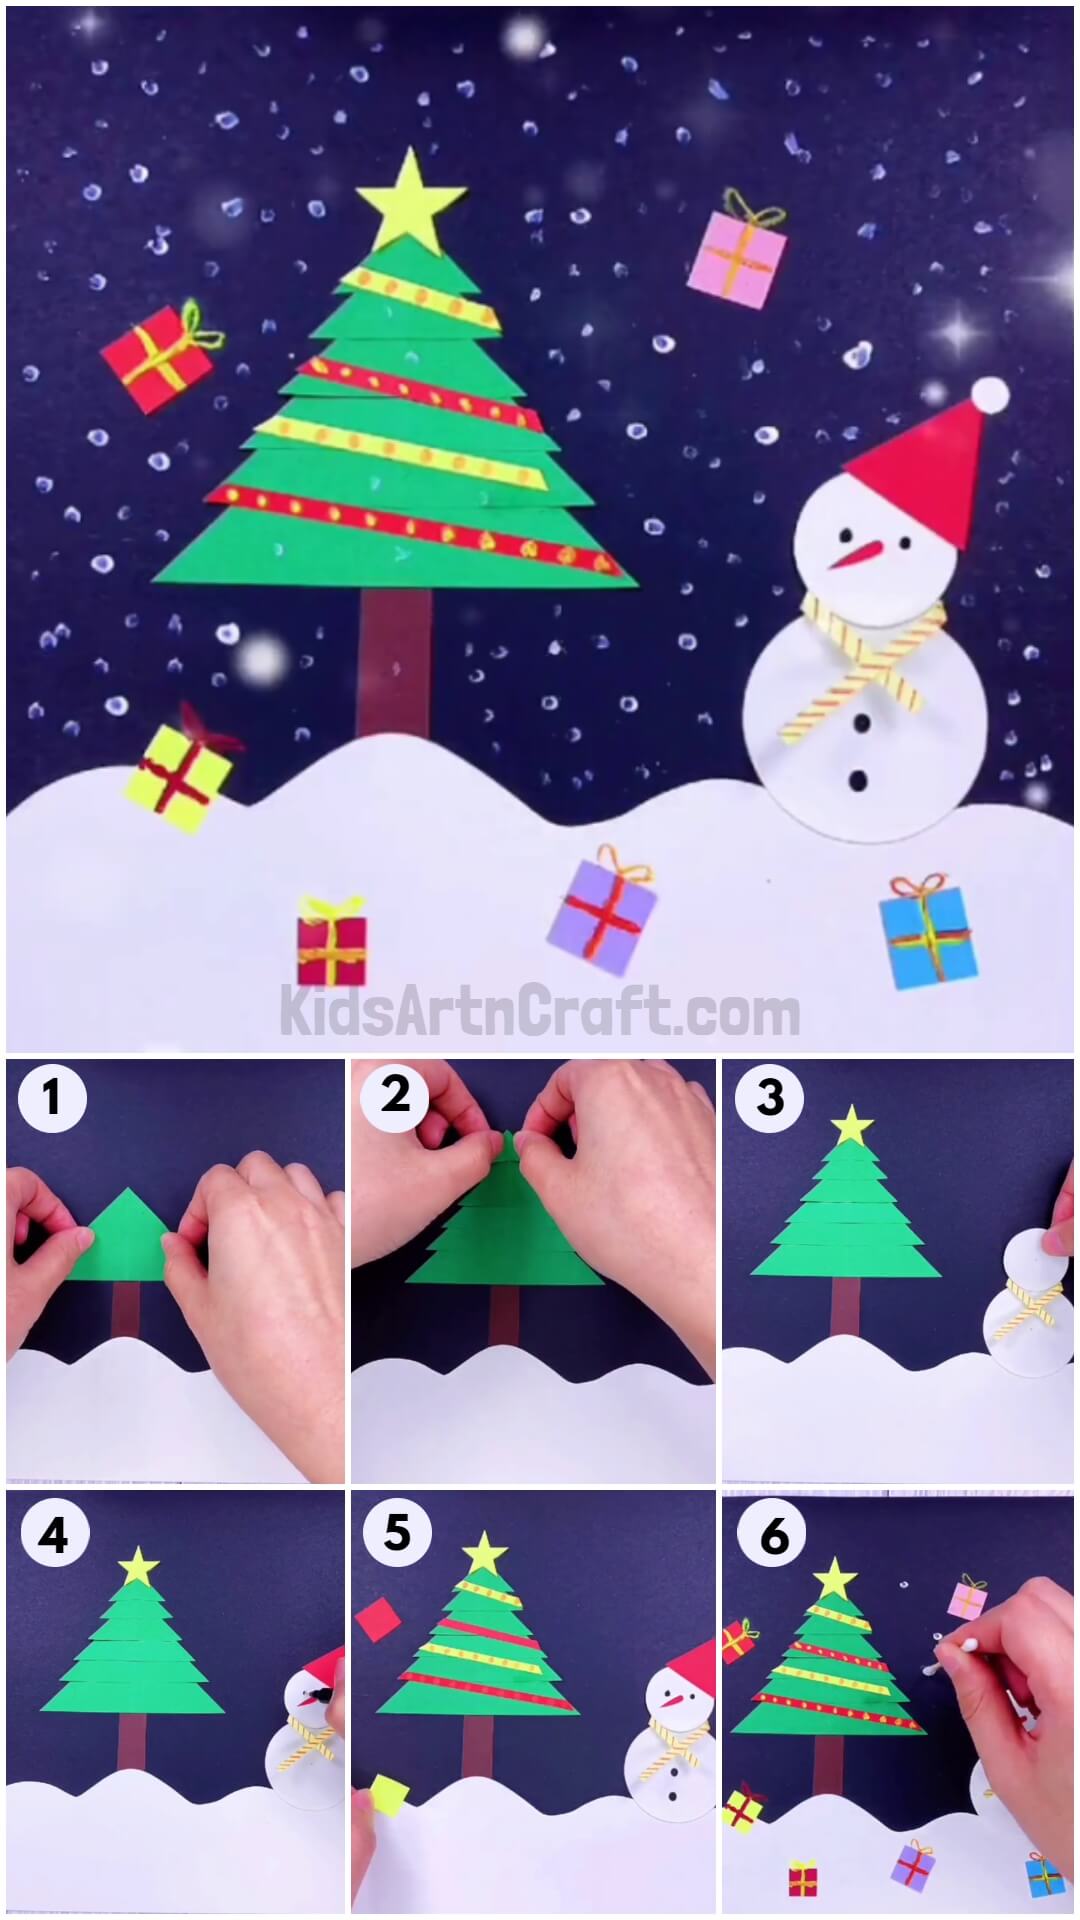
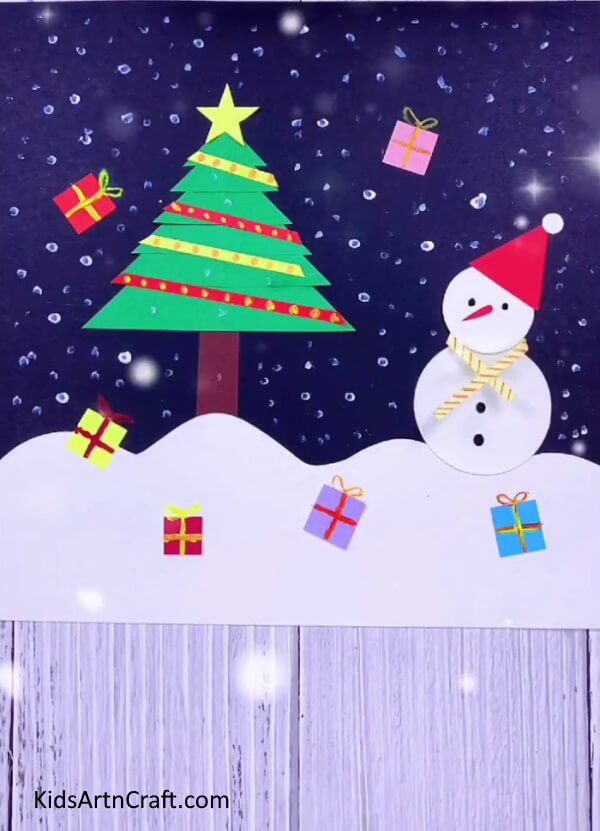
Step 1: Cut the paper in a wave-like fashion
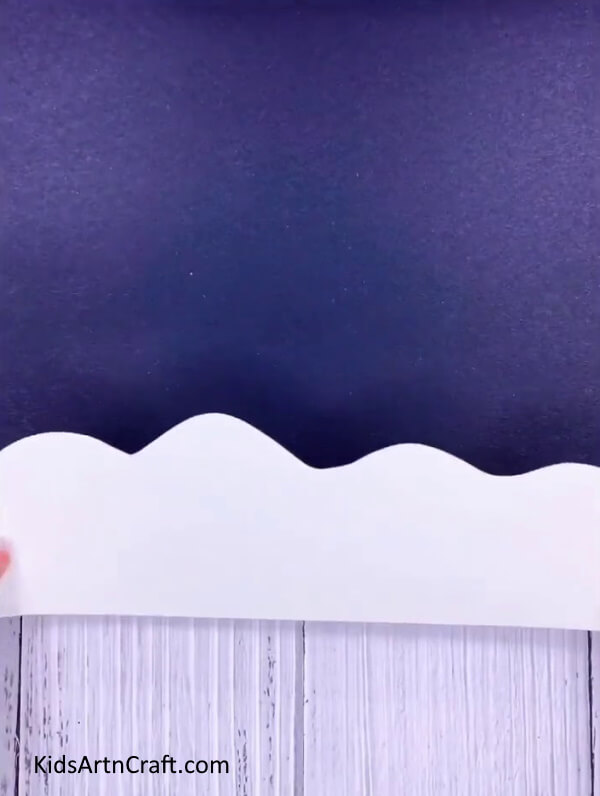
Firstly take the purple sheet and keep it in your work area. Then, take the white sheet and cut it into a wave-like pattern from one side and place it on the purple sheet.
Step 2: Paste tree trunk cutouts
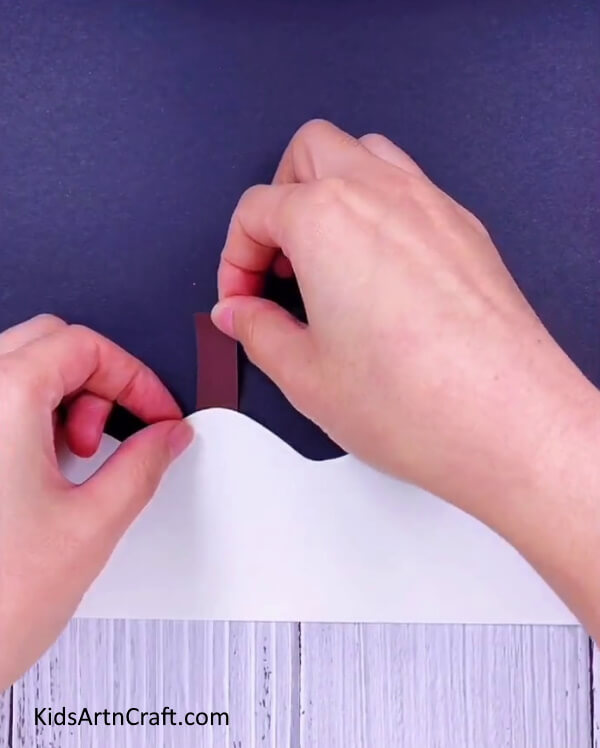
Now, take the brown-colorful sheet of paper and cut out a small rectangle. Then place this rectangle inside the wavy design you made in the last step.
Step 3: Paste a triangular cutout
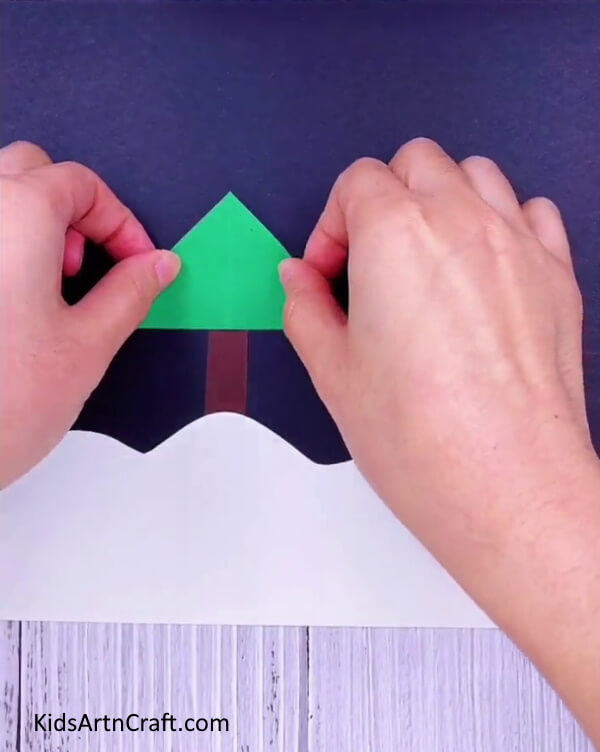
Next, cut out triangles of five different sizes out of the green-coloured sheet of paper and then paste the largest cut out right above the brown tree trunk.
Step 4: Paste all the triangular cutouts one over the other
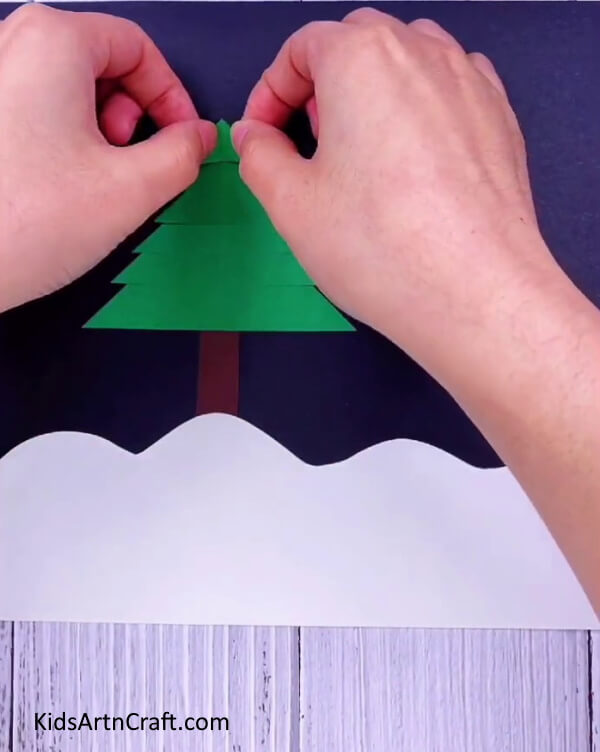
Now, paste all triangles one over the other as shown in the image below using the adhesive. Also paste the tree trunk as well as the white sheet .
Step 5: Paste a star
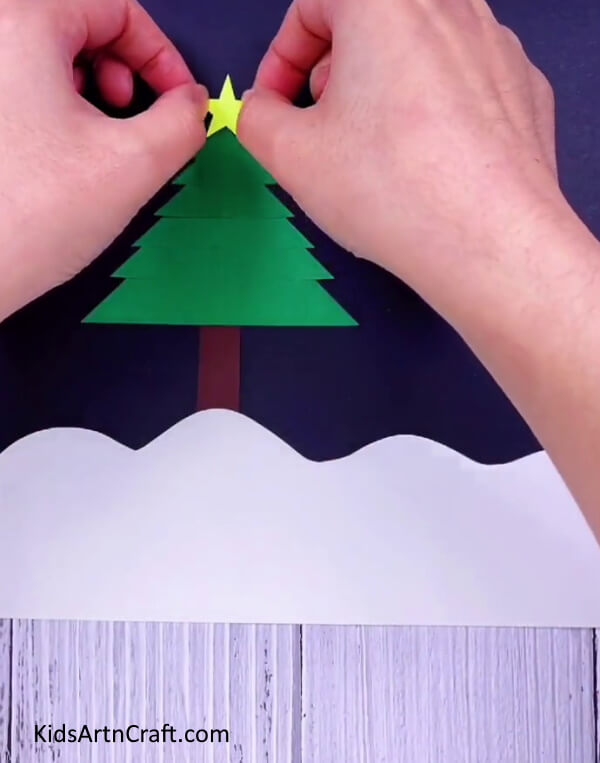
Now, paste all triangles one over the other as shown in the image below using the adhesive. Also, paste the tree trunk as well as the white sheet.
Step 6: Paste a circular cutout
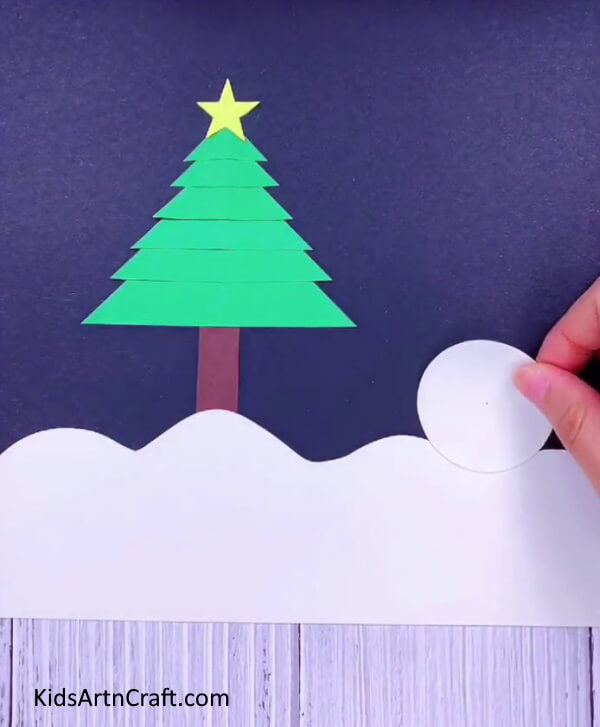
Next, cut the white coloured sheet of paper and cut it into the shape of a circle, then paste this circle on the paper as shown in the image below.
Step 7: Paste the muffler

Next, cut one small stripe out of the yellow sheet, you can also create patterns of your liking on this, here we have created slanting lines of red colour. Then, paste this muffler on the top of the circle you previously pasted.
Step 8: Paste another circular cutout over the previous one
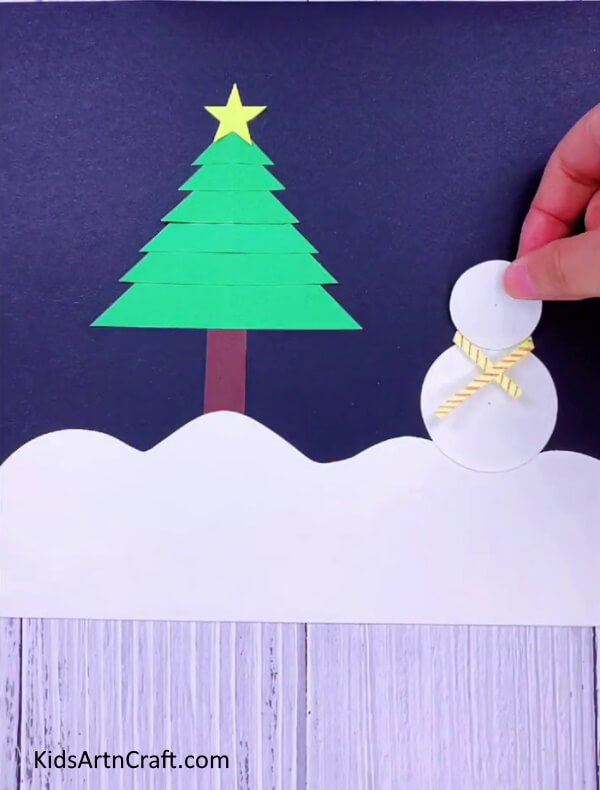
Next, cut another circular cutout smaller than the previous one and paste it just above the other circle.
Step 9: Add details like cap, eyes and nose
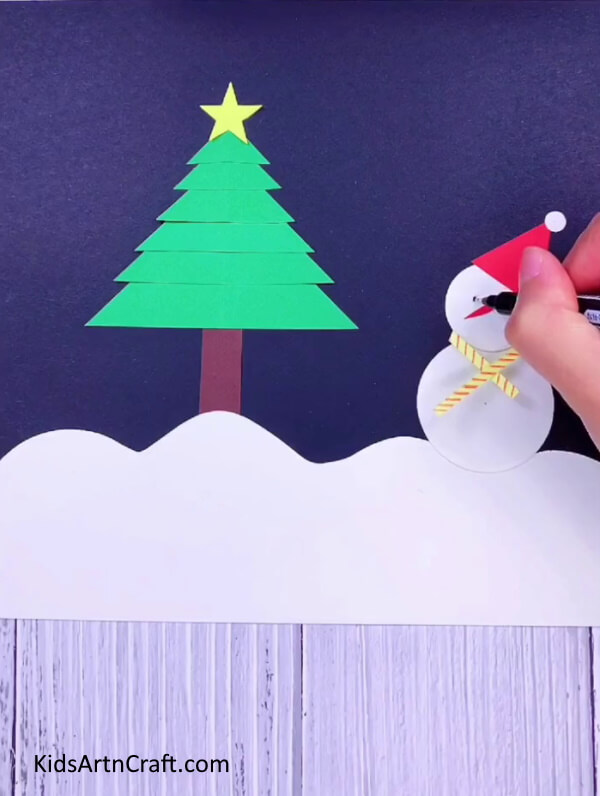
Next, add eyes as well as the buttons using the black marker. Take the red sheet and cut one part of it in the shape of a triangle (this will be the snowman cap) and cut a tiny carrot-shaped cutout (nose of the snowman ). You can also add a small white circle on the top of the hat.
Step 10: Add tree decorative materials
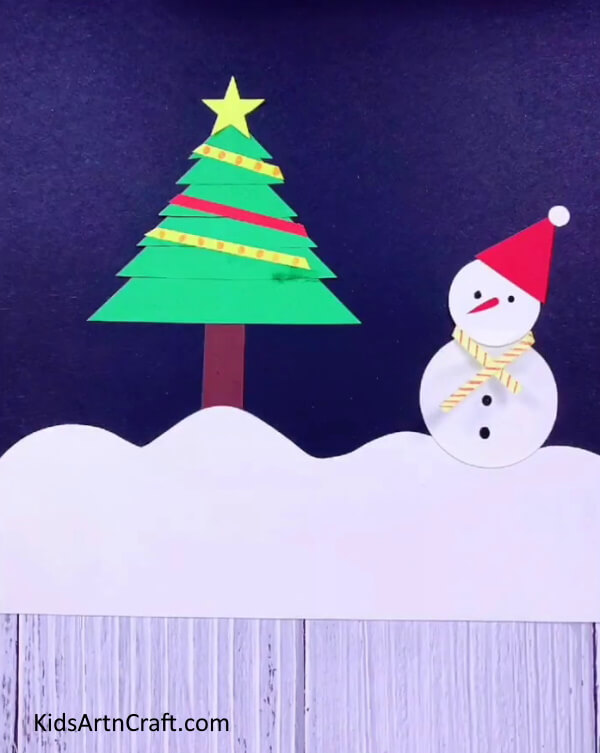
Next, cut stripes out of red and yellow paper and paste them on the tree to enhance its beauty !!
Step 11: Paste squares all over the paper
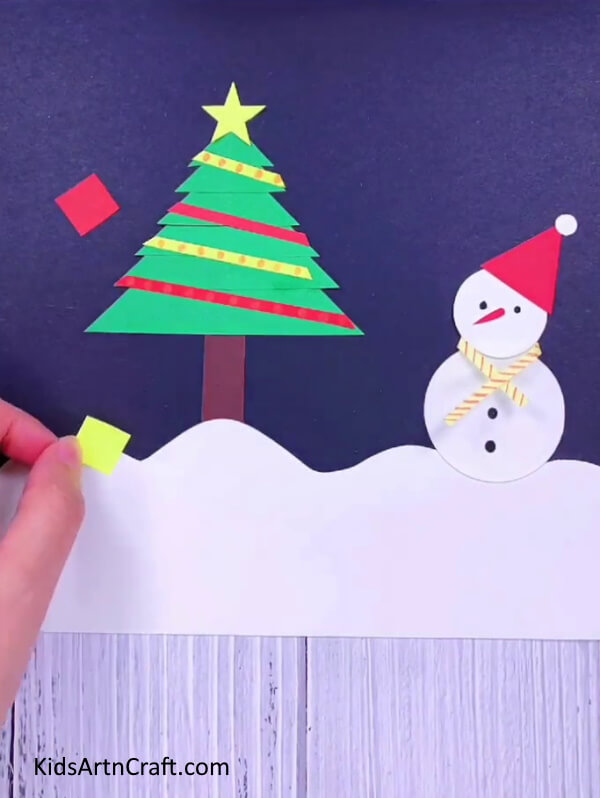
Now, cut out small squares from various colours of paper and paste them on the paper using the adhesive.
Step 12: Draw the gift outlines
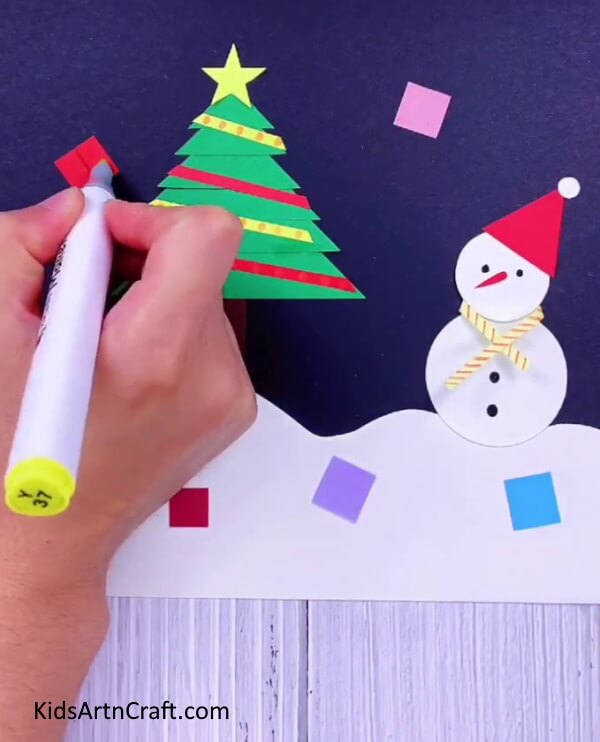
Now, take the marker and draw the outlines and ribbon designs of the gifts.
Step 13: Paint snowfall using the earbuds
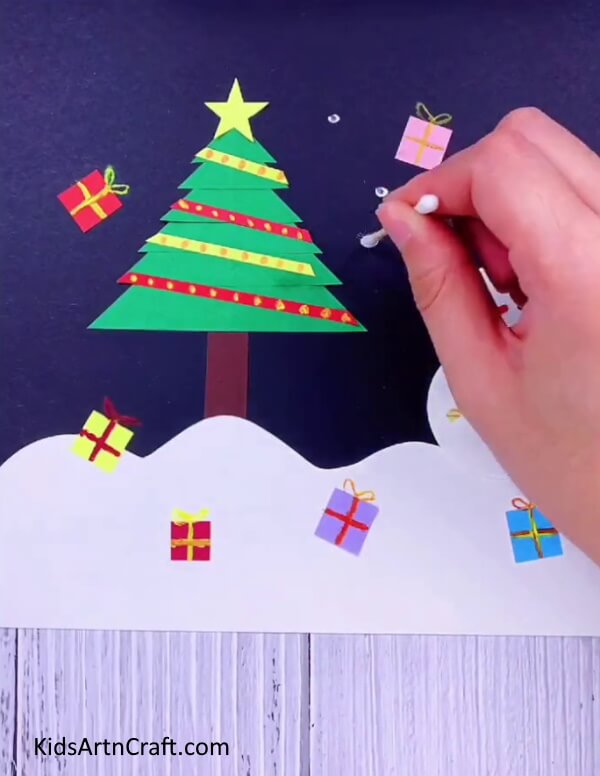
Now, take a Q-tip and dip it into the white paint, then create its impressions all over the sheet to give the effect of snowfall!!
And look at the beautiful scenery!
Do let us know your thoughts in the comment section below and check out our other posts for more such amazing art and craft ideas for kids, until then, happy crafting!
Follow us on Youtube for art and craft tutorials and much more.
More Articles from Kids Art & Craft
- Christmas Tree Using Egg Carton Tutorial for Kids
- Paper Christmas Trees Step-by-Step Tutorial For Kids
- DIY Christmas Ornament Craft For Home Decorations
- Easy-to-make Christmas Tree Craft For Beginners
- Easy Snowman Paper Craft for Kids