DIY and Crafts
Girl Swing on Tree Leaf Craft Tutorial for Kids

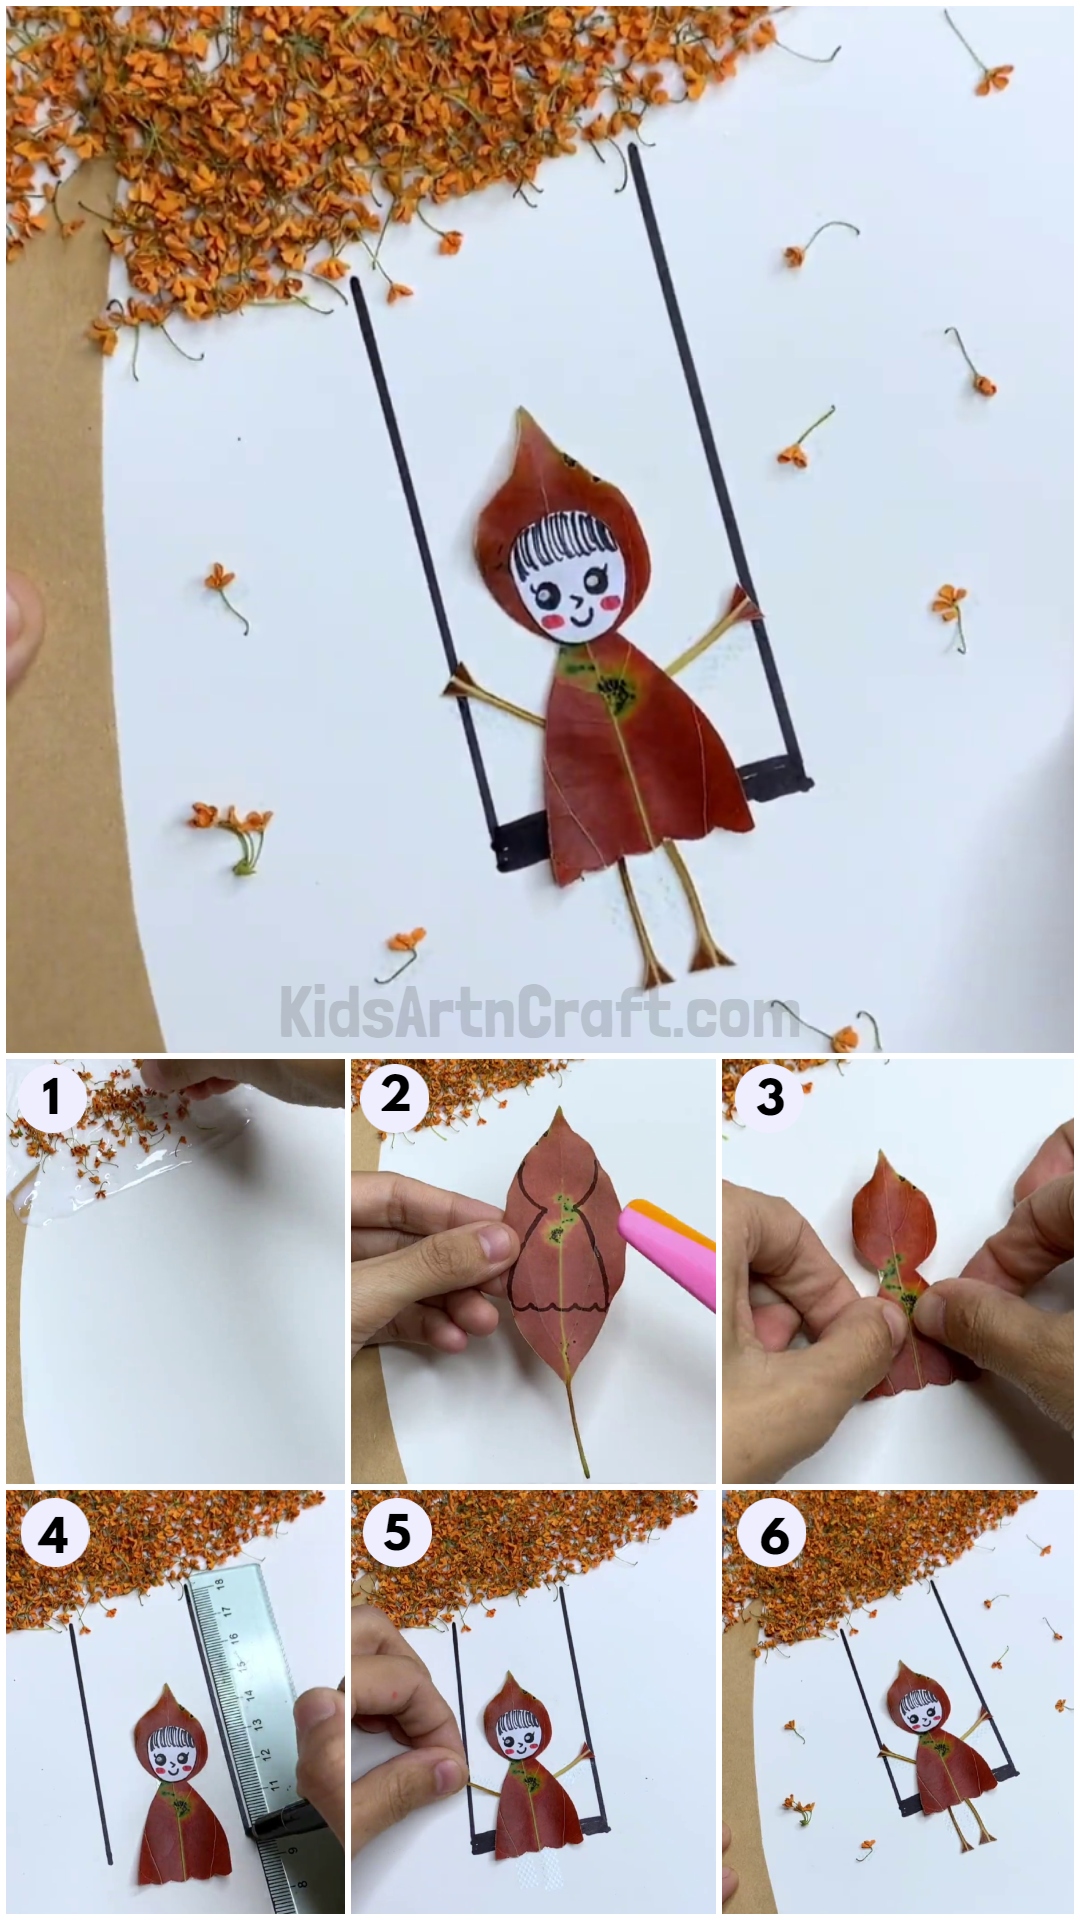
This fun and creative craft tutorial for kids teaches how to make a girl swing on a tree leaf using simple materials. Follow the easy step-by-step instructions for a fun afternoon of crafting with your children. Perfect for a rainy day activity or as a special project for a birthday party!
Welcome to this fun and easy craft tutorial for kids! In this tutorial, you will learn how to make a girl swing on a tree using leaves. This is a great project to do with kids as they will enjoy making their own swing. It’s a simple craft that only requires a few materials and minimal effort. Plus, it’s a great way to show off their creative side! We will provide step-by-step instructions on how to make this creative craft activity. So, let’s get started and make the girl swings!
Adorable Girl Swing on Tree Leaf Craft Activities for Kids

Materials Required:-
- Dried Leaves
- Black Sketch Pen
- White Sheet
- A Cardboard
- Glue
- Scissors or Paper Cutter
- Tape
Read More: Paper-Cutting Designs For Projects
Step 1: Making The Trunk Of The Tree

Let’s get started with the very first step of making this art. Cut a piece of cardboard in the shape of the trunk of a tree using scissors or a paper cutter. Paste the trunk of the tree on the left corner of the white sheet.
Step 2: Spreading Glue on Sheet
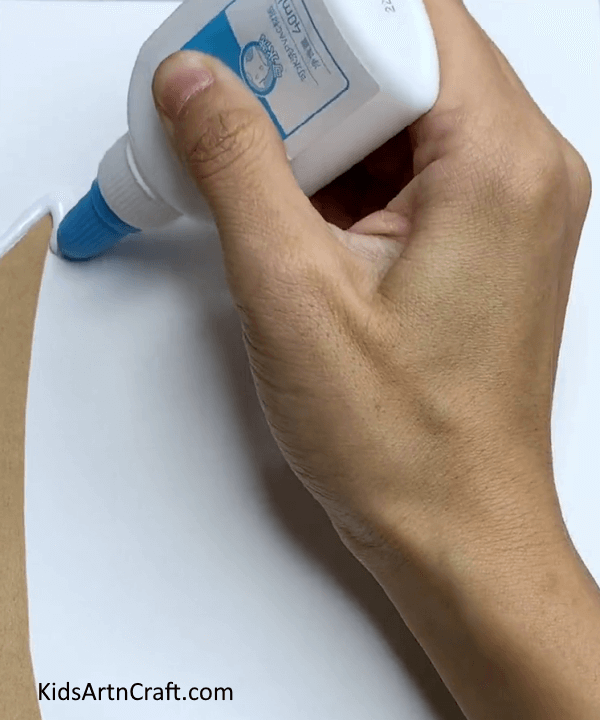

Now, spread glue on the top of the sheet and trunk to paste the leaves of the tree.
Step 3: Making The Leaves of The Tree


Spread some dried mixture of the leaves on the glue to make leaves of the tree.
Step 4: Making The Girl
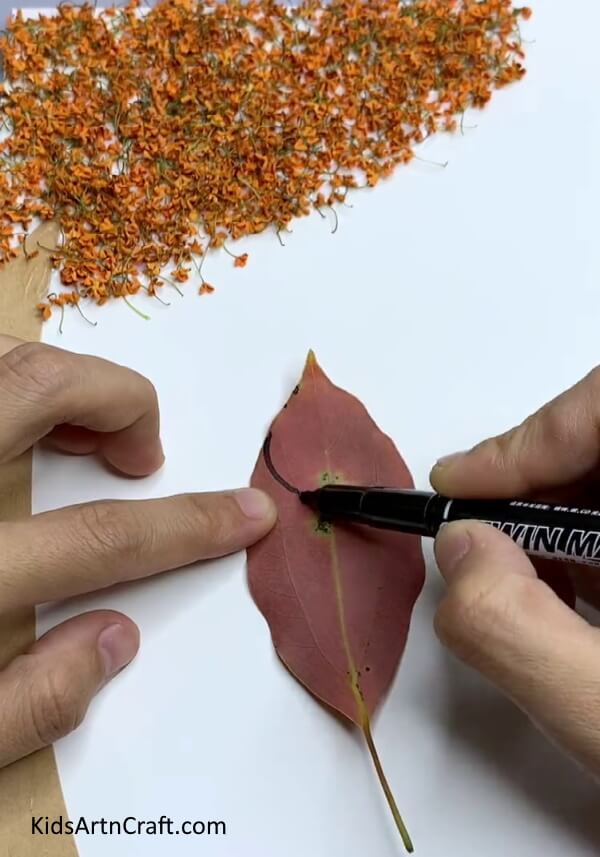

First of all, take a fallen leaf to make the girl.
Step 5: Making The Girl From a Leaf
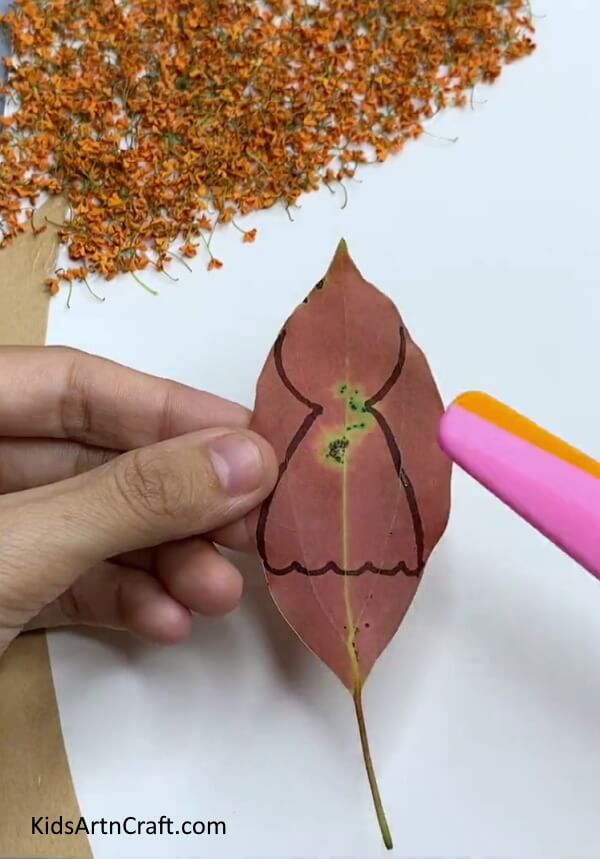

Using a marker, draw a girl outline on the leaf as shown in the above image.
Step 6: Making The Girl
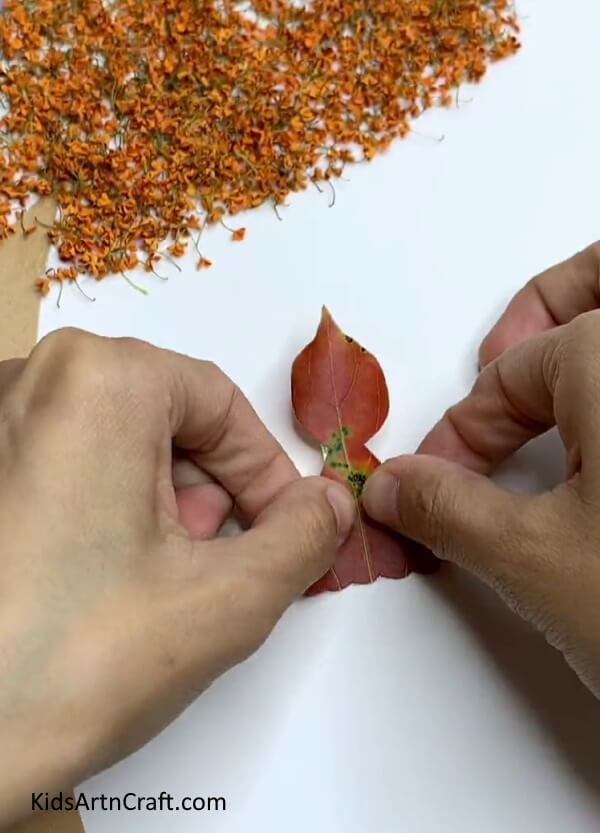

Cut the girl’s outline from the leaf using scissors or a paper cutter. And paste it under the tree using tape.
Step 7: Adding Details Of The Girl


Make the face of the girl on a white sheet and add details like eyes, hairs, nose, etc. on it using a sketch pen. Now paste the face on the girl using glue.
Step 8: Making The Swing
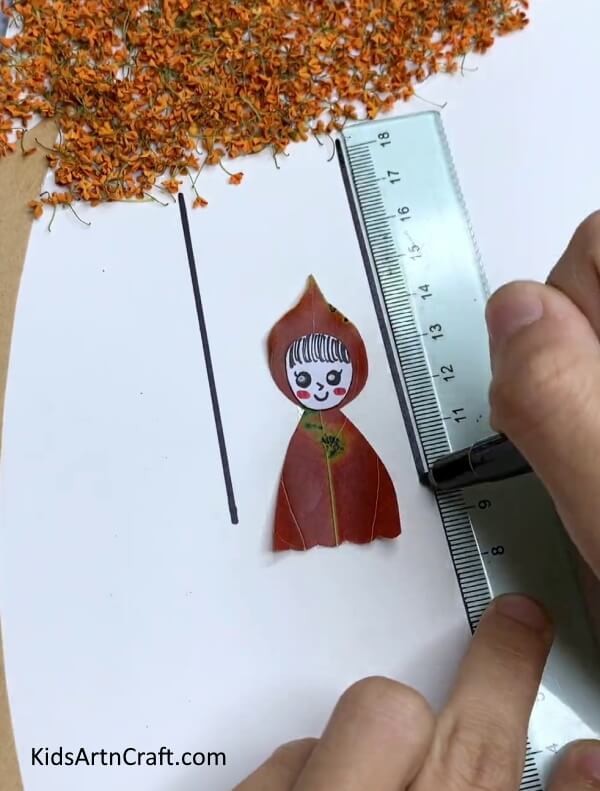

Using a black sketch pen and a scale, make the swing attached to the tree as shown in the above image.
Step 9: Making Arms Of The Girl
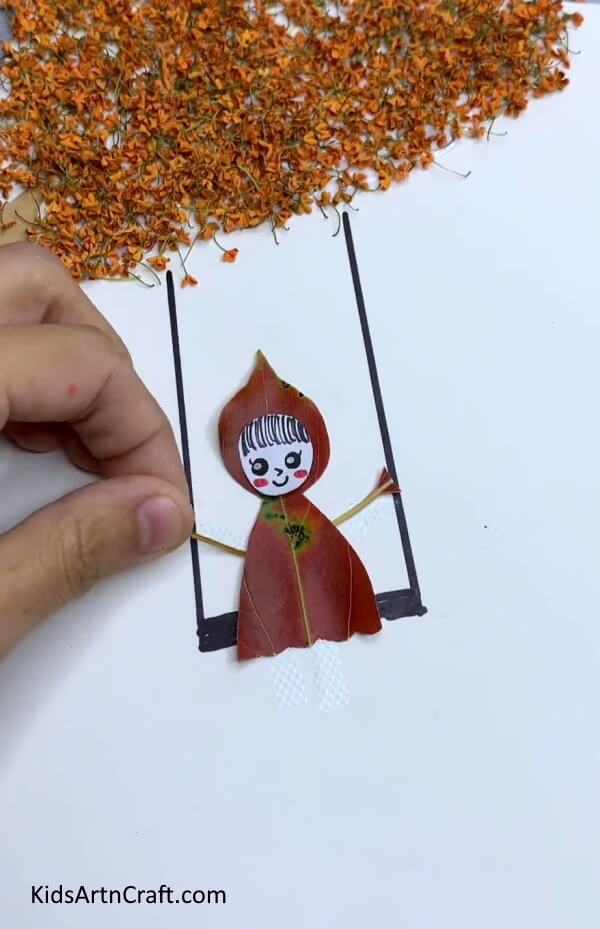

Using the petiole/stem of a leaf make the arms of the girl. And stick it to the girl’s body and swing as shown in the above image.
Step 10: Adding Legs Of The Girl
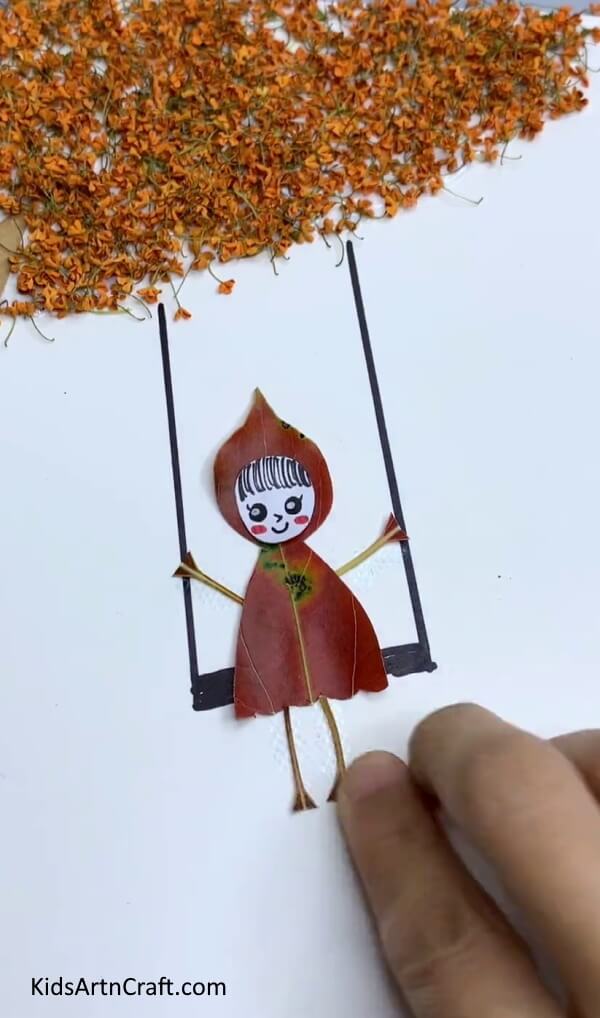

Similarly, make the legs of the girl and paste them.
Step 11: Pasting Some Dried Leaves


Now spread the glue on the bottom of the sheet. Also, paste some dried leaves on the sheet to give it an elegant look like leaves are falling from a tree.
Step 12: Pasting Dried Leaves
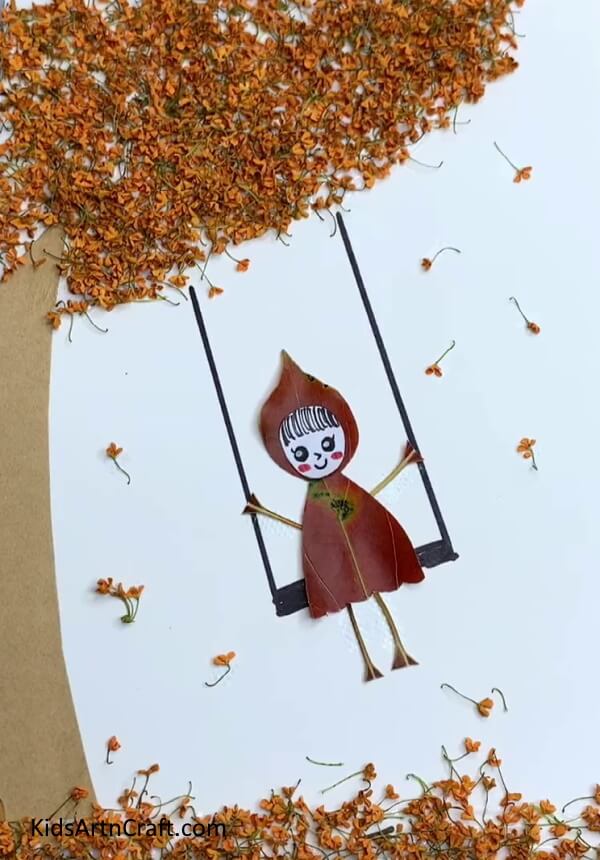

Paste some dried leaves on the ground.
Final Image – Girl Swing Craft Is Ready!

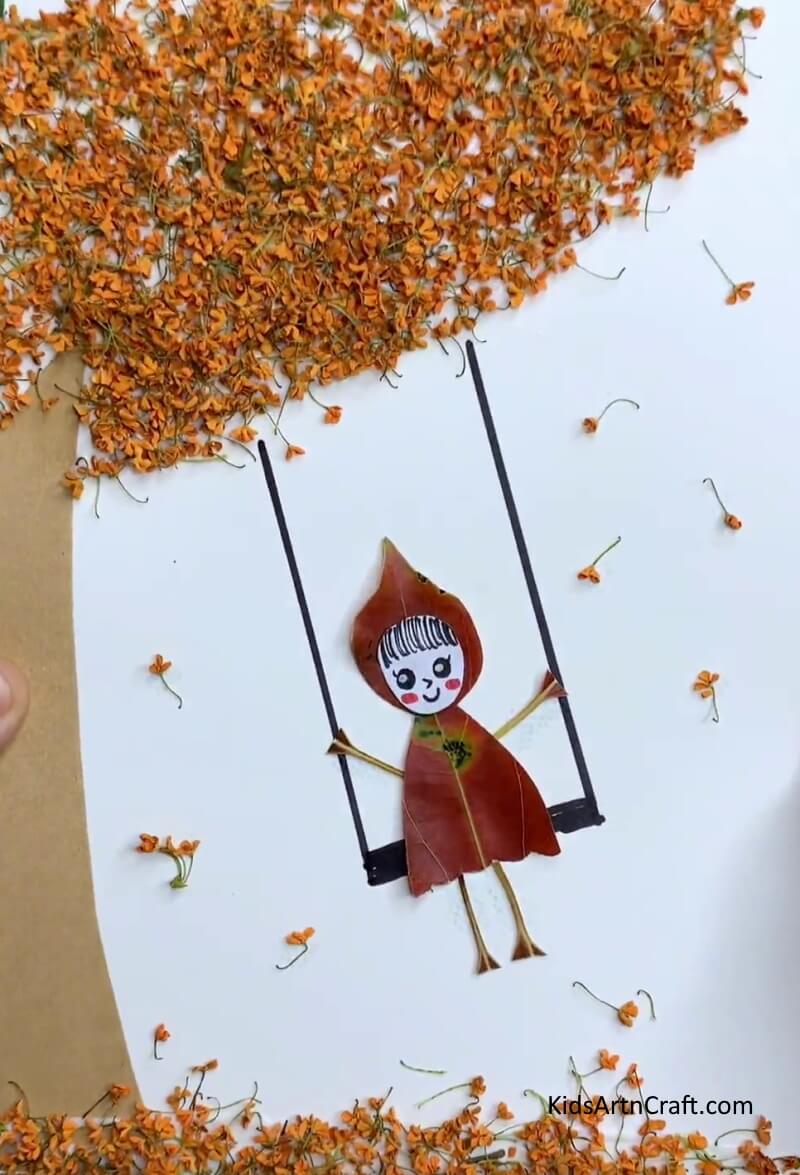
This Girl Swing on Tree Leaf Craft Tutorial for Kids is easy and fun to make! It is a great way to keep kids entertained and creative. With this easy tutorial, you’ll be able to make a fun craft with your kids in no time! With a few simple materials and a bit of creativity, you can create an enchanting and unique craft that your children will love.
This Girl Swing on Tree Leaf Craft Tutorial for Kids is a fun and easy craft to make with your kids. It encourages creativity and imaginative play, and is a great way to spend time together.
FAQs Related To Girl Swing on Tree Leaf Craft Tutorial for Kids
1. What materials do I need for the Girl Swing on Tree Leaf Craft Tutorial for Kids?
You will need construction paper, scissors, glue, and a pencil for this craft tutorial.
2. Is this craft suitable for all ages?
Yes, this craft is suitable for all ages.
3. How long will this craft take to complete?
This craft will take approximately 10-15 minutes to complete.
4. What kind of construction paper should I use for this craft?
You can use any color of construction paper, but green and brown will work best for this craft.
5. Are there any other variations that can be done with this craft tutorial?
Yes, you can create different variations of the girl’s swing by changing up the colors or shapes of the paper.
6. What can I do with the finished craft?
You can hang the finished craft in your home, use it as decoration, or give it as a gift.
Follow us on Youtube for art and craft tutorials and much more.
More Articles from Kids Art & Craft
- Fabric Animal Craft Ideas
- Balloon Stamping Art Ideas for Kids
- Christmas Bath Bomb Craft Ideas
- Fabric Twine Crafts
- Apple Stamping Art Ideas for Kids