DIY and Crafts
Easy to Make Lightning Ladybug Craft Tutorial for Kids

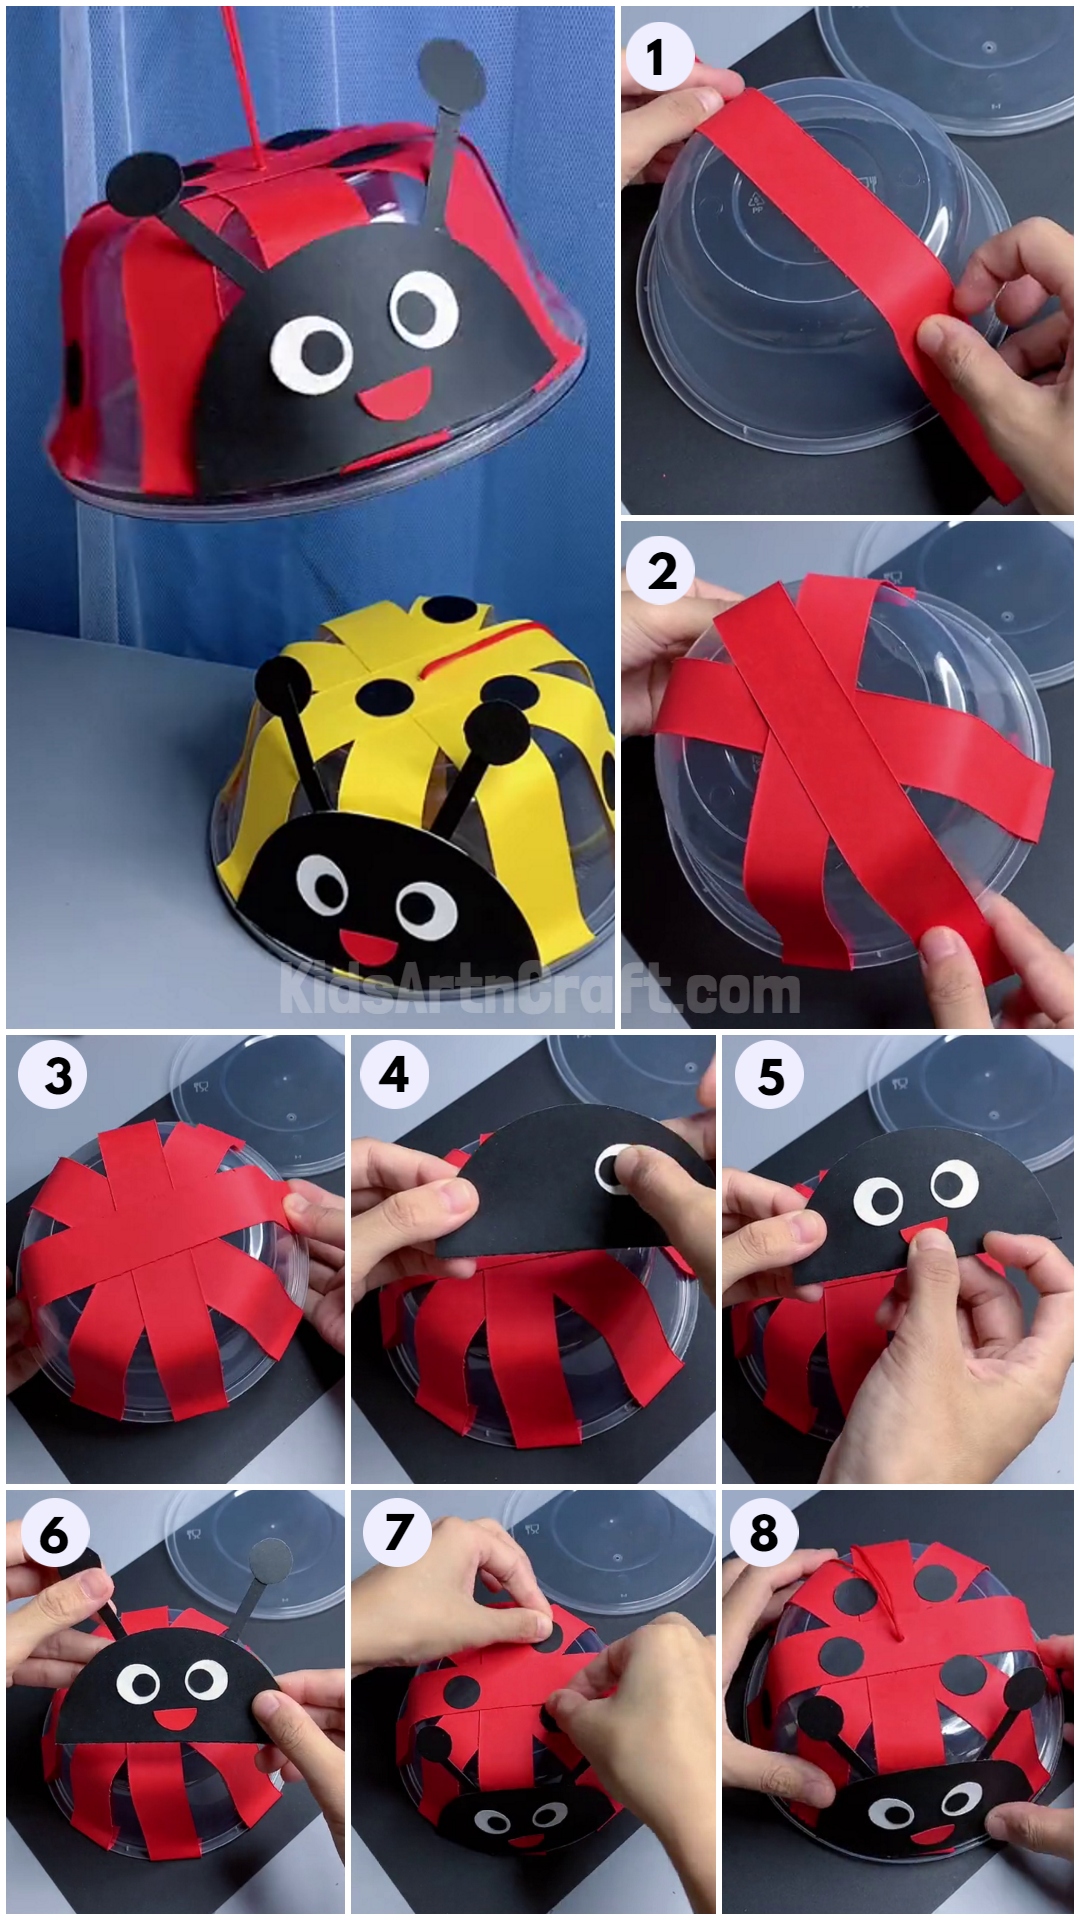
Create an adorable and easy-to-make lightning ladybug craft with your kids. This fun and simple tutorial includes step-by-step instructions and can be adapted to any age. Let your kids’ imaginations run wild with this unique and creative craft idea.
Welcome to this attractive lightning ladybug craft tutorial! This tutorial has everything you need to create a beautiful ladybug decoration for your home. With step-by-step instructions, you’ll be able to make a stunning lightning ladybug in no time. Get ready to be amazed by the creativity of this craft and the beautiful results it produces!
Attractive Lightning Ladybug Craft Tutorial With Step By Step Instructions

Read More: How To Make Sunflower Clock Craft Using Paper
Materials Required
- Circular Plastic Box
- Colored Paper (Black, Red, and White)
- Glue
- Thread
- Scissors
Procedure
Step 1: Make Ladybug From Plastic Box and Red Strips
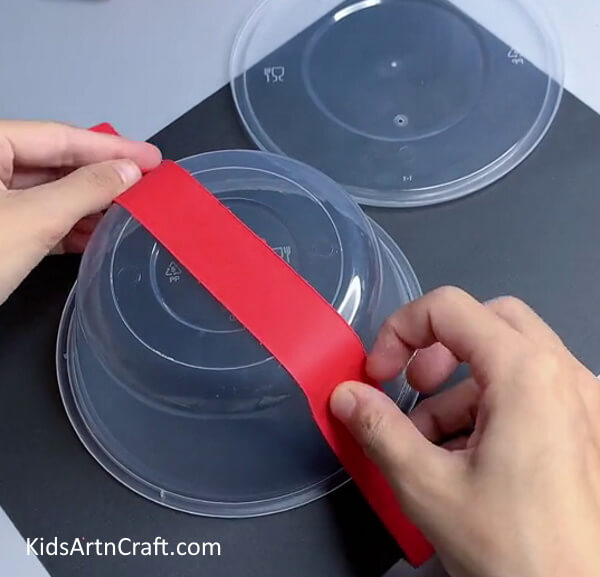

At first, we need a circular plastic container box to make the ladybug. Cut some paper strips from the red paper and paste them into a plastic container covering the top and the sides of the container.
Step 2: Pasting Red Paper Strips
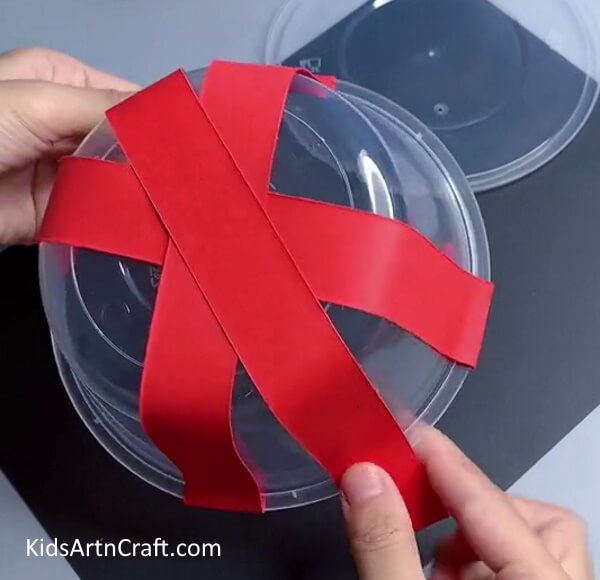

Paste a few strips diagonally on the box using glue.
Step 3: Covering Box With Strips
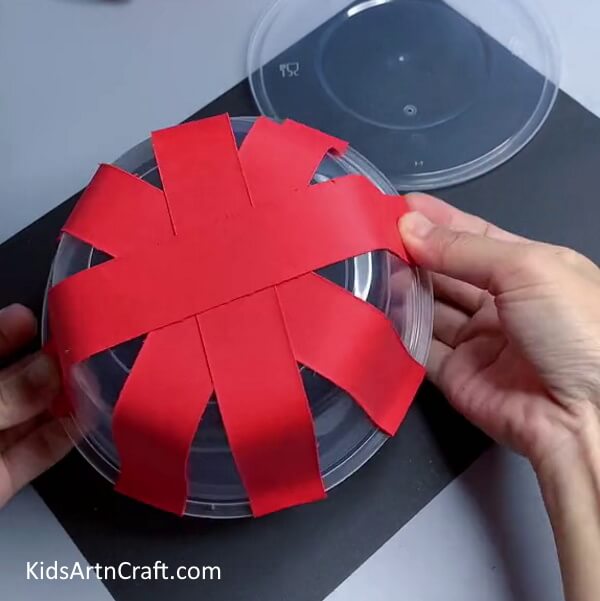

Cover the container with strips. Don’t cover the whole box leave some space between the strips to see the light.
Step 4: Making Face


After covering the box with strips, let’s make the face of the ladybug. Cut a semicircle from black paper and paste googly eyes on the face.
Step 5: Making the Face Of The Ladybug
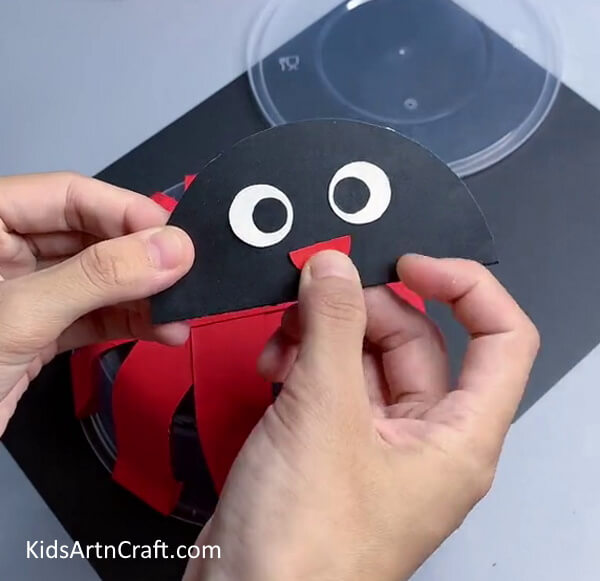

Add a smile using a red paper semicircle.
Step 6: Adding Antlers


Cut two small circles and two long rectangles from black paper. Paste the rectangles as antlers on the top of the face. Also, paste circles on the top of the rectangle using glue.
Step 7: Pasting Face On Body
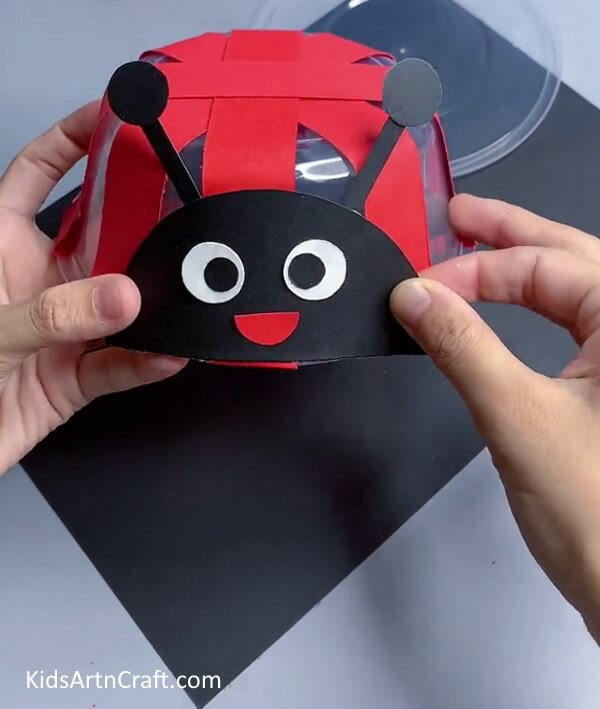

Now, paste the face on the side of the container using glue.
Step 8: Pasting Black Spots
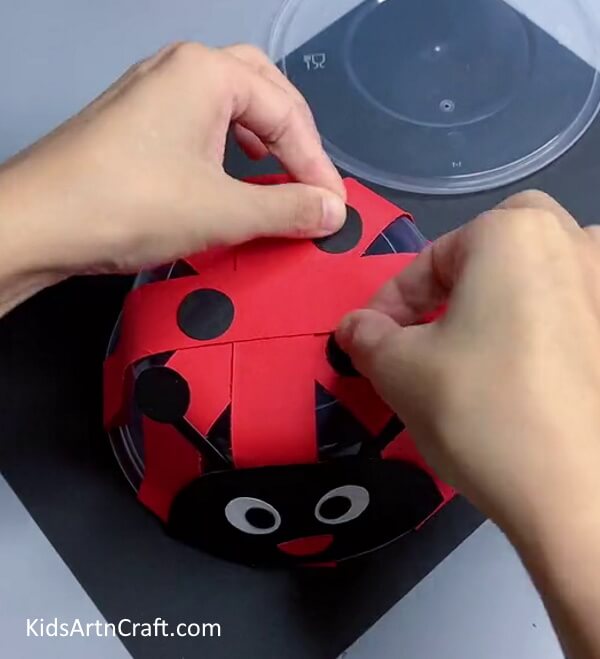

Cut some small circles from a black sheet and paste them on the red strips using glue. Also, add a thread on the top of the container to easily hang it.
Step 9: Pasting Light On Lid


Now, using tape paste a light on the inner side of the lid of the container.
Step 10: Covering Lid


Now, cover the box with its lid.
Step 11: Lighten Up The Ladybug

Your ladybug is ready to lighten up.
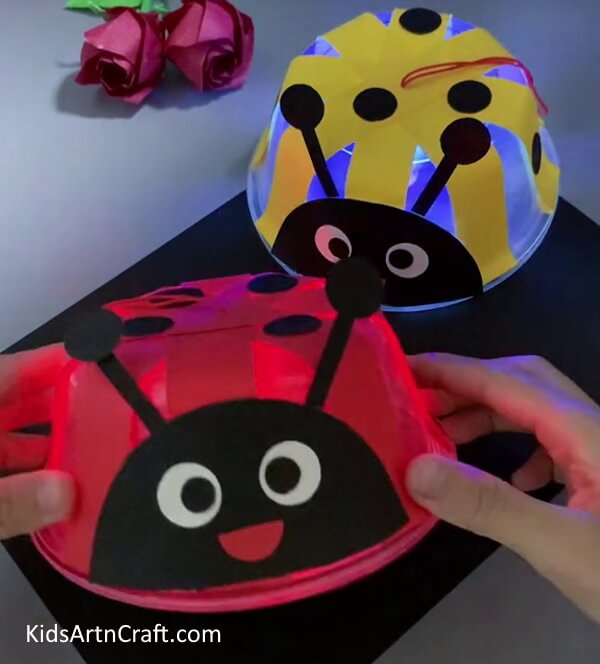
Final Image – Lightening Ladybug Is Ready!
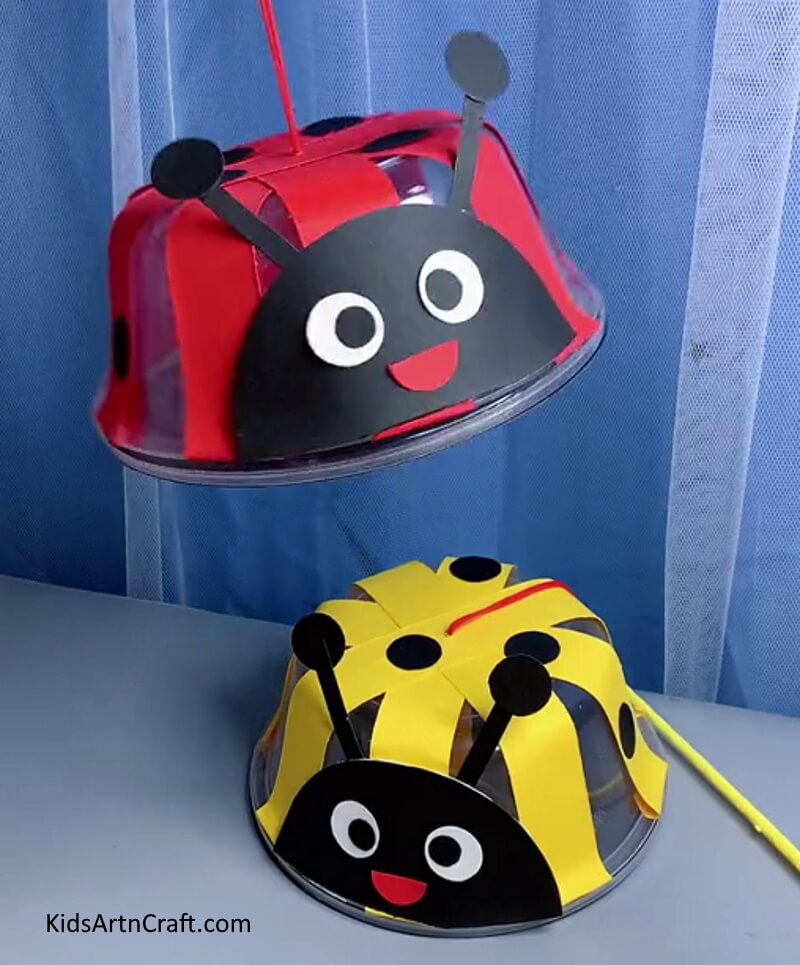

This Lightning Ladybug Craft Tutorial is a great way to get creative with your kids! This Lightning Ladybug Craft Tutorial is a great way to get creative and have fun with the whole family! With its easy-to-follow instructions, this tutorial is sure to be a hit with kids and adults alike. You can use it as a decorative item or hang it as a lamp in your child’s room. Be creative!
This easy-to-make lightning ladybug craft tutorial for kids is a great way to get creative with your little ones! With just a few simple materials and a bit of time, kids of all ages will enjoy creating a unique craft that they can proudly display.
Some More Creative Ladybug Craft
Creating A ladybug Form Reused Egg Carton For Kids

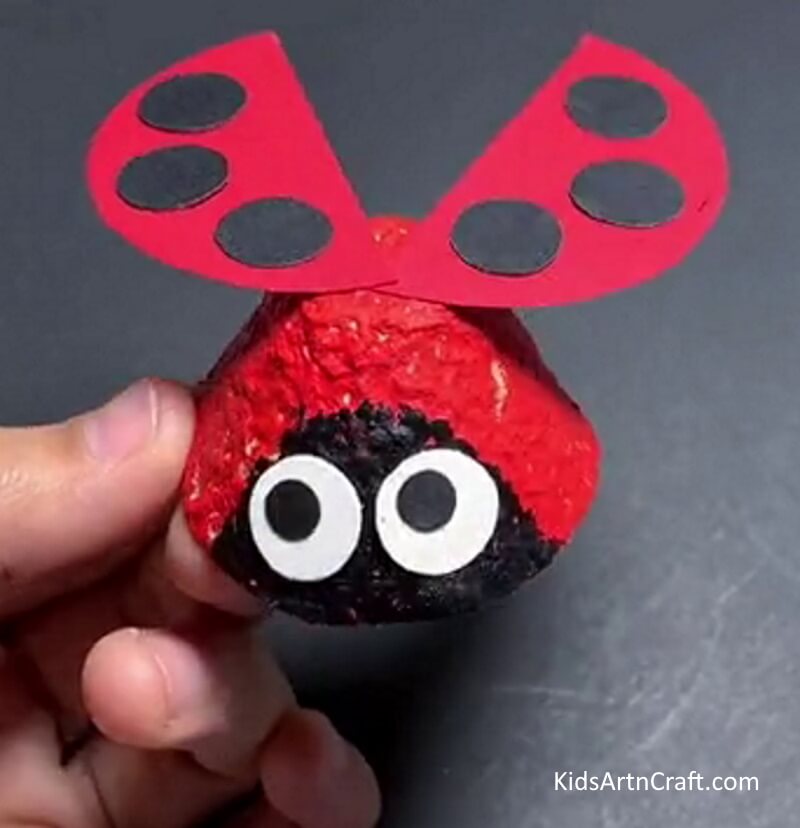
Image Source/Tutorial: Kids Art & Craft
Creating a ladybug form out of an old egg carton is a great way to entertain and educate young children. Not only is it a fun craft project, but it also teaches about the lifecycle of a ladybug and helps to recycle old materials.
Creating Ladybug Crafts with Leaves

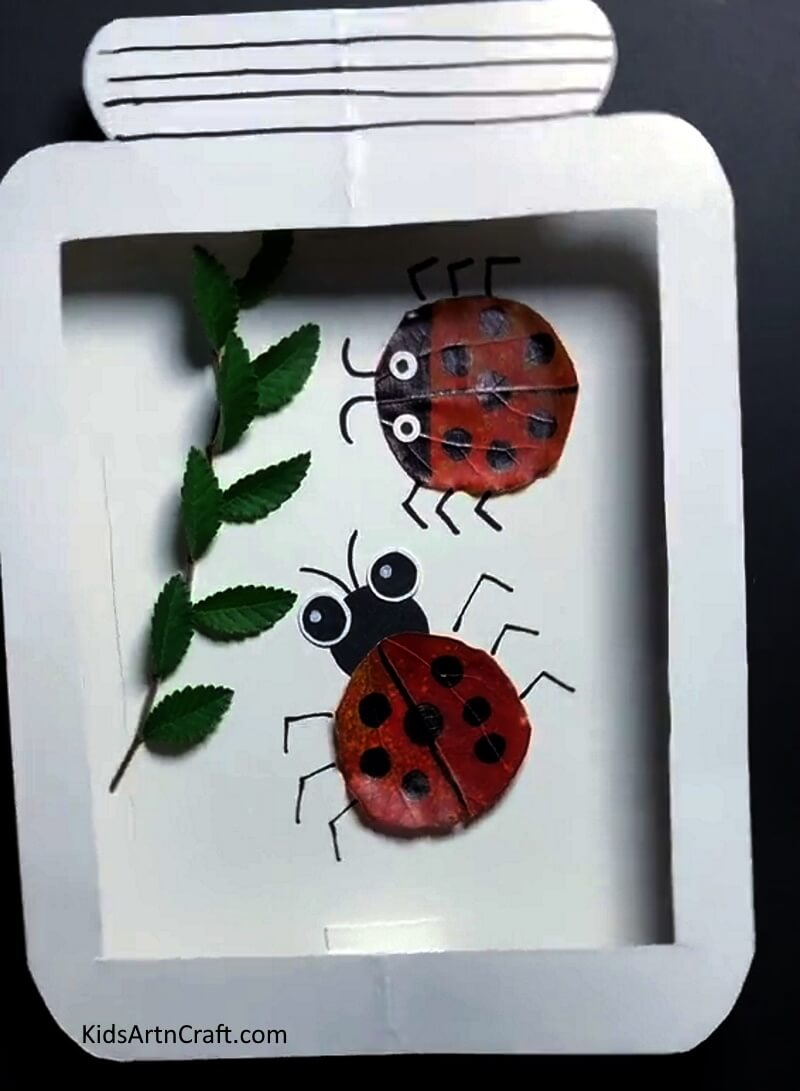
Image Source/Tutorial: Kids Art & Craft
Creating ladybug crafts with leaves is a fun and easy way to add a bit of nature to your home. All you need is a few leaves, some paint, and a few other supplies and you can create a variety of cute ladybug crafts.
FAQs Related To Lightning Ladybug Craft Tutorial
1. What materials do I need to make the lightning ladybug craft?
You will need construction paper, glue, scissors, markers, and some other craft materials (such as googly eyes, glitter, etc.)
2. Is this craft suitable for all ages?
Yes, this craft is suitable for all ages.
3. How can I make the lightning ladybug craft look more realistic?
You can add more details such as antennae, googly eyes, and glitter to make the lightning ladybug craft look more realistic.
4. What kind of paper is best for the lightning ladybug craft?
Construction paper is the best paper for this craft because it is thicker and provides more stability.
5. How can I keep the lightning ladybug craft from falling apart?
You can use a glue stick or a hot glue gun to secure the pieces together.
6. Can I use other colors for the lightning ladybug craft?
Yes, you can use other colors for the lightning ladybug craft to make it your own unique design.
Follow us on Youtube for art and craft tutorials and much more.
More Articles from Kids Art & Craft
- Fun To Make Paper Chick Craft
- Paper-Cutting Designs For Projects
- Octopus Crafts Using Styrofoam Balls
- Cute Paper Crafts Video Tutorial for Spring Season
- Make DIY Origami Paper Envelop Craft For Kids