Paper Crafts
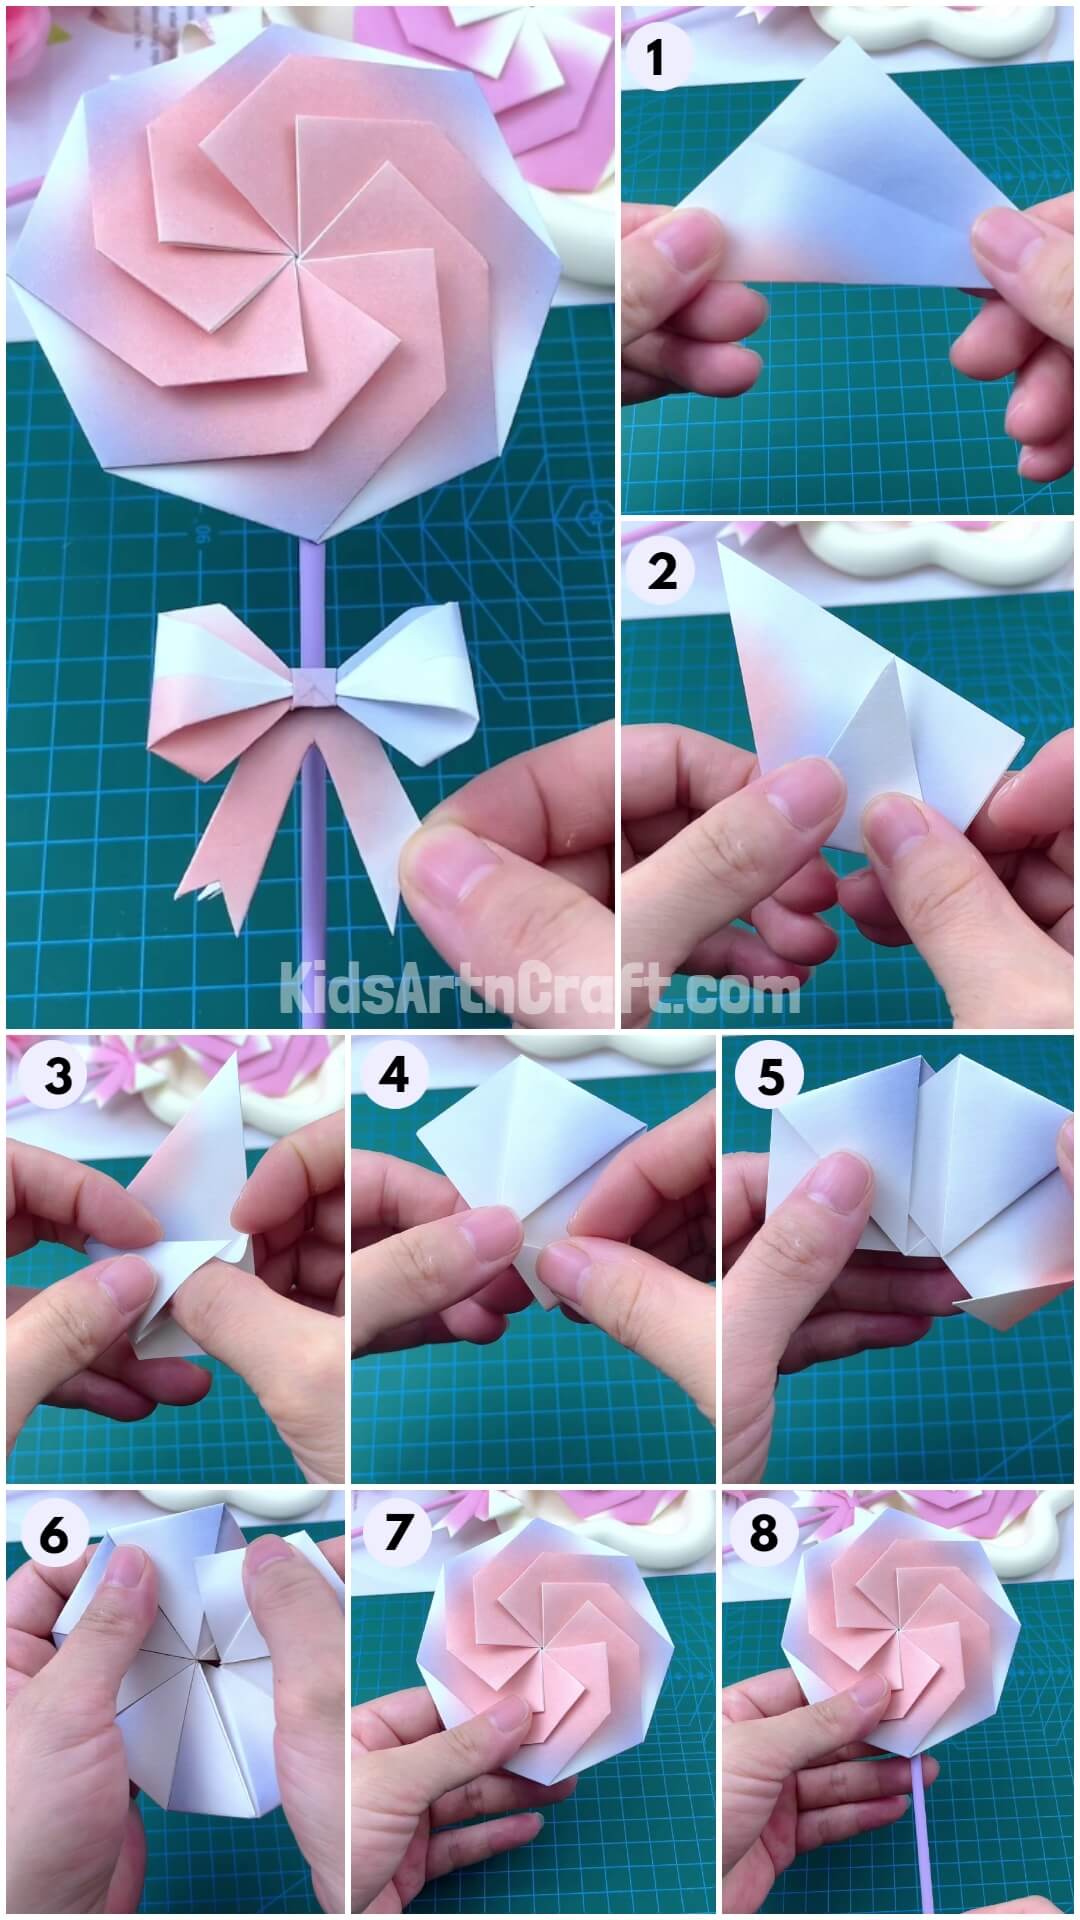
Yummy Lollipop Paper Origami Idea For Beginners

Looking for a sweet delight to add up to your origami collection? This tutorial will guide you to make an easy lollipop origami that will serve the same!
Hello and welcome to this easy tutorial for making sweet lollipop origami! This amazing craft will be a delight for the younger kids and they will love to make their own lollipops! This origami will be a fun learning journey for your little ones as origami crafts serve best as hands-on sensory activities! Your kids will not only learn to make this lollipop but also will be driving their motor skills and creativity through this craft making! Your kids will be excited to decorate their lollipops in their bedroom to add something sweet to it! Just with some easy turns and folds the resultant outcome will motivate your kids and will cheer them up!
DIY Lollipop Paper Origami Idea

Read More: Easy Origami Shirt and Bow Paper Bag Craft At Home
Materials Required
- Origami Paper Sheet
- Glue
- Plastic Straw
Procedure
Step 1: Folding The Paper Diagonally
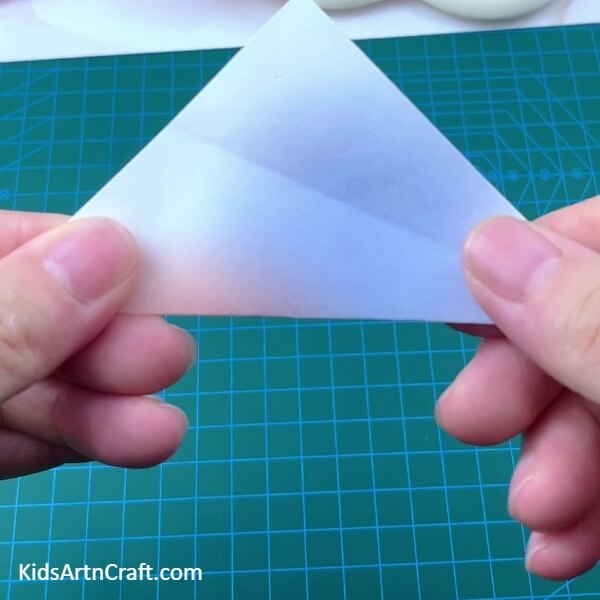

To begin this craft, take an origami sheet and fold the sheet in half diagonally to form a triangle. Now, take one opened corner of the triangle and take it to the folded side of the triangle.
Step 2: Making A Crease

Make a crease and unfold it again.
Step 3: Taking One Unopened Corner To The Crease
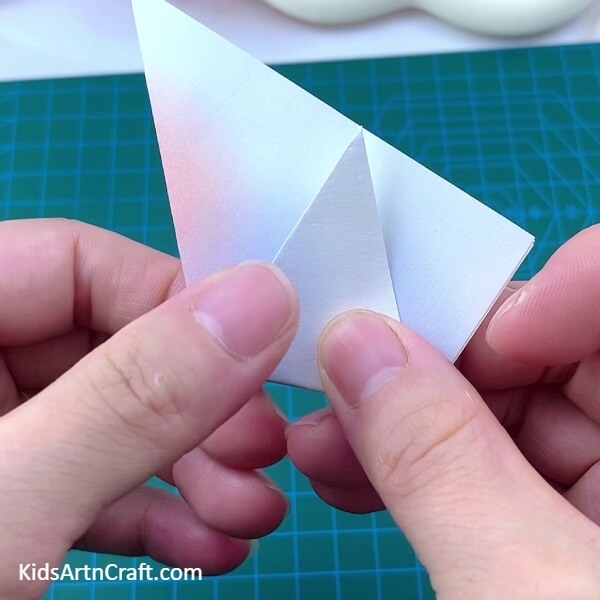
Now, take one opened corner of the triangle to the previously formed crease to make a flap over it and make a crease.
Step 4: Folding The Opened-Corner
Now fold the opened corner to overlap the flap and make a crease.
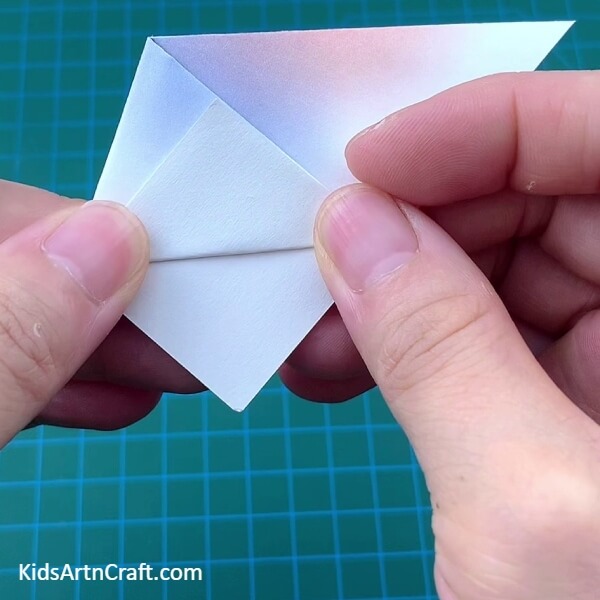
Step 5: Inserting The Opened Corner
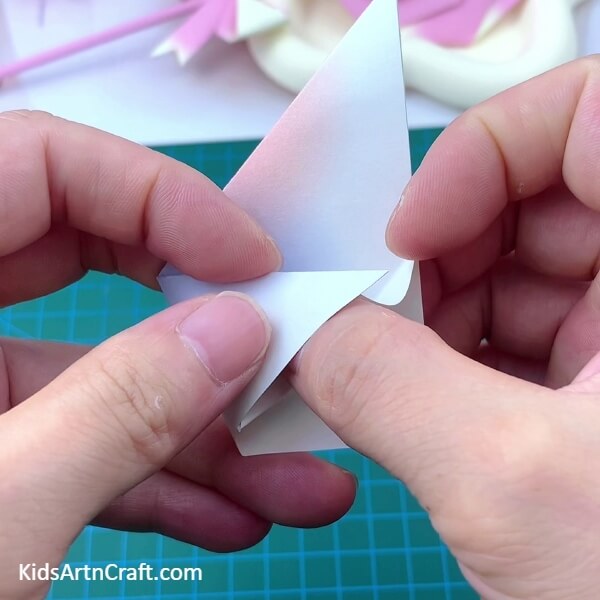
Now, insert the opened-folded corner into the flap by opening it from the middle.
Step 6: Taking The Other Unopened Corner To The Flap

Now, take the other unopened corner to the corner of the flap and make a crease to make a piece of lollipop.
Step 7: Creating More Pieces Of Lollipop
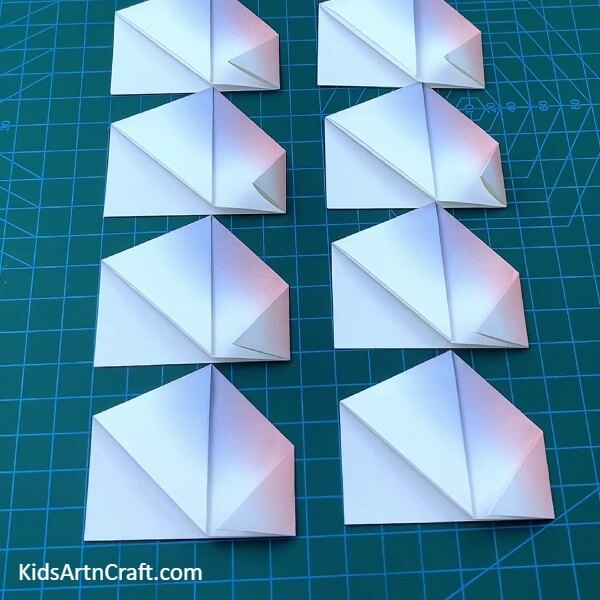
Follow the previous same steps to form 7 more pieces of lollipop.
Step 8: Inserting One Piece Into Another
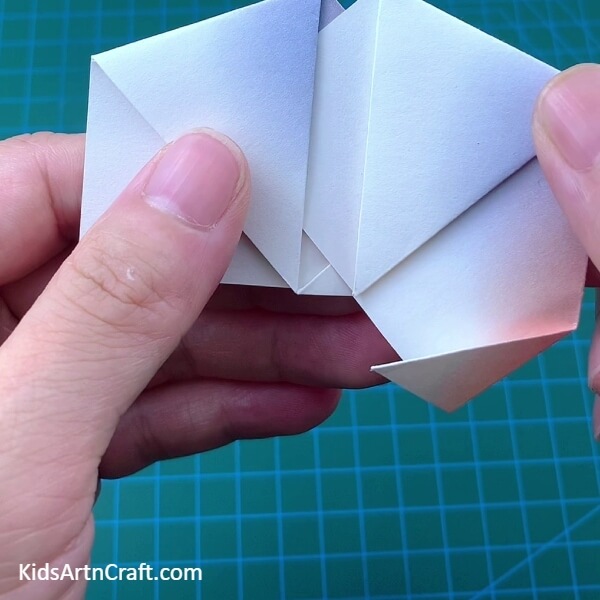
Now, from the one-sheet corner, insert it into the other piece as shown in the image.
Step 9: Competing Inserting All The Pieces
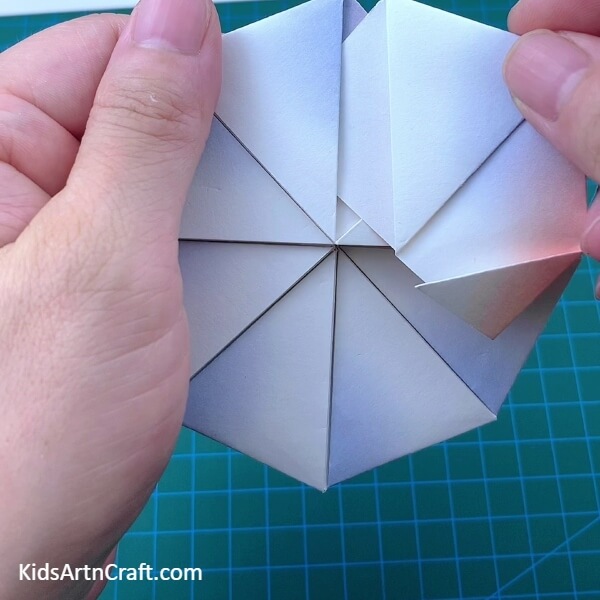
In the same way, as instructed before, insert all the pieces into one another to form a complete circle.
Step 10: Enclosing The Last Piece
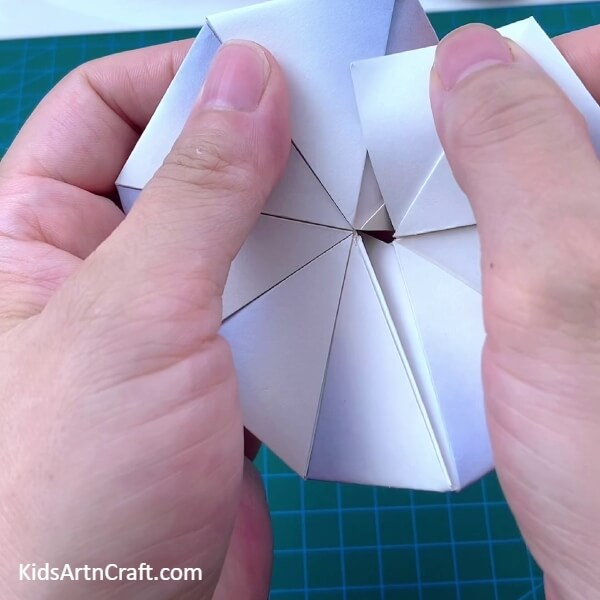
Turn over your lollipop shape and from behind insert the last piece into the other as shown in the image.
Step 11: Turning Over The Lollipop
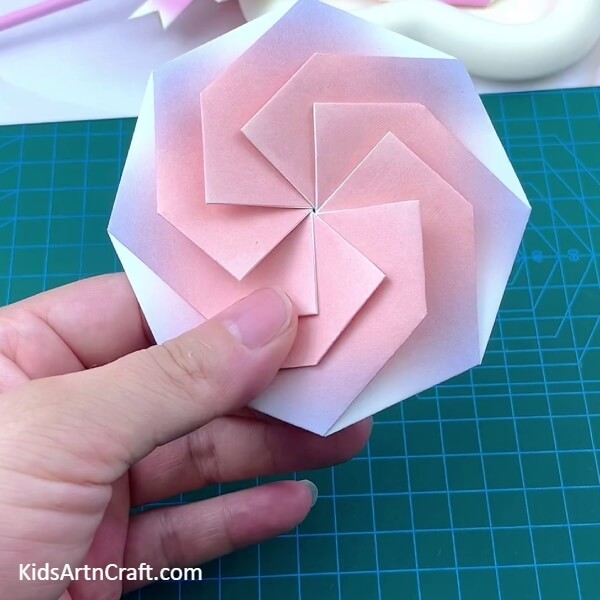
Turn over the lollipop again to see the outcome.
Step 12: Pasting A Straw
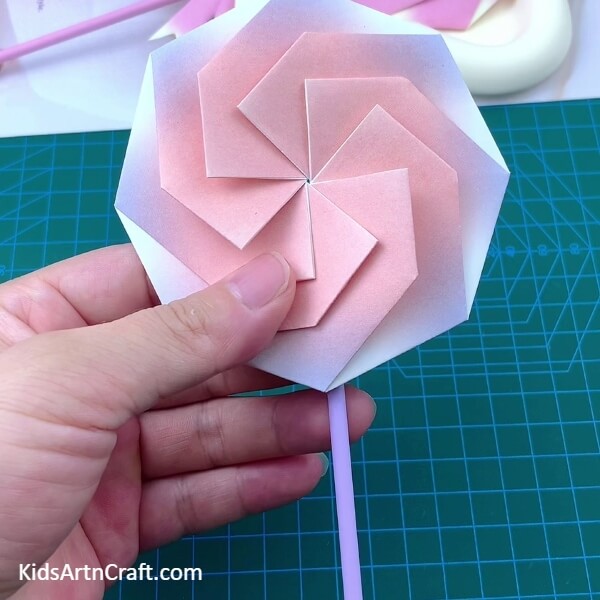
Using glue, paste a straw from behind the lollipop to make it stick.
The Final Look Of Your Lollipop!!
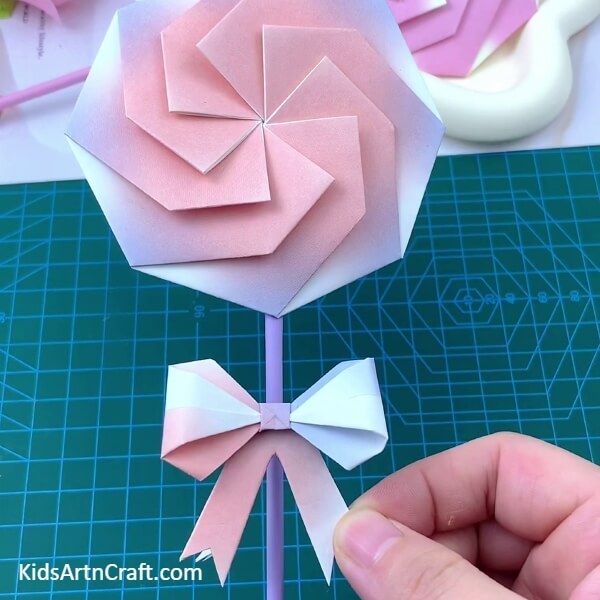
At last, stick a bow to the lollipop stick using glue.
Yahaya! You have finally completed your amazing lollipop origami craft!
You can now decorate this lollipop in your room to live in the fantasy candy land! Make this lollipop in various colors to make different flavors of it! You can use it as a gift for your loved one, and fool them with this artificial candy, haha! You can also create a giant lollipop, imagine how it would look standing in a corner of your room! Amazing right?! Well, you can apply your creativity and imagination any way you like!
Follow us on Youtube for art and craft tutorials and much more.
More Articles from Kids Art & Craft
- Easy Ladybug Craft For Kids Using Leaves and Paper
- Paper Airplane Origami Step-by-Step Tutorial For Kids
- How to Make Origami Paper Star Tutorial
- Easy Paper Folding Crafts Video Tutorial for Kids
- DIY Easy Origami Paper Shark Toy Tutorial For Kids