Recycled Crafts
How To Make Minion Pencil Stand Craft Tutorial For Kids

Make a fun and easy Minion Pencil Stand Craft with your kids! Our step-by-step tutorial will walk you through the process of creating a colorful pencil holder that is perfect for any desk. Let your kids have fun and express their creativity with this easy DIY craft!
Welcome to this step-by-step tutorial on how to make a Minion Pencil Stand out of a Plastic bottle! This fun and easy project is perfect for kids and adults alike. In this tutorial, we will show you how to make your own Pencil Stand in just a few simple steps. You’ll need just a few materials, such as plastic bottles, scissors, Craft paper, and some glue. Let’s get creative!
How To Make Minion Pencil Stand Craft For Kids


Read More: DIY Leaf Art Fish Making Easy Tutorial for kids
Materials Required
- Plastic bottle
- Blade
- Craft papers ( Yellow, blue, black, and white)
- Scissors
- Glue
- Black marker or pen
Procedure
Step 1: Let’s Begin With A Plastic Bottle
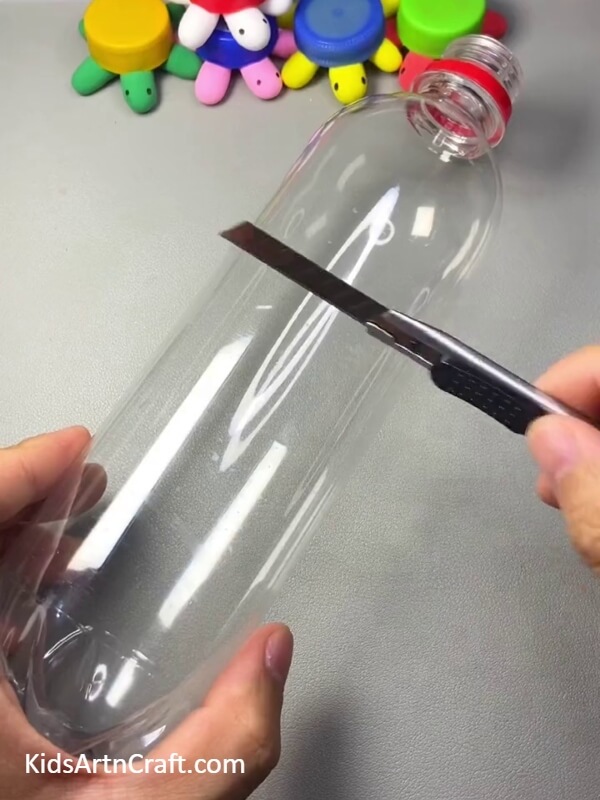

Let’s start with a Plastic bottle, and make sure there are no curves, as shown in the picture. Mark the length as you wish and cut off the top part of your bottle.
Step 2: Cutting The Bottle Into Two
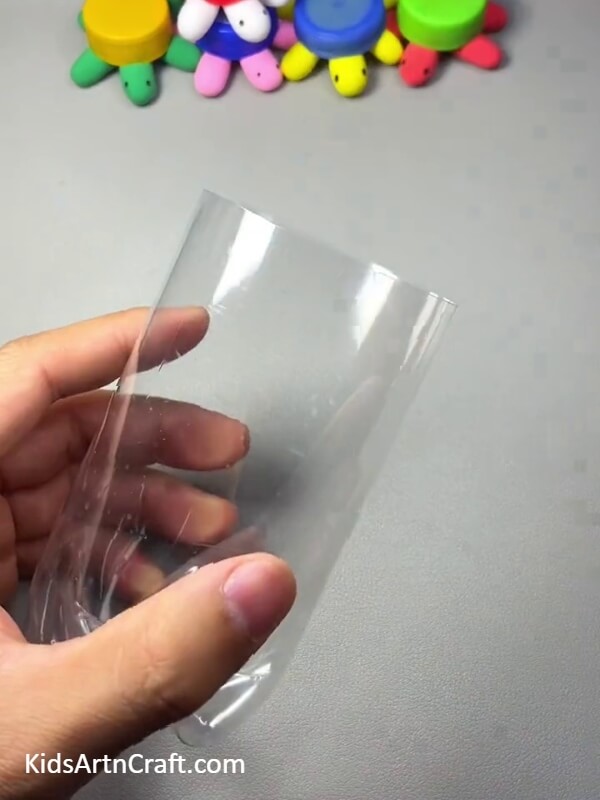
After cutting the bottle, you will get something like this as shown in this picture.
Step 3: Sticking A Yellow Craft Paper On The Bottle
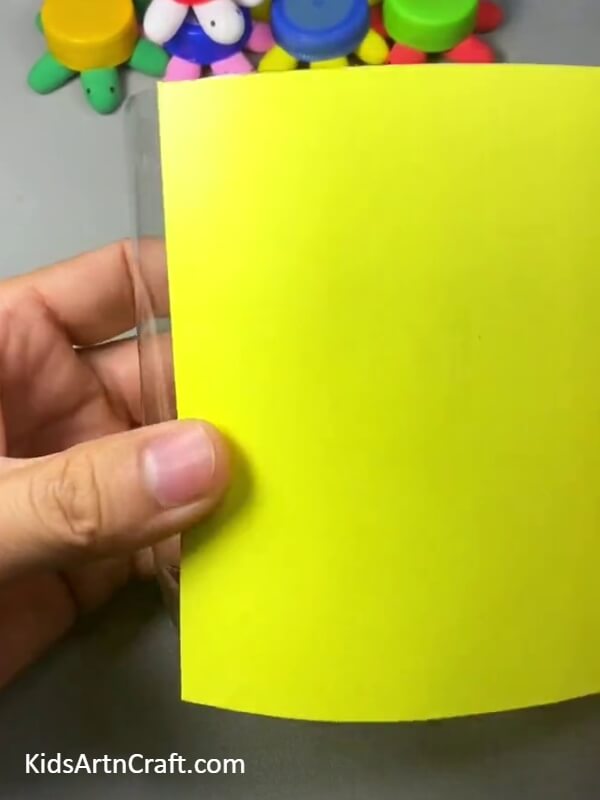
Take a yellow craft paper as shown in the picture above and add glue to it. Neatly stick it on the bottle and make sure it is covered completely.
Step 4: Sticking A Small Blue Craft Paper To Make a Jumpsuit For the Minion
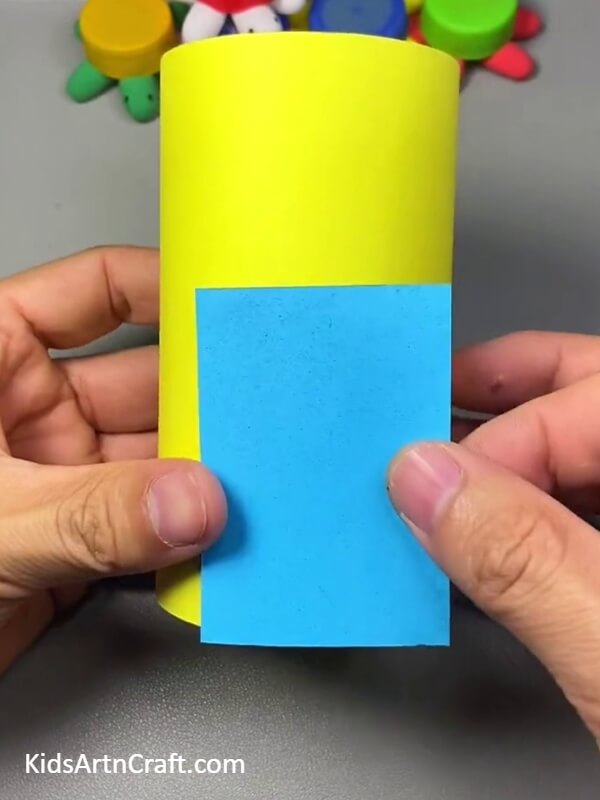
Now, let’s make a jumpsuit for your Minion Pencil Stand. For that, you will need a rectangular piece of blue craft paper. Glue it and stick it right on the bottom of the bottle as shown.
Step 5: Cutting A Strip Of Blue Paper Below The Blue Craft Paper
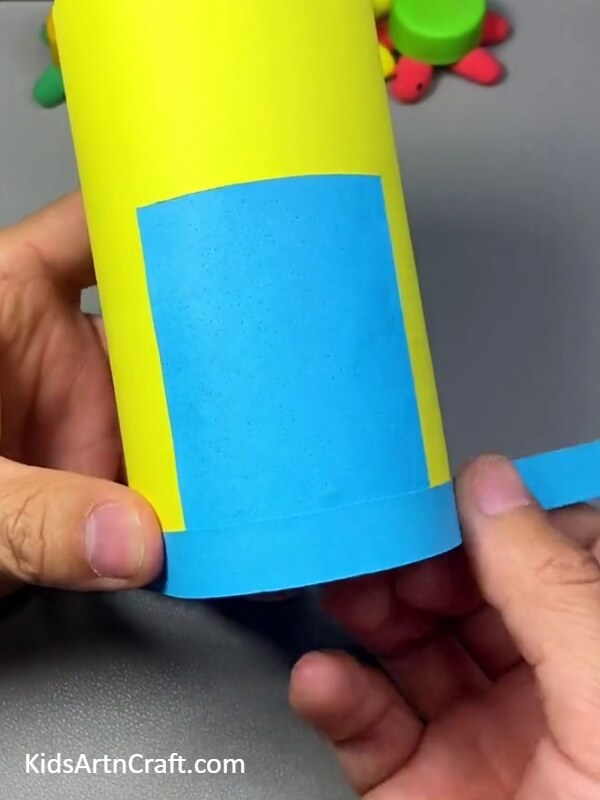
Let it dry. And crab a strip of blue craft and glue it right on the bottom of the bottle as shown in the picture.
Step 6: Sticking Another Strip Of Blue Craft
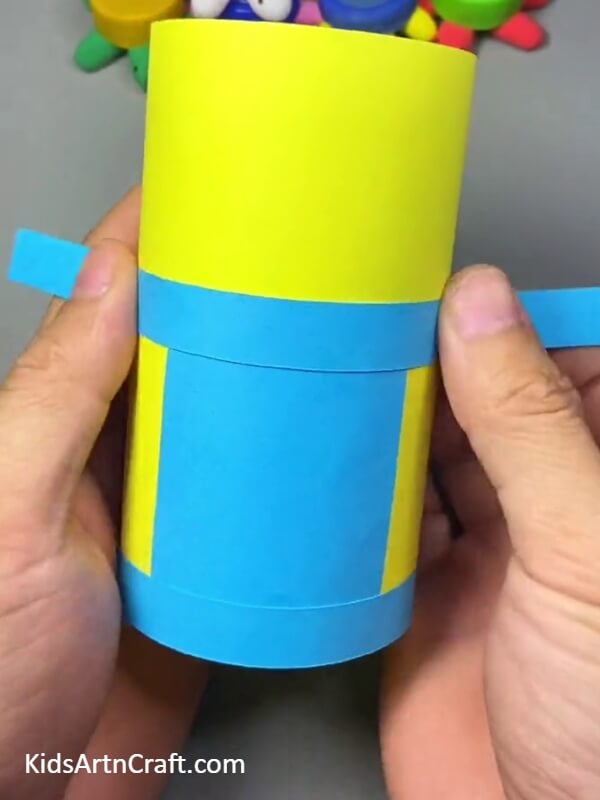
Stick another strip of blue craft paper on top of the rectangular paper you stuck earlier, as shown.
Step 7: Glue A Black Strip On Top-middle Of The Bottle
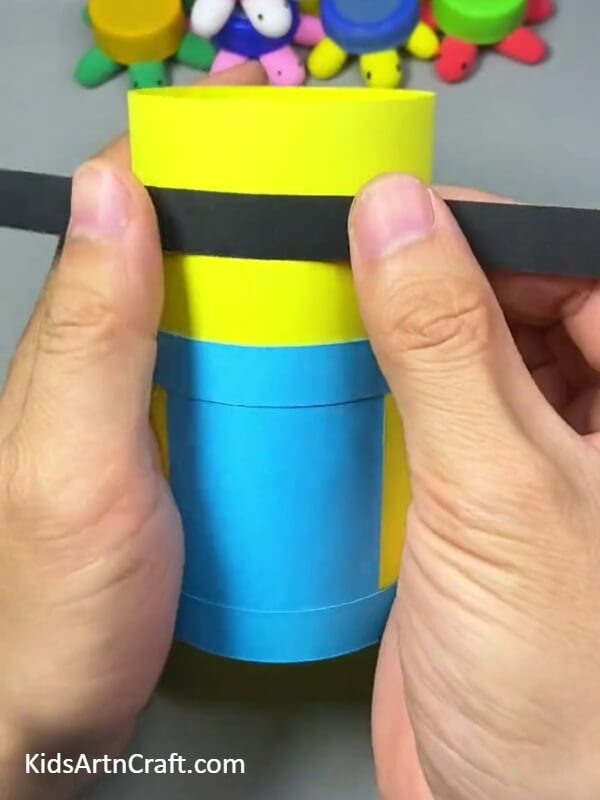
Now, on the top middle of the bottle stick a black strip. Make sure it is at least 2 centimeters away from the blue strip as shown in the picture.
Step 8: Creating Minion Eye Using Black Marker On White Craft Paper

The next step is to create eyes or an eye for your Minion. For that, we need a white craft cut into small pieces of the circle. And mark the boarders with a black marker and place a dot in the middle. Let it dry and then stick then on the black strip you stick earlier.
Step 9: Let’s Make Minion Hair For You Minion Pencil Stand
To make Minion hair, we will need white craft paper colored into black or black Craft paper. Draw the outline of hair as shown in the picture and cut off the excess and stick the roots inside the bottle.
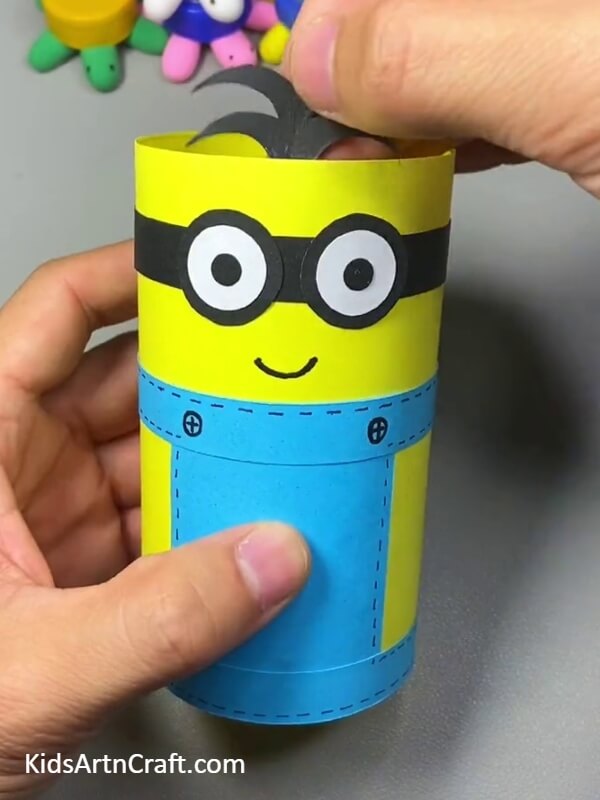
Step 10: Creating Hands For The Minion
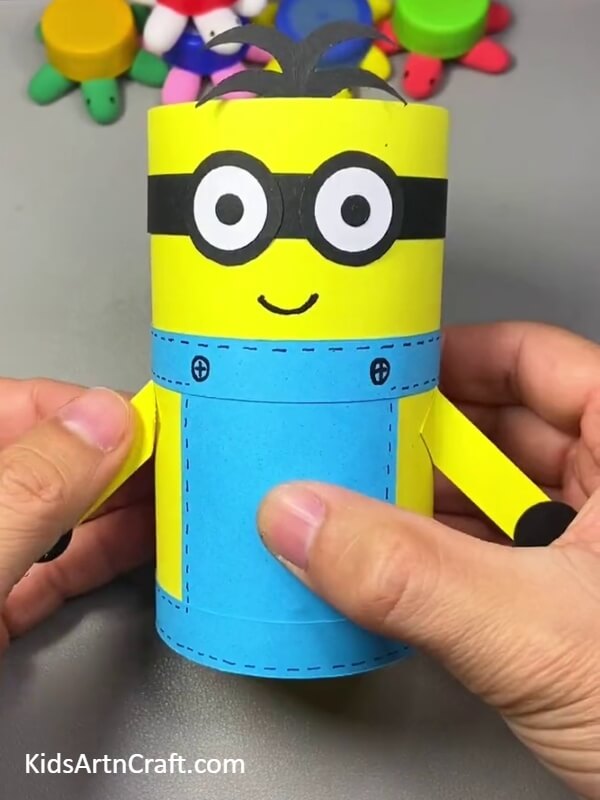
Take small, equal-sized, yellow strips and stick them a small, black, round, craft paper. And the sides of your bottle as in the picture above. And finish it by bordering your Minion jumpsuit and drawing a couple of buttons and a mouth as shown in the picture.
Step 11: After The Finishing Touch
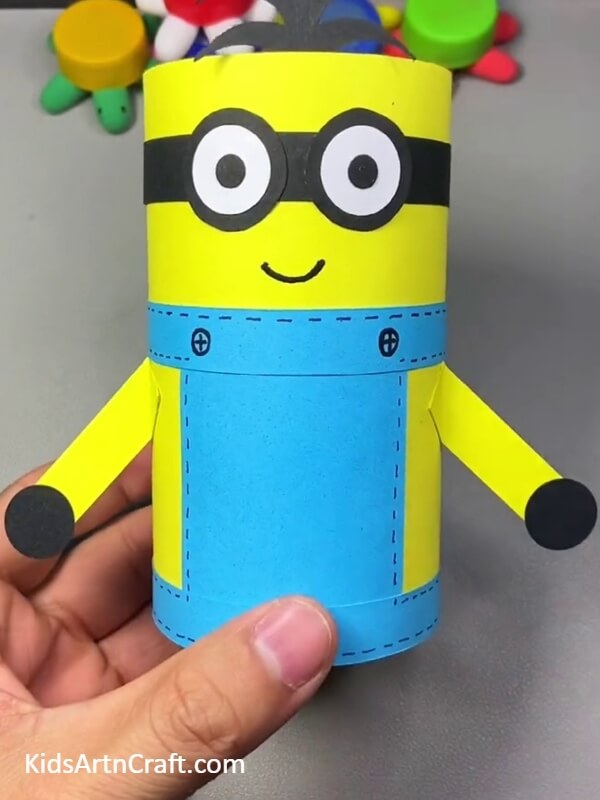
After the Finishing touch with the marker. You will get something like this as shown in the picture. Let the glue dry and let hair and hand set for a while.
Ta-da! Your Minion Pencil Stand Is Ready To Be Used
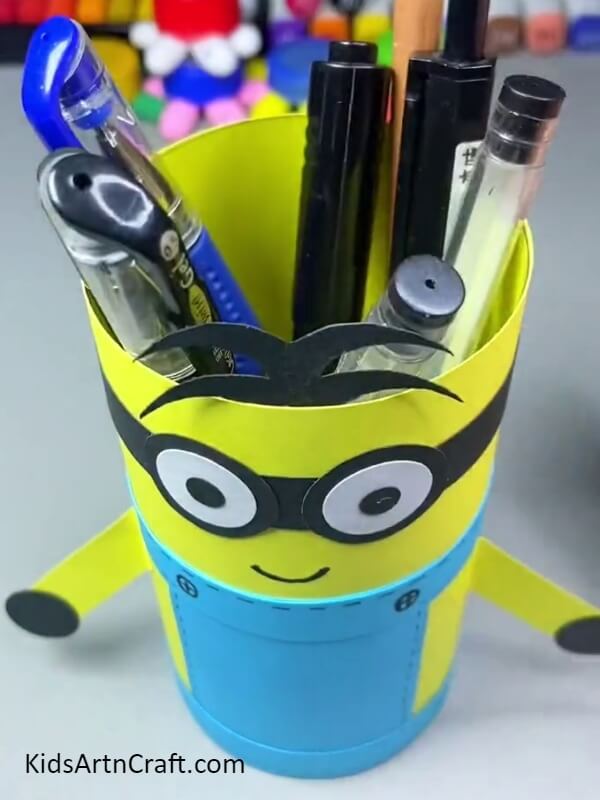
Here you go!! Your Cute Minion Pencil Stand is ready to be used. Toss in a couple of Pens, Pencils and place the stand on your table.
Hope you had fun making this cute million pencil stand as we had while sharing. Don’t forget to browse our website. Let us know your views in the comment section below.
Thank you for visiting our website.
Follow us on Youtube for art and craft tutorials and much more.
More Articles from Kids Art & Craft
- How to Make Handmade Straw Fan Tutorial for Kids
- Easy to Make Snowman by Bottle Craft Tutorial
- How to Make Bubble Wrap Corn Craft Easy Tutorial
- DIY Easy Paper Cup Octopus Craft For Kids
- Autumn Leaf Squirrel Craft Tutorial For Beginners