Kids Activities
How to Make Origami Paper Star Tutorial

Learn how to make paper stars with this easy-to-follow origami tutorial. Follow the step-by-step instructions to fold the paper into a beautiful star shape. Perfect for decorations or gifts!
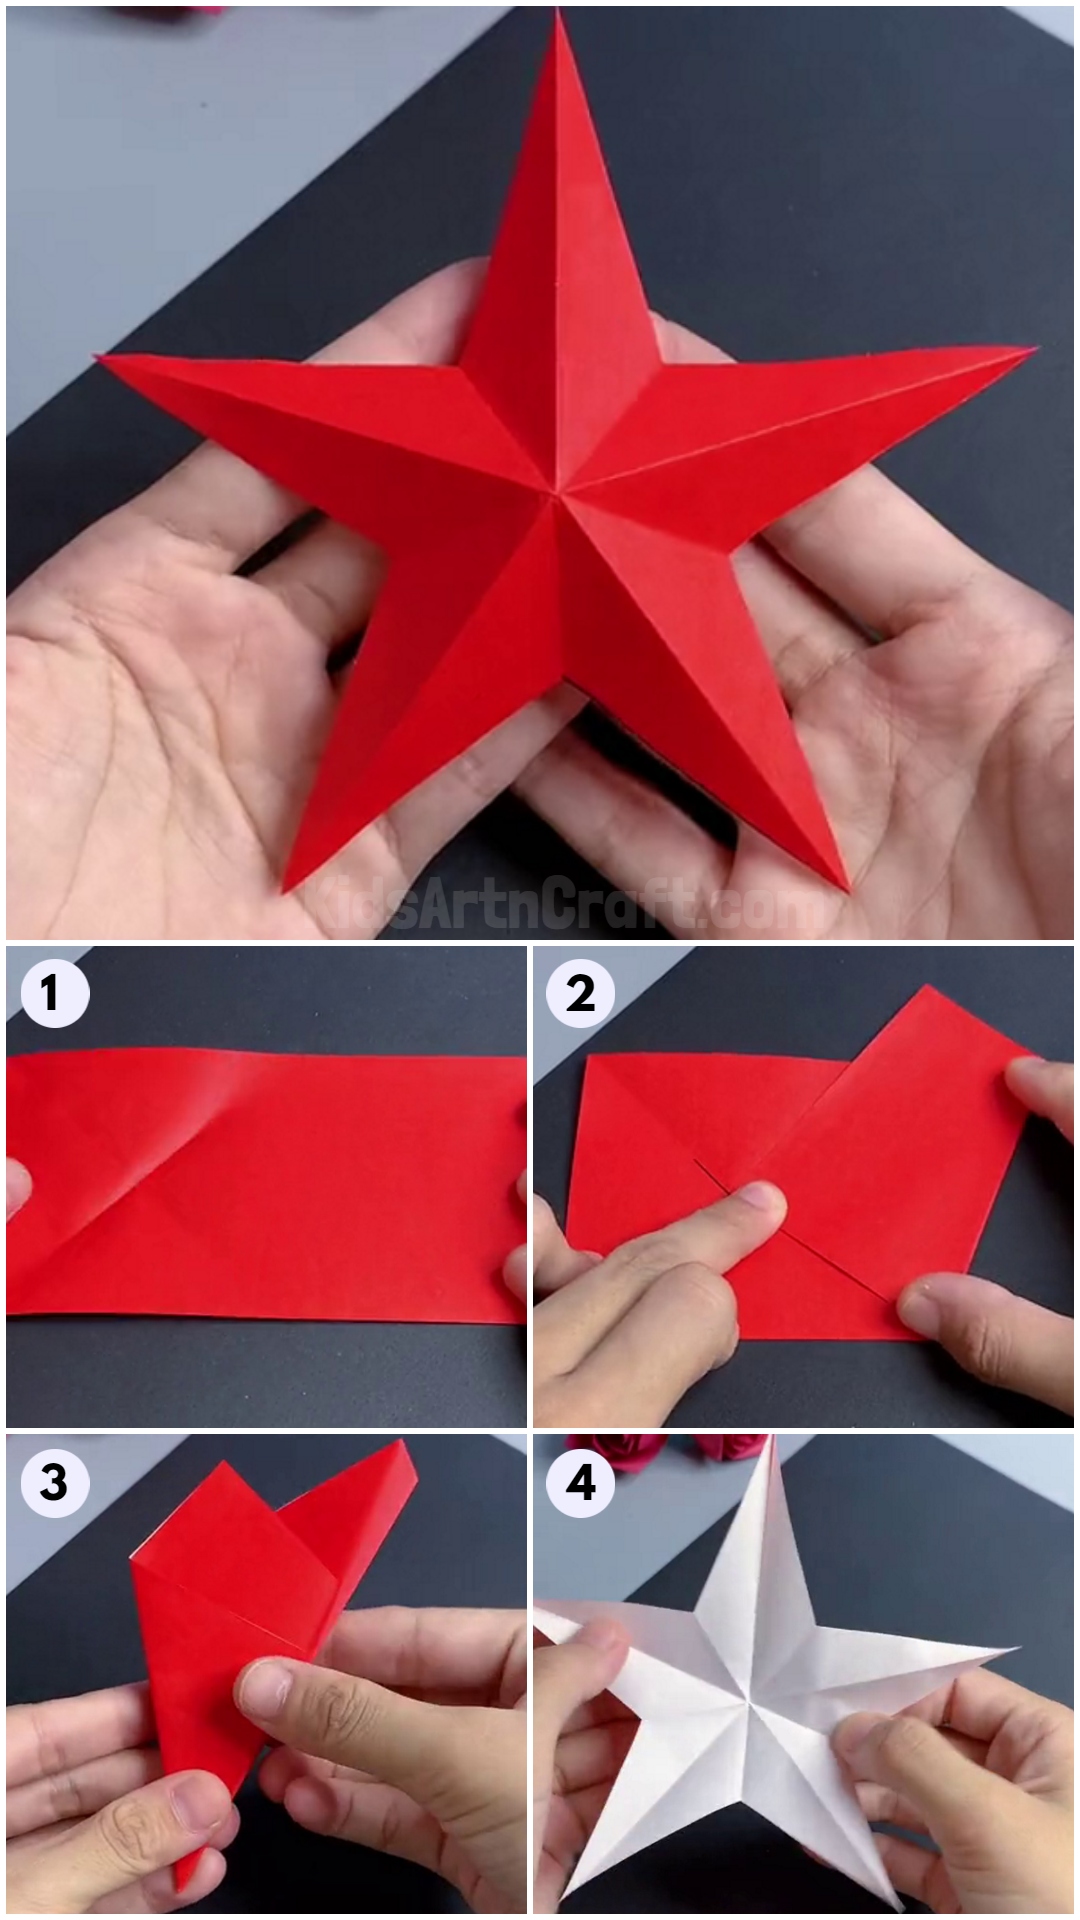
Get ready to add a touch of magic to your crafting skills. This is possible only because of this captivating origami 3D paper star tutorial. In just a few simple steps, you can transform a flat piece of paper into a mesmerizing 3D star. It is for sure that the same will shine brightly in any setting. With its elegant design and intricate folds, this origami creation is sure to impress. So, gather your materials, and let’s embark on a creative journey. Imbibe craftsmanship as we learn how to make this stunning 3D paper star!
DIY Origami Paper Star Craft Idea For Kids

Read More: Learn To Make Paper Duck Craft Tutorial
Materials Required
-
Origami Paper (Red)
-
Scissors
-
Pencil
Procedure
Step 1: Preparing The Square Sheet


Step 2: Folding The Left Corner
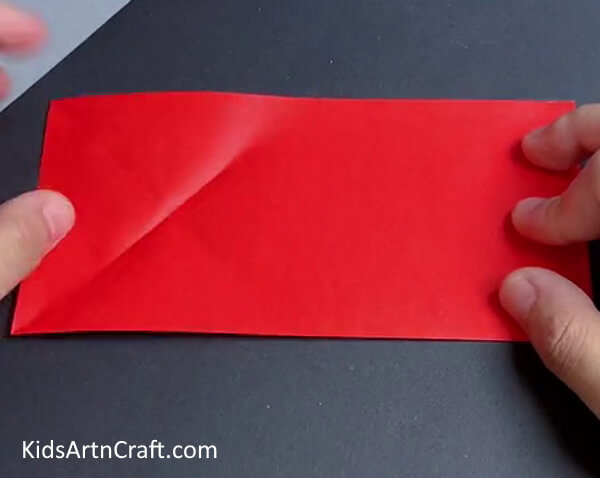

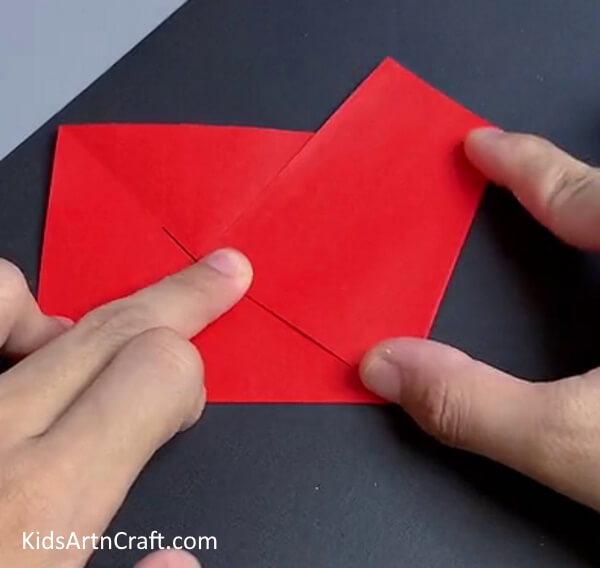
After folding the square in half, you will get a rectangle. Fold the left corner to make a triangle. Fold it and you will get a crease as shown in the image.
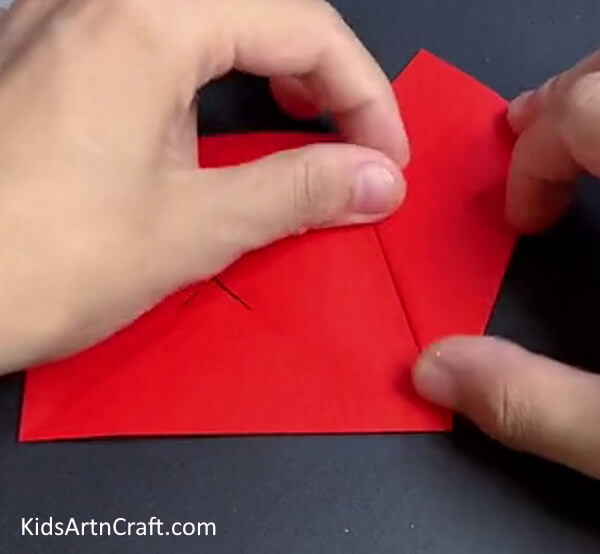
Step 3: Aligning The Right Corner

The next thing we have to do is to take the right corner and fold it along this crease. If you are unsure about any step or folding technique we have provided you with an image above each step. Take a look at each one of them when following any step beneath it.
Step 4: Folding The Quadrilateral

The quadrilateral formed on the right-hand side of the origami needs to be folded. To do so flip the sheet and fold the extra part so that a diamond shape is created. You may take help from the image above.
Step 5: Folding The Left Corner Again
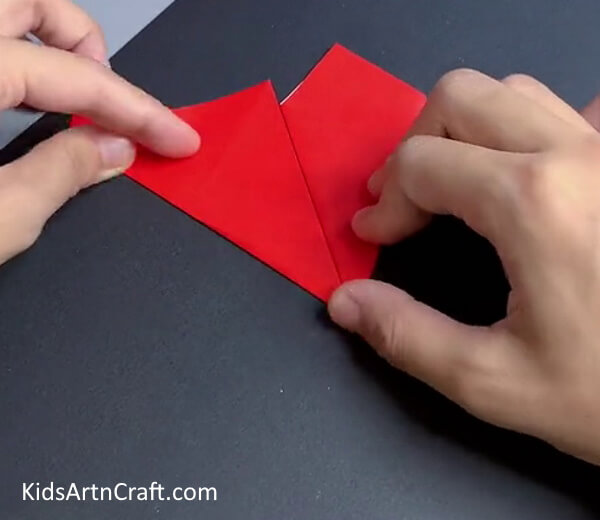

Now, hold the left corner and fold it in a way such that there is no left-out space between the diamond and the left corner.
Step 6: Folding The Origami
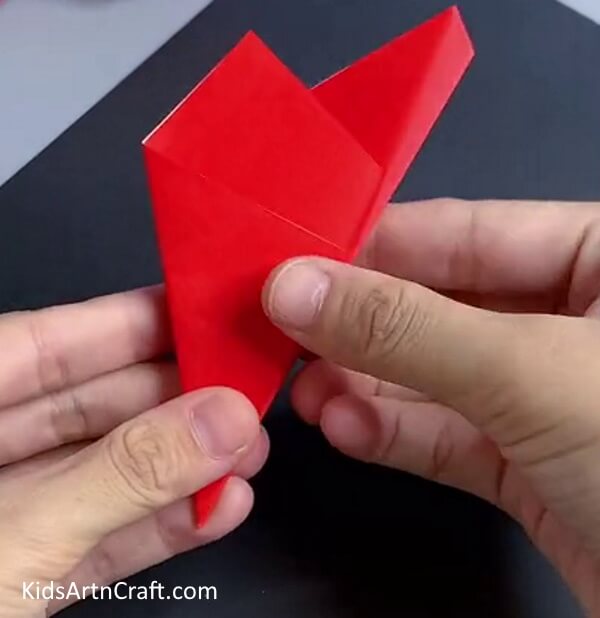

Step 7: Marking And Cutting The Extra Layer
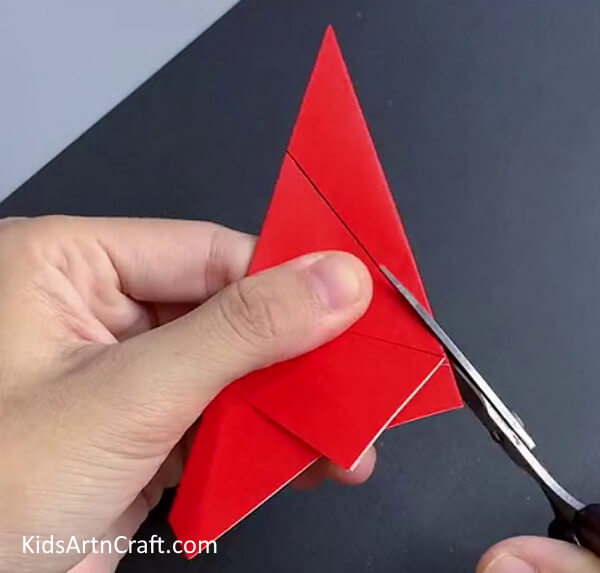

Step 8: Unfolding And Checking The Creases
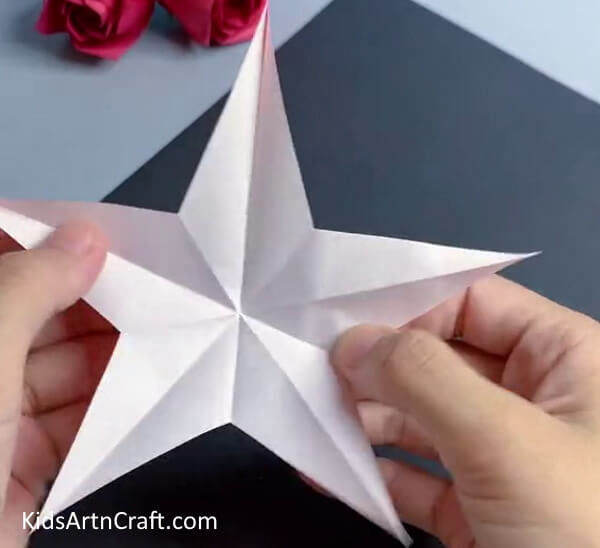

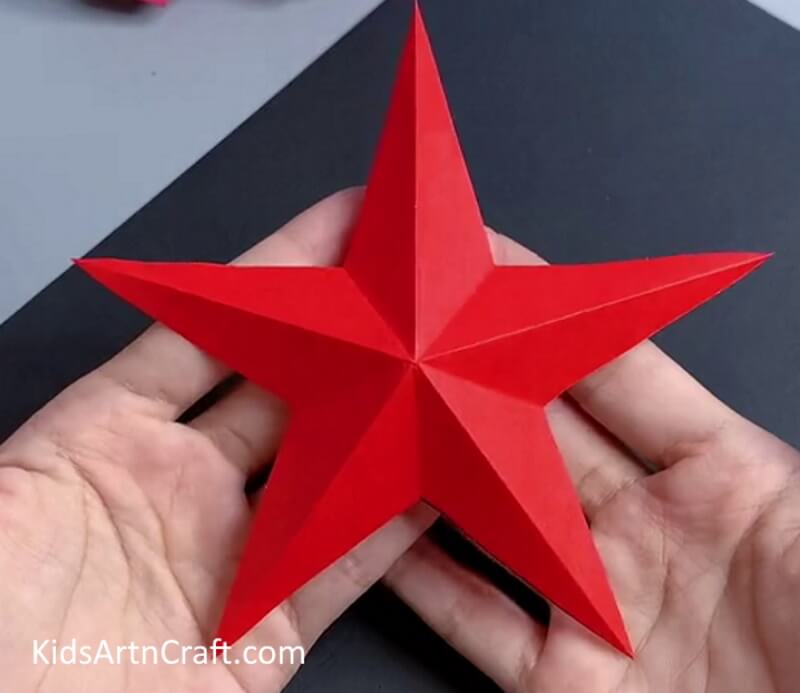
And we are almost done! In completion of the previous step unfold your origami. Make sure all equal creases are visible. This is because it is a sign that you have made a 3D origami star correctly.
Congratulations On Your Origami 3D Paper Star!

Some More Star Craft Tutorial
Easy To Make Paper Star Craft For Kids

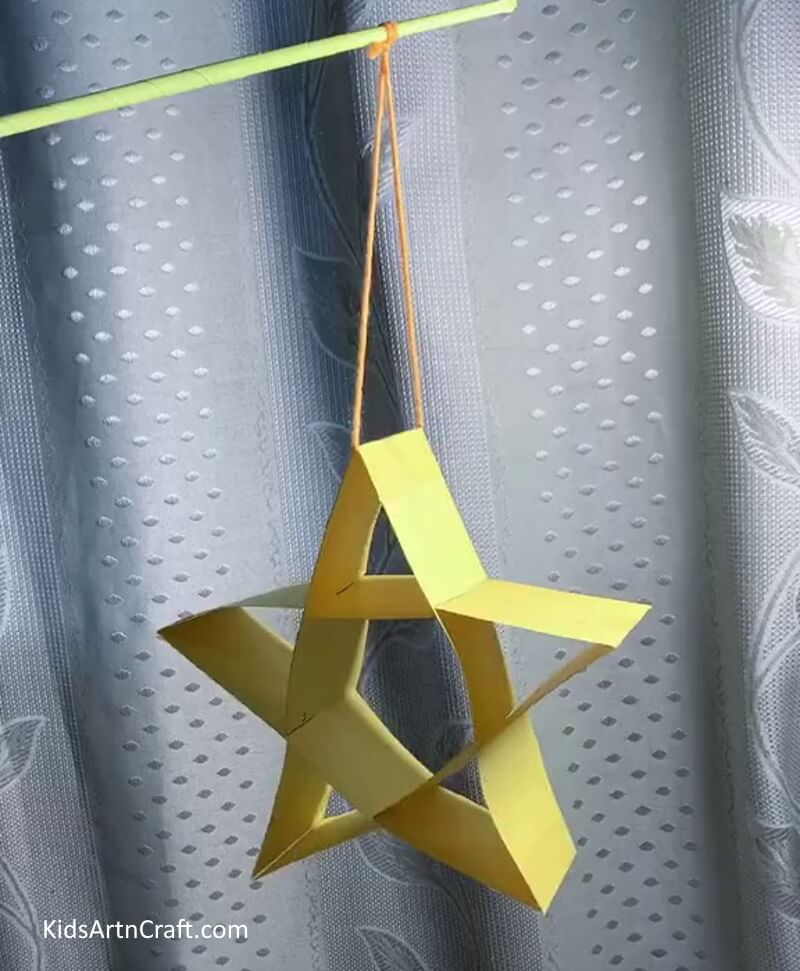
Image Source/Tutorial: Kids Art & Craft
This is a great craft for kids to make! It’s an easy and fun paper star craft that can be used to decorate a room, or even as a special gift. With just a few simple materials, kids can create a beautiful star of any size.
Follow us on Youtube for art and craft tutorials and much more.
More Articles from Kids Art & Craft
- Paper Origami Frog Craft Tutorial for Kids
- Easy to Make Paper Chicken Craft Tutorial
- Easy Paper Crafts DIY Video Tutorial for All
- Easy Paper Crafts Activity Try A home Video Tutorial for All
- How to Make 3D Paper Pineapple Craft for Kids