Recycled Crafts
DIY Paper Cup Changing Dress Doll Craft Trick for Kids

This activity is great for kids who want to have fun and learn something new! The instructions will tell you how to make a paper cup doll with a cool trick. It’s an easy and enjoyable project.
Welcome to this tutorial! In this tutorial, we going to learn about how to create paper cup changing dress doll craft. This craft is suitable for all age kids and beginners. With our simple step by step tutorial you can create this craft within short time and less effort. Lets begin!
Easy Paper Cup Changing Dress Doll Craft
Read More: DIY Pencil Holder From Plastic Bottles and Pipe Cleaners
Materials Required
- White sheet
- Two large size paper cups
- Black pen and pencil
- Scissors
- Sketch pens (Red, Orange, Yellow, Blue, Green & Violet)
- Color stones
Procedure
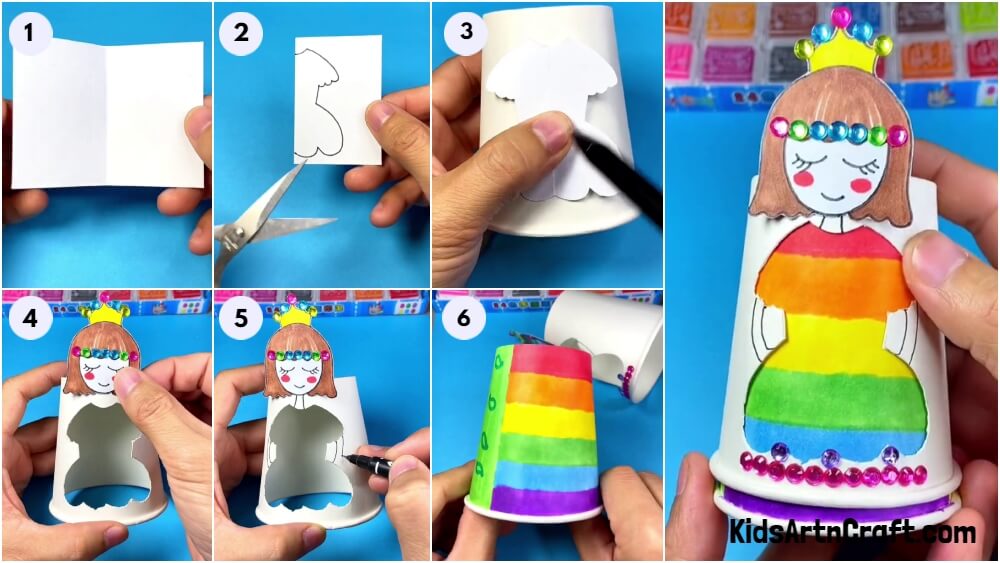
Step 1: Folding White Paper To Draw Doll Dress
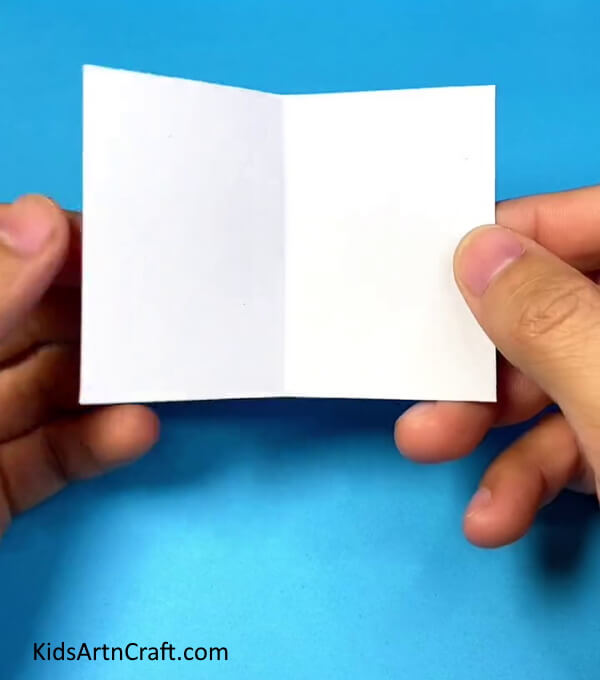
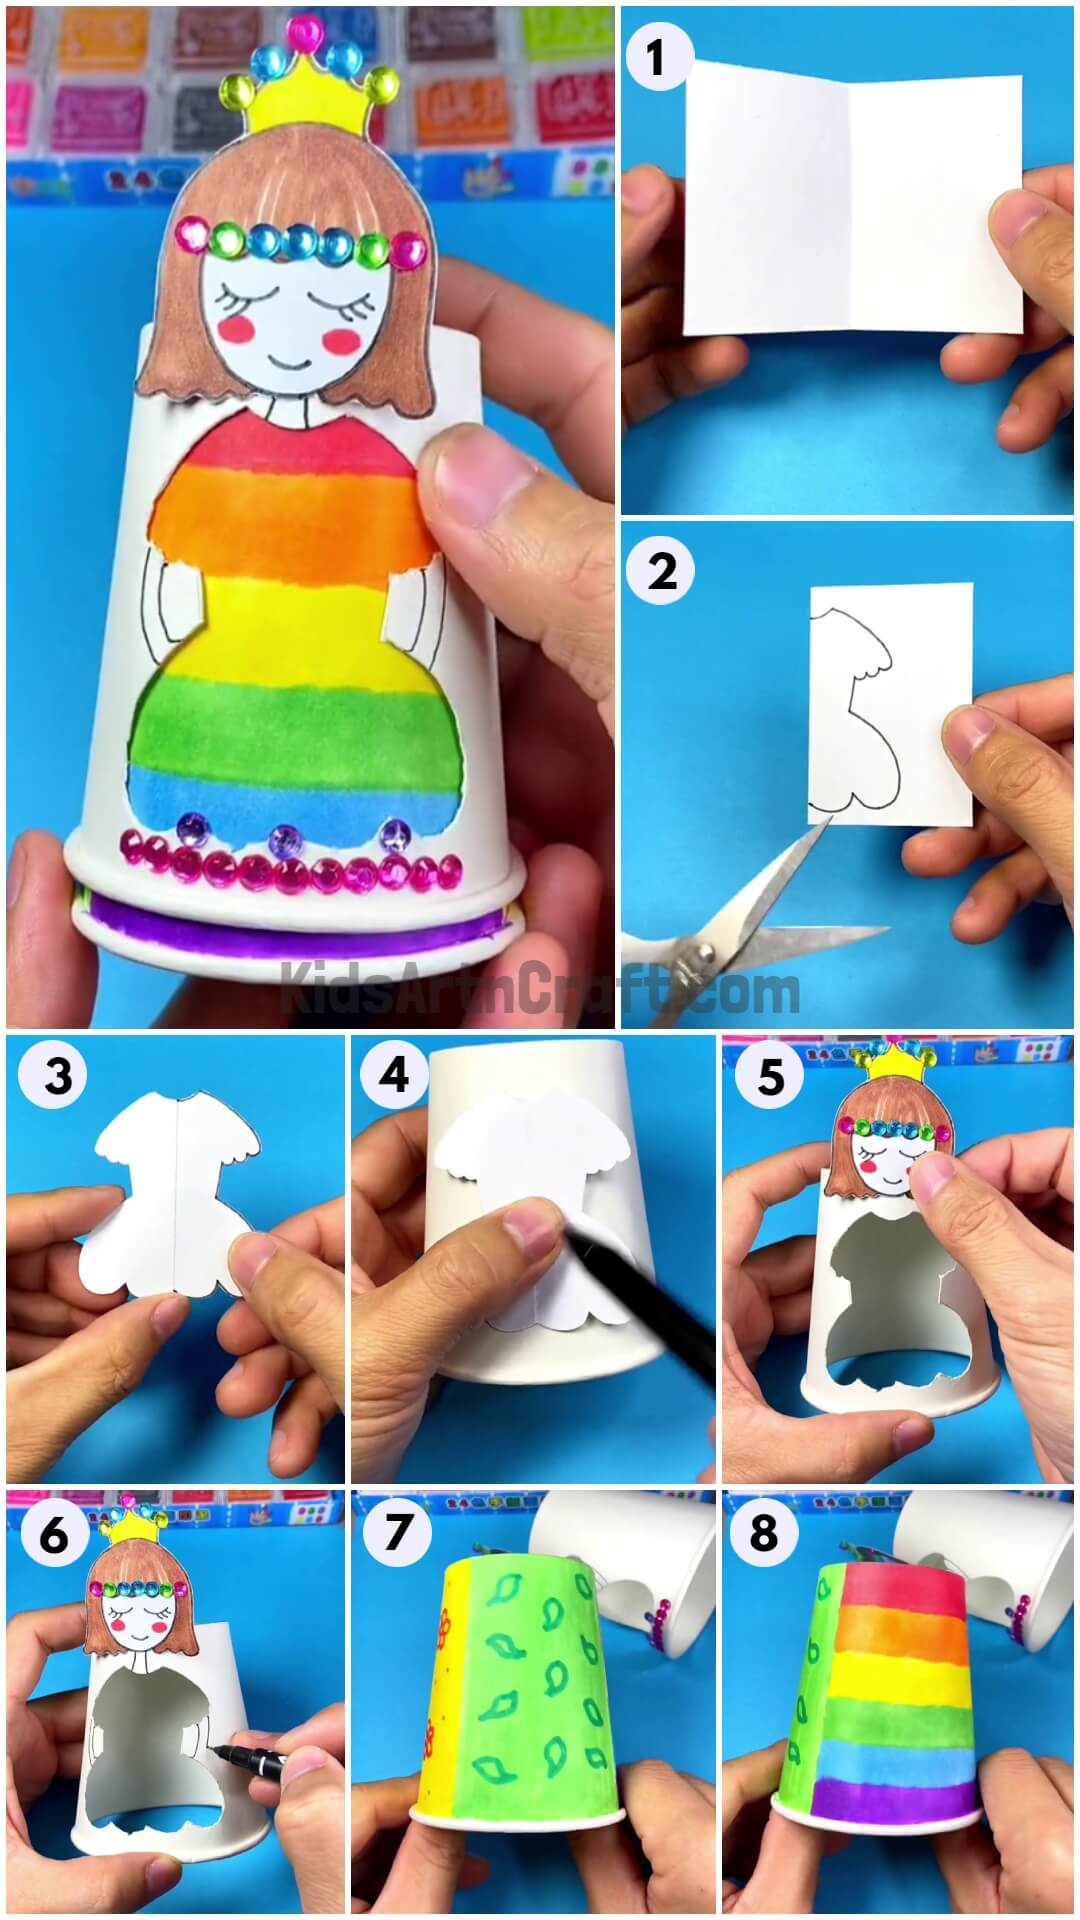
Cut 10*10cm piece from white sheet and fold it into half.
Step 2: Drawing Doll Dress On White Sheet With Black Pen
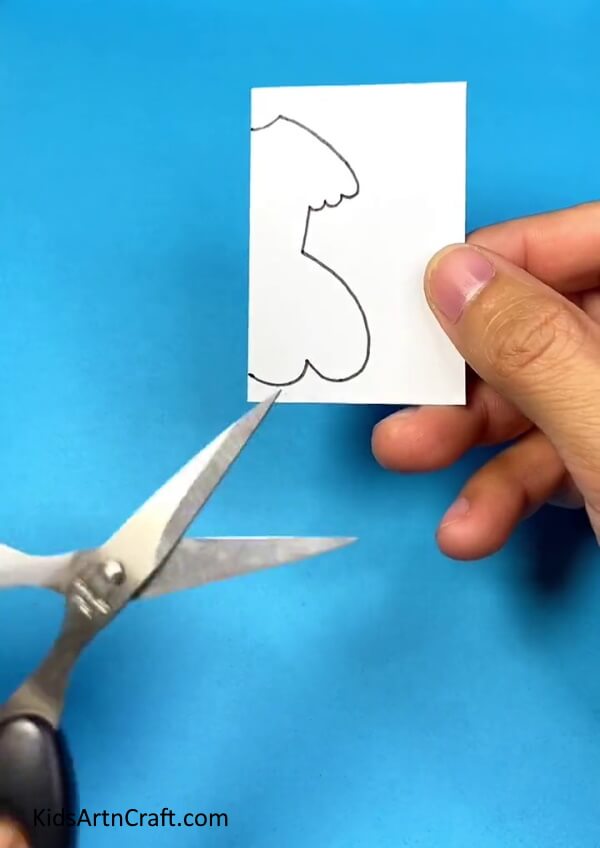
After folding piece of white sheet, draw doll dress on that paper with the use of black pen as shown in the image.
Step 3: Cutting Doll Dress From White Paper And Unfolding It
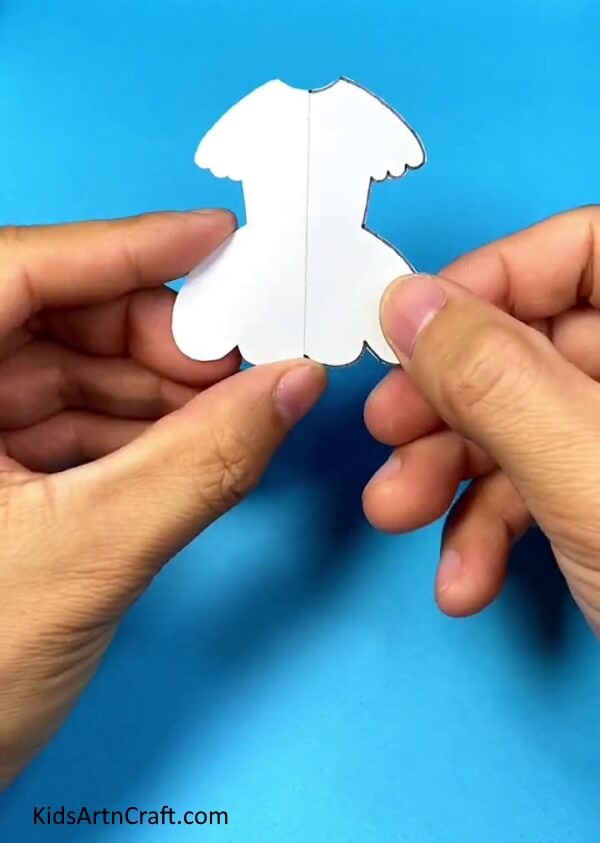
Then cut that doll dress from white sheet with the use of scissors and unfold it.
Step 4: Drawing Doll Dress On Paper Cup
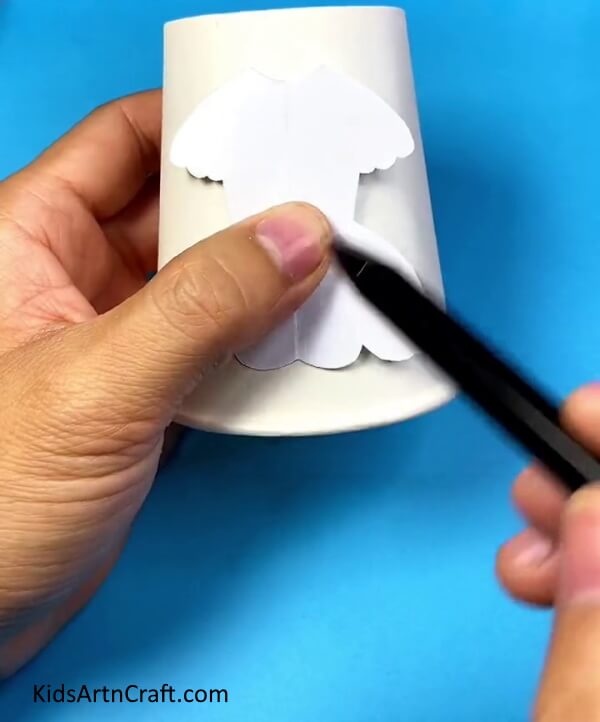
To draw dress on cup, turn your cup upside down and place your dress design piece of white paper on cup, that we cut before and draw outline of dress on cup with pencil as shown.
Step 5: Cutting Doll Dress From Cup
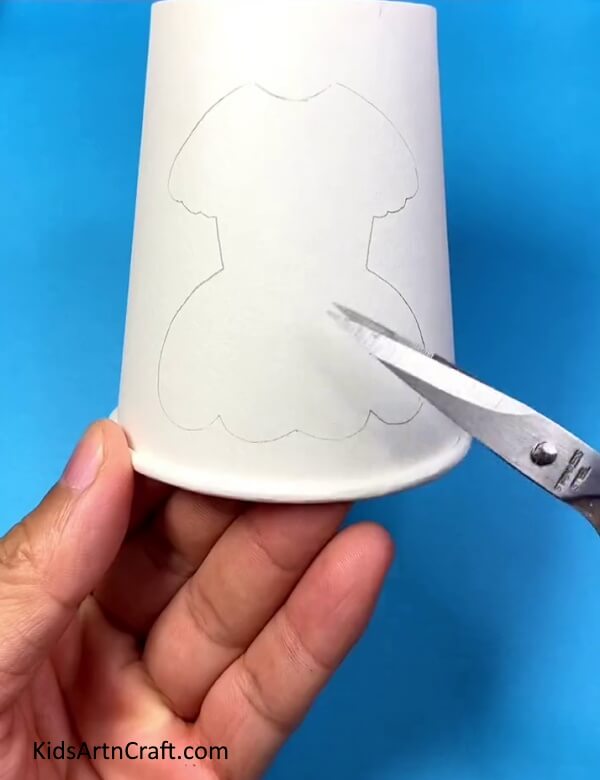
After that, cut the doll dress out from paper cup using scissors.
Step 6: Making Doll Head And Pasting It With Cup
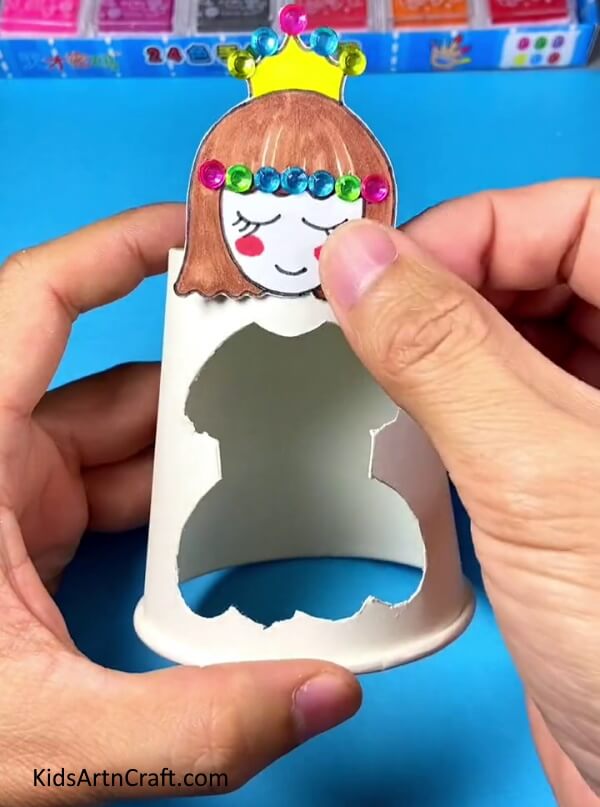
Then take a piece of white sheet and draw doll face with crown on that piece of white sheet, then color it’s hair with brown color and use yellow for crown and paste some color stone on forehead and crown, then cut it out and paste your doll head at the top of doll dress on cup.
Step 7: Drawing Neck And Hands For Our Doll
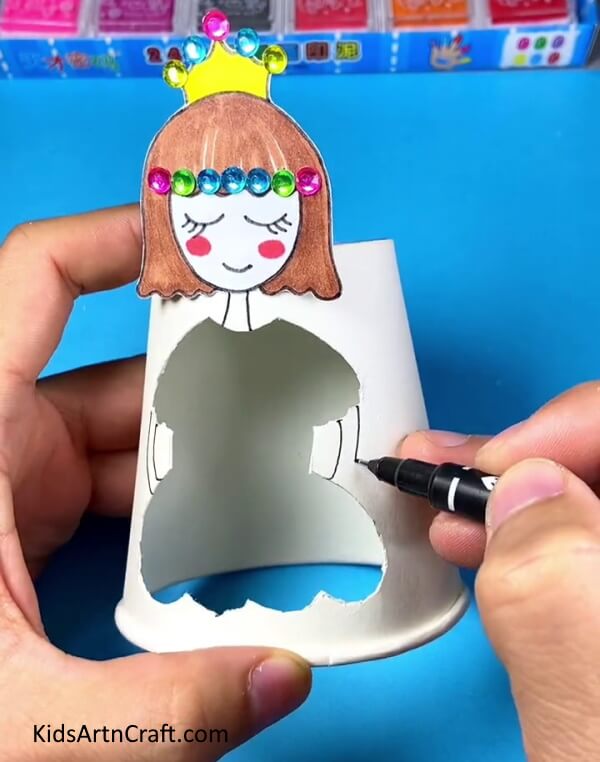
Then draw doll neck and hands using black pen as shown in the image. Then paste some color stones under doll dress to decorate it.
Step 8: Drawing Yellow Color Design For Doll Dress
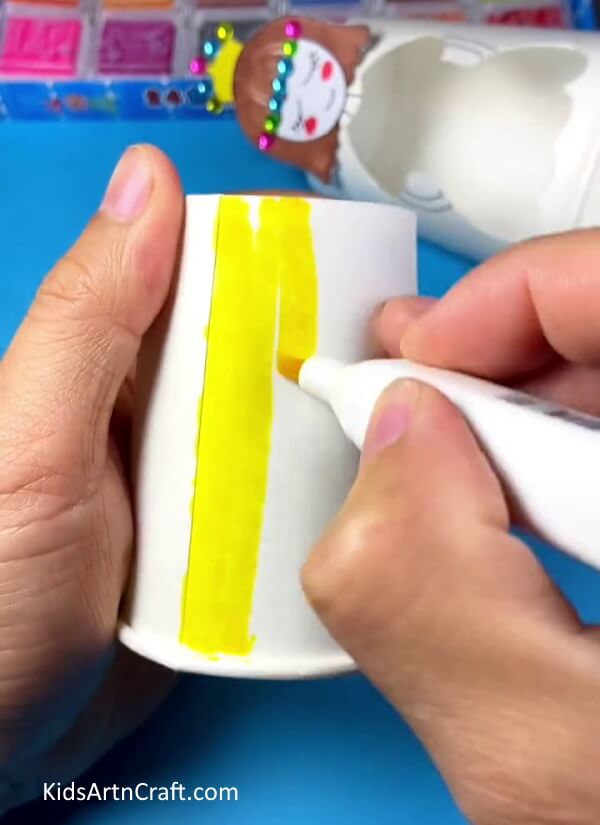
Now we going create designs for doll dress, take another paper cup and color it with yellow sketch for few centimeters and draw some floral designs on it with red pen.
Step 9: Drawing Green Color Design For Doll Dress
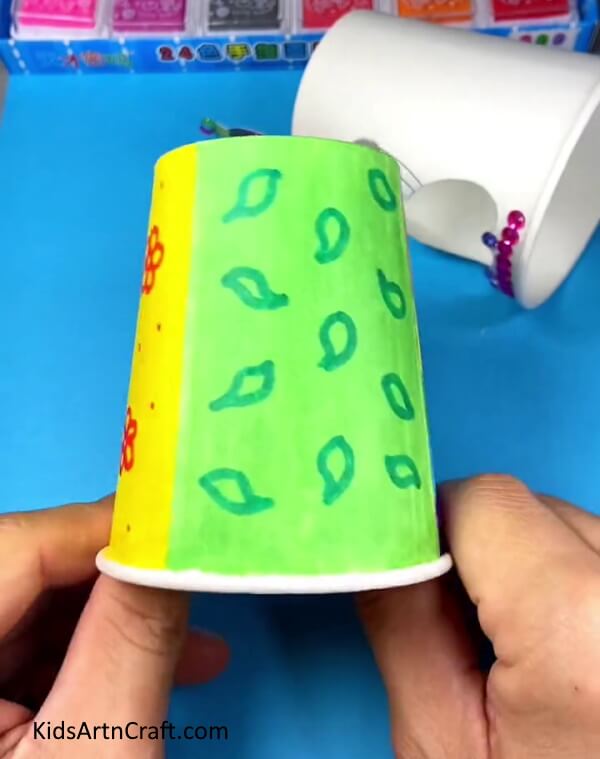
Near to your yellow design, color it with green sketch for another few centimeters and draw leaf designs on it with dark green sketch.
Step 10: Drawing Rainbow Pattern Design For Doll Dress
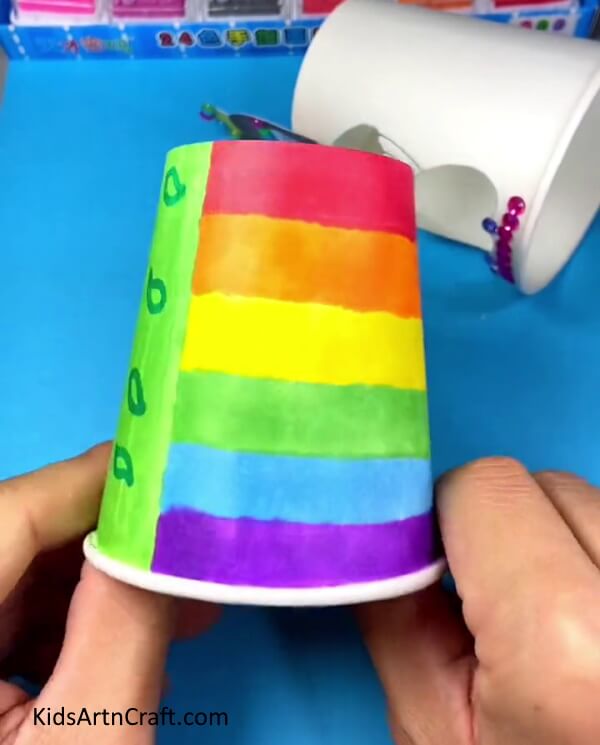
At the remaining space of your paper cup, color it with rainbow pattern as shown.
Step 11: Putting Designed Cup Into Doll Cup
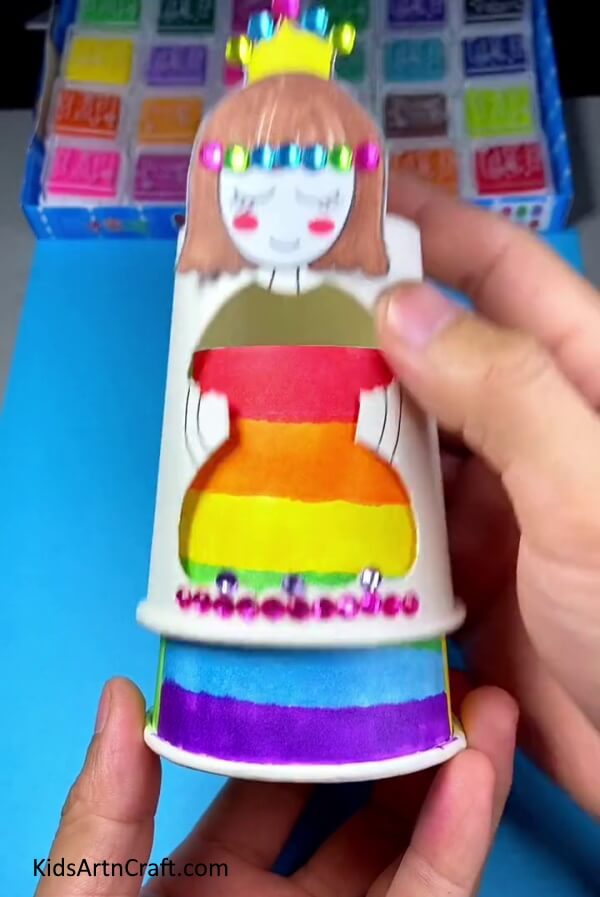
After finishing designs, put that designed cup into your doll cup.
Finally ! Your Doll Craft Is Ready !
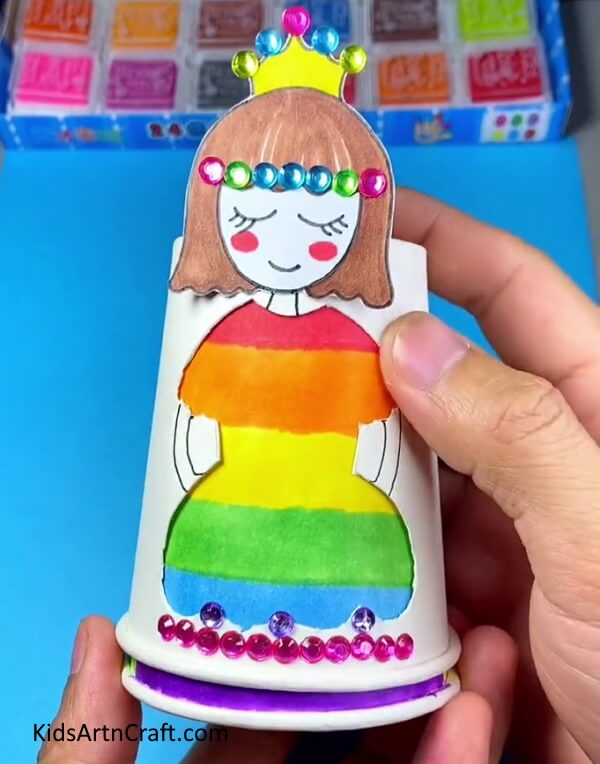
After put designed cup into doll cup, roll design cup to change doll’s dress, that it, our changing dress doll craft is ready.
We hope you all like this paper cup changing dress doll craft. Leave some comments about this tutorial in comment box. For more easy and cute crafts visit our website.
Thank you for visiting our website.
Some More Doll Craft Tutorial
Crafting Paper Cup Doll For Young Ones
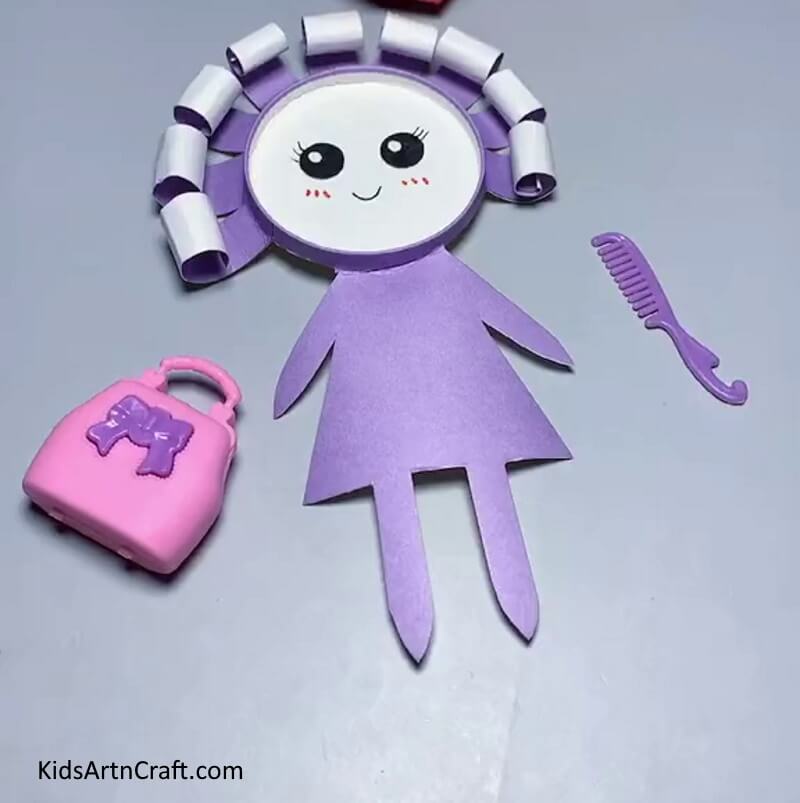
Image Source/Tutorial: Kids Art & Craft
Crafting paper cup dolls is an enjoyable and creative activity that can be done with young ones. It is a fun and cheap way to create unique dolls with simple materials. It encourages imagination and creativity in the process.
Follow us on Youtube for art and craft tutorials and much more.
More Articles from Kids Art & Craft
- Easy to Make Doll with Yarn and Tissue Paper
- How to Make Paper Cup Wrist Watch Tutorial for Kids
- DIY Easy Paper Cup Octopus Craft For Kids
- Table Lamp Craft From Paper cup For Kids
- DIY Doll Making Step by Step Easy Tutorial for Kids


