Paper Crafts
Paper House And Tree Scenery Craft Easy Tutorial for Kids

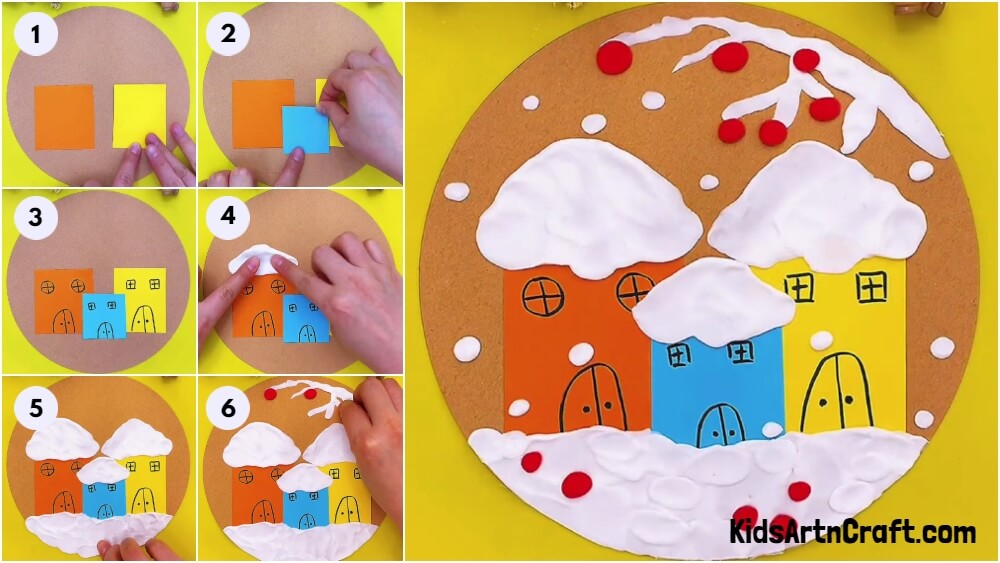
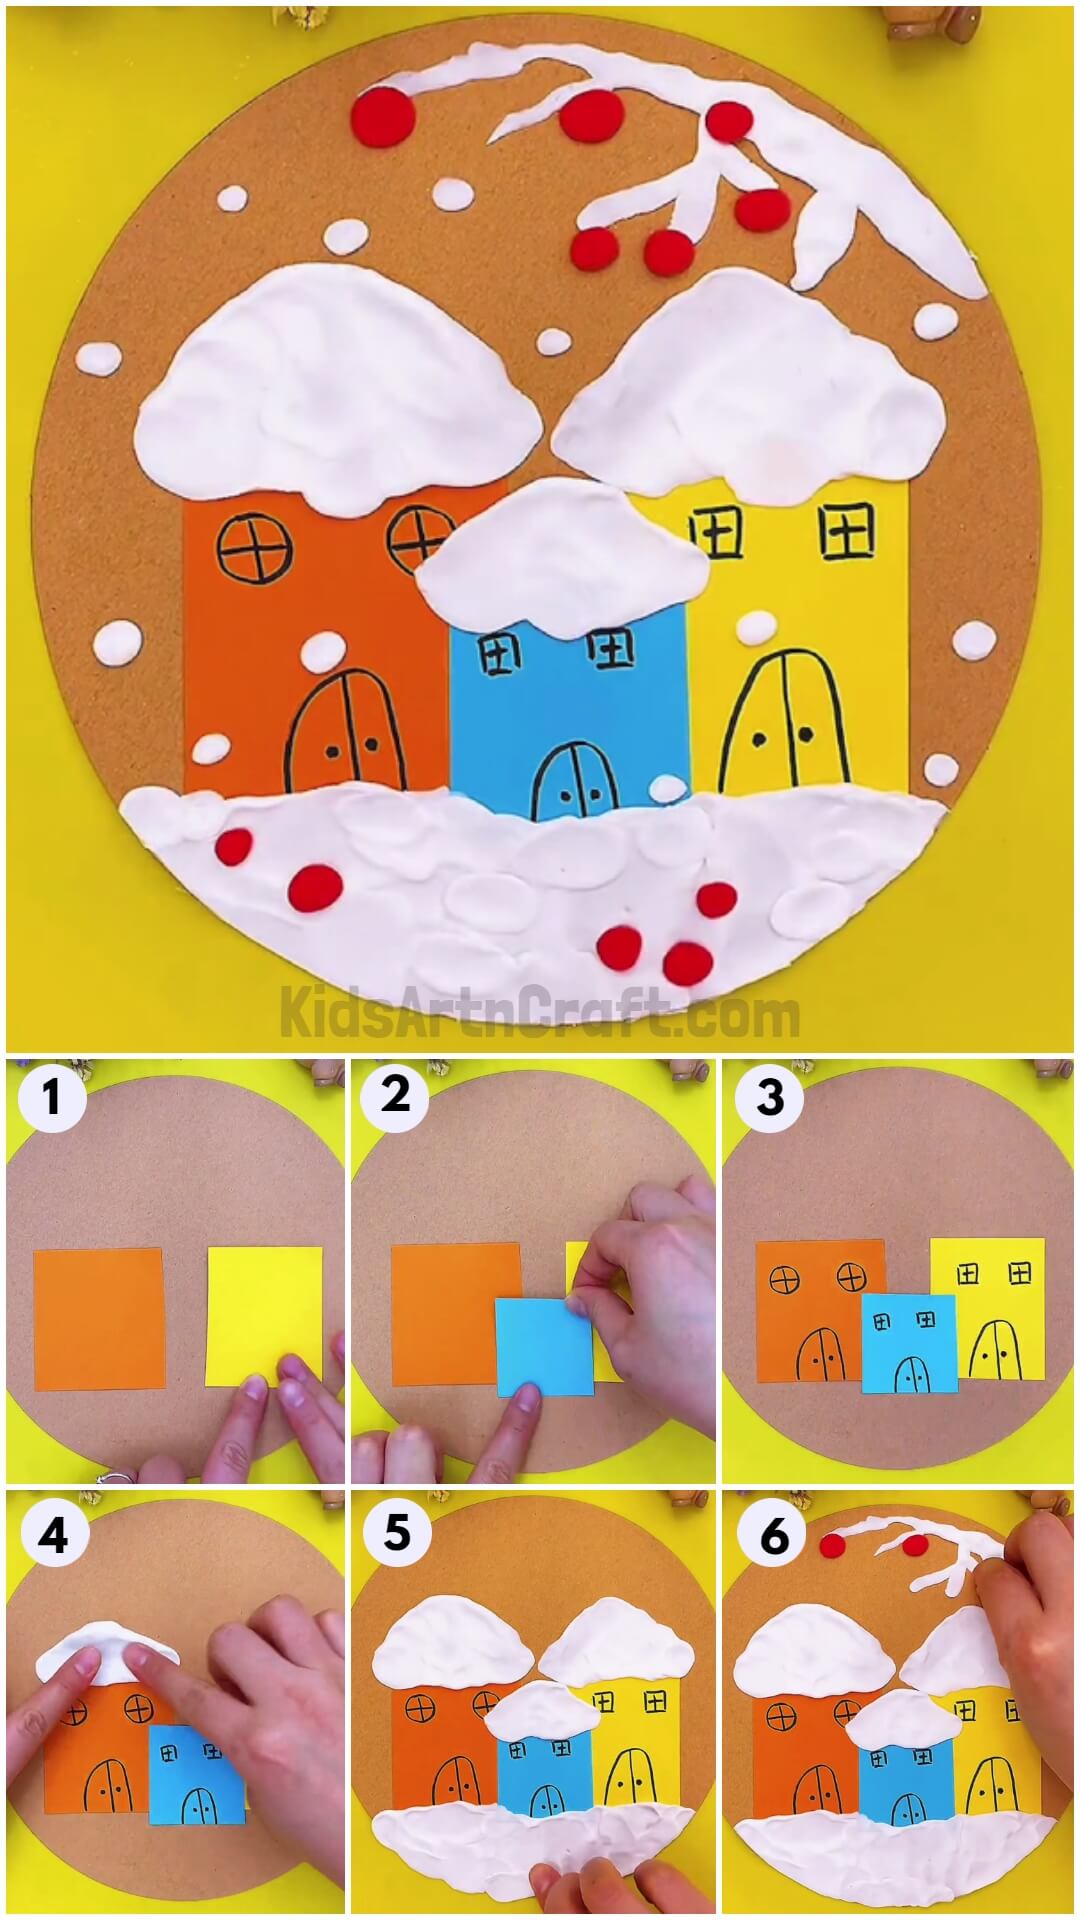
Create a beautiful snowy urban landscape with our step-by-step tutorial! Imagine the soothing winter snow out of the houses during this craft-making!
Does the snow excites you too?! Then this artwork will be the best to showcase in your room! This is a village scenery of the winters when everything is covered in snow! Through this tutorial, you will be making snow using clay! Hehe, trick everyone with your artwork as this artificial snow will look just real to everyone! The craftwork can also be used as your school project and your friends will envy you for being the favorite of your art teacher! You can also customize the houses to your imagination! Unleash the creativity inside you on this craft-making! So, let’s begin!
Beautiful Snow House & Tree Scenery Craft Using Paper Tutorial
Read More: Frog Shaped Paper Umbrella Kids Craft For Kids
Materials Required
- Circular Cardboard
- White and Red Colored Clay
- Colorful Sheets (Orange, Blue, And Yellow)
- Scissors
- Glue
- Black Marker
Procedure
Step 1: Pasting An Orange House
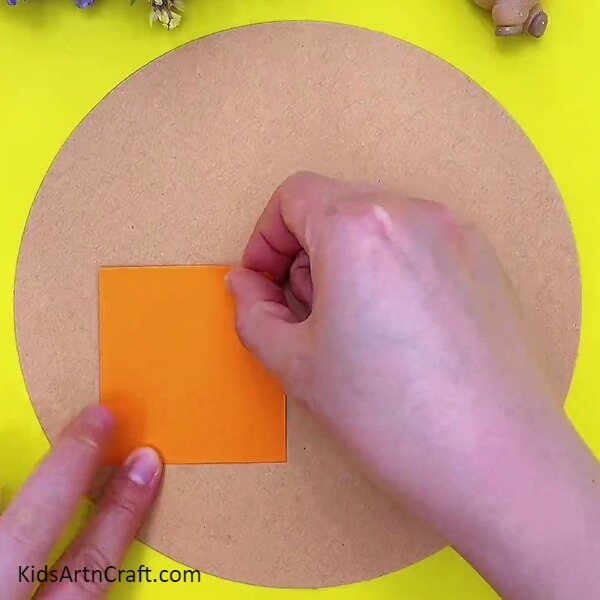
To start the craft take a circular cardboard as the base and orange colored sheet. Using scissors, cut out a rectangle with merely equal length and breadth from the orange sheet, and paste it using glue on the left side of the base a little below the center to make an orange house.
Step 2: Pasting A Yellow House
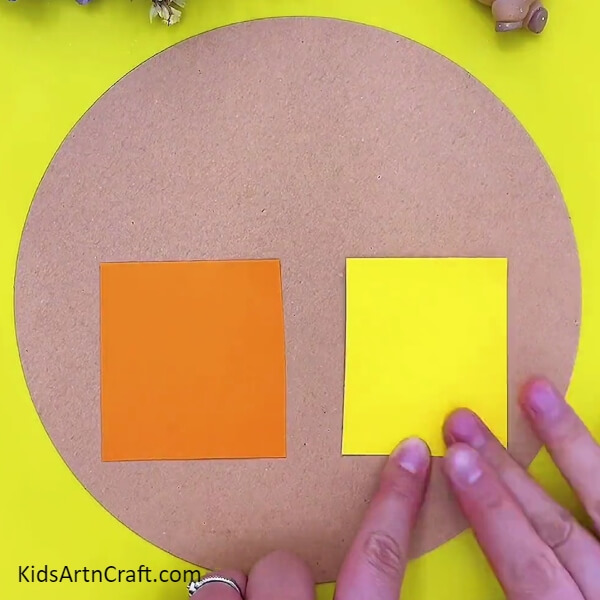
Follow the same previous step to make a yellow house, but this time a little thin and paste it on the right side of the base as shown.
Step 3: Pasting A Blue House
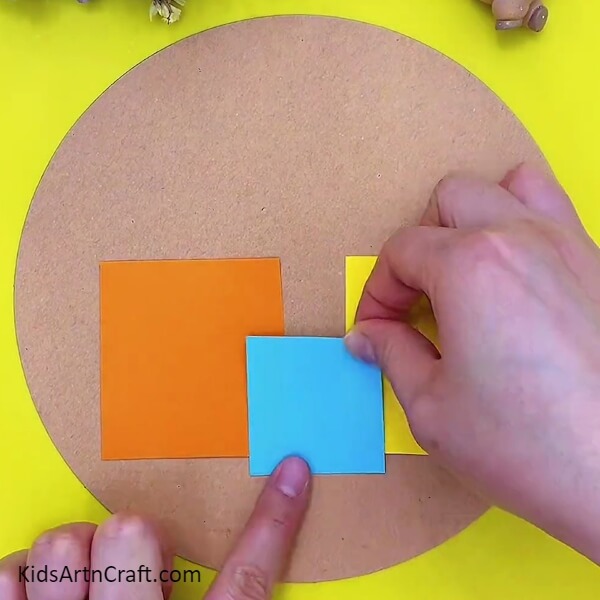
Now, make a blue house relatively very small than the orange and yellow ones and paste it in between both houses a little low.
Step 4: Drawing The Windows And Door Of The House
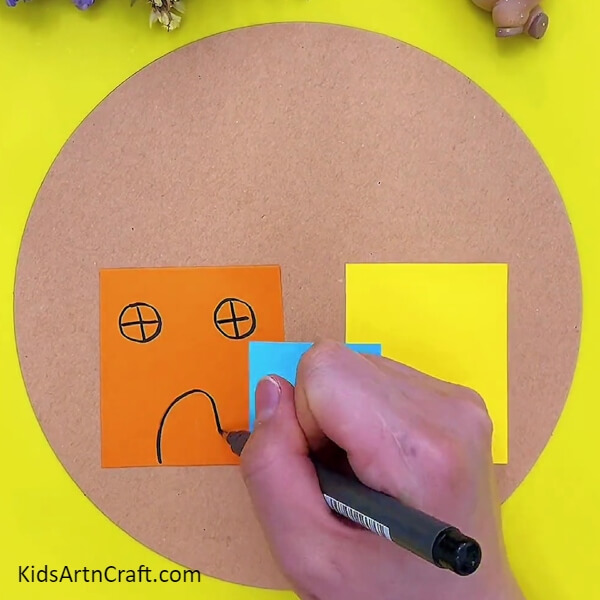
Take a black marker and draw circular windows and an arched door on the orange house.
Step 5: Drawing Windows And Doors Of All The Houses
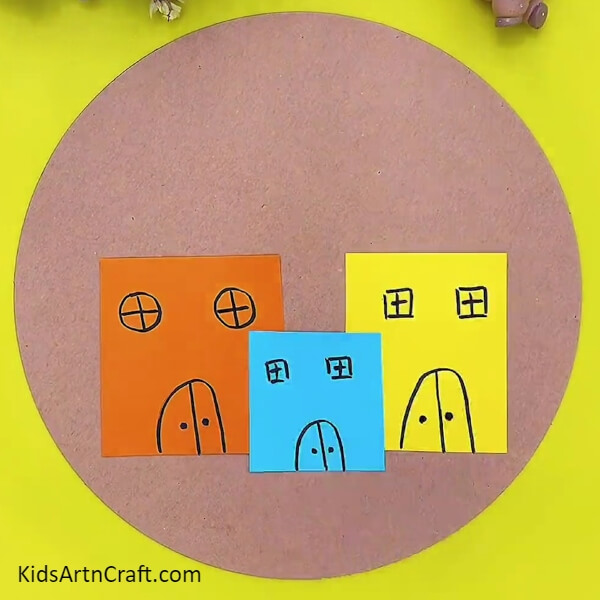
Make arched doors of all the houses and also make a line in the center with 2 dots in the middle to detail the doors. Also, make squared windows of both the remaining houses.
Step 6: Making A Roof
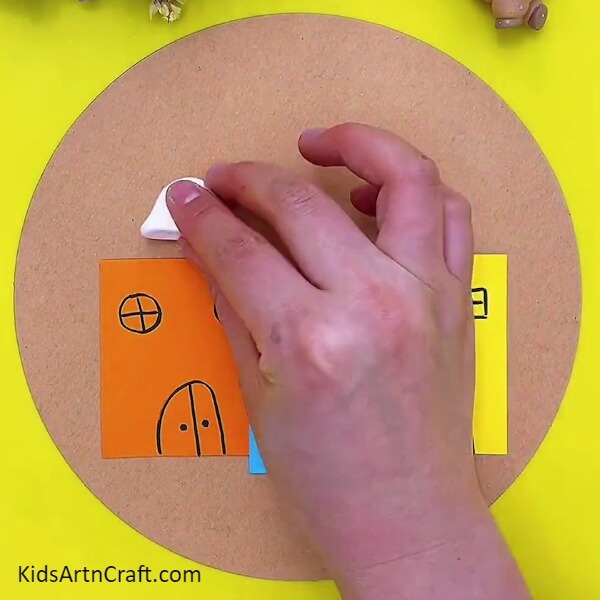
Dough a piece of white-colored clay in a cone shape and place it over the orange house to make the roof of the house.
Step 7: Shaping The Roof Triangular
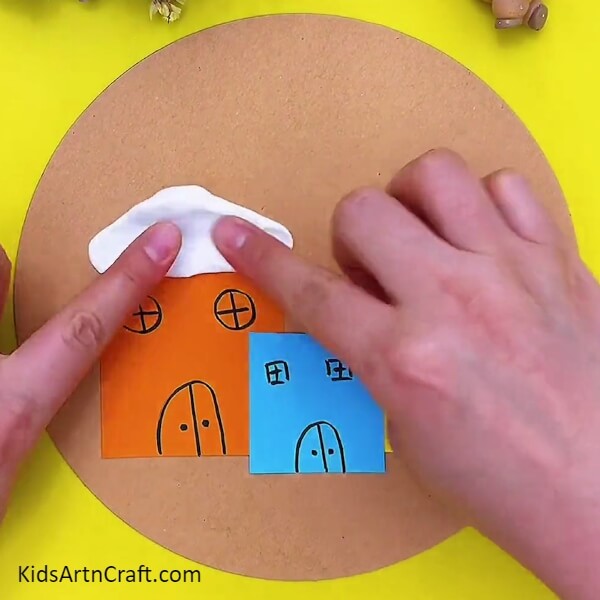
Start pressing the clay to shape it into a triangular shaped roof over the orange house.
Step 8: Making Triangular Roofs Of All And Making Ground
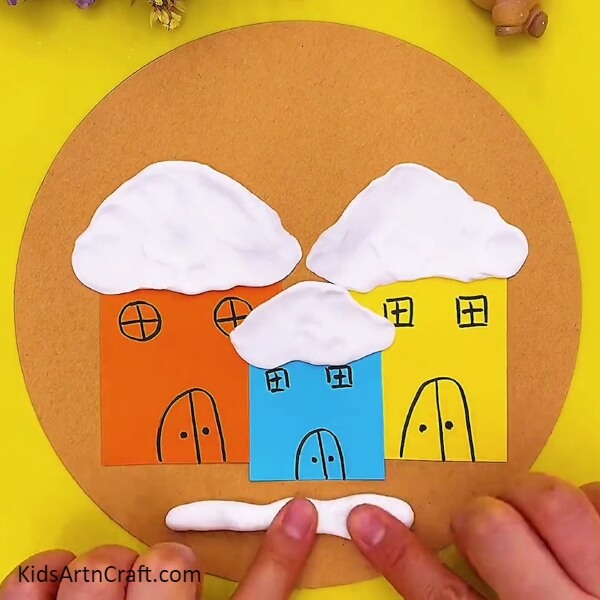
Following the same as before, make the triangular roofs of all the houses. Now, take another piece of white clay and dough it to form an irregular cylindrical shape then place it below the houses to make ground beneath them.
Step 9: Making The Snowy Ground All Over
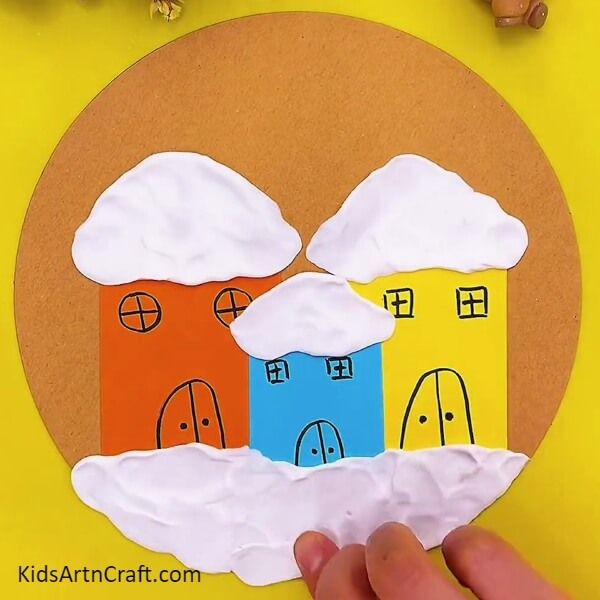
Start pressing the clay dough to the very extent to spread it all over below the house to form the snow-covered ground.
Step 10: Making Tree Branches
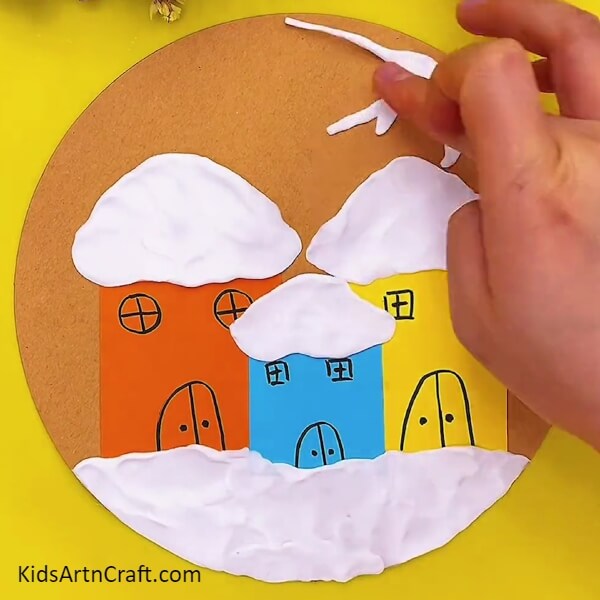
Using the white clay make tree branches coming from the right side above the yellow house, and gently press them to flatten them and make them stick to the base.
Step 11: Adding Fruits To The Branches
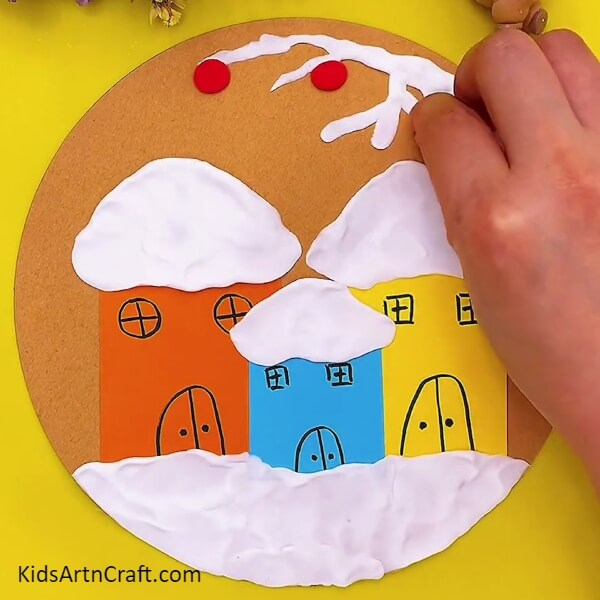
Now, take red-colored clay and dough it into small balls, place these balls over the tree branches, and press them to flatten them. This makes the fruits over the tree branches.
Step 12: Completing Adding All The Fruits
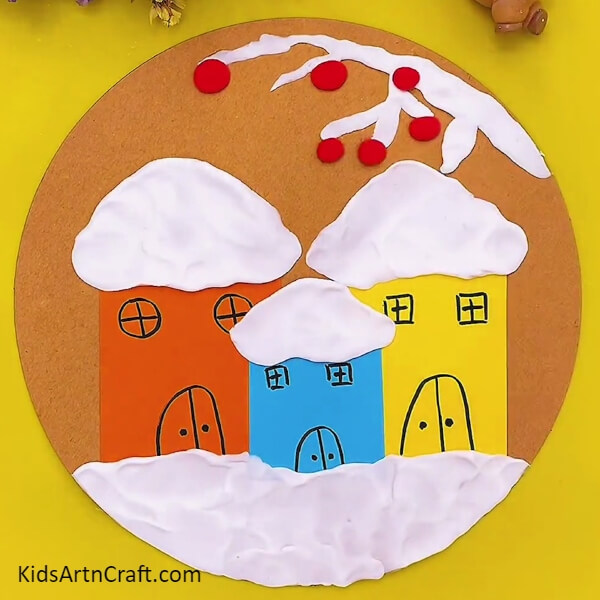
Follow the same previous step and make more fruits over the branches of the tree.
Finally !Your Snowy Scenery Is Ready!
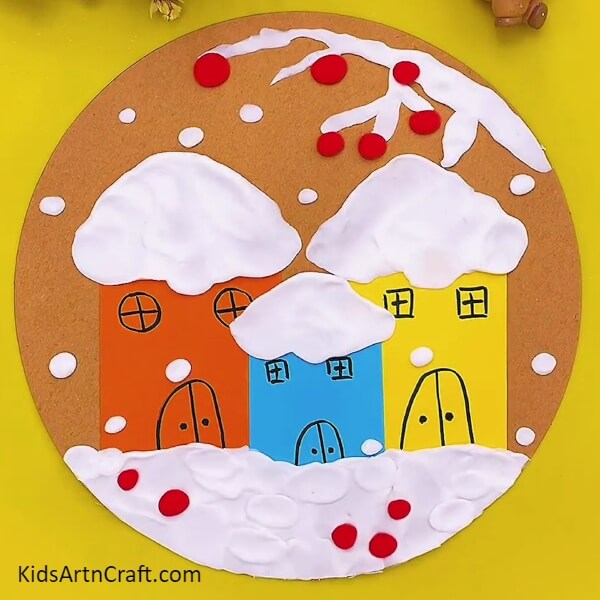
For the last step, make some falling snow over the whole craft by following the same as you made the fruits, just this time you have to make them from white colored clay. Also, make some red clay fruits on the ground as they way directed before to make them look like fallen fruits.
Congratulations! You have made this beautiful snowy urban landscape!
Decorate this craft in your room to take the whole winter feels right inside the room! Also, the scenery will give you a peaceful vibe as the snow is made from white-colored clay which looks soothing to the eyes! You can also customize this craftwork to your creativity and imagination! You can also use this craft as your perfect-fitted winter holiday homework for school purposes! Anywhere this craft will be a banger!
Follow us on Youtube for art and craft tutorials and much more.
More Articles from Kids Art & Craft
- Beautiful Paper Card Crafts Video Tutorial for Kids
- Paper Crafts And Activities Video Tutorial for Kids
- Beautiful Paper Flower Step-by-Step Tutorial
- DIY Paper Butterfly Craft Tutorial For Kids
- Paper Fish Easy Craft tutorial for Kids


