Clay Crafts
How to Make Beautiful Clay Scenery Easy Tutorial For Kids

Make this beautiful scenery using colored clay! Design your sunny day with greenery all over through a step-by-step tutorial by us!
Welcome to the wonderful world of crafting! Today, we brought you this super amazing sunny day scenery artwork craft which you will be able to make using clay, paper, and colors! This craft is very easy to make and the kids will definitely enjoy the process of making this and playing with clay at the same time! This scenery-making majorly involves creating circles using clay which will act as a hands-on sensory play for the little ones! This craft-making will be perfectly suited on boring afternoon days in a fun learning activity! Let us begin by grabbing onto the materials!
Beautiful Clay Scenery Art Tutorial For Kids
Read More: DIY Bees Clay Art Tutorial for Kids
Materials Required
- Colored Clay (Red, Pink, Yellow, And Green)
- Colored paper sheets (Green And White)
- Sketch Markers (Brown, Green, Red, And Black)
- Glue
- Scale
- Scissors
Procedure
Step 1: Making Ground
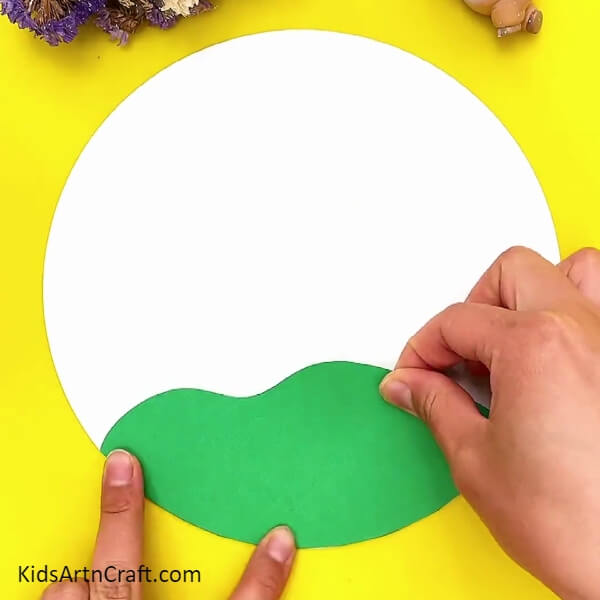
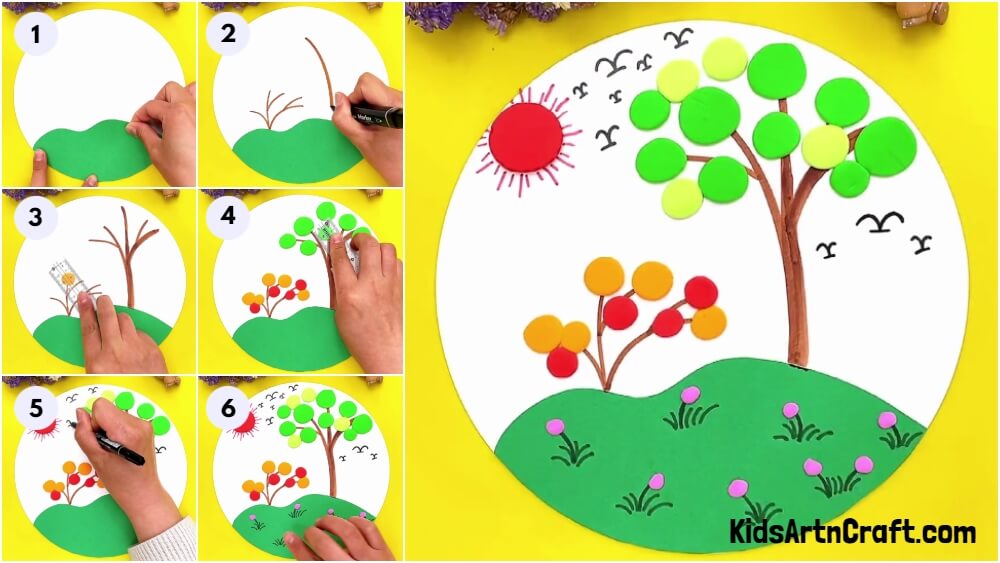
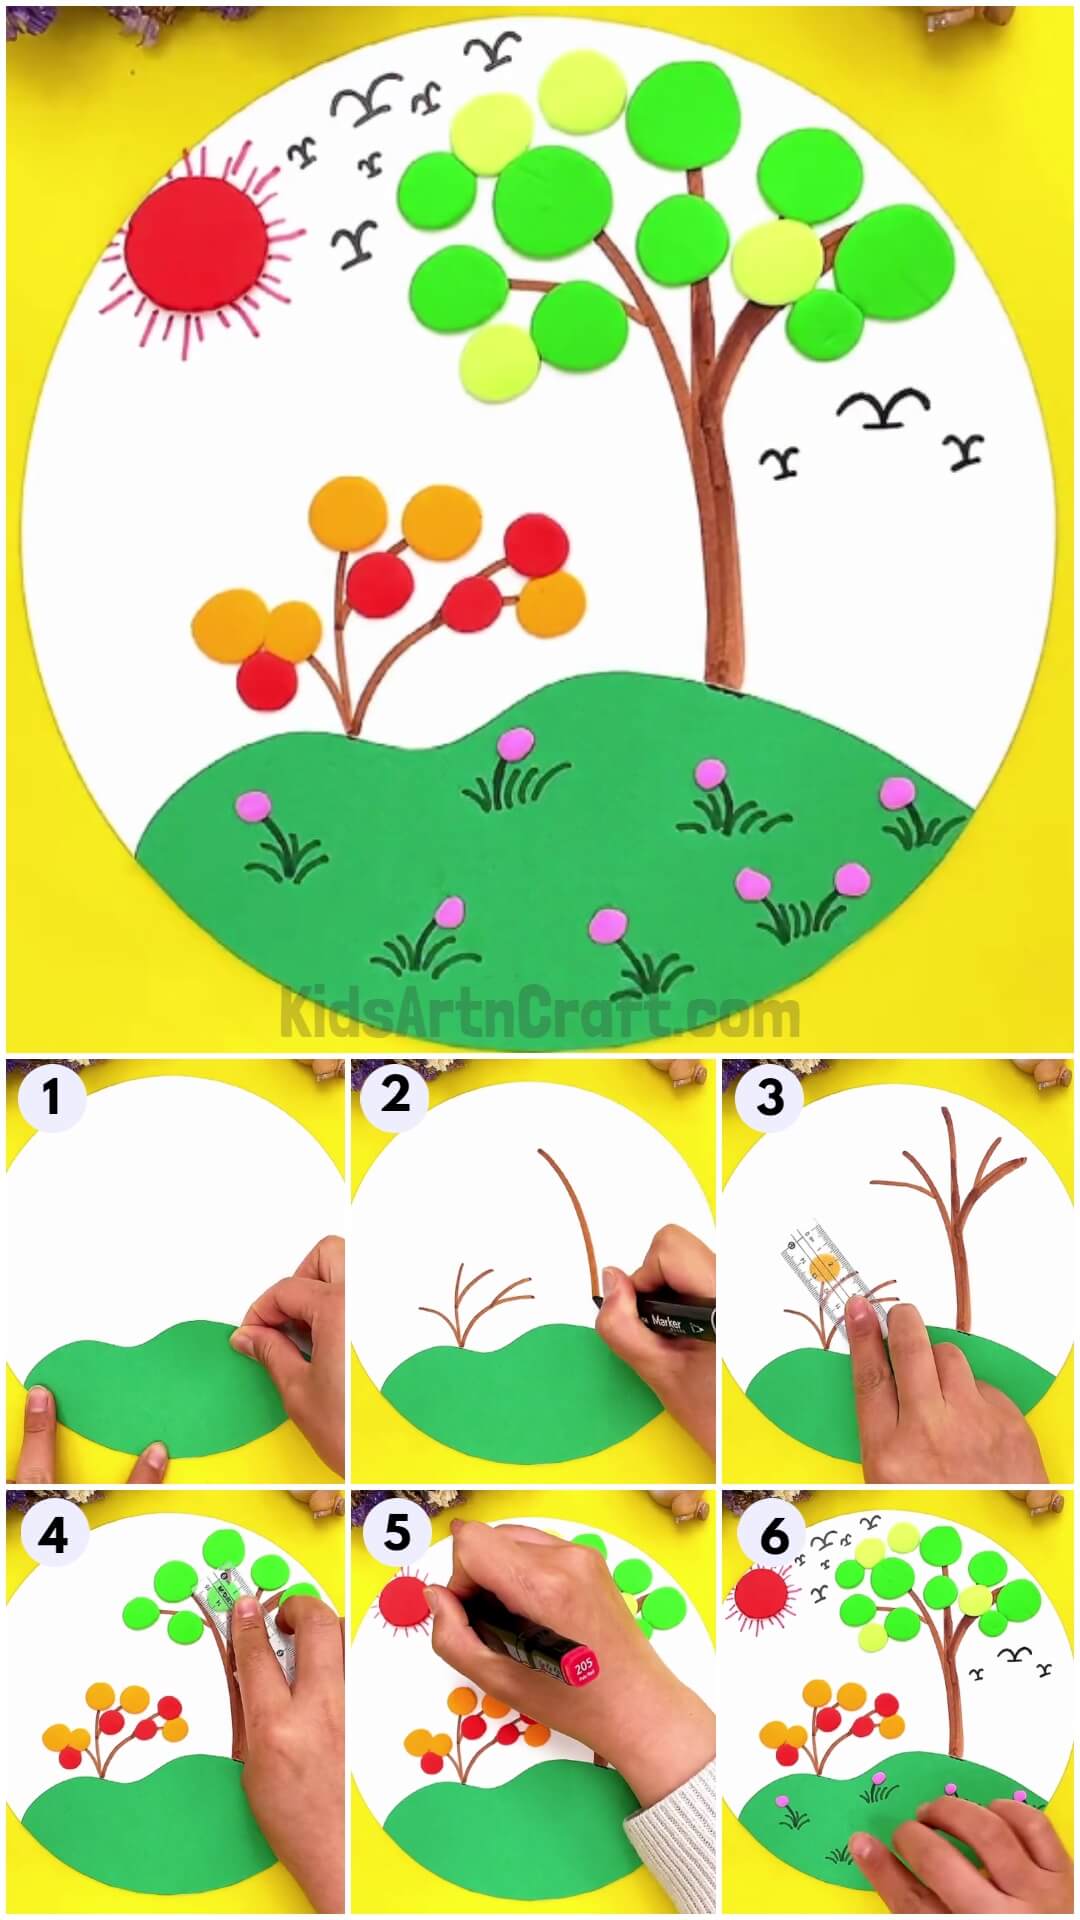
For the first step, take white and green colored paper sheets. Using scissors, cut down the white sheet into a circle as the base of the craft and the green one into a wavy ground, paste the ground at the bottom of the base using glue, and cut out the extra part coming out of the base.
Step 2: Drawing Branches And Trunk
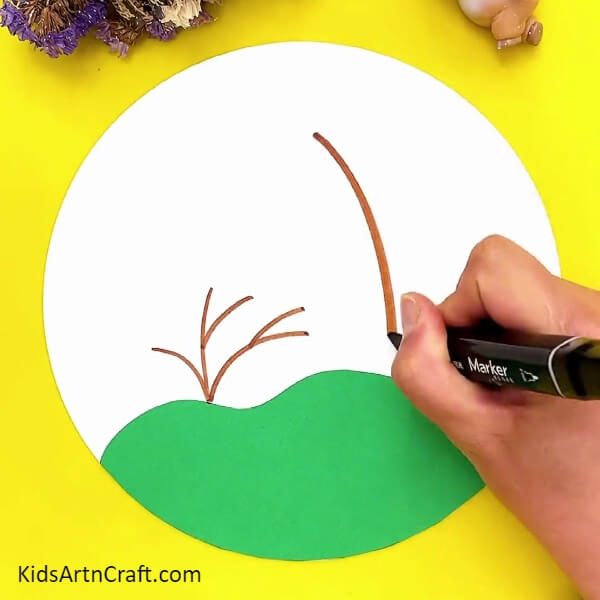
Using a brown sketch marker, draw a tree trunk and the branches of another tree above the green ground on the base. Make sure to make the right tree bigger and taller than the left one.
Step 3: Making Branches Of The Tree
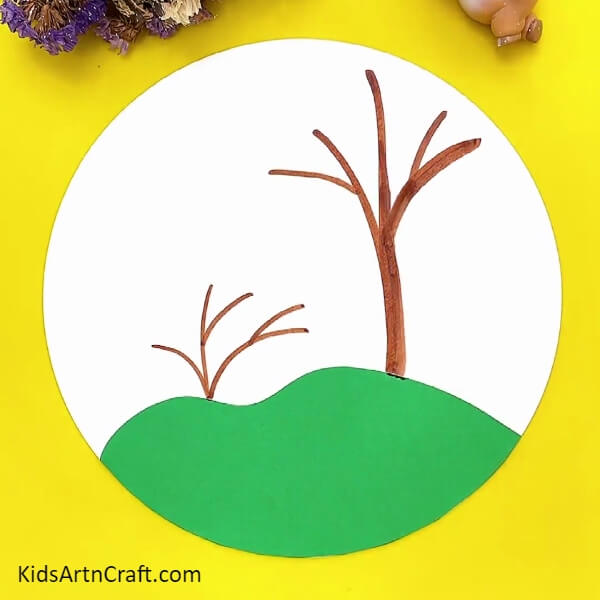
Draw tree branches attached to the trunk, and also thicken the trunk using a brown sketch marker.
Step 4: Taking Out Some Clay
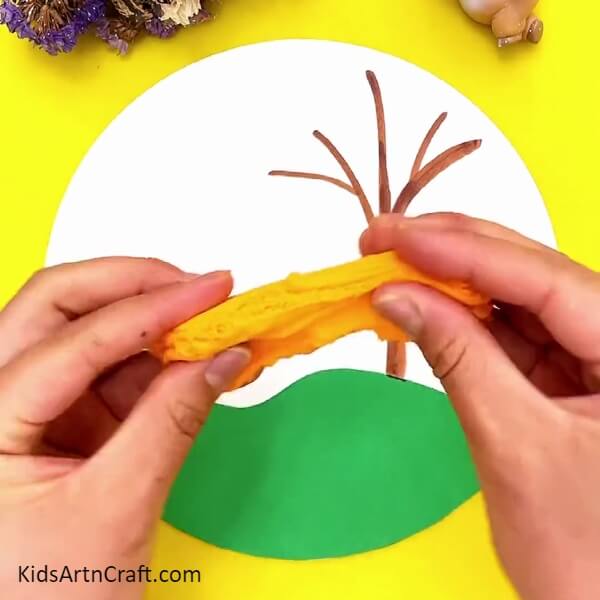
Now, take a yellow-colored clay, and stretch it to take out a small piece of it for making the leaves of the trees.
Step 5: Making A Circular Leaf
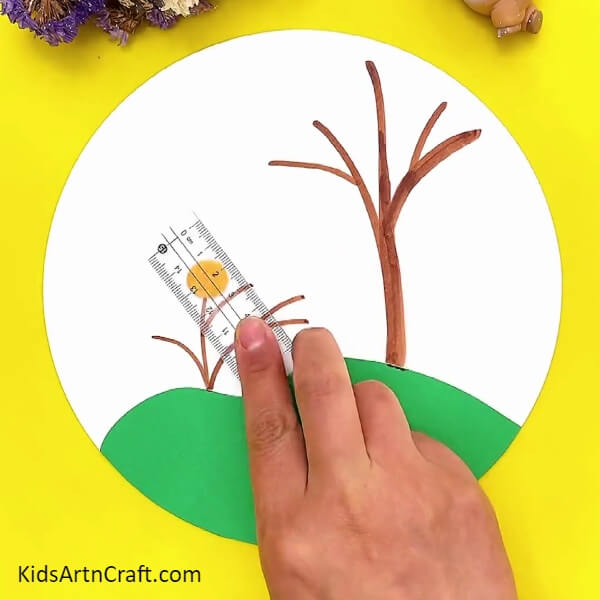
Dough the yellow clay into a small ball, place it over the small tree branch, and using a scale press it to make a circular leaf.
Step 6: Completing The Small Tree
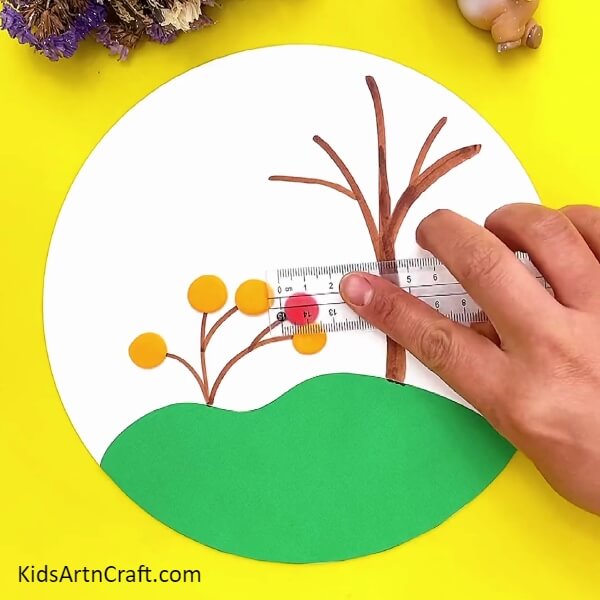
Follow the same previous steps to make more yellow and red-colored circular leaves of the small tree.
Step 7: Making Leaves Of The Big Tree
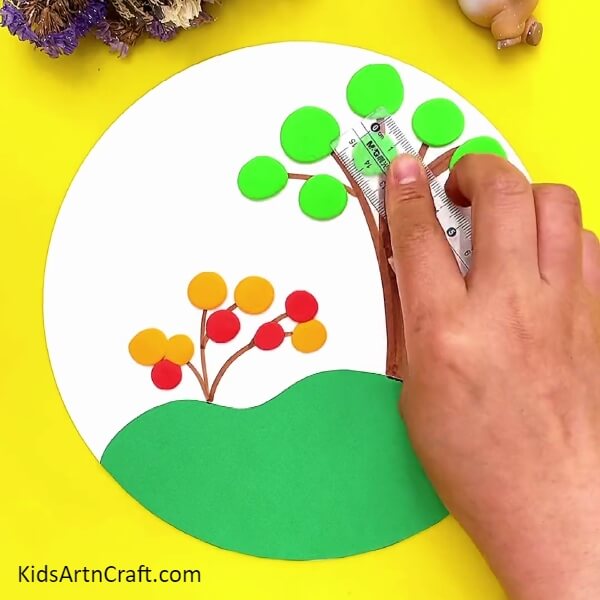
Same as before, make leaves of the bigger tree, by doughing balls of bigger sizes of green-colored clay. Press them over the branches of the big tree using the scale.
Step 8: Making A Sun And Drawing Sunrays
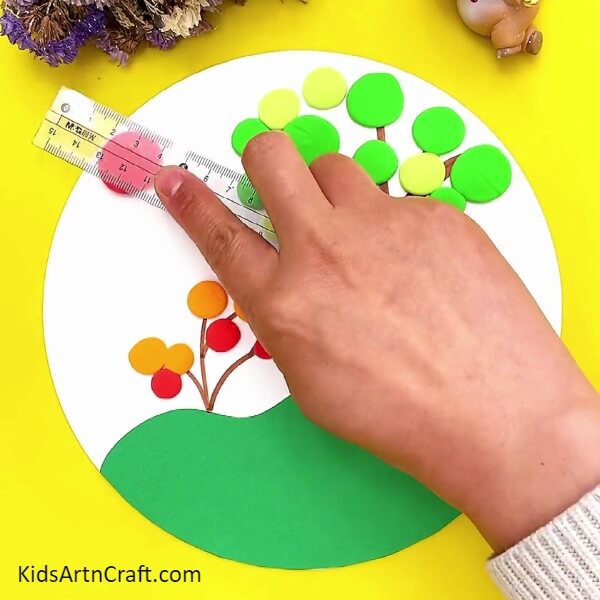
Dough a big red clay ball, place it on the left top of the craft base and press it using a scale. This makes the sun for the scenery. Now, take a red sketch marker and draw small lines all around the sun to form sun rays. Make sure to make the rays long and short alternatively.
Step 9: Drawing Birds
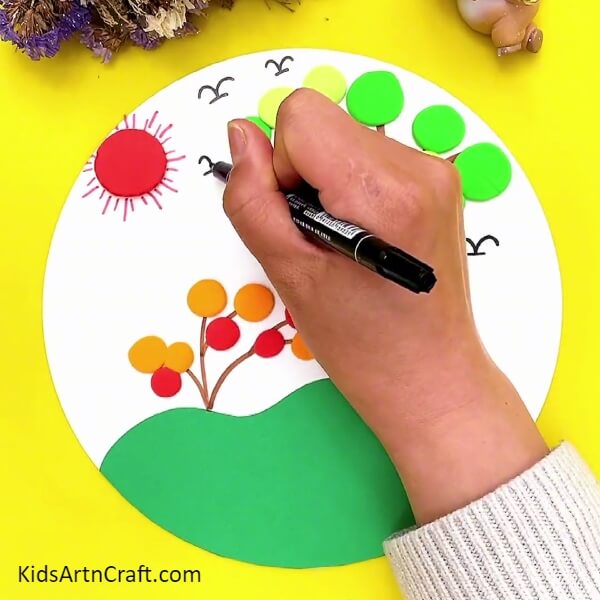
Using a black sketch marker, draw the classic curved birds over the base as shown in the image.
Step 10: Drawing Grass
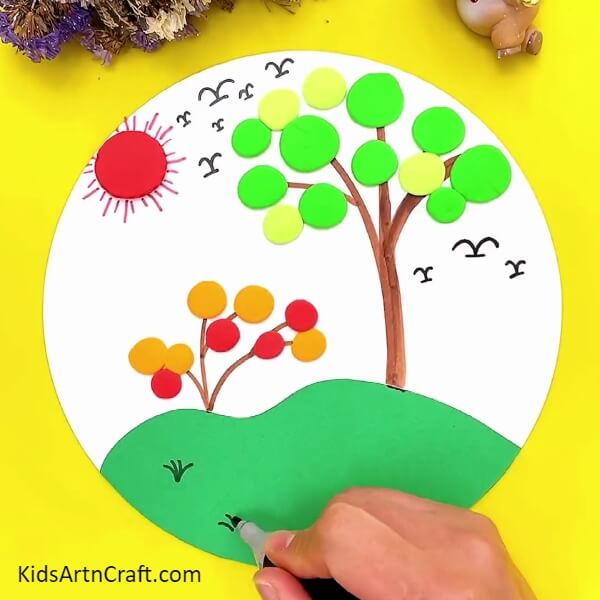
Take a green sketch marker and randomly draw small strokes over the green ground to form grass.
Step 11: Completing Making Grass
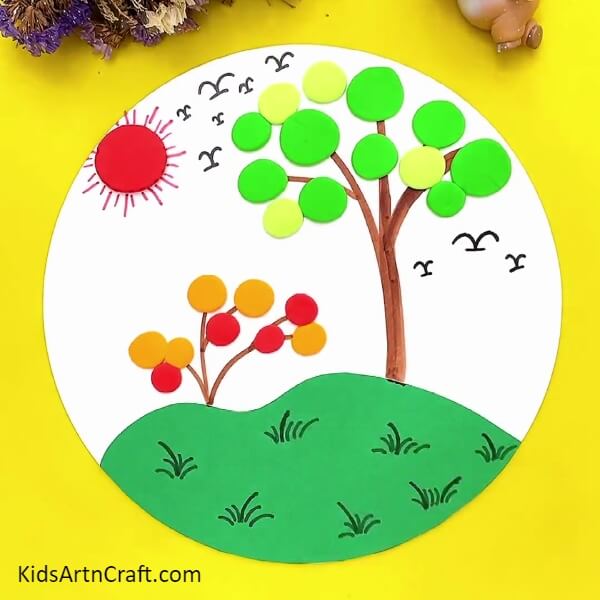
Cover the ground from all sides with grass as shown in the image.
Step 12: Making Flowers
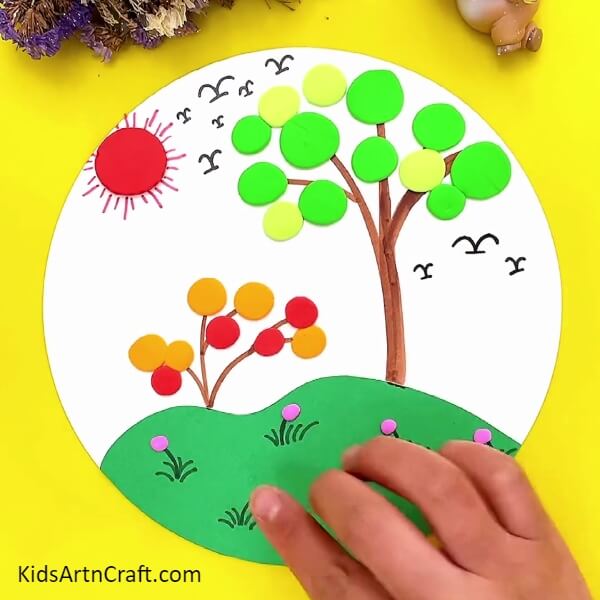
Take pink-colored clay and dough tiny balls of it, place these balls over the grass, and press them using your finger to make pretty pink flowers.
Finally !!Your Clay Scenery Is Ready!!
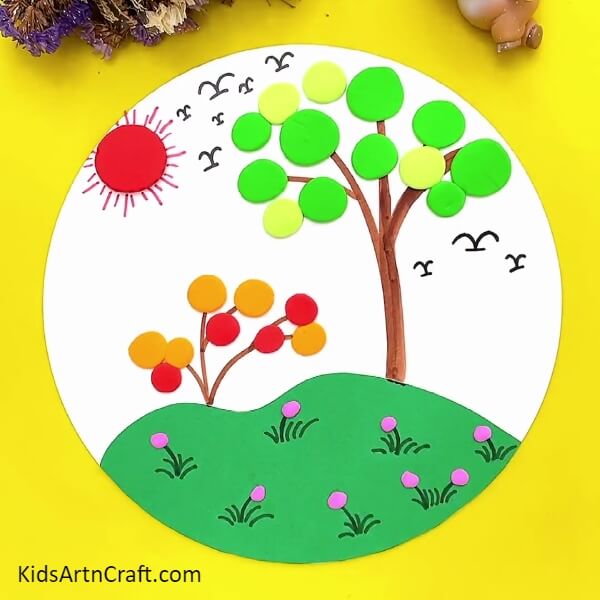
Woohoo! This is the final result artwork craft of your hard work! The pretty sunny day scenery of greenery!
Look at the pretty colored leaves, all the things made with clay in this artwork are made into circle shapes! You can also customize these shapes in any way you like! You can even customize the colors used in this craft and make it as unique as you are! Decorate it over your room’s wall to add something eye-catchy to your boring wall!
Follow us on Youtube for art and craft tutorials and much more.
More Articles from Kids Art & Craft
- Simple & Tasty Ice-Cream Craft Using Clay – Step by Step Tutorial
- Awesome Canvas Painting Video Tutorial for Beginners
- Make Tortoise Leaf Art Easy Tutorial For Kids
- Clay watermelon ice cream easy craft tutorial
- DIY Creative Clay Craft Activities Video Tutorial for Kids


