Paper Crafts
How to make duck from paper Strips For Kids

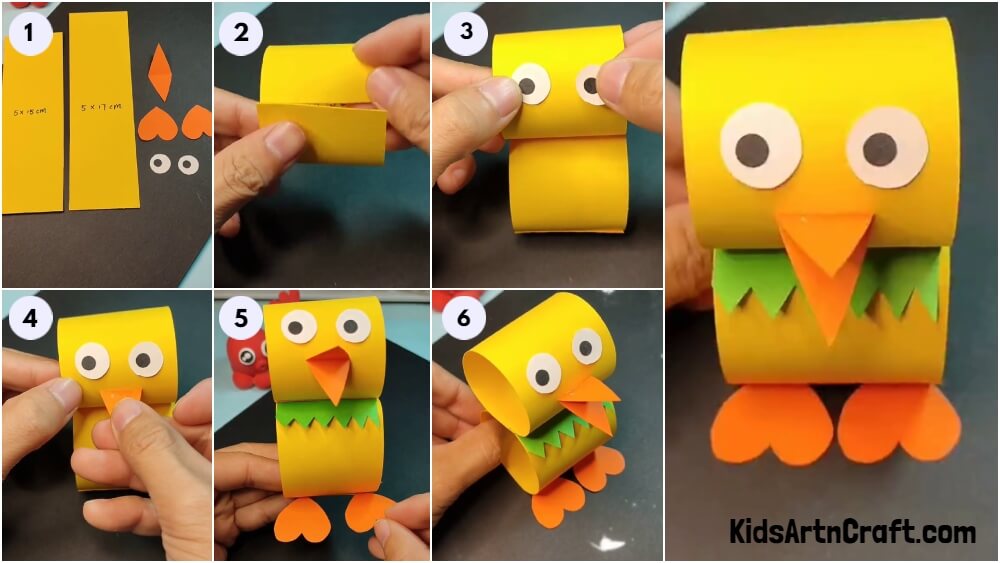
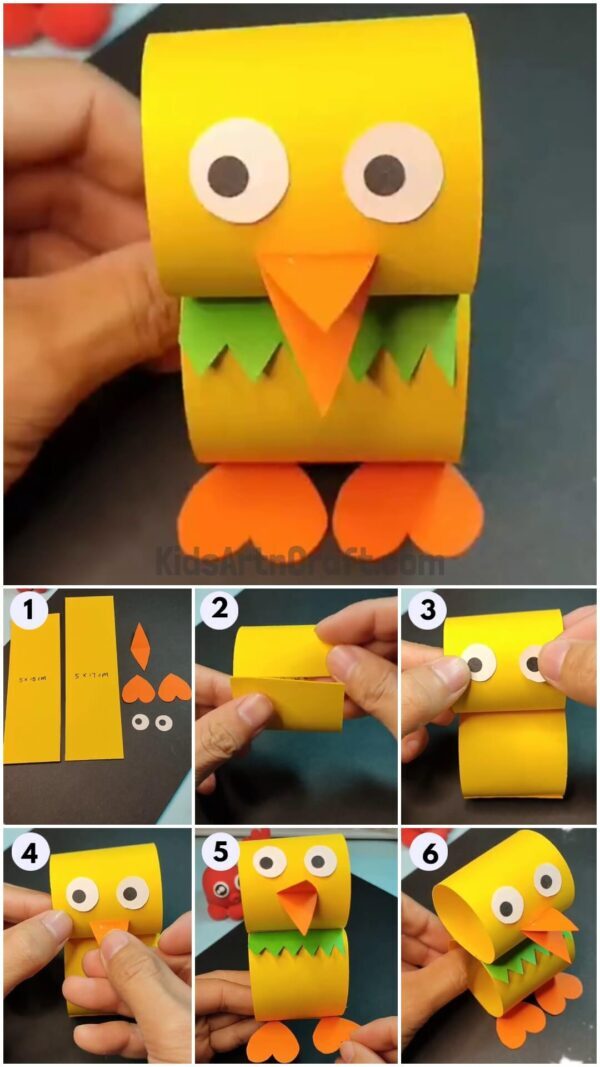
Learn how to make an adorable paper duck from paper strips with your kids. This fun and easy craft activity is perfect for home or school and only requires a few simple materials. Follow our step-by-step instructions to create your own paper duck!
This article provides a tutorial on how to make ducks from paper strips for kids. It is a fun and easy craft project that can be completed in just a few simple steps. With the help of this tutorial, kids can create a beautiful duck out of paper strips in no time. So, let’s get started!
They are among the few creatures that can adapt to all three habitats. They can fly, they can swim and they can walk on land. These quacking ducks are egg-laying creatures. You often see them in lakes, farms, or even at home as pets. Today, we will be making a duckling through craft. With a few sheets of paper, you can make this cute little duck. So, collect all the material required, and let’s start making this duck.
How to Make Duck from Paper Strips For Kids
Read More: Easy Paper Handprint Duck Craft Tutorial For Kids
Material Required
- Chart Paper Sheet(Yellow,Orange,Green)
- A White Sheet of Paper
- A Pair of Scissors
- A Glue Stick
- A Black Sketch Pen
Procedure
Step 1: Working on the Sheets of Paper
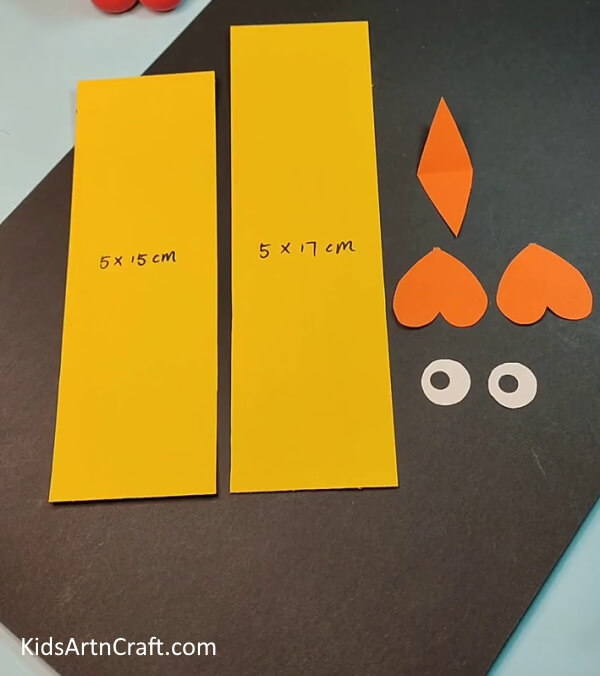
Take the yellow sheet of paper and cut two strips out. The dimensions of one strip need to be 15 ×17 cm and the dimensions of the other strip need to be 5×15 cm. Now, taking the orange sheets, cut out two small heart shapes. Using the same orange sheet cut out a strip and fold it in the middle. Then, cut a conical shape out of this sheet leaving the fold intact. Finally, cut two small circles out of a white sheet of paper and make a big dot in the middle of each circle. These will serve as the eyes of the duck. See the picture below for complete reference.
Step 2: Working on the Smaller Yellow Strip
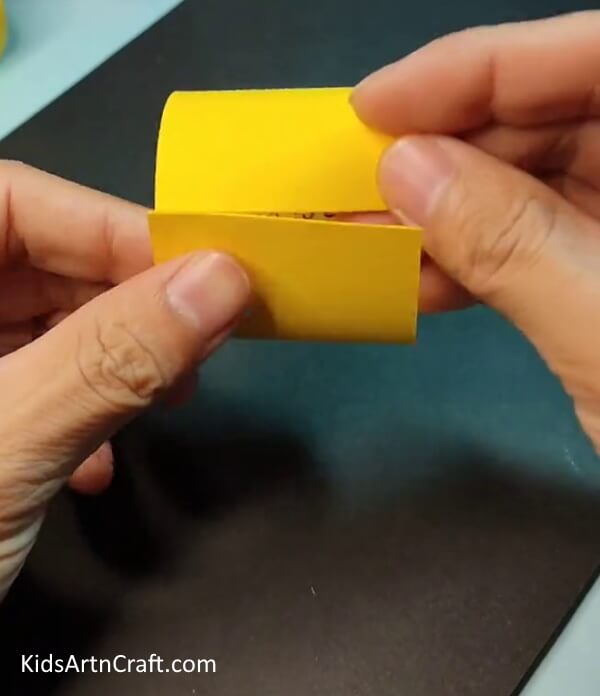
Take the smaller yellow strip and make one big roll by connecting the two ends of the strip and paste them together as shown in the picture below.
Step 3: Pasting the Two Rolled Strips Together
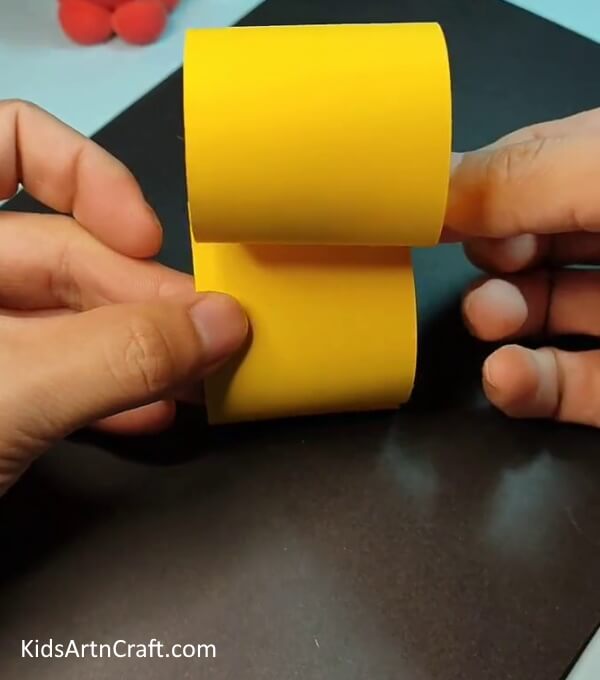
Take the bigger strip and repeat the procedure you did in the previous step. Paste the smaller strip on top of the bigger strip as shown in the picture below. The roll on top will act as the head of the duck and the roll at the bottom as its body.
Step 4: Pasting the Eyes on the Head of the Duck
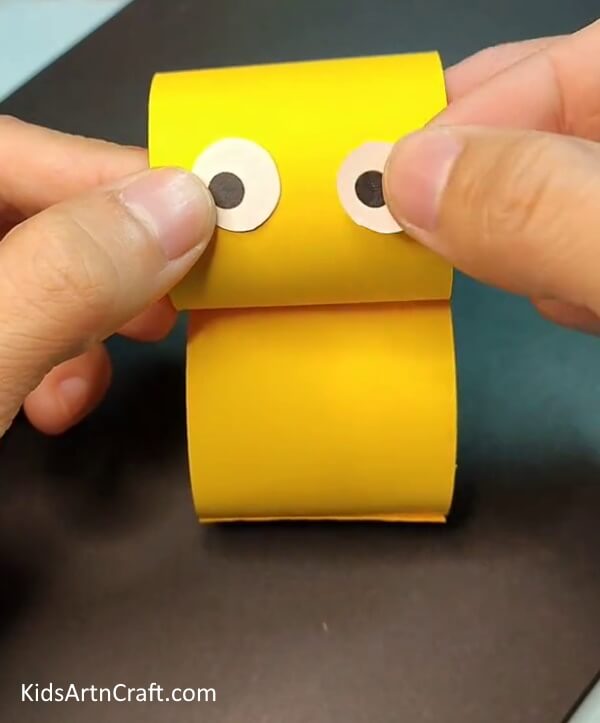
Take the two eyes you made earlier and paste them on the top of the head of the duck, next to each other as shown in the picture below.
Step 5: Pasting the Beak
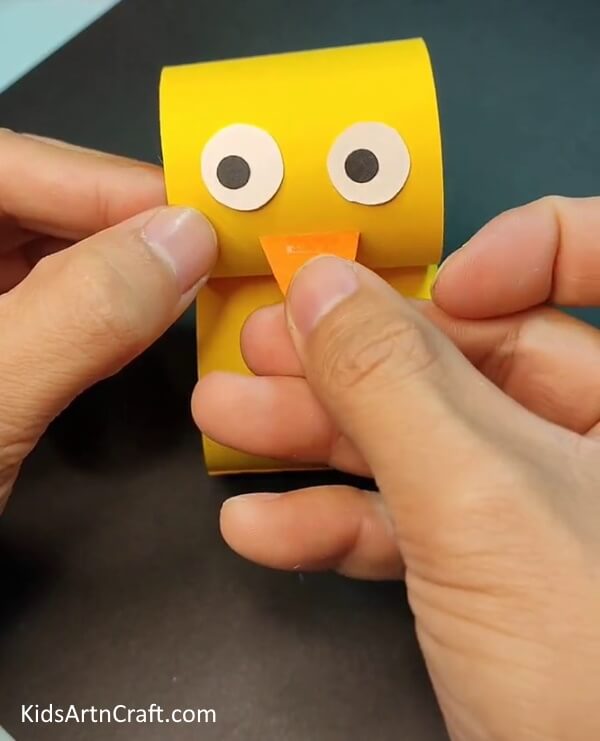
Take the orange conical shape you made earlier and paste it in the middle of the head of the duck. Paste the area where the fold lies. This will be the beak of our duck. The two of these cones make it minutely resemble the original duck beak. See the picture below for reference.
Step 6: Adding the Feet and Some Additional Features As Well
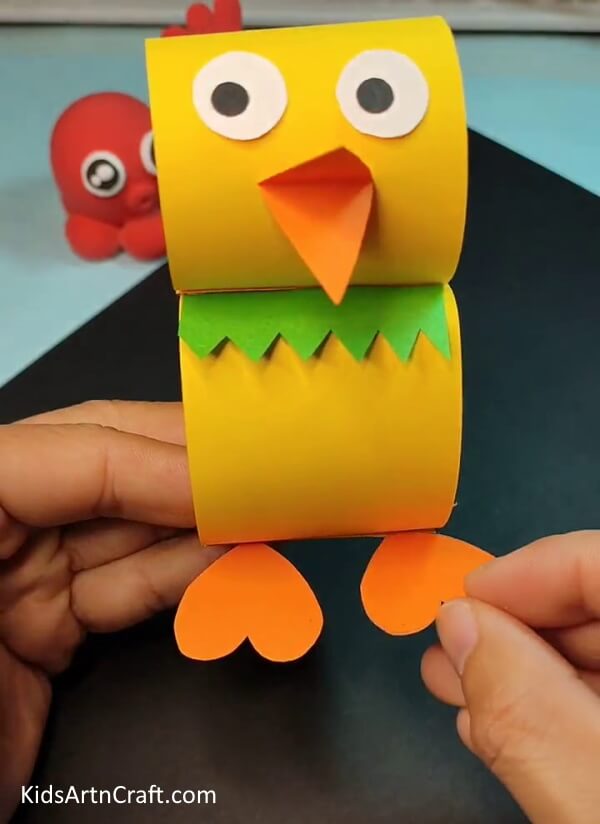
Take a green sheet of paper and cut a strip. The strip should be the length of the rolled yellow sheets. Now, with a pencil, make a zig-zag pattern on one of the horizontal ends of this green strip and cut the pattern out. Paste this strip on top of the body of this duck. Finally, take the two heart-shaped orange sheets and paste them on the bottom of the duck’s body, at a distance from each other. See the picture below for complete reference.
Step 7: Examining the Sides of the Duck
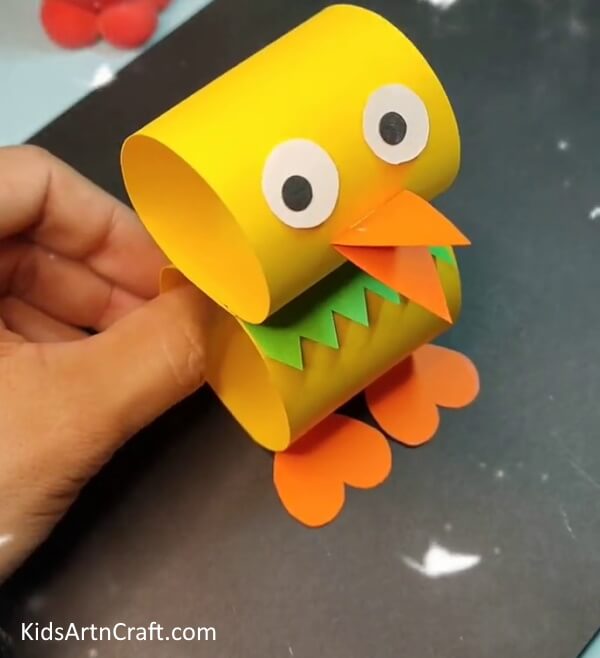
Move the duck a little to its sides and you will see two hollow spaces in each roll acting as the head and the body of the creature.
Quacking Little Duckling is Ready!!
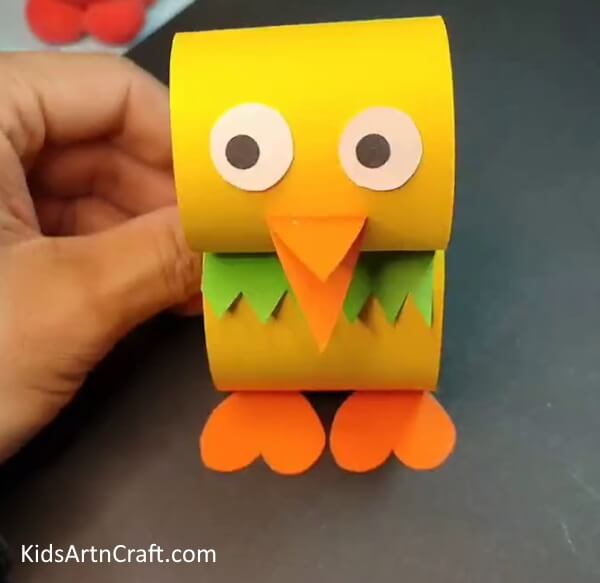
This completes the process of making this lovely little duckling with its little clawed feet and flappy beak.
This tutorial taught you to use rolled sheets of paper in art and craft. You learned to make different parts of the duck and some cool facts about these birds as well. You can hang it in your room or simply place it on your table as decoration as it can stand because of the rolled sheets and the two little feet. Keep practicing the techniques you learn in these tutorials and keep experimenting with your imagination. Good luck and goodbye.
Some More Duck Craft tutorial
Crafting a Paper Duck For children
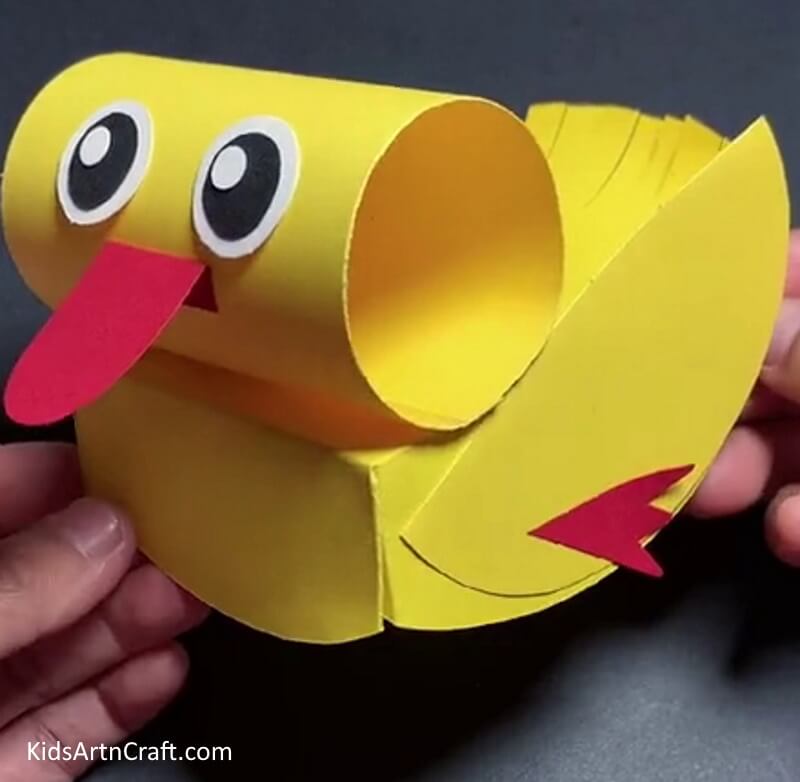
Image Source/Tutorial: Kids Art & Craft
Crafting a paper duck for kids is a fun and creative activity. It’s a great way to introduce them to the basics of crafting and help them develop their fine motor skills. It’s a simple and inexpensive way to engage children and create memories.
Very Easy Paper Duck Toy Craft For Kids
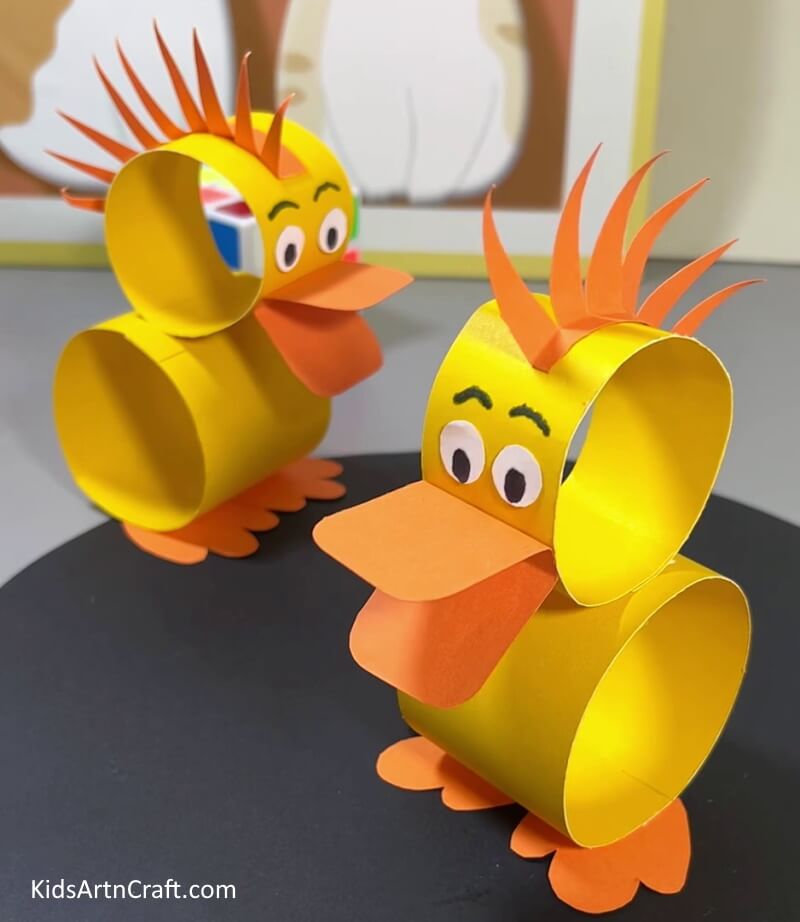
Image Source/Tutorial: Kids Art & Craft
This paper duck toy craft is perfect for kids! It’s a simple and fun activity that can be done in no time, using just a few materials. It’s sure to bring a smile to their faces and provide hours of entertainment.
Creating A Duck Craft With Watercolor For Children
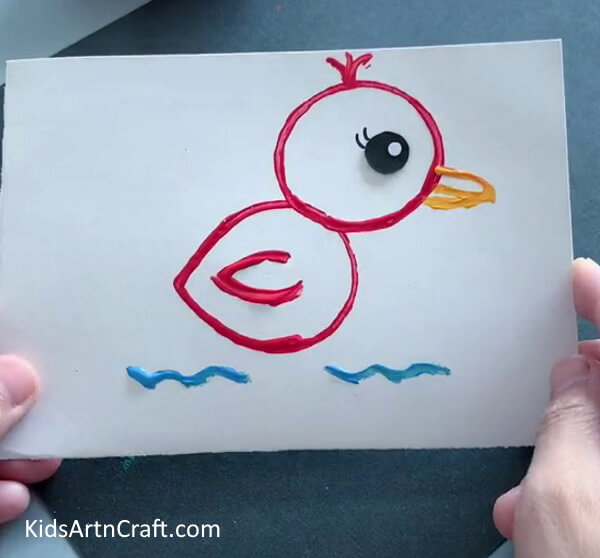
Image Source/Tutorial: Kids Art & Craft
Creating a duck craft with watercolor is a fun and creative way to engage children. It is an easy project that requires minimal materials and allows kids to express their creativity. With a little guidance, children can create a unique duck craft masterpiece!
Follow us on Youtube for art and craft tutorials and much more.
More Articles from Kids Art & Craft
- How To Make Paper Dinosaur Origami Craft Easy Tutorial
- Easy Paper Folding Crafts Video Tutorial for Kids
- How to Make Origami Flower Easy Tutorial For Kids
- How to Make a Paper Peacock Easy Craft
- How to Make Paper Cherry Easy Tutorial for Kids


