Paper Crafts
Easy Paper Watermelon Clock Craft For Kids

This easy paper watermelon clock craft is perfect for kids of all ages! With just a few simple materials, your kids can create their own clock and learn how to tell time. This fun and easy craft is a great way to engage your kids in creative activity and teach them an important life skill.
This tutorial presents to you a craft that is inspired by the summers. This is a paper craft made up entirely of colored papers and resembles the favorite fruit of the summer i.e. the watermelon. The beauty of this craft is that it doesn’t require fancy supplies and materials. It just requires colored papers and lots of enthusiasm and creativity to make this craft. Let’s get to work!
How To Make Watermelon Clock Using Paper


Read More: How to Make Clay Flower Easy Tutorial for Kids
Materials Required
- Craft Paper (Green, Yellow, Red, Pink)
- Black Marker
- Glue
- Punching Machine
- Scissors
- Pencil
- Plastic Straw
Procedure
Step 1: Cutting A Green Circle
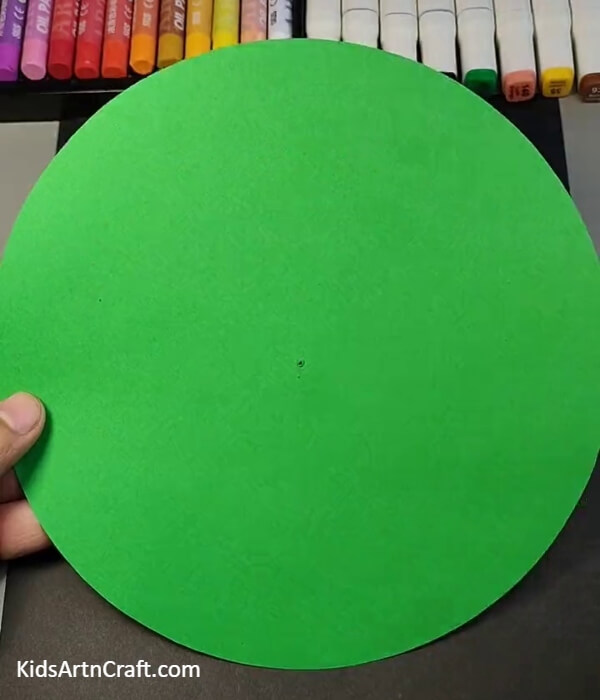

Let’s get started with green craft paper. Firstly, draw a circle and cut the excess. Make a hole in the center with a pencil.
Step 2: Pasting A Yellow Circle
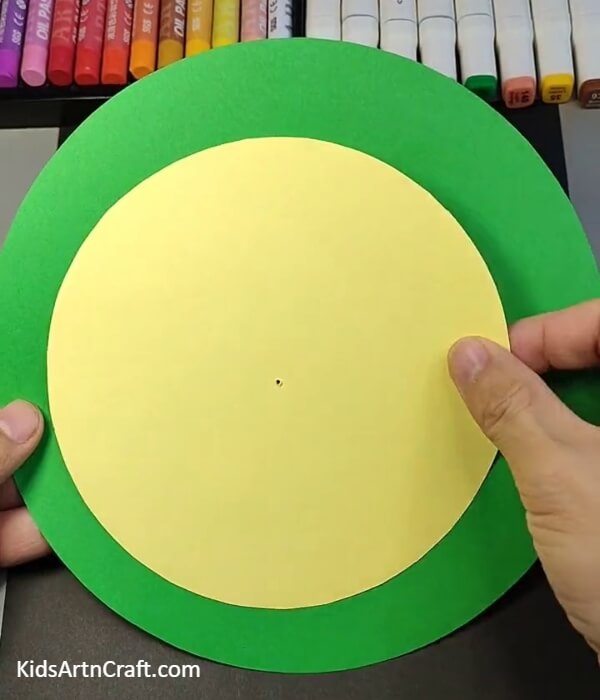
Now, grab a yellow craft sheet and make a smaller circle than the green one. After that, paste it on the green circle and make a hole in the center with a pencil.
Step 3: Pasting A Red Circle
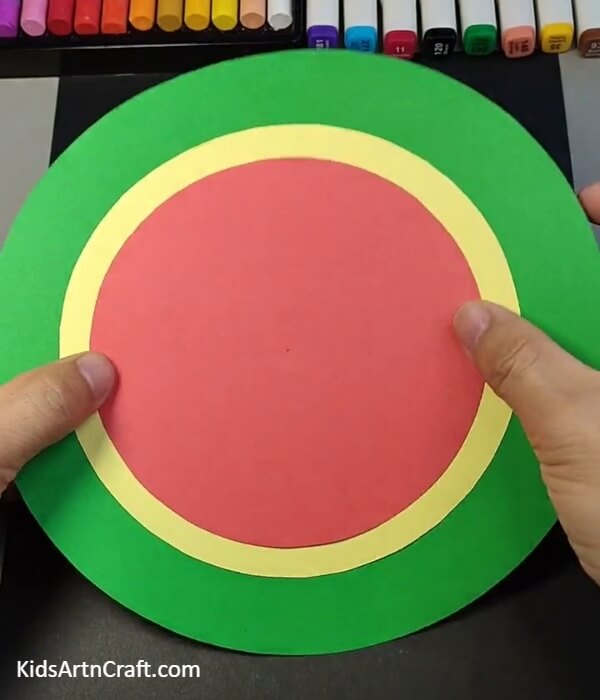
Now, take red craft paper and cut a circle that is smaller than the rest of the circles. Paste it on the yellow circle and make a hole in the center.
Step 4: Writing The Numbers On The Clock
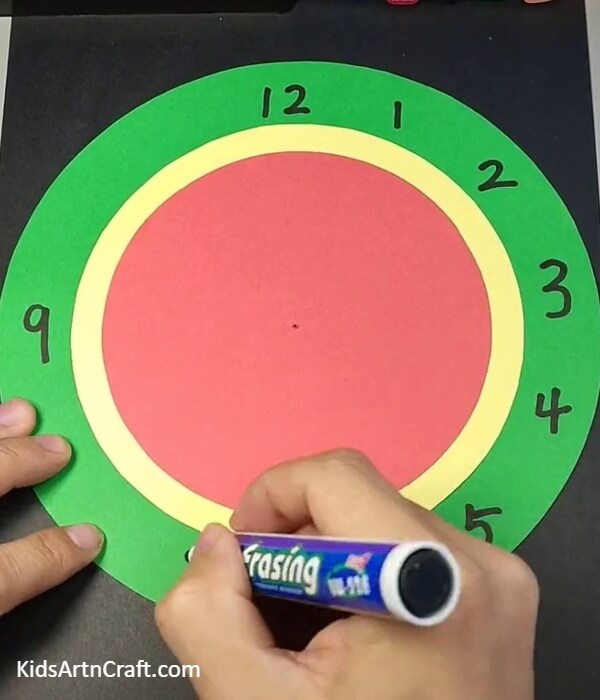
Using a black marker, mark numbers on the green circle. Mark the numbers in a similar fashion as they are written on a wall clock.
Step 5: Drawing Watermelon Seeds
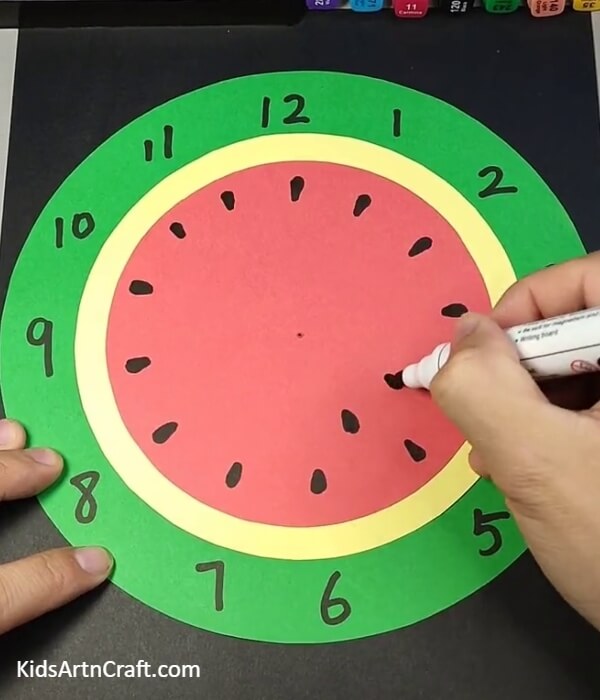
To make it look even more realistic, draw some seeds using a black marker, on the red craft paper, as shown in the image.
Step 6: Making The Arms Of The Clock
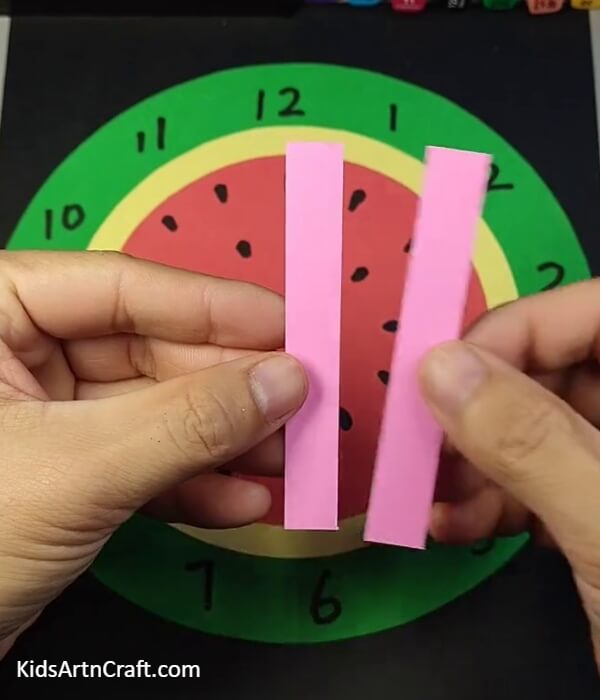
Take pink craft paper and cut two rectangular strips of equal length.
Step 7: Placing The Strips On Top Of One Another
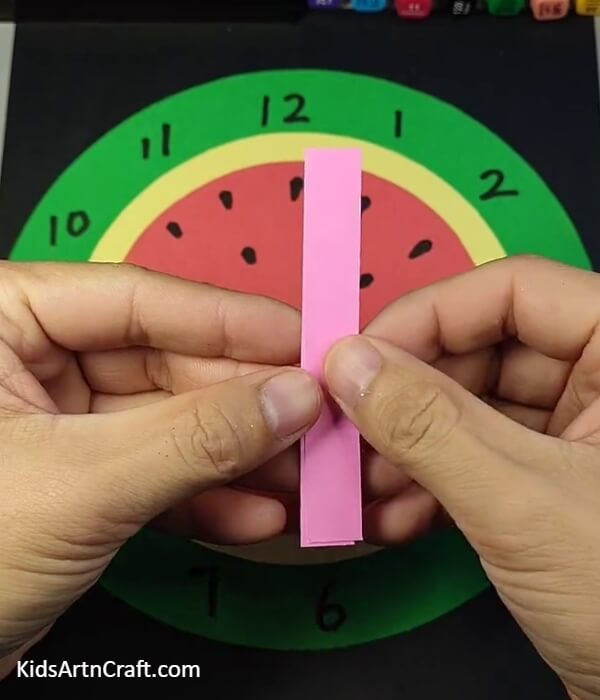
Now, place a strip on top of another strip as shown in the picture.
Step 8: Punching A Hole
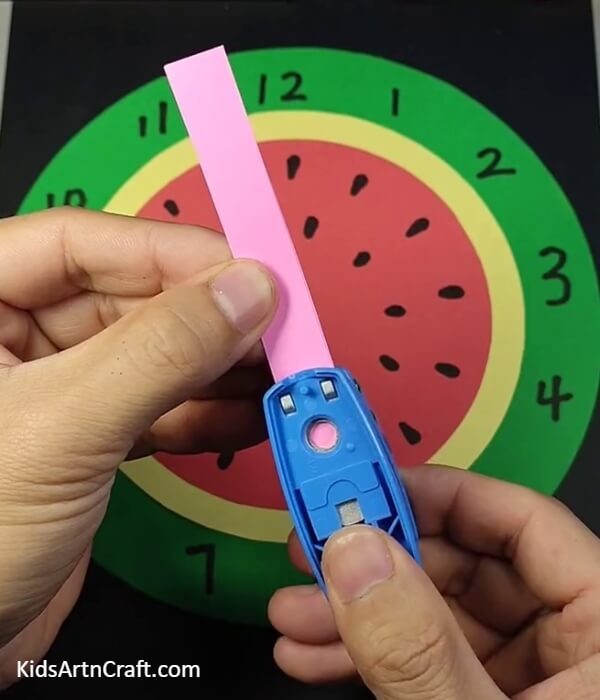
Take a paper punching machine and punch a hole at the bottom of the strips.
Step 9: Cutting The Ends
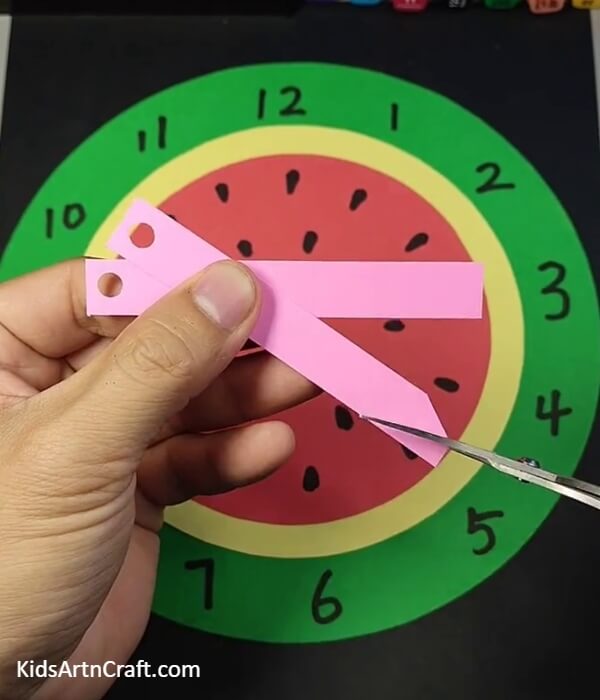
After punching one end of the strips, cut the other ends of the strips to get a sharp tip. Make one stip smaller than the other. The smaller strip will become the hour hand and the longer one will become the minute hand.
Step 10: Fixing The Clock Hands
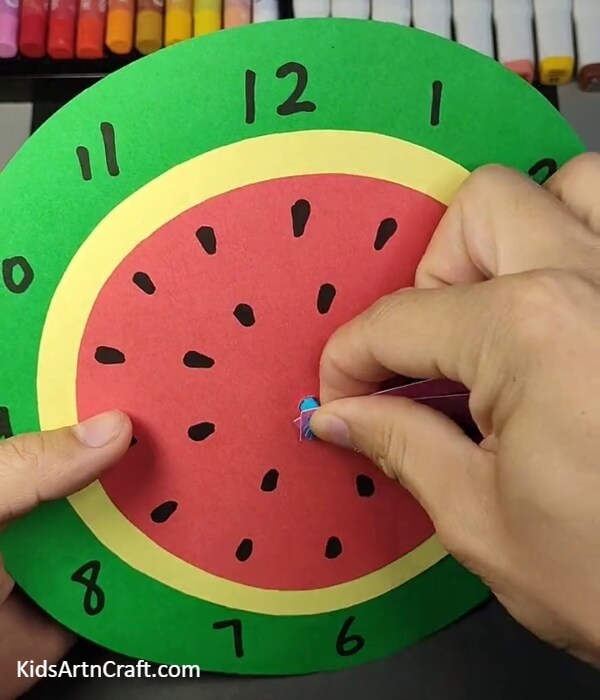
Cut a small part of a straw and insert it and glue it. Let it dry, and later insert the hands of the clock inside the straw through the punched hole.
Step 11: Sealing The Arms
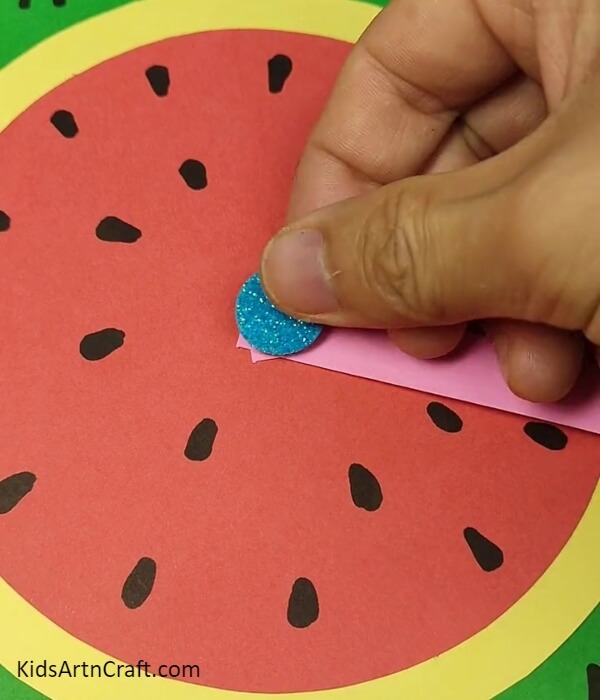
Take a piece of blue glitter craft paper and cut a small circle out of it. After placing the arms in order, seal them by pasting the blue glitter circle in the center, so that the arms are secure and safe from falling.
The Paper Watermelon Craft Is Ready!
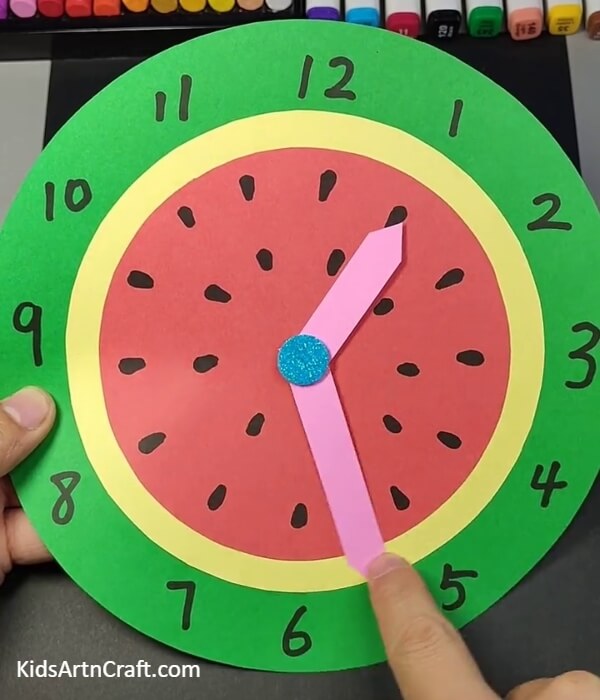
Here is our easy and cute summer edition watermelon paper clock craft that is ready! You can move and rotate the arms around with ease.
You can also teach your kids how to read time on the clock through this craft. Tell them to show a particular time on the clock. This will help them learn the basics of time and the clocks in a fun and interesting way.
Some More Watermelon Fruit Craft Tutorial
Enjoyable Watermelon Fruit Craft For Kids Using Paper

Image Source/Tutorial: Kids Art & Craft
This fun and easy watermelon fruit craft are perfect for kids. All you need is some paper and you can make a beautiful watermelon fruit craft. It is a great way for kids to express their creativity and have fun.
Follow our website for more such fun and interesting tutorials that will be helpful for education purposes as well. Thank you for visiting our website!
Follow us on Youtube for art and craft tutorials and much more.
More Articles from Kids Art & Craft
- DIY Bird Nest Paper Craft For Kids
- Handprint Paper Rocket Craft for Kids
- How to Make Paper Strips Boat Craft Tutorial For Kids
- How To Make Sunflower Clock Craft Using Paper
- DIY Step-by-Step Finger Puppet Craft for Kids