DIY and Crafts
Preschool Robot Crafts & Activities

Art and craft are some of the most brilliant activities in which you can engage your child as a toddler or even a grown-up. Dabbling in these activities can be very beneficial for any child’s development. Many of us, being from a science background, want our kids to take an interest in the same, and this proves to be a great way. Making them learn via art & craft can be fun, and children would also take the initiative and learn. So, keeping that in mind, we thought of combining art and craft with some science. And that is why we have researched some robot crafts which will help your child’s imagination to grow.
Easy Robot Activities for Kids
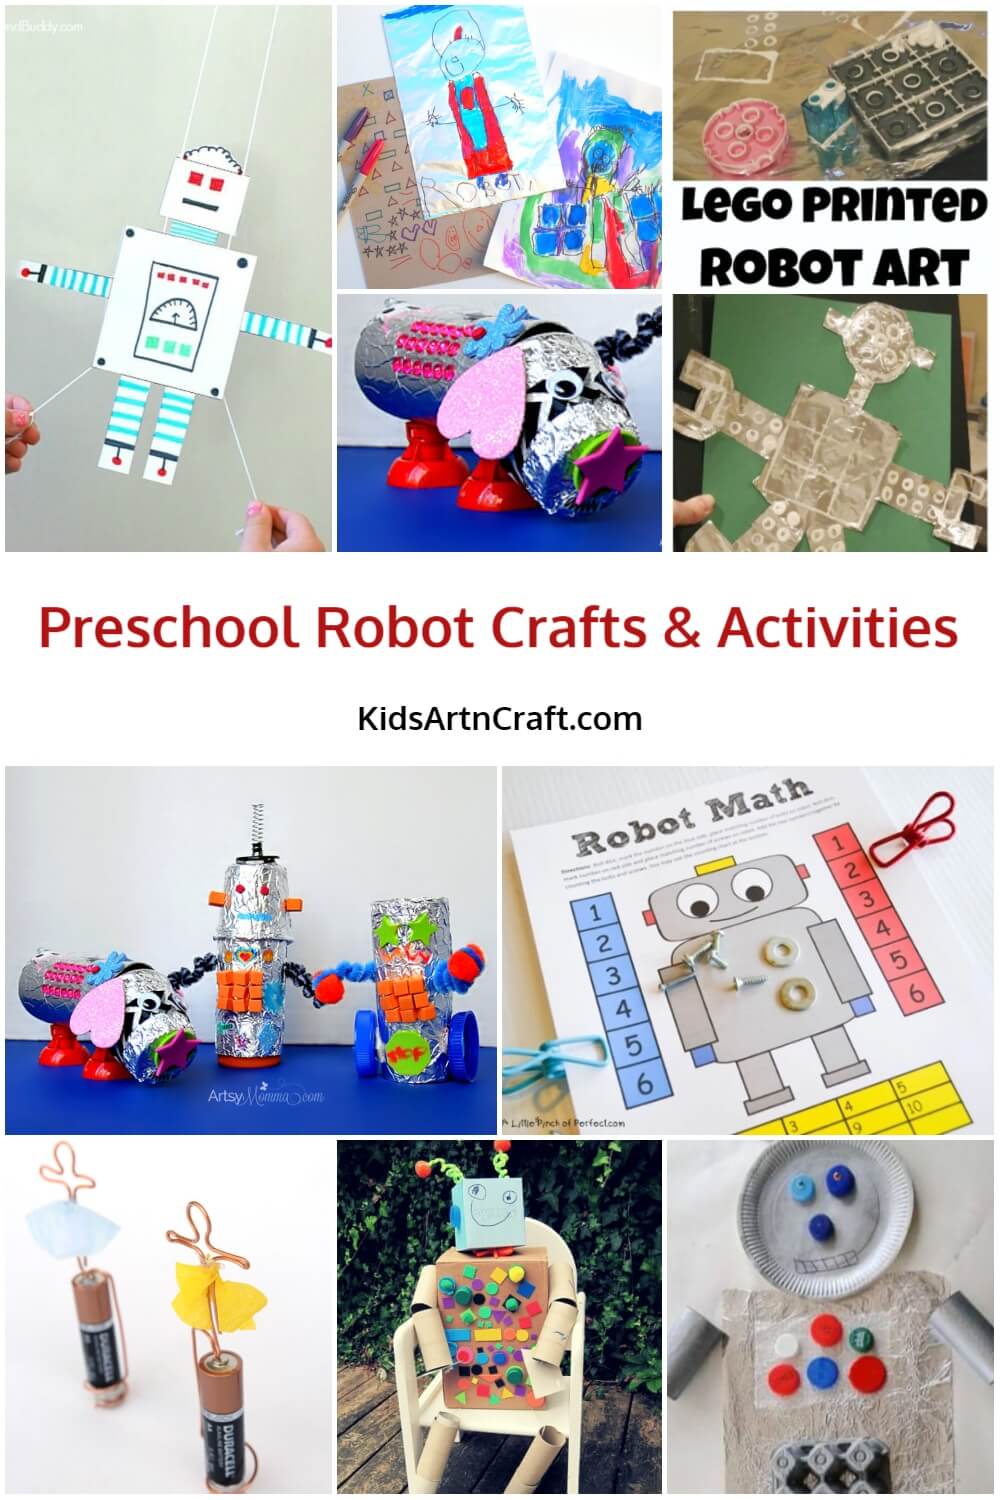

These are super-easy and fun to build and can be built with a minimal amount of materials. The materials required for the same are very easily available and not expensive at all. You can find them almost everywhere, even on Amazon, Flipkart, etc.
Printed Robot Craft

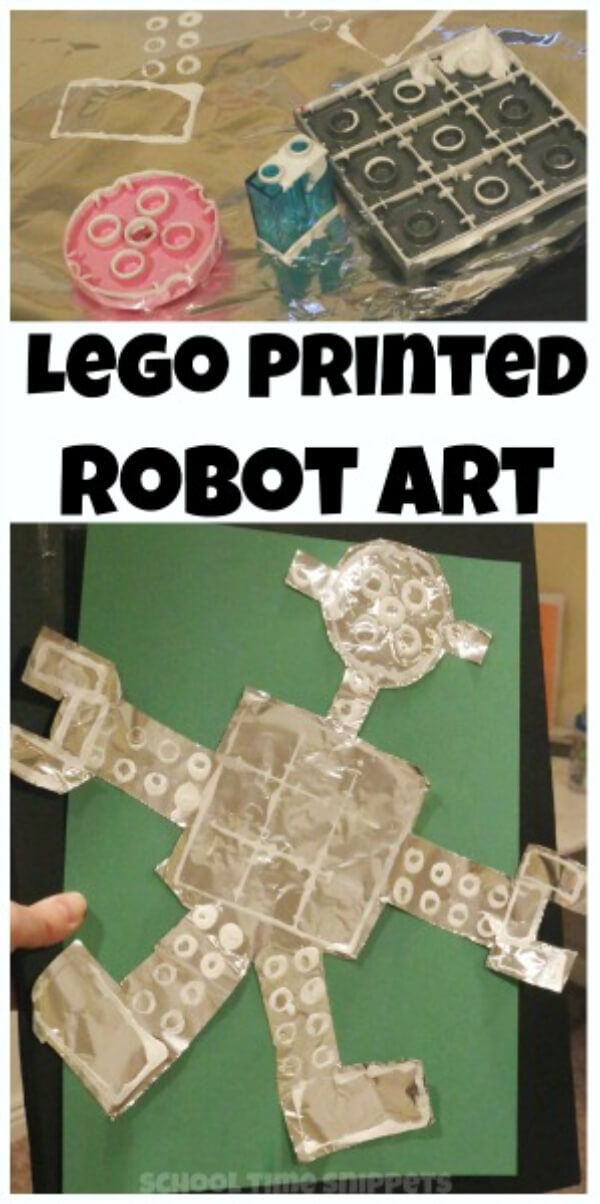
Image Source/Tutorial: School Time Snippets
Ever thought and wanted to be artsy, along with applying some science? Well, today we have brought to you an amazing activity where you can create your own robot, and that too with minimal materials. This activity will make our kids learn about them and also spark some interest in the field of science.
Suitable age group: 9-14 years
Supplies you need:
- Legos
- paint
- foil
Procedure:
- Start by laying out a bunch of Legos and big chunks of paint onto them.
- Next, start stamping the Legos onto the paint and then onto the foil.
- You can easily separate and discuss what pieces to use on the neck, eyes, arms, and legs.
- Let it dry for some time.
- Finish it off by gluing all the parts together.
Robot Themed Maths Activity

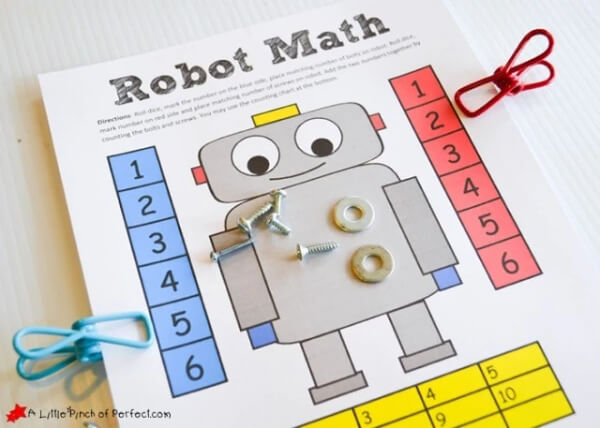
Image Source/Tutorial: A Little Pinch of Perfect
Almost every other child hates maths and often finds a way to avoid practicing it, but we have a fun game for you where you can make your child learn about some maths tricks, and it will be super fun to play.
Suitable age group: 9-14 years
Supplies you need:
- Robot maths printable template
- Dice
- markers
- Screws
- Bolts
Procedure:
- Start by downloading and printing the robot template from the internet.
- Next, with the help of the dice, roll a number and place that number of tools on the left side in blue boxes.
- Again, roll the dice and place the number of tools on the right side in red boxes.
- Now, to start with the games, start by rolling the dice and marking the appearing number on the blue side with a clear marker, and place the same number of tools on the robot.
- Roll the dice again and repeat the same thing on the red side as well.
- Now ask your child to count the tools that are on the robots and have them state the math sentence, such as “one plus two equals five.” And that’s it, you’re done.
Robot Art

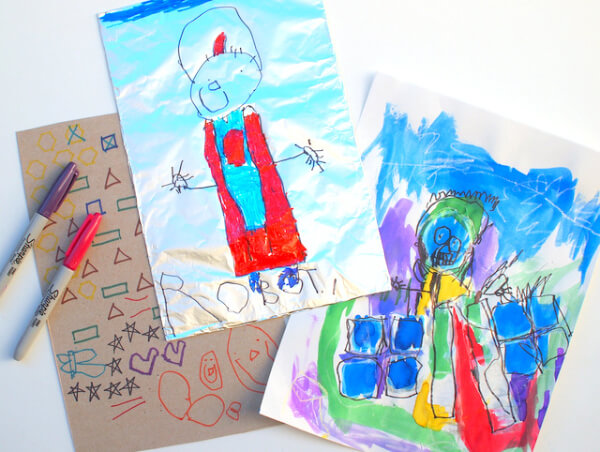
We often want our kids to engage in science, but also want them to do other activities as well. Why don’t we combine both of them? We have brought a painting craft for you where you will be painting a robot and learning about them also. Here’s how:
Suitable age group: 9-14 years
Supplies you need:
- Cereal box
- foil
- black marker
- scissors
- paint colors
Procedure:
- Start by preparing the canvas for your art by cutting a cereal box and covering it with foil paper.
- Then make your child draw his/her own robot with the help of a black marker.
- Now, to finish it up, use some paint colors to decorate various features of your robot with colors: hands, face, feet, and body.
- Leave it to dry for some time.
Recycled Robots

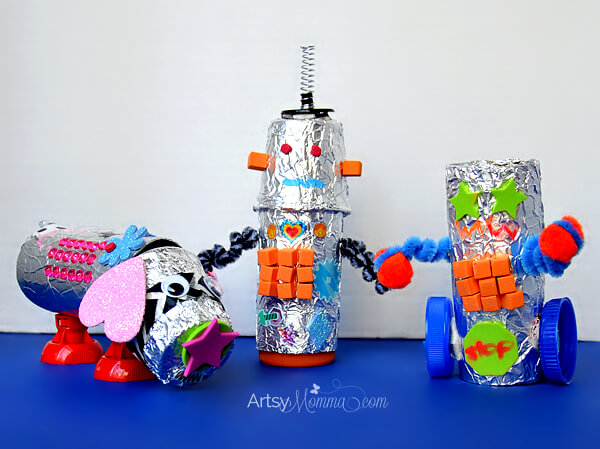
Image Source/Tutorial: Artsy Momma
Building robots is very important as it can help children to boost their self-confidence and self-esteem. When a child learns that they have a great ability to create a machine that can control the world, they will be highly motivated and do great things.
Suitable age group: 9-14 years
Supplies you need:
- cardboard tubes, cereal boxes, empty snack containers, etc.
- Scissors
- hole puncher
- glue
- duct tape
- tin foil
- pipe cleaners
- pom poms
- stickers
- glitter glue pens
- markers
- construction paper
- sequins
- buttons
- jewel/gems
- googly eyes
Procedure:
- Start by gathering all the supplies for this activity, then suppose for the body of the robot we are using an empty snack container and cover it up with foil paper.
- Next, we move to the head of the robot, where you again cover it up with foil paper and attach it to the body via glue or tape. We used tape to secure it.
- Now, as for the arms and legs of the robot, we will be using pipe cleaners, and for the legs, we will be using an empty container’s lid.
- For the arms, cut a pipe cleaner in half and twist it in a spiral pattern multiple times, and attach it to the body of the robot with the help of hot glue.
- For the legs, take the lid and paste it at the base of the robot.
- Glue the googly eyes on the head of the robot.
- Finish it off by decorating the robot with stickers and glitter.
Junk Art Robot

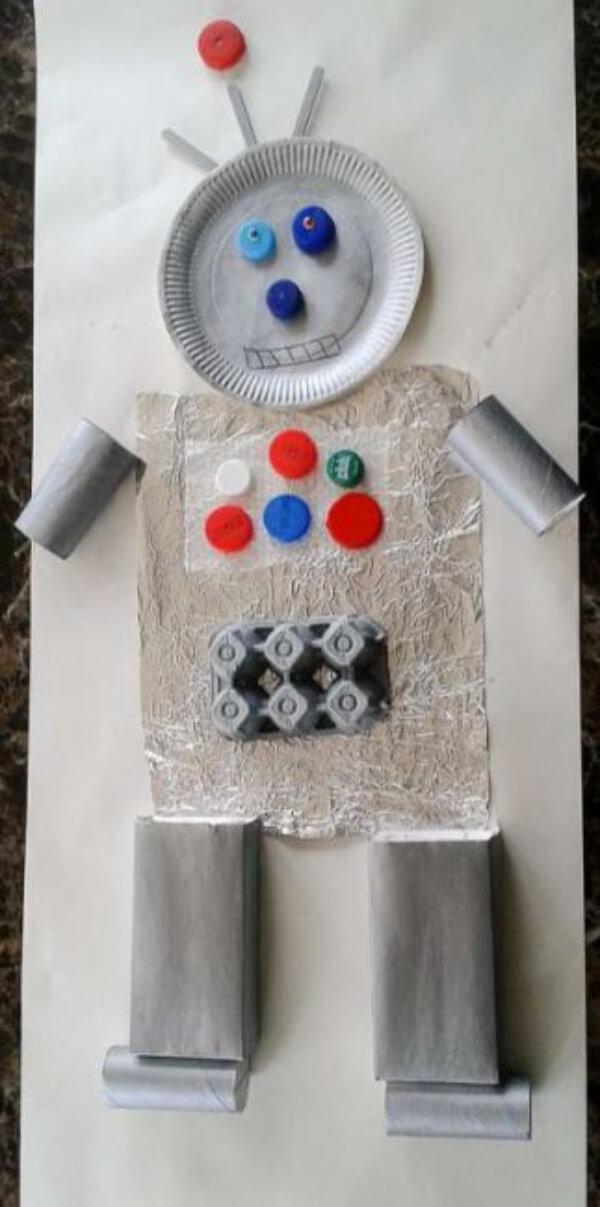
Image Source/Tutorial: Hands On As We Grow
Robots are super- fun to create and play with them as well. Creating them in the real world, be it with a pile of junk, can boost your child’s confidence. When they use their fingers to manipulate the materials and create something of their own, they are developing their motor skills.
Suitable age group: 9-14 years
Supplies you need:
- 1 paper plate
- 3 popsicle sticks
- 4 TP roll tubes
- 2 Lolly Boxes
- 1 egg carton
- 9 plastic bottle tops
- 1 sheet of tin foil
- 1 sheet of bubble wrap
Procedure:
- Start by painting all of the supplies with grey paint and leave them to dry for some time.
- Then lay out all the materials or say parts of the robot on a plane surface.
- Now, take an egg box and with the help of double-sided tape, fix the bottle tops onto the robot’s body.
- With the help of the hot glue, paste the roll arms onto the robot’s body, and for the fingers, you can use a pen’s spring.
- Now, in the same manner as arms, glue the legs of the robot at the base.
- Finishing it up with the head, where we are using tape to secure 3 popsicle sticks at the back of the paper plate.
- Add some bottle tops for the eyes and nose of the robots, and you are good to go.
Robot Chandelier

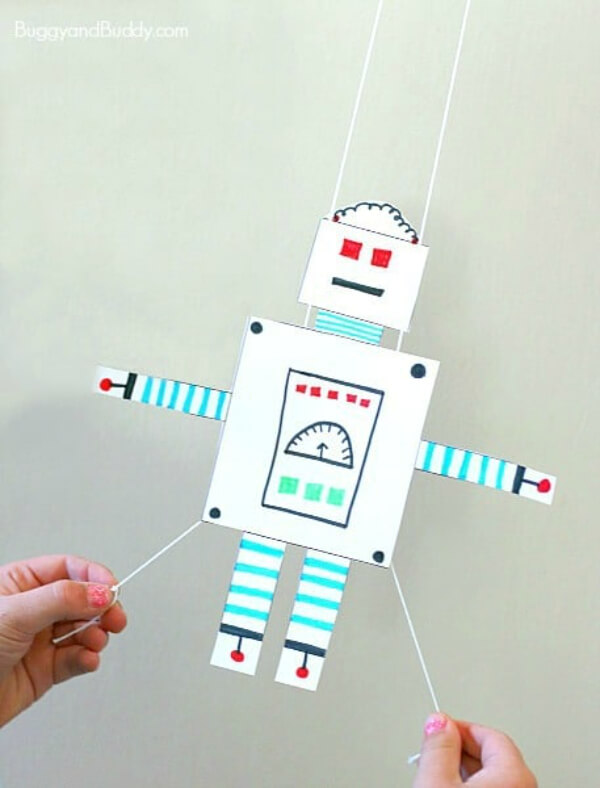
Image Source/Tutorial: Buggy & Buddy
Kids love chandeliers and play with them all the time in the house! So we thought of creating their own chandelier, and that too with a robot theme, and hanging it on a wall. With this, they can play with it all the time, and it will be super- fun. To make the robot chandelier follow the steps below:
Suitable age group: 9-14 years
Supplies you need:
- Markers
- crayons
- colored pencils
- Scissors
- Tape
- Drinking straw
- yarn
- two pony beads
- white cardstock
- Free printable robot template
Procedure:
- Start by downloading and printing the robot template onto white cardstock.
- Now, color your robot with markers and crayons.
- Cut out your robot.
- Cut two 1.5-inch pieces of straw and paste them on the back of your robot.
- Take a piece of yarn about 4 feet long and insert both ends through the straw so that you can form a giant loop above the head of the robot.
- Tie a pony bead at the end of each straw so that it doesn’t come out of the yarn.
- Now, hang your robot onto any doorknob or wall in your house.
Recycled Robot

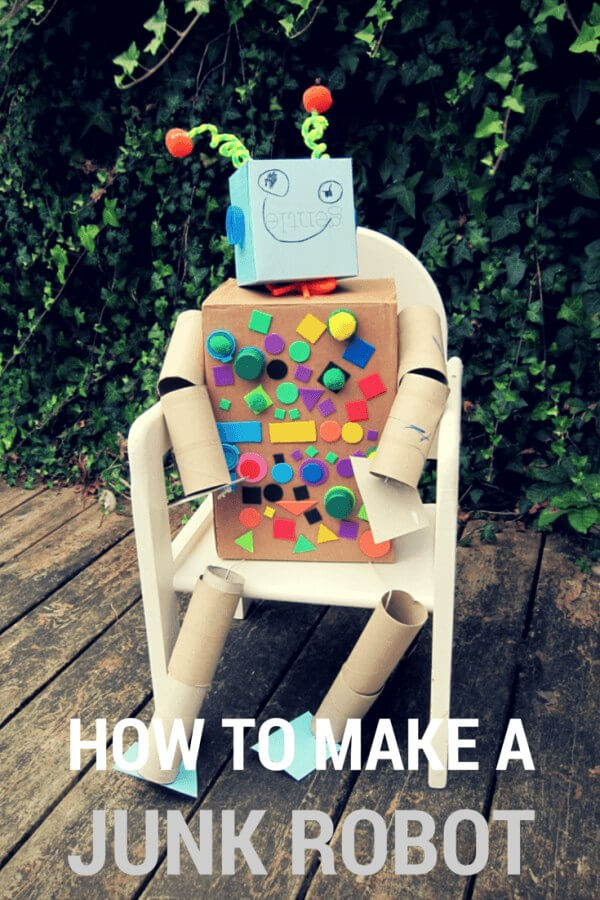
Description- We often throw the waste items or empty cans in the dustbin, and they leave them around, but today we have brought to you an amazing activity of robot crafts, where we will be using all the junk materials and recycling them into creating a robot that will guard your house. Here’s how:
Suitable age group: 9-14 years
Supplies you need:
- Cardboard boxes of varying sizes
- Toilet/kitchen paper rolls
- String
- Plastic bottle tops
- Scissors
- A sharp pencil
- Glue/glue gun
- Sticky tape
- Paint/pens
- Pipe cleaners (optional)
- Pom poms (optional)
- Foam shapes/stickers
Procedure:
- Collect all the materials from the junk and lay them out on a flat surface.
- Choose a larger box for the body of the robot and a smaller one for the head of the robot.
- Take a pipe cleaner and twist it to make antennae.
- Poke two holes in the head of the robot and tape them inside.
- Draw and paint the robot’s face.
- Do some cuttings and make the hands and feet of the robot from the cardboard.
- Use strings to connect the arms and feet of the robot.
- Punch a hole in the larger box with a pencil to put the string and connect it inside.
- Now connect the robot’s head by adding more strings.
- Now, end with pasting a lot of bottle tops and foam or paper onto the robot’s body.
- Paste the bottle tops on the side as well; this will represent its ears.
- Put him in the chair as your robot is ready and chill with him!
Tiny Robot Dancers

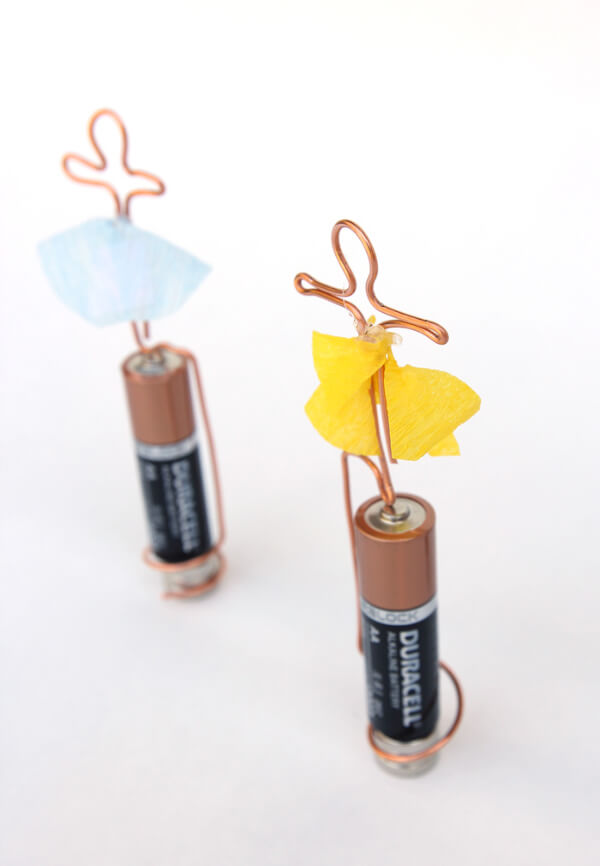
Image Source/Tutorial: BabbleDabbleDo
We all know robots can do whatever we ask them to do, and keeping that in mind, today we are going to create a robot dancer, which will dance when you ask it to and wear a little skirt to give you the feels. Follow the steps below to create a robot dancer:
Suitable age group: 9-14 years
Supplies you need:
- Copper wire
- AA battery
- pliers/wire cutters
- template
- Crepe paper
- hot glue
Procedure:
- Start by cutting a long piece of wire and bending it as shown in the picture above using pliers.
- Next, wrap the end of the wire around the battery, and then once it forms a shape, remove the battery and widen the circle formed with your fingers.
- Place three magnets on the negative terminal of your battery.
- Secure the motor on top of the battery so that it touches the positive.
- Let it go; if you have constructed it properly, it should start spinning, and if not, then try again and fix some tips below.
- To make a skirt for your dancer, cut a small circle from crepe paper and then cut a slit in the center of the circle.
- Slip it up onto the dancer and secure it with hot glue, and your tiny robot dancer is ready.
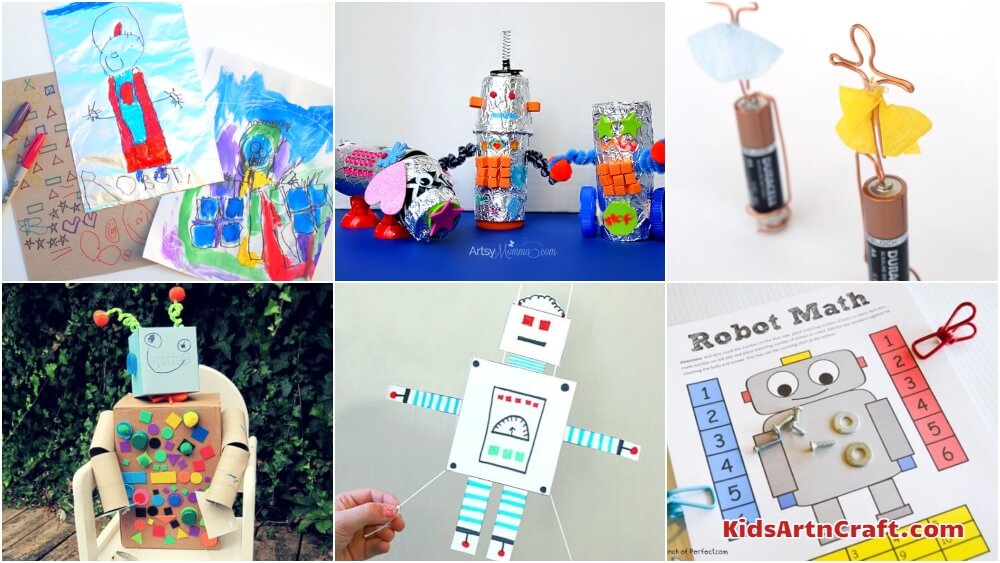

Easy Preschool Robot Craft Step-by-Step Tutorial for Kids
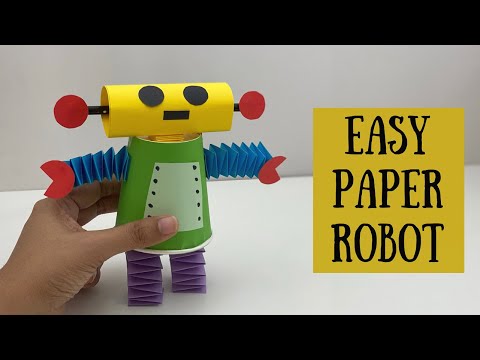
Learn how to make a fun preschool robot craft with this easy step-by-step tutorial for kids. This DIY robot activity uses simple craft materials and is perfect for preschool learning, creativity, and STEM play. Great for classrooms, homeschool projects, and fun art activities for young children.
I know parents always want their kids to engage or take an interest in the field of science, but I think it’s our responsibility as adults to give them exposure to every field in their initial stages, so they can identify their interests. I hope with this article, you have found some great activities for robot crafts where your kids can learn and have fun at the same time. So, gear up and put your hands to use and build some robots!
Educational Benefits of Preschool Robot Crafts
Robot craft activities help preschoolers develop important early learning skills, including:
- Fine motor skill development through cutting and gluing
- Creativity and imaginative thinking
- Basic STEM and engineering concepts
- Shape and color recognition
- Problem-solving and logical thinking
- Hand-eye coordination and focus
Hands-on robotics-inspired activities are often used in early childhood classrooms to encourage curiosity about science and technology.
Easy Robot Craft Ideas for Preschoolers
Children enjoy many simple and creative robot craft projects, such as:
Paper Robot Crafts
Paper robots made with colored paper, shapes, and googly eyes are perfect for preschool art activities.
Cardboard Box Robots
Small cardboard boxes can be transformed into fun robot models using recycled materials and paint.
Toilet Paper Roll Robots
Toilet paper tubes make excellent robot bodies for eco-friendly preschool crafts.
Shape Robot Activities
Kids can create robots using circles, squares, rectangles, and triangles while learning basic shapes.
Robot Coloring and Drawing Pages
Printable robot coloring sheets help preschoolers enjoy screen-free creativity and artistic expression.
Best Supplies for Making Robot Crafts
Most preschool robot projects can be made using simple and affordable materials:
- Colored paper and cardstock
- Cardboard boxes and tubes
- Glue sticks and child-safe scissors
- Markers and crayons
- Googly eyes
- Aluminum foil
- Pipe cleaners
- Stickers and buttons
- Recycled craft materials
Using recycled items also teaches children the importance of creative reuse and eco-friendly crafting.
Fun Learning Activities to Pair With Robot Crafts
Robot crafts become even more educational when combined with:
- STEM learning games
- Counting and shape activities
- Coding-inspired preschool games
- Robot storybooks
- Alphabet and number learning
- Science-themed classroom lessons
These creative combinations help preschoolers enjoy early learning through hands-on play.
Why STEM Crafts Are Important for Preschoolers
STEM activities introduce young children to science, technology, engineering, and math concepts through playful experiences. Robot crafts help preschoolers explore how things are built, encourage curiosity, and support creative problem-solving from an early age. Early STEM learning activities are known to improve critical thinking and confidence in young learners.
Safety Tips for Preschool Craft Activities
- Always supervise children while using scissors or glue
- Use non-toxic and child-safe materials
- Avoid small items for toddlers who may put objects in their mouths
- Keep crafting spaces clean and organized
- Choose simple age-appropriate projects
Safe crafting helps preschoolers enjoy stress-free and enjoyable creative play.
Creative Ways to Use Finished Robot Crafts
Kids can use their completed robot crafts for:
- Classroom displays
- Storytelling games
- Pretend robot play
- Preschool science fairs
- Bedroom decorations
- Puppet and role-play activities
Why Robot Crafts Are Great for Preschool Kids
Robot crafts are exciting, hands-on activities that combine creativity, learning, and imagination for preschool children. Kids love building colorful robots using paper, cardboard, recycled materials, and craft supplies while exploring basic STEM concepts in a fun and playful way. Robot-themed activities also encourage children to think creatively, solve problems, and learn about technology through age-appropriate crafting.
Frequently Asked Questions (FAQ)
Q1. Are robot crafts suitable for preschoolers?
Answer: Yes, simple robot crafts made from paper, cardboard, and recycled materials are perfect for preschool children.
Q2. What do preschoolers learn from robot crafts?
Answer: Children develop creativity, fine motor skills, shape recognition, problem-solving abilities, and early STEM understanding.
Q3. What materials are best for preschool robot crafts?
Answer: Colored paper, cardboard tubes, glue, markers, googly eyes, and recycled supplies are ideal for easy robot projects.
Q4. Can robot crafts be educational?
Answer: Yes, robot activities help introduce preschoolers to science, engineering, creativity, and technology concepts through hands-on learning.
Preschool robot crafts and activities are a fun and educational way to introduce young children to creativity, STEM learning, and imaginative play. From simple paper robots to recycled craft projects, these hands-on activities help preschoolers build important developmental skills while having exciting screen-free fun.
Creative hands and curious minds make every day an adventure here! Join us on Telegram, YouTube & Facebook
Reviewed By Rachit Gupta
Read More:
- Easy Spider Crafts for Preschool and Kindergarten Kids
- Recycled CD Kid Crafts
- Toy Vehicles Made from Recycled Materials | Projects for Kids
- Christmas Tree Made Out of Recycled Plastic Bottles
- 10+ Activities To Get Your Preschooler Started On Numbers