Recycled Crafts
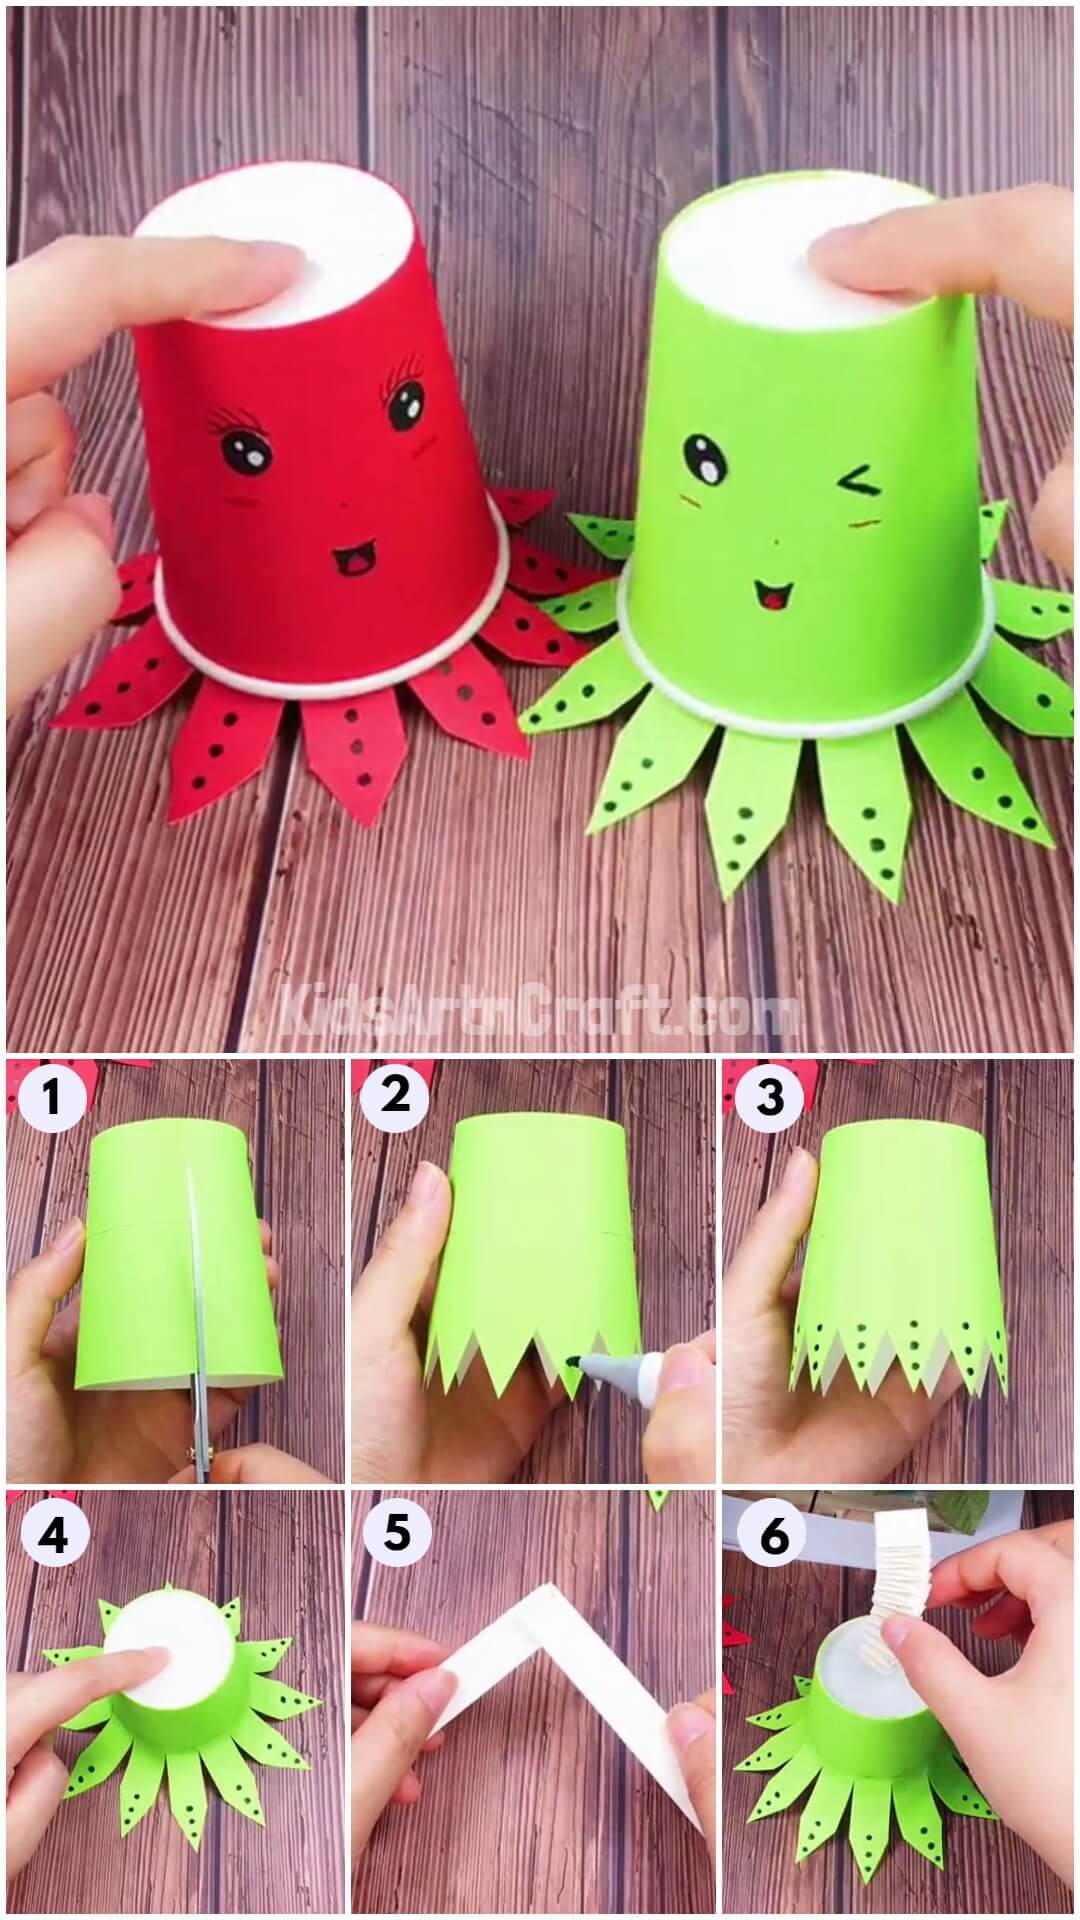
Sea Animal Octopus Craft with Waste Material

Recycled Paper Cup Sea Animal Octopus Craft

Materials Required
- Paper cups of any colour you like
- A pencil
- Scissors
- White Craft paper
- Black Sketch pen
- Glue
Procedure
Step 1: Marking The Length Of The Octopus Tentacles Onto The Paper Cup


Take a paper cup of your choice and flip it upside down. Using a pencil draw a line around the surface of the cup at its half point.
Step 2: Cutting The Tentacles Of The Paper Cup Sea Animal Octopus

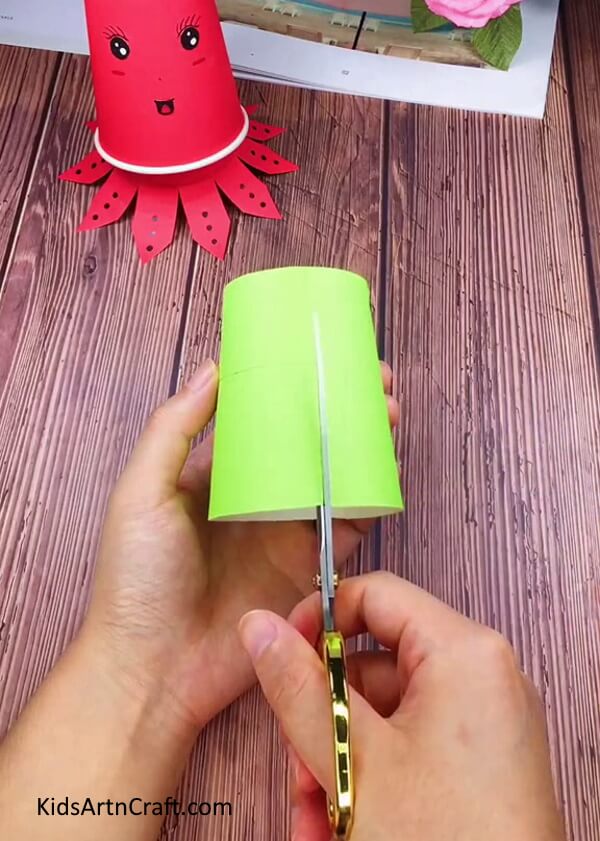
Grab your scissors, and cut 8 or more tentacles for the octopus. Cut till the line you have drawn. Make the tentacles thick enough.
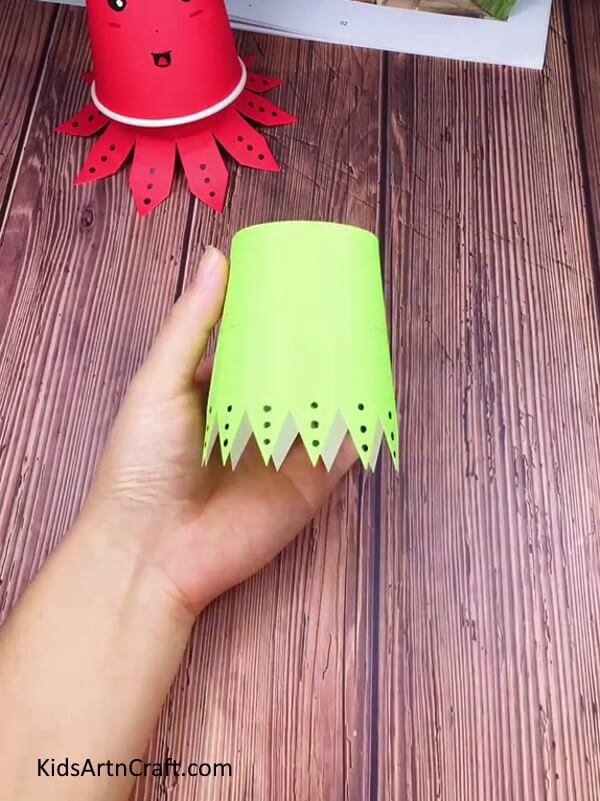
Step 3: Shaping The Ends Of The Tentacle

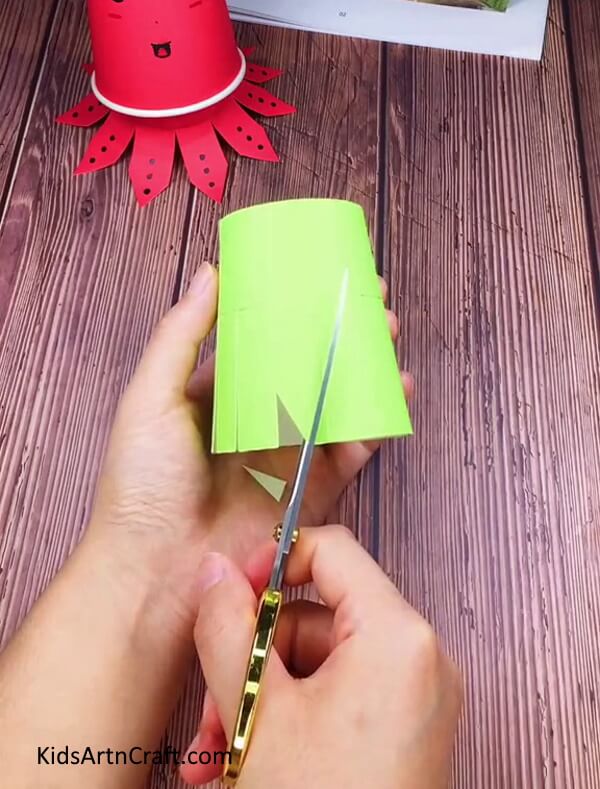
Once you have all your tentacle strips ready, you will now shape the bottom ends of the tentacles. With your scissors cut pointed triangle-like ends for the tentacles. Try cutting these at equal ends at well.
Step 4: Adding Suckers To The Tentacles

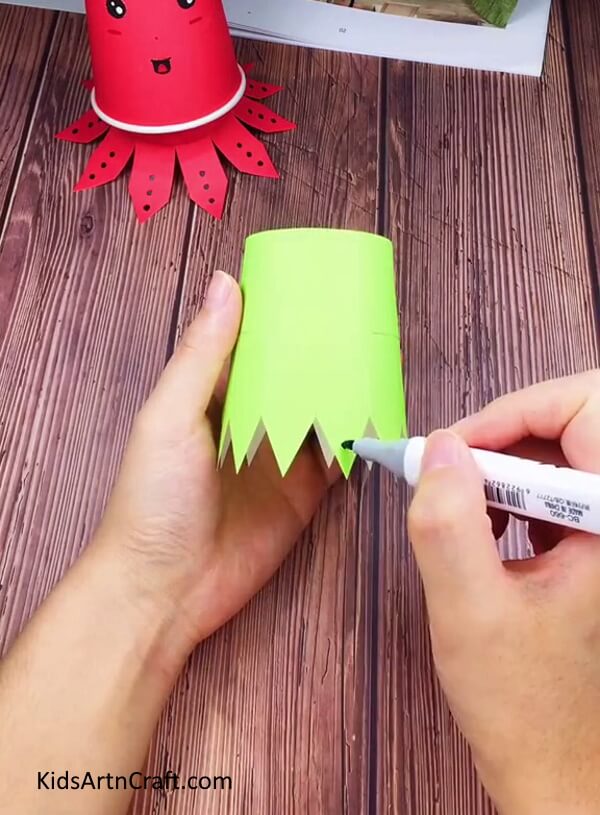
Next, you will add suckers to the tentacles. With a black sketch pen, draw three dots on each tentacle in a vertical manner. Space these dots out well.
Step 5: The Lower Body Of The Octopus

Continue making the dots on each tentacle. Once you are finished with this step you can examine the cup to make sur everything is well drawn and cut. The lower body of your octopus is ready!
Step 6: Spreading Out The Tentacles

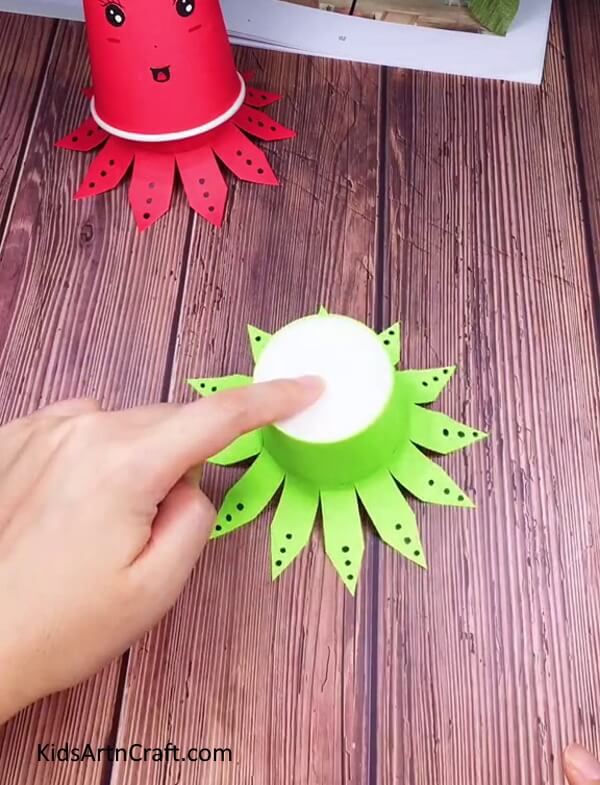
Press down your inverted cup octopus onto a solid surface. This will spread out the tentacles of the octopus and make a beautiful flower like shape. Press down long enough for the tentacles to be able to hold the cup upright.
Step 7: Making A Paper Spring

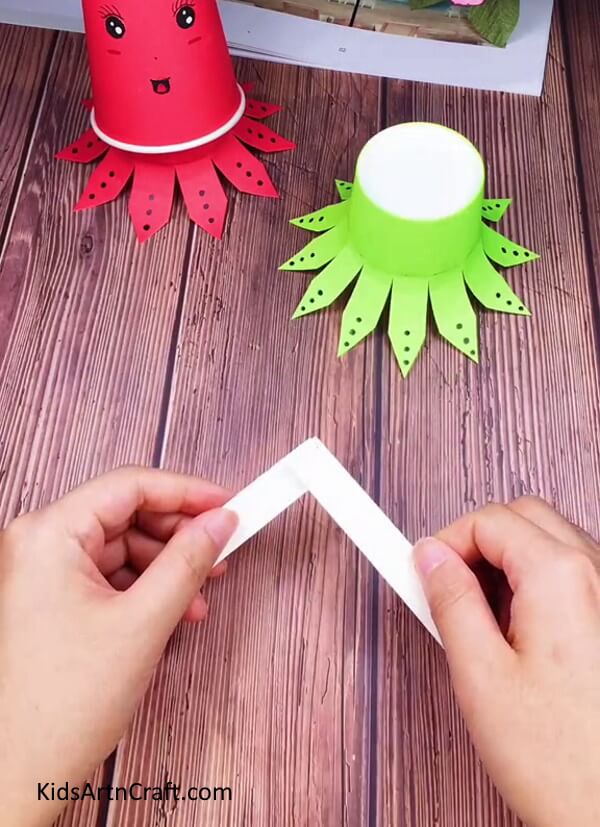
Take a long strip of white craft paper. You will now fold this paper to form a paper spring. First fold the paper into a 90 degree angle from the middle. Continue folding the strip one upon the other in the same way. Refer to the image.
Step 8: Gluing The End Of The Strip Together

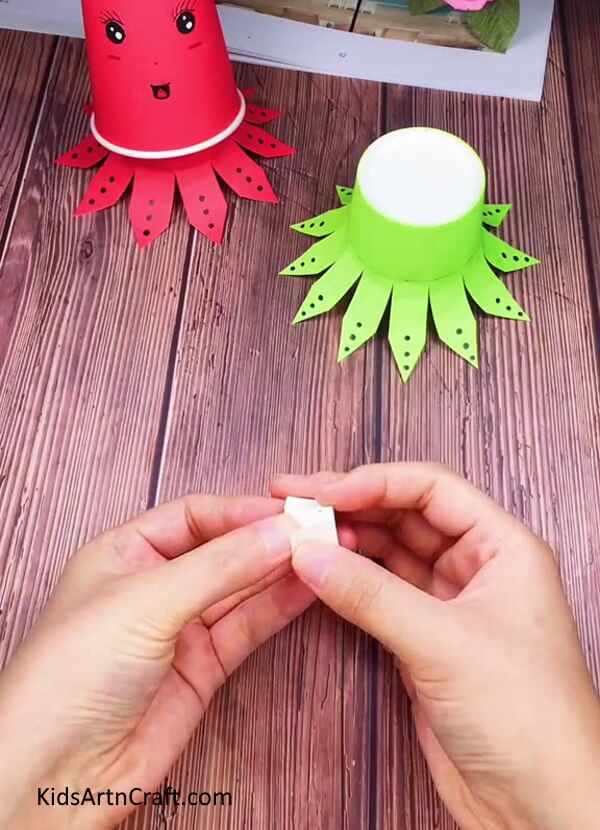
Once you have folded till the end, stick the ends together with glue, This will keep the spring together.
Step 9: Sticking The Spring Atop The Octopus Legs Cup

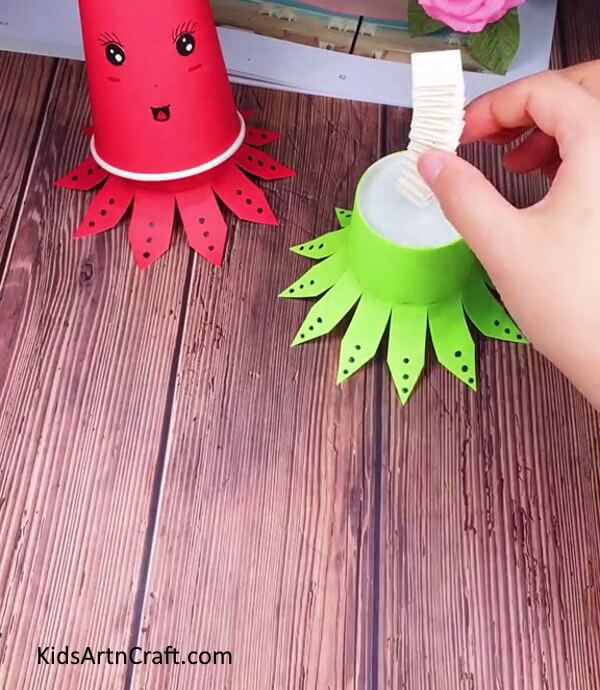
Stick the spring at the center of the base of the paper cup. This spring will help balance the upper body of the octopus atop the lower body of the octopus. Stick the spring with glue and let it go.
Finally Your Octopus Cup Craft Is Ready!

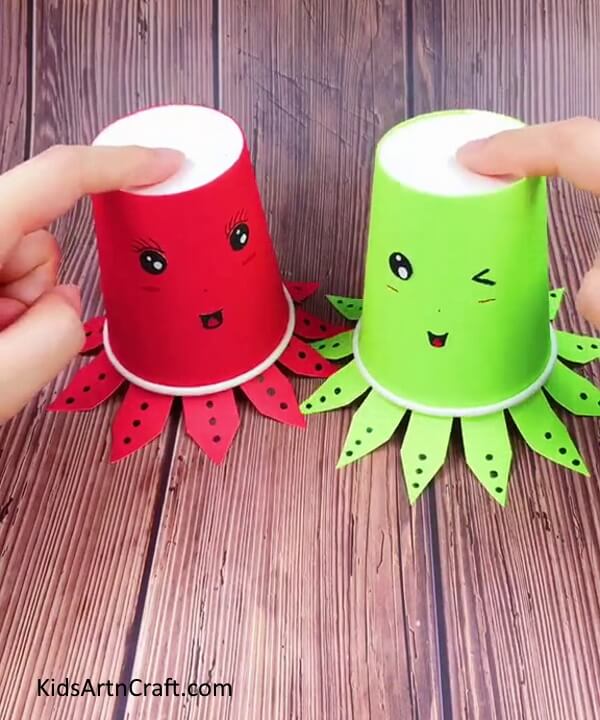
Your last and final step would be to attach the upper half of the octopus. On another upturned paper cup of the same colour as the lower half, Draw two eyes, and a cute mouth. Add some facial features like blush and a dot nose. Place this cup onto the lower half.
Some More Octopus Craft Tutorial
Unique Paper Cup Octopus with Crown craft for kids

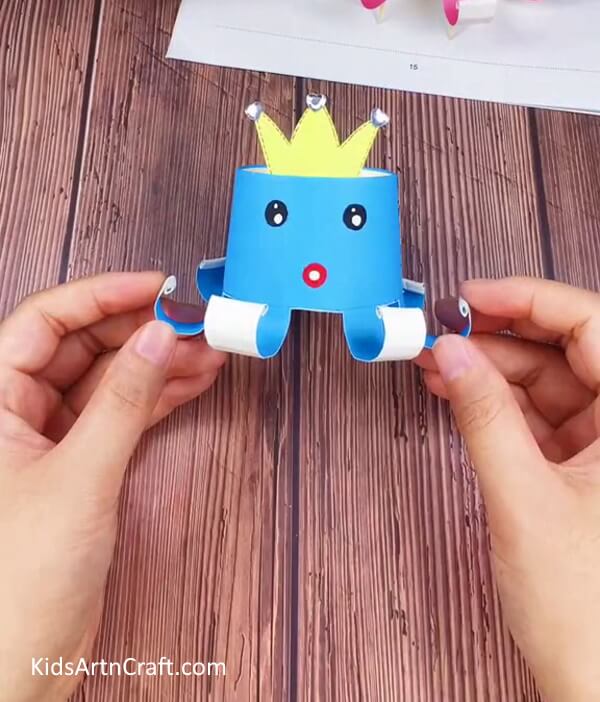
Image Source/Tutorial: Kids Art & Craft
This fun and creative craft is perfect for children! It uses a unique paper cup octopus with a crown, which kids can customize with their favorite colors and decorations. It’s a great way for them to express their creativity and have fun!
Ta-da! Your DIY Paper Cup Sea Animal Octopus is all done and ready!!
By following this step-by-step tutorial, children can easily learn to make this fun and creative art. They will learn another craft trick with paper and use it to their advantage. This craft is perfect for assignments, projects and decorations. It is super easy and engaging and will keep you and your kids interested and attentive throughout the process. This art is easy to learn and make and kids can easily catch on to the steps with this tutorial. So give it a try and engage your kids and yourself in a fun craft-learning activity!
Hope you like this creative and easy DIY Paper Cup Sea Animal Octopus Craft step-by-step tutorial for kids! We hope that it helped you and your kids learn something new. We would love to hear your thoughts in the comment section below.
Be sure to visit our other articles for more craft and DIY ideas!
Thank You for visiting our website!
Follow us on Youtube for art and craft tutorials and much more.
More Articles from Kids Art & Craft
- DIY Step by Step Finger Puppet Snowman Craft for Kids
- Cute Paper Cup Doll Craft – Step By Step Toy Making Tutorial
- Best of Waste Flower Pot Craft Using Orange Peel & Paper Cup – Step by Step Instructions
- Recycled Plastic Bottle Dragon Craft Tutorial for Kids
- Paper Mug With Straw Craft Easy Tutorial