Kids Activities
Pretty Red flowers Artwork Step by Step Instructions

Let’s make pretty red flowers from this step-by-step tutorial! The results will turn out amazing and you will love to showcase this artwork!
You can’t deny it, red flowers are the prettiest! Don’t believe me? Well, the world’s prettiest flowers are majorly red! Today, we brought you this amazing red flower artwork which will definitely catch everyone’s eye! This drawing is pretty easy to make even a beginner at art can also make it like a pro with the help of our step-by-step tutorial! This artwork will also turn out to be a perfect decor for your bedroom or even the drawing room, so this makes this art a budget-friendly decor too! Flaunt your drawing skills by showcasing it! All you will need is some basic drawing supplies that you already have at home!
Unique Red Flowers Artwork For Kids

Read More: Creative Owl Painting Idea For Kids Step-by-step Tutorial
Materials Required
- White Circular Paper Sheet
- Markers (Red And Green)
- White Ink Pen
Procedure
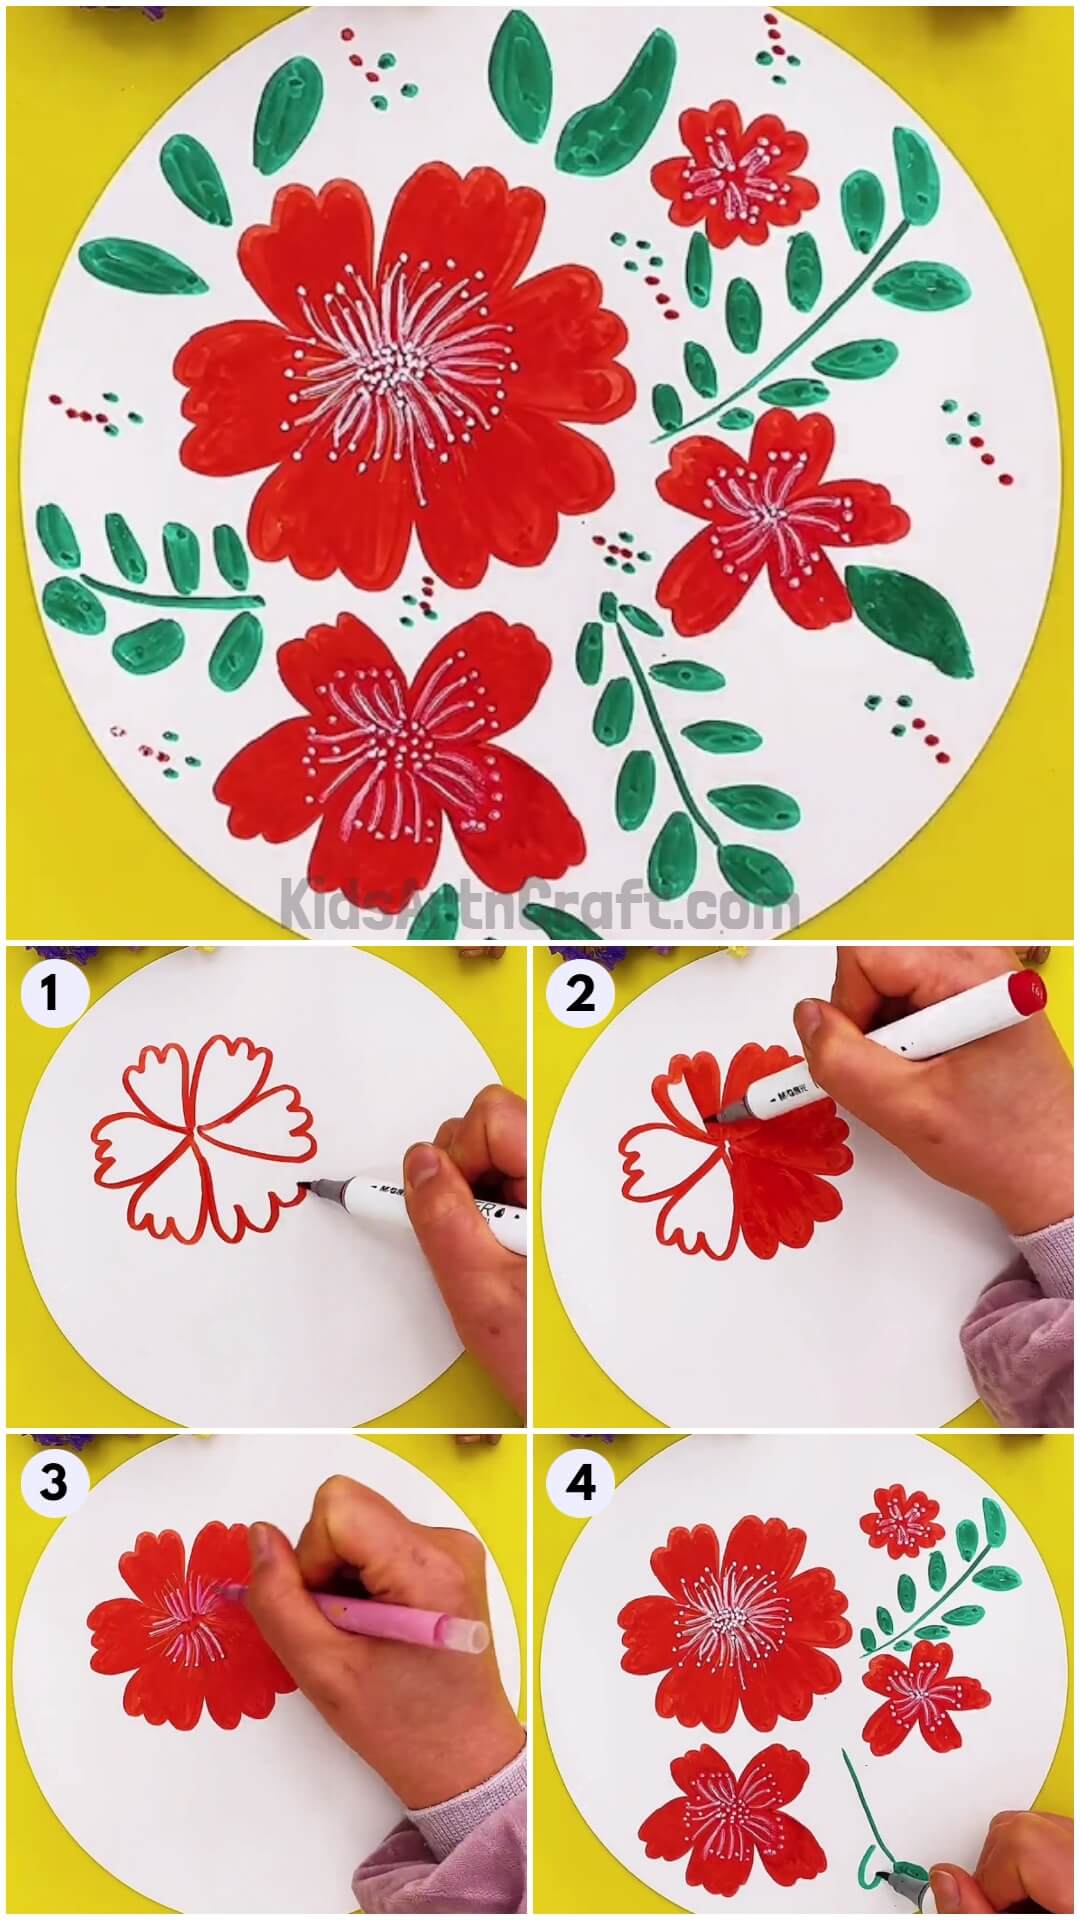
Step 1: Drawing A Flower
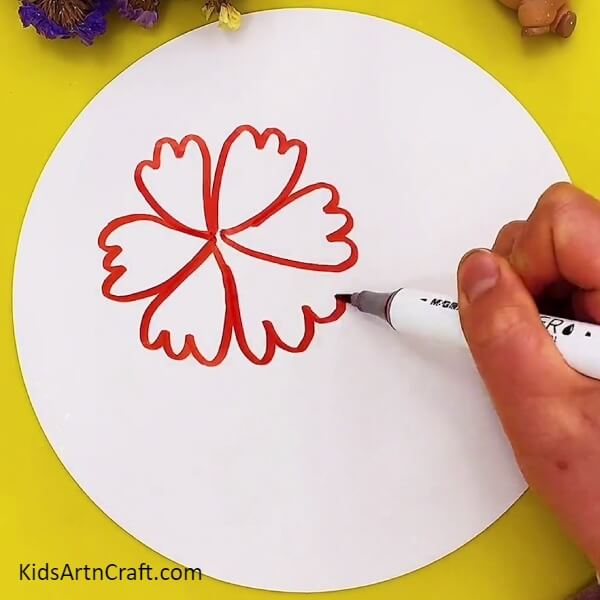

To begin this drawing, take a white circular paper sheet as the base of the artwork and a red marker. Using the marker, draw a 6-petaled big flower on the left side of the base.
Step 2: Coloring The Flower

Color out the drawn flower using the red marker. Make sure to color the petals individually.
Step 3: Completing Coloring The Flower
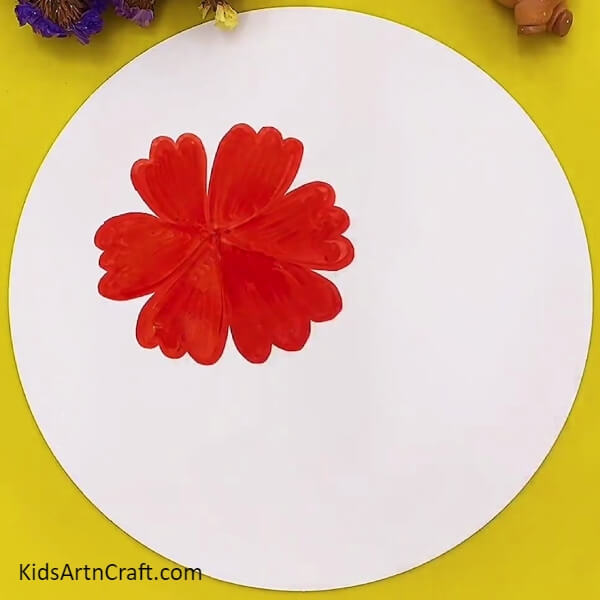
Color all the petals of the flower to complete the coloring.
Step 4: Drawing Stamens Of The Flower
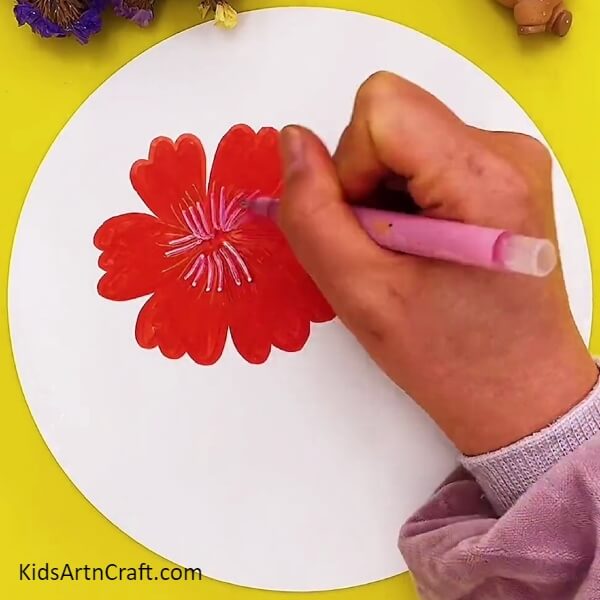
Using the white ink pen, draw curvy strokes from the center of the flower to make the stamens.
Step 5: Making Another Flower
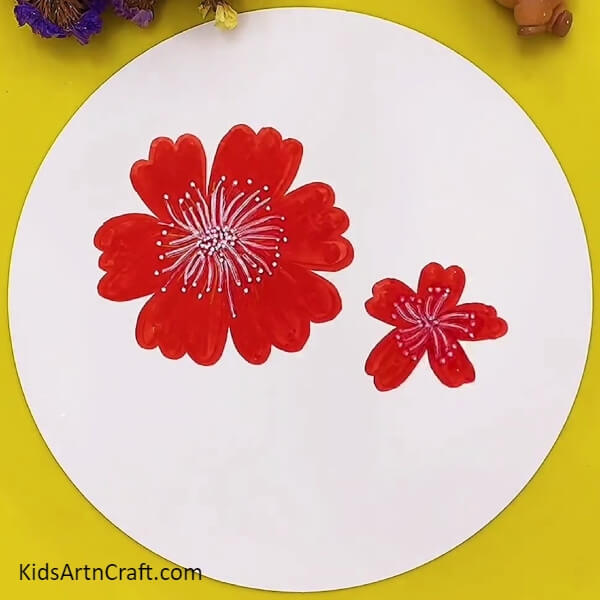
Make another red flower relatively smaller than the previous one to the right side of the base using the red marker. Also, make the stamens of this flower too following the same instructions. Also, detail the stamens of both flowers by making dots over the stamens, leaving a little gap, and making random dots in the center of the flowers.
Step 6: Making More Flowers
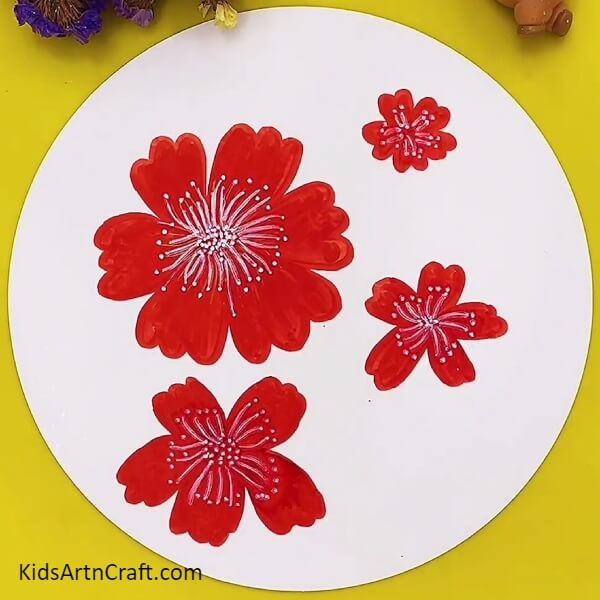
Make 2 more flowers over the base following the same previous steps. Make sure to make a small flower at the right top and a relatively large flower at the left bottom of the base.
step 7: Drawing Leaves
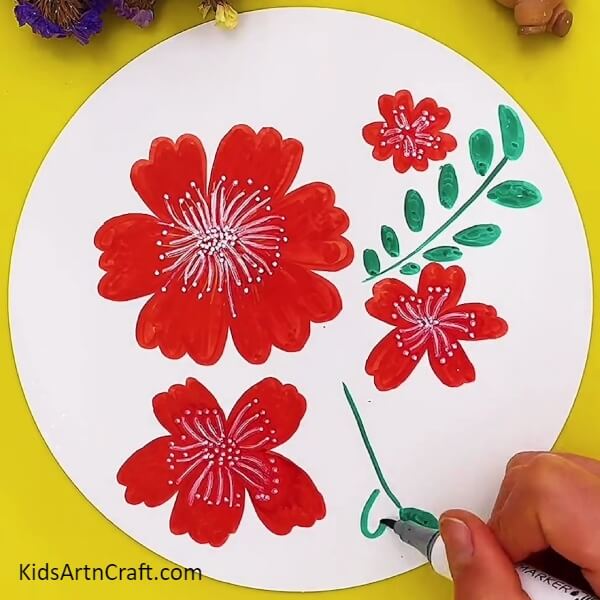
Draw leaves using a green marker. Make random curvy stems in the empty base and make drop-shaped leaves over the stems on each side of it. Also, make open leaves randomly where the space is a little less to make the stems.
Step 8: Making Dots Over The Base
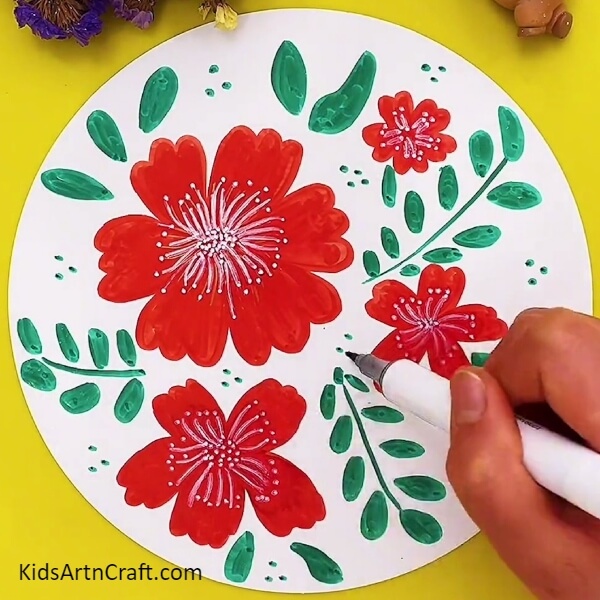
Using the green marker, make 3 collective dots in a triangle shape randomly over the white base.
The Final Look Of Your Red Flower Drawing!
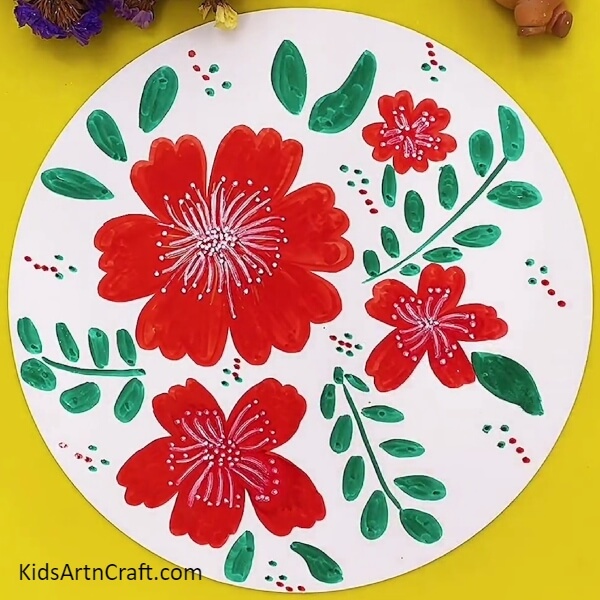
For the last step, make 3 consecutive dots coming out of the green dots using the red marker.
Woah! Can’t take your eyes off your creation? Well, I told you they will turn out to be stunning!!!!
You can now showcase your amazing creation in the drawing room! I’m sure the pretty red flowers will brighten the room up! You can also make this artwork on a giant base! Imagine how a giant artwork will look over the wall of your room or drawing room! The thought is amazing in itself! Give this idea a try and you can also customize the artwork to match it with the color of the room this art is being placed in!
Follow us on Youtube for art and craft tutorials and much more.
More Articles from Kids Art & Craft
- Easy Drawing Tricks Video Tutorial for Kids
- Easy to Draw 3D Drawing Tricks Video Tutorial
- Easy Hand Drawing And Painting Video Tutorial for Kids
- Easy Watermelon Stamp Doodle Painting Step-by-Step Tutorial
- Pretty Poppy Flower Garden Painting Art For Kids