


Painting
Creative Owl Painting Idea For Kids Step-by-step Tutorial

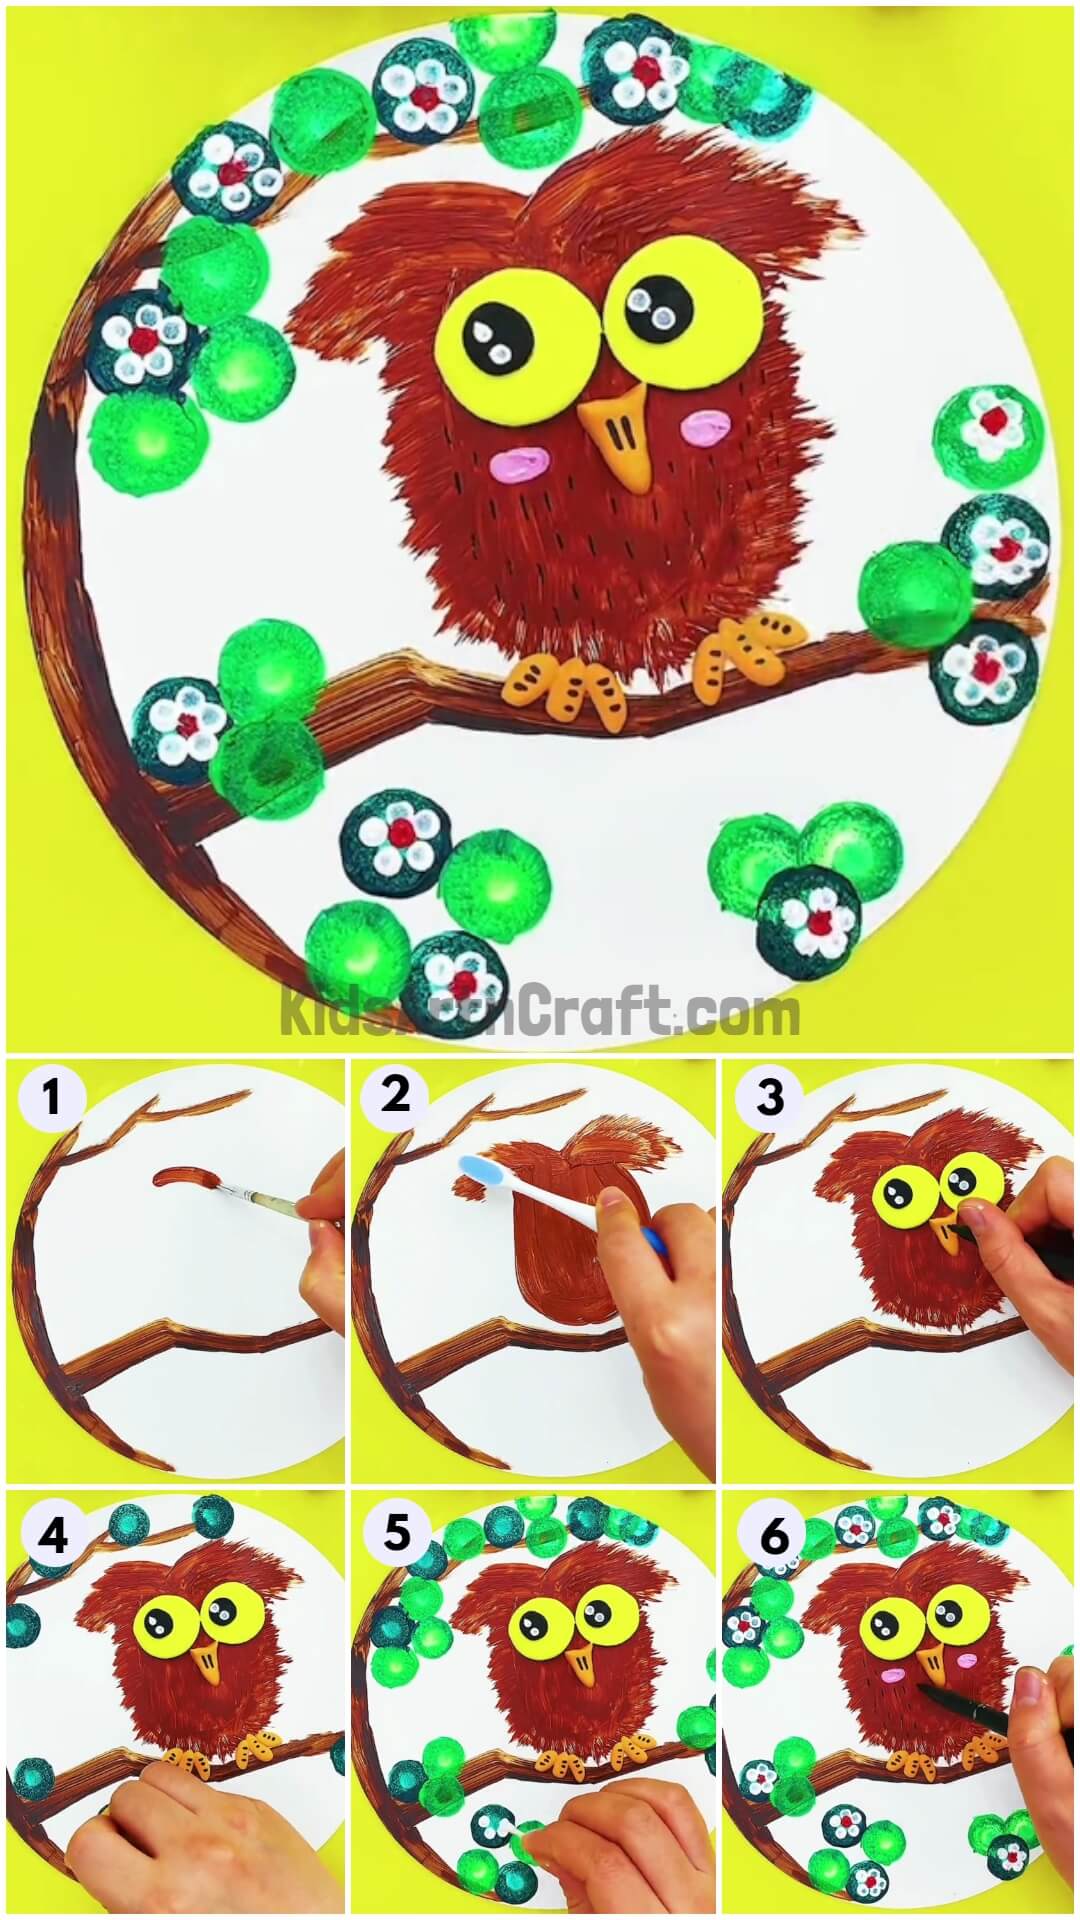
This step-by-step tutorial will show your kids how to make an adorable owl painting with just a few simple materials. They’ll have fun creating their own masterpiece and learn about animals and the environment in the process. Get creative and have fun with this fun painting activity!
Hey, a budding artist! Here, is a cool painting idea for you to work on next time. This tutorial will make you learn new techniques and methods to elevate your painting game! Apart from regular paintbrushes, this art idea successfully incorporates the use of cotton buds, toothbrushes, and clay dough to add an artistic touch to the paintings. So, grab your art supplies and embark on the journey of an innovative art painting!
Easy Owl Painting Idea For Kids
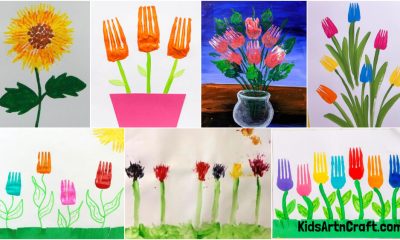
Read More: Easy Tulip Flower Painting Tutorial For Kids
Materials Required
- Watercolors
- Paintbrush
- Toothbrush
- Cotton buds
- Craft Sheet(White)
- Scissors
- Clay dough(Orange, Yellow, Black)
Procedure
Step 1: Painting The Branch Of The Tree
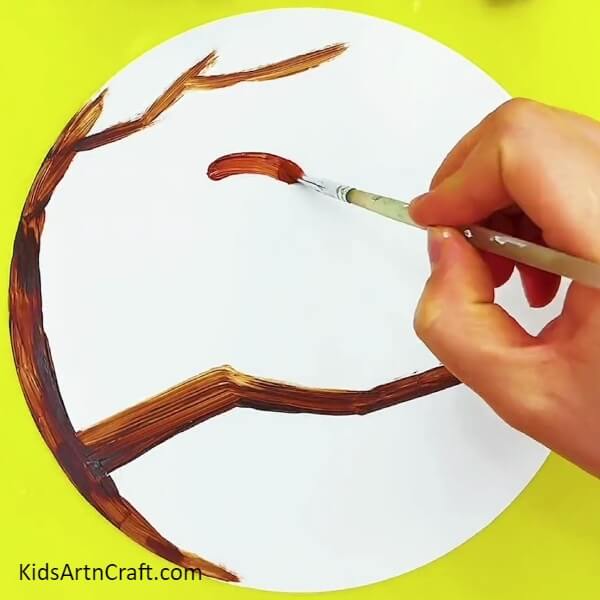
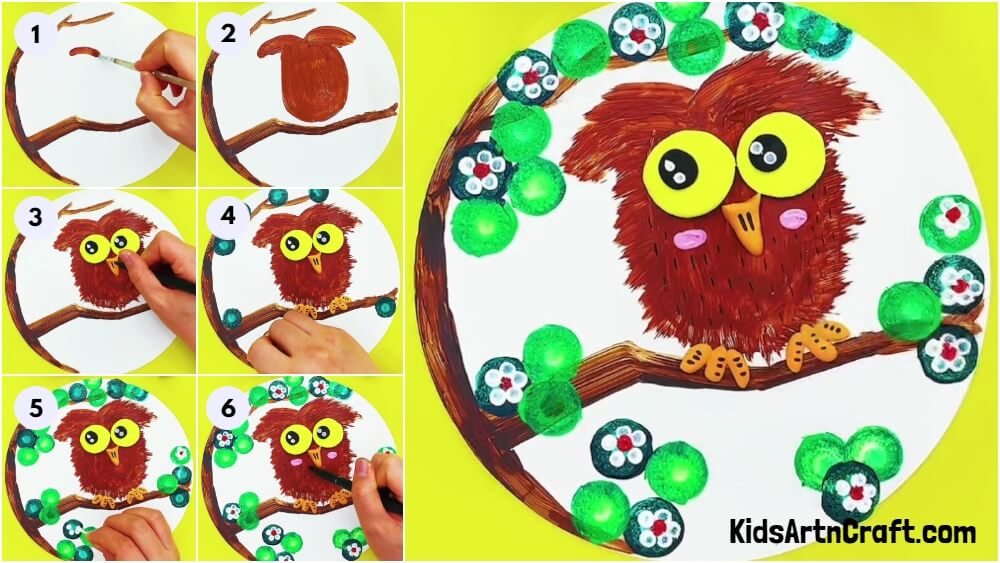
Let’s begin this craft by taking a white sheet of paper. Cut a circle out of it. This will become the base of our painting. Take brown paint and start painting the branches and trunk of the tree as shown.
Step 2: Painting The Owl’s Body
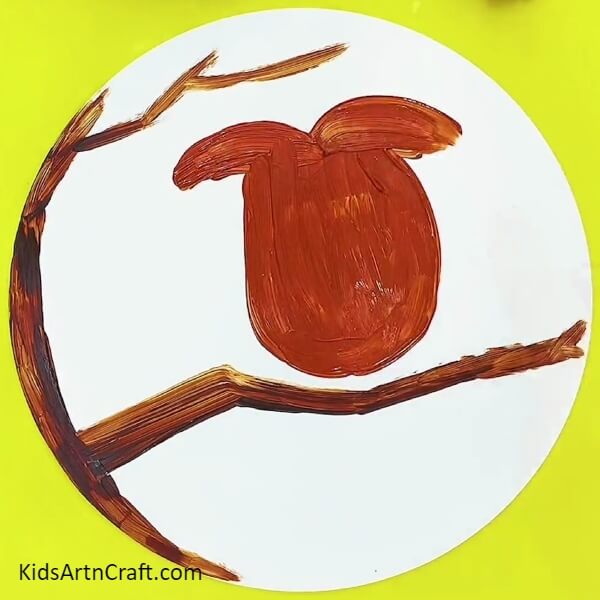
Next, using the same brown paint, paint the owl’s body slightly above the branch as shown in the image. Make a bulging body and a curved head of the owl.
Step 3: Making A Texture On The Head
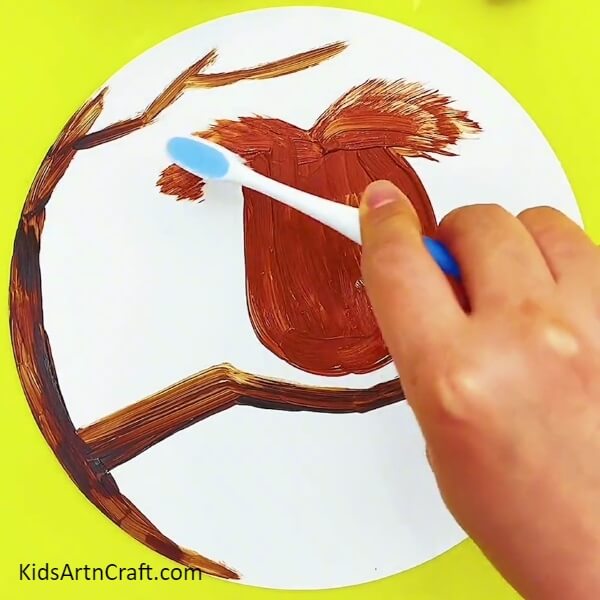
Take a toothbrush, and brush through the head. Make gentle strokes while the paint is wet so that you get a feather-like texture on the top. Take reference from the image.
Step 4: Brushing The Body
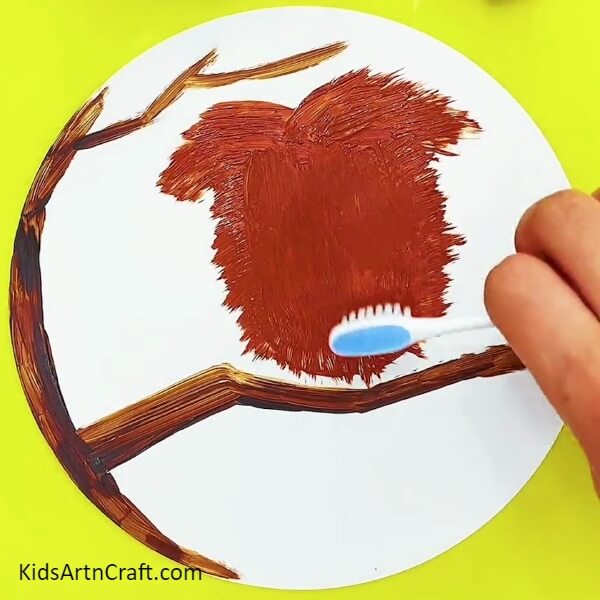
Take the same toothbrush, and apply gentle brush strokes on the bulging body of the owl to obtain a feather-like texture as shown. This texture will make our owl look more realistic.
Step 5: Making The Eyes
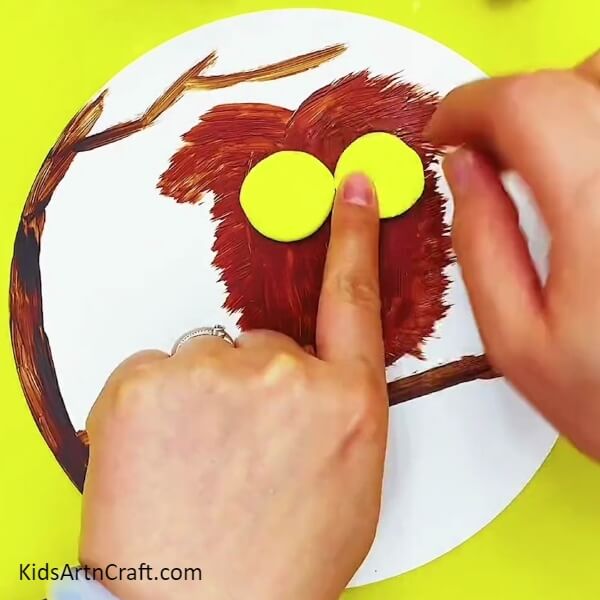
Take yellow clay and make two small flat circles for making the eyes of the owl. Paste them together below the head.
Step 6: Pasting Two Black Circles
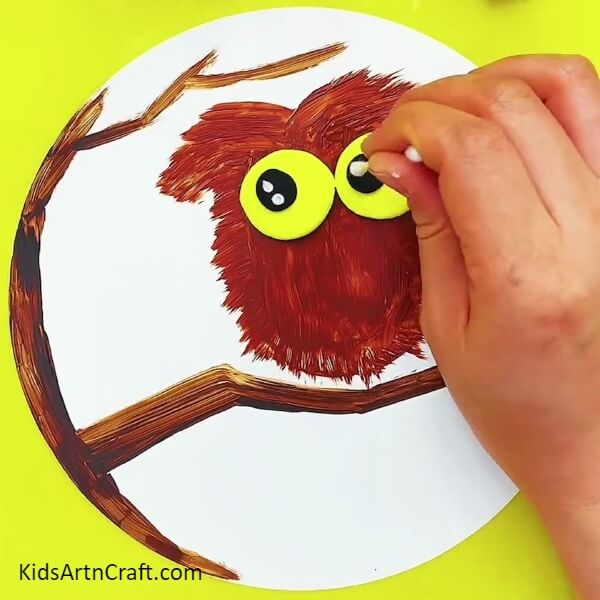
Take black clay, make two small circles, and paste them in the center of the yellow circles. Take a cotton bud, dip them in white paint, and place two small dots inside the black circles as shown to complete the eyes of the owl.
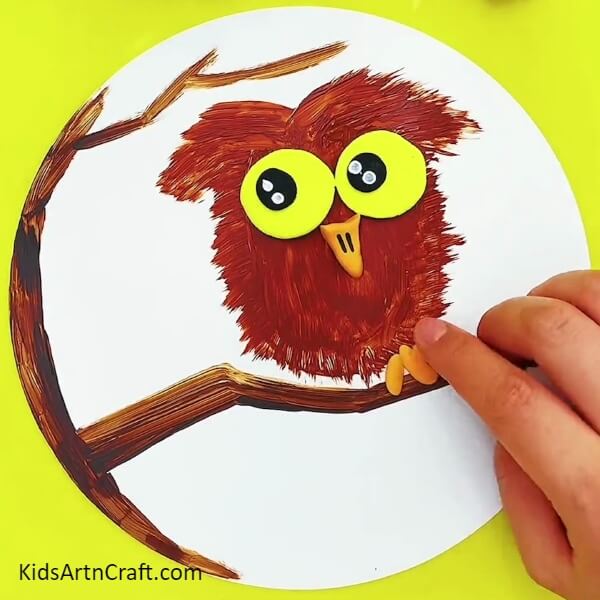
Step 7: Making The Beak
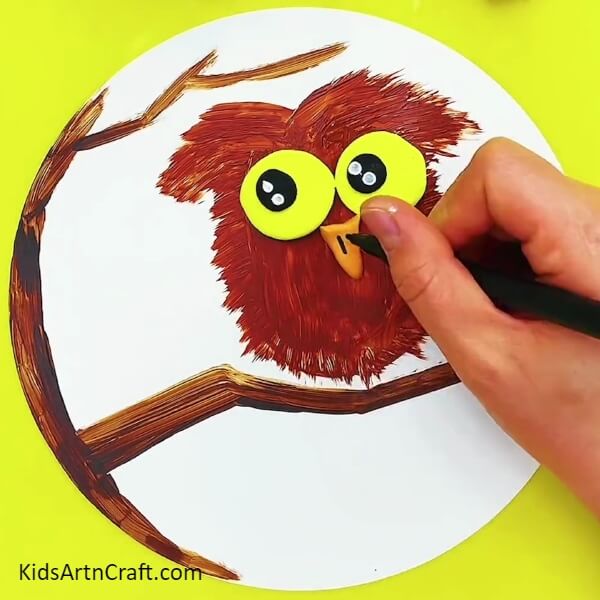
For the beak, take orange clay and make a small flat triangle out of it. Paste it below the eyes with its pointed end facing downwards as shown. Take a black marker and draw two small straight lines in the center of the beak. You have completed the beak of the owl.
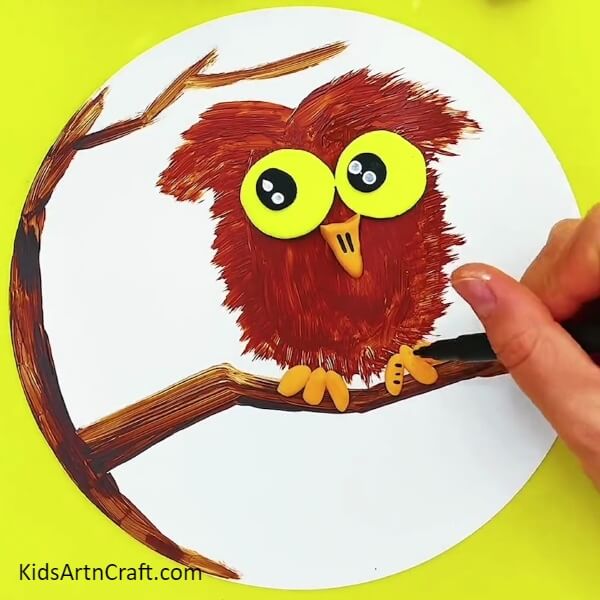
Step 8: Making The Feet Of The Owl
Take orange clay and make three small ovals to make the feet of the owl. Flatten the ovals slightly and paste the three of them together at the bottom of the owl to make the feet as shown in the image.
Step 9: Completing The Feet
Repeat the above step, make three more flat ovals, and paste them together to make the other feet of the owl as shown. Take a black marker, and draw three horizontal lines on each oval to complete the entire look of the owl’s feet as shown.
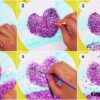
Step 10: Making The Green Circles
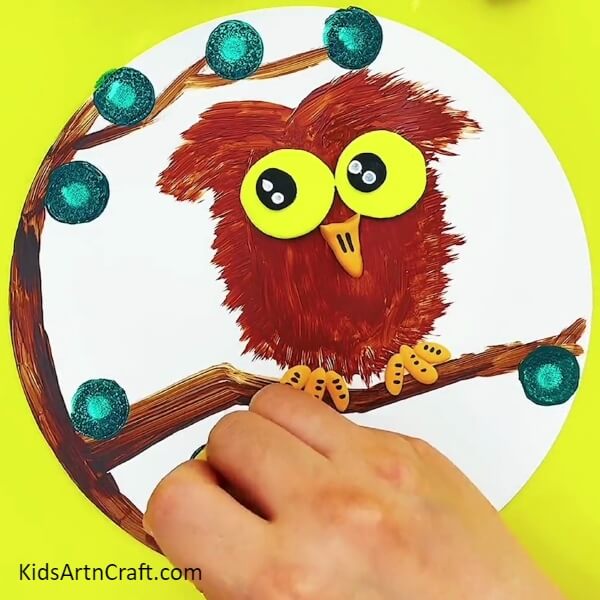
Take dark green paint and make a few circles on the tree as shown in the image.
Step 11: Making More Green Circles And Flowers
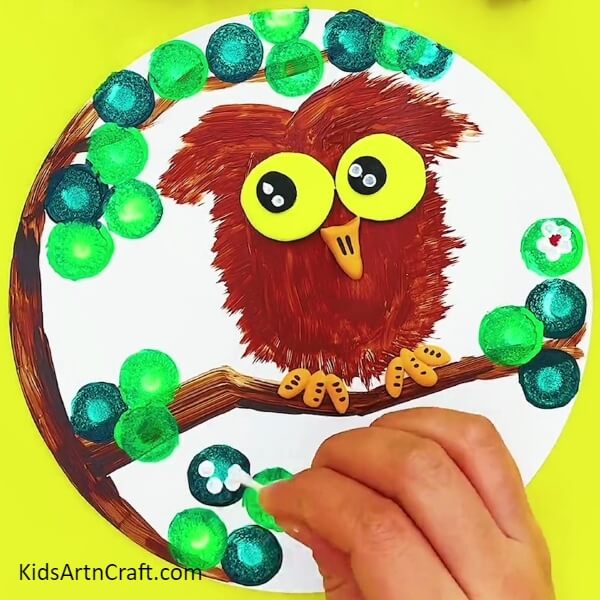
Take paint of light green shade and make a few circles out of it on the tree branch as shown. This will make the effect of contrasting leaves on the tree. Take a cotton bud and dip it into white paint and put small white dots on each dark green circle to make the flowers. Take another cotton bud, dip it into red color, and make the center of each flower as shown in the image.
Step 12: Making The Cheeks Of The Owl
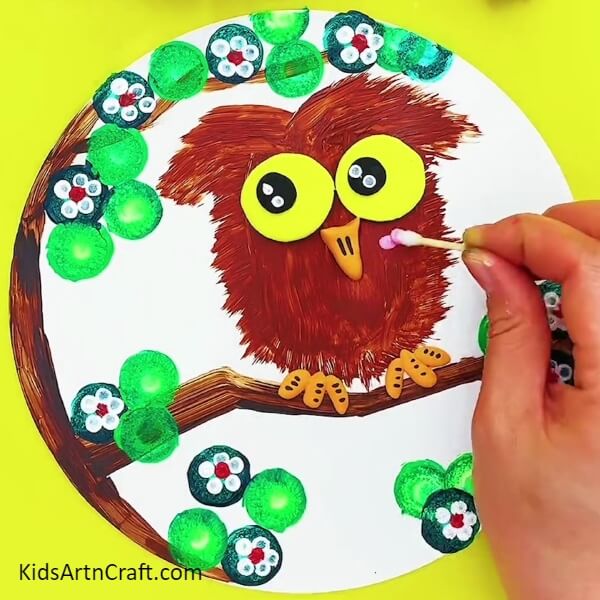
Take a cotton bud and dip it into a blush pink shade of watercolor and make the cheeks of the owl as shown.
Step 13: Making Black Marks
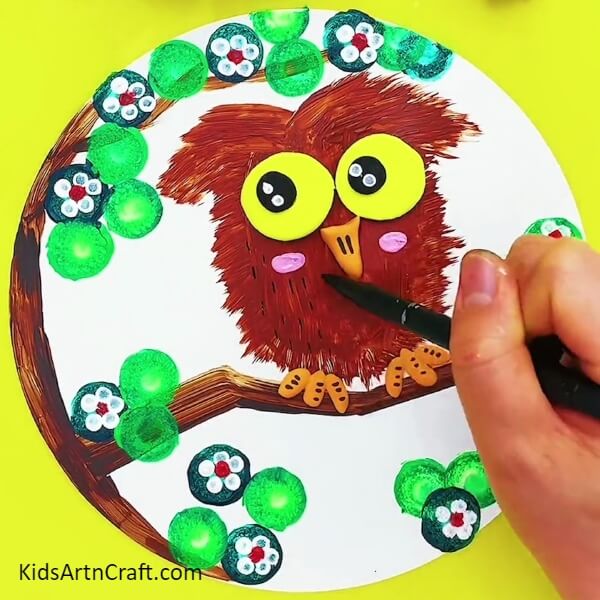
Take a black marker and draw small vertical marks on the entire body of the owl to make it look more real and visually appealing.
The Creative Owl Painting Idea For Kids Is Ready!
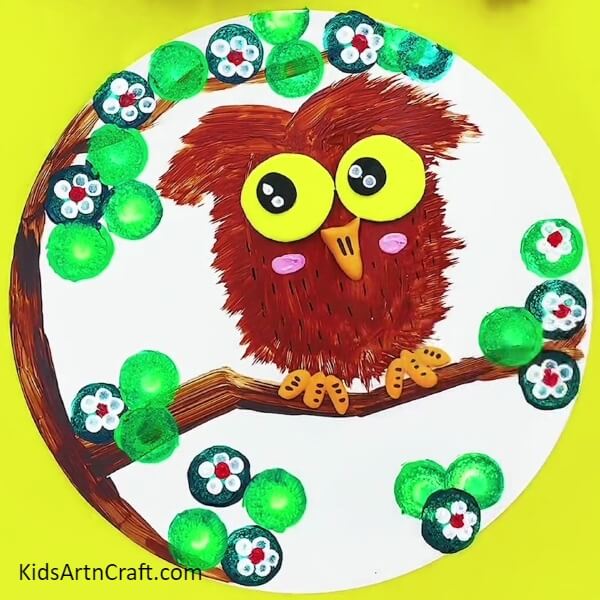
And that’s it, the creative owl painting is ready! This masterpiece is ready to be hung on the walls as wall decor or it can be made to display in the art classroom and win the appraisal of your teachers.
This art piece proves that painting is not only limited to paint brushes, in fact, even simple tools like toothbrushes, cotton buds, and clay dough can be used to add life and texture to a painting. Kids will develop fine motor skills and also different techniques to add texture to a painting and make it more attractive and realistic.
Some More Owl Craft Tutorial
Creating Cardboard Tube Owl Craft For Children
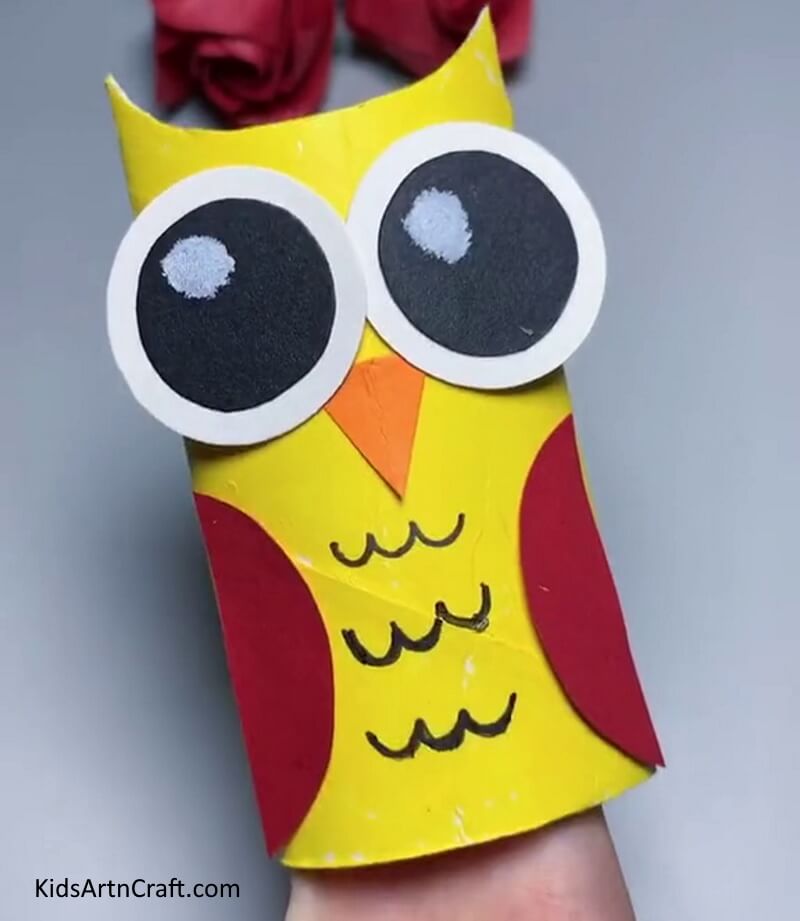
Image Source/Tutorial: Kids Art & Craft
This craft is a fun and creative way to get children interested in the arts. It involves using cardboard tubes to create an owl shape and using fun materials to decorate. This craft is sure to be a hit with children of all ages and will provide hours of fun!
Follow our website for more creative ideas!
Follow us on Youtube for art and craft tutorials and much more.
More Articles from Kids Art & Craft
- Learn to Drawing And Painting Video Tutorial for Beginners
- Simple Drawing For 3D Art Video Tutorial
- Easy Painting Video Tutorial for Beginners
- Creative Alphabetic Drawing Tricks Video Tutorial for Beginners
- Simple Animal Drawings Tricks Video Tutorial for Kids