Home Decor
DIY Ribbon Flowers Craft Step by Step Tutorial For Beginners

Learn to make some cool and pretty flowers through this simple DIY craft idea by using a few materials. Check out the website for more cool and easy DIY craft ideas. This step-by-step tutorial will help you in learning how to make pretty ribbon flowers
Welcome to this step-by-step tutorial! In this tutorial, we will learn how to make some pretty flowers using a satin ribbon. In a few simple steps and with a roll of satin ribbon, we can make beautiful flowers that can be put up in a vase. Add some of your creativity too to make a bouquet of different flowers. Let’s get started!
Easy Ribbon Flowers Craft For Kids


Read More: Amazing Jute Basket Craft Making Step By Step Tutorial For Kids
Materials Required
- A roll of satin ribbon (of any 2 colours)
- Ruler
- Scissors
- Fevicol
- Double sided tape
- Hair straightening iron
- Aluminum/copper wire
- Green crepe paper
Procedure
Step 1: Taking Rolls Of Satin Ribbons
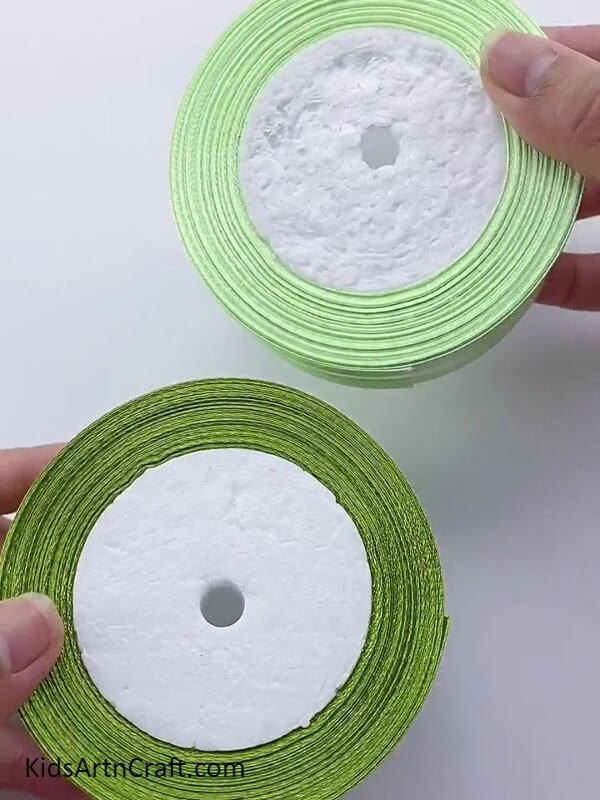

Take out rolls of satin ribbons of any two colours. Here, we are taking pale yellow and olive green shades.
Step 2: Taking The Ribbon Rolls
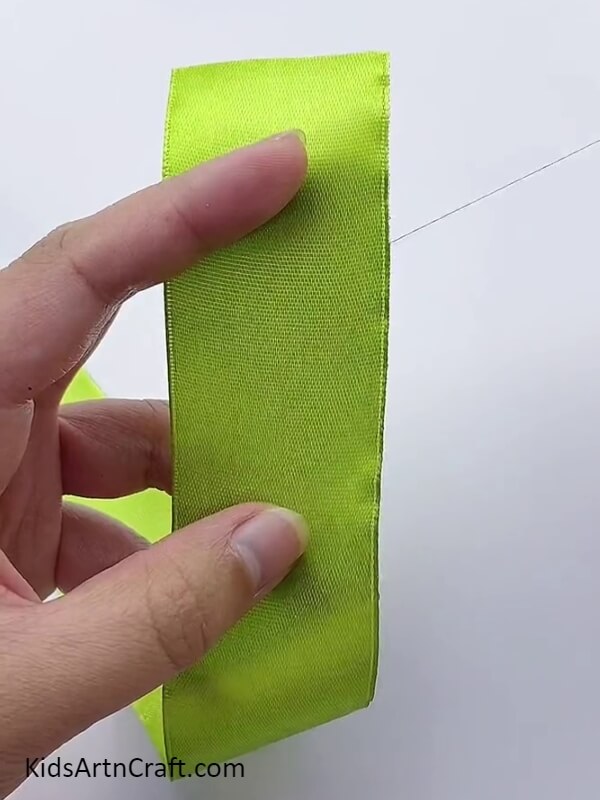
We are taking the olive green ribbon to make the inner portion of our flower.
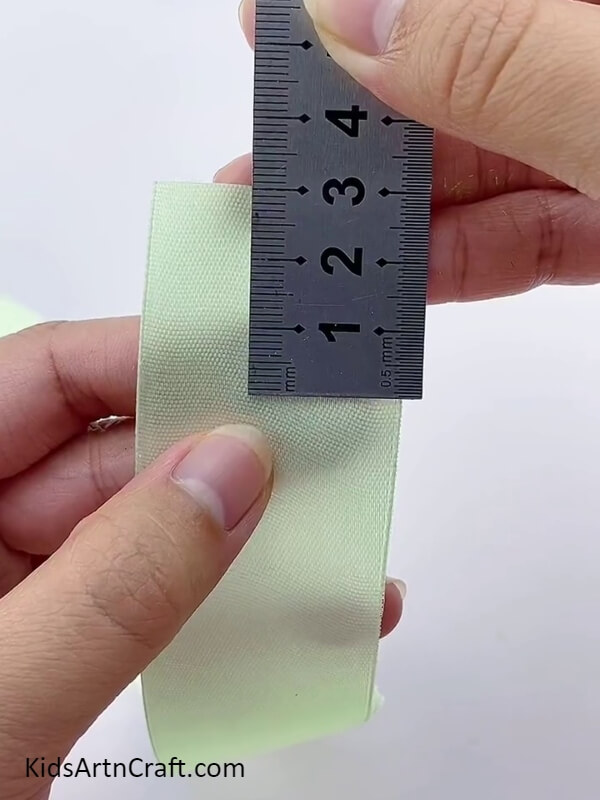
Step 3: Measuring The Green Ribbon
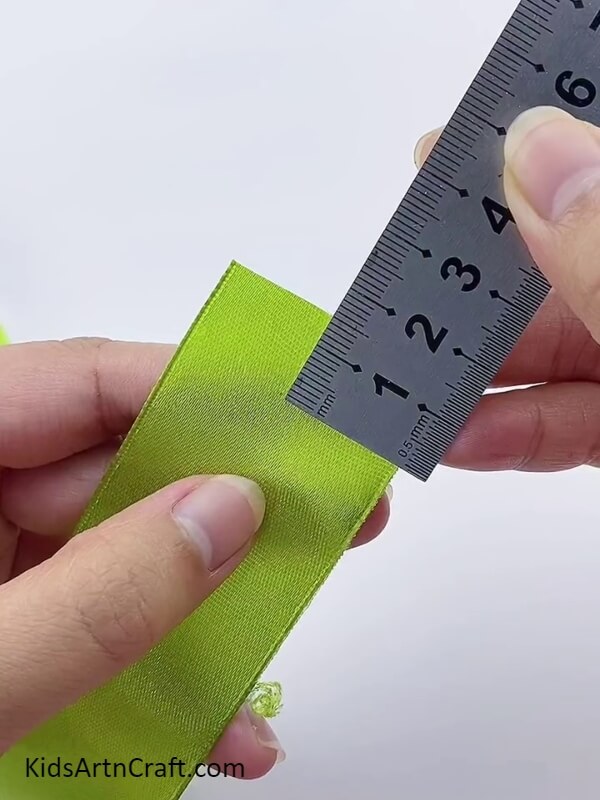
Now using scissor, cut out pieces measuring 1.5 cm from the olive green ribbon.
Step 4: Making The Inner Portion Of Our Flower
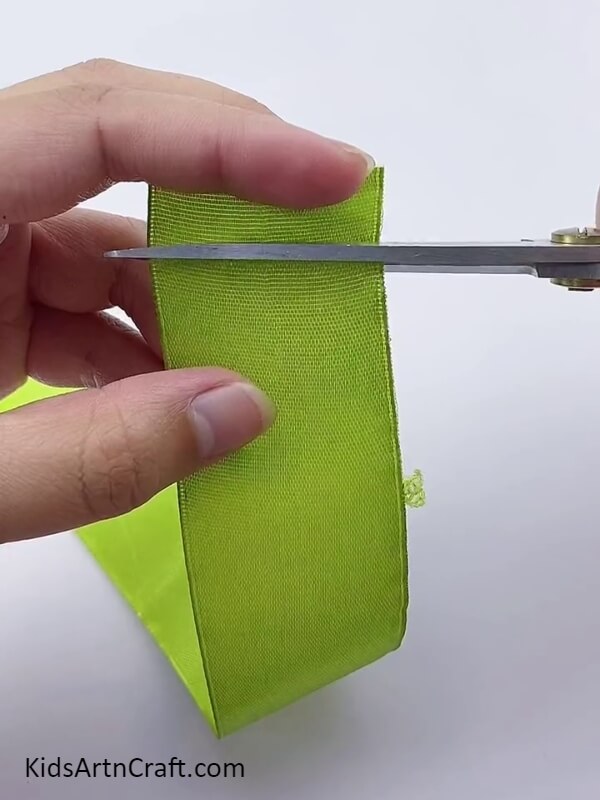
Measure, cut and keep the green ribbon aside.
Step 5: Cutting The Yellow Ribbon
Cut out pieces measuring 3 cm from the pale yellow ribbon.
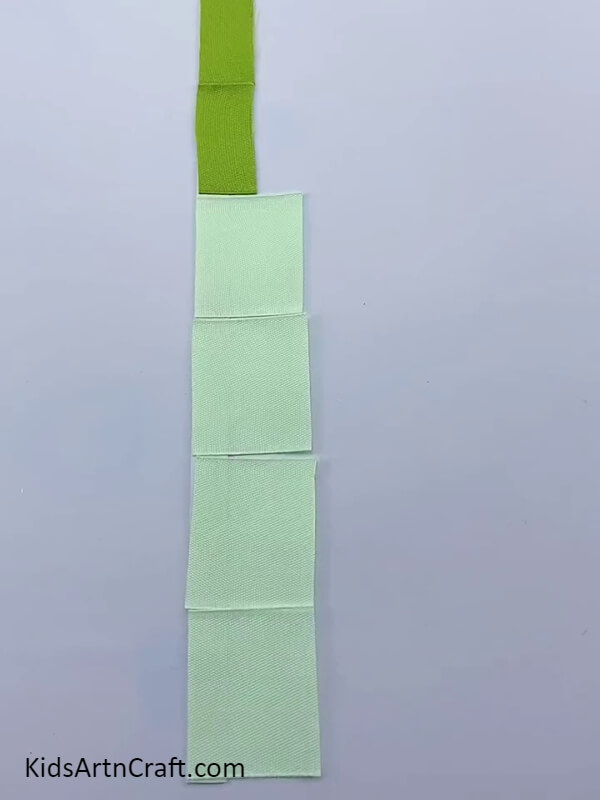
Step 6: Arranging The Pieces Of Ribbon
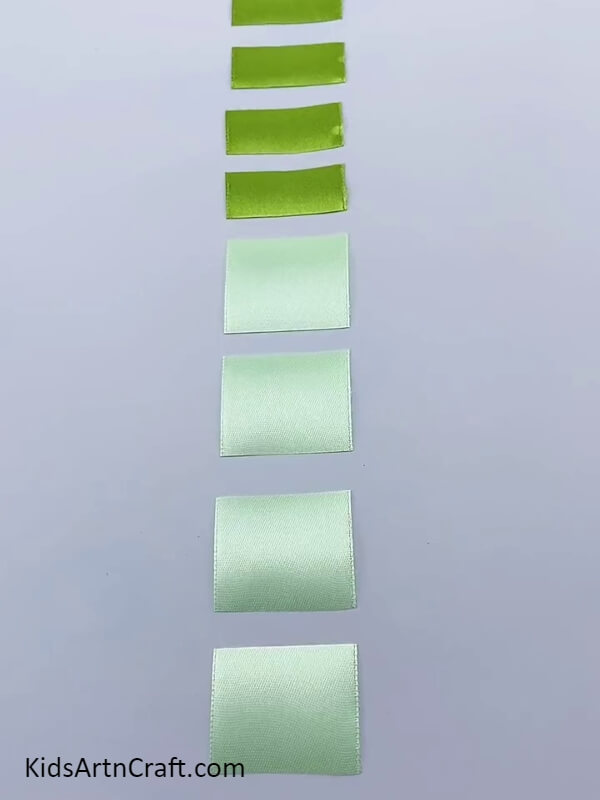
Arrange the cut ribbon pieces in order, with the olive green ribbon pieces first and then the pale yellow ribbon.
Step 7: Sticking Pieces Of Green Ribbon
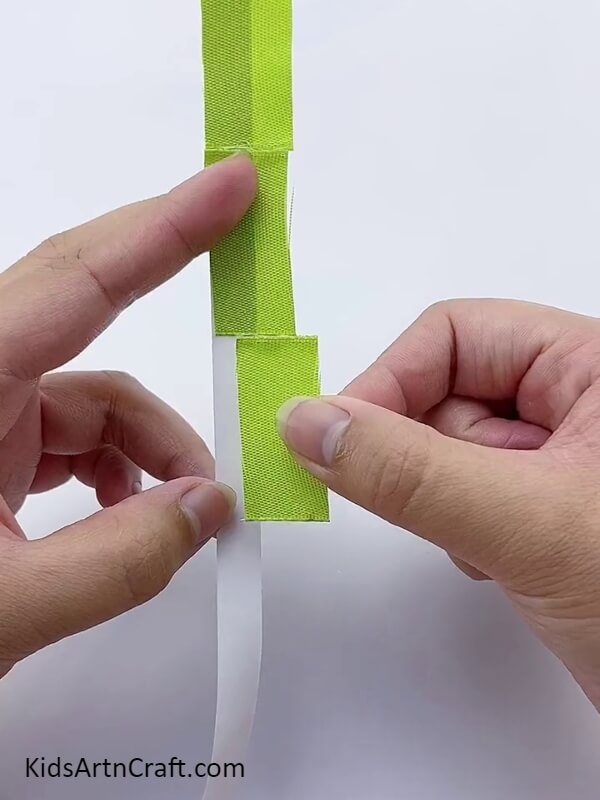
Take a thin strip of double sided tape and start sticking the green ribbon pieces in a horizontal manner.
Step 8: Sticking Yellow Ribbon Pieces
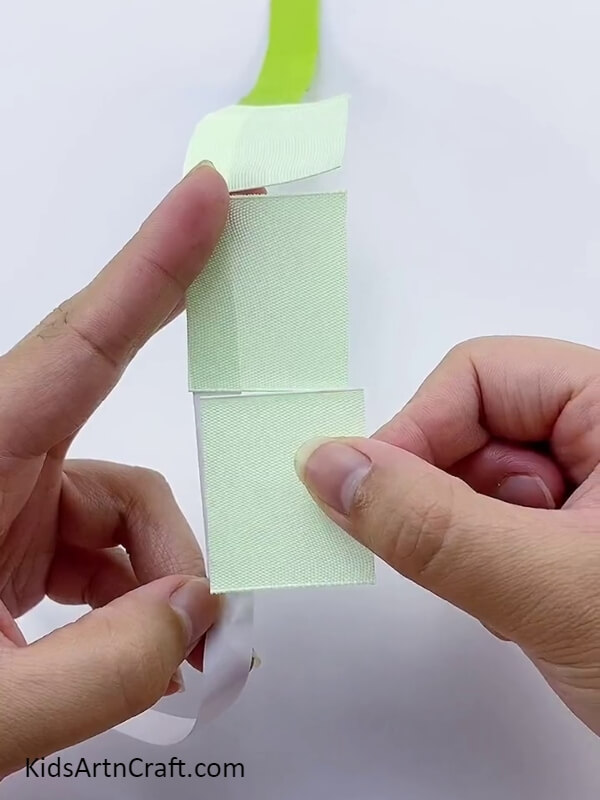
Once you have pasted all the green pieces, now start sticking pieces of pale yellow ribbon.
Step 9: Sticking The Pieces
Finish sticking all the ribbon pieces. Make sure that they are properly pasted.
Step 10: Cutting The Edges
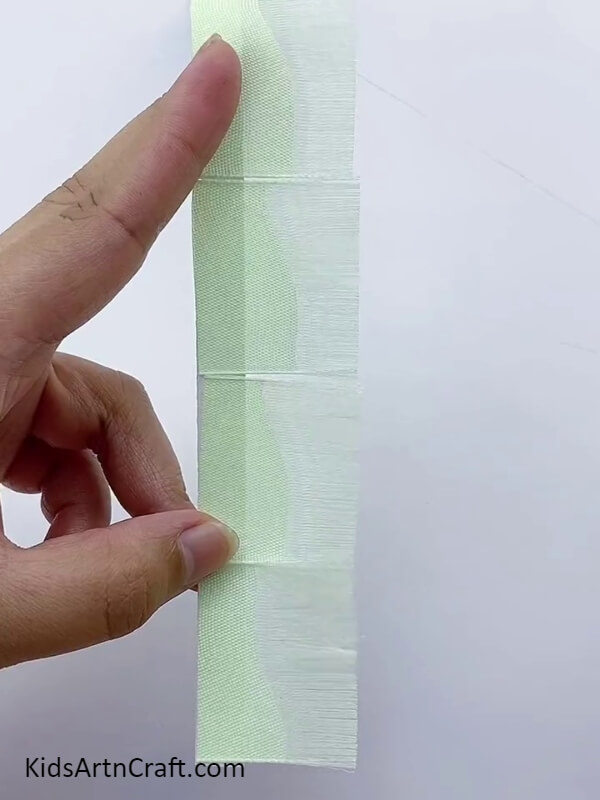
Once you have properly pasted the pieces of ribbon, now take out your scissors and make fringe cuts on the edges of the ribbon pieces.
Step 11: Making The Fringes Look Smoother
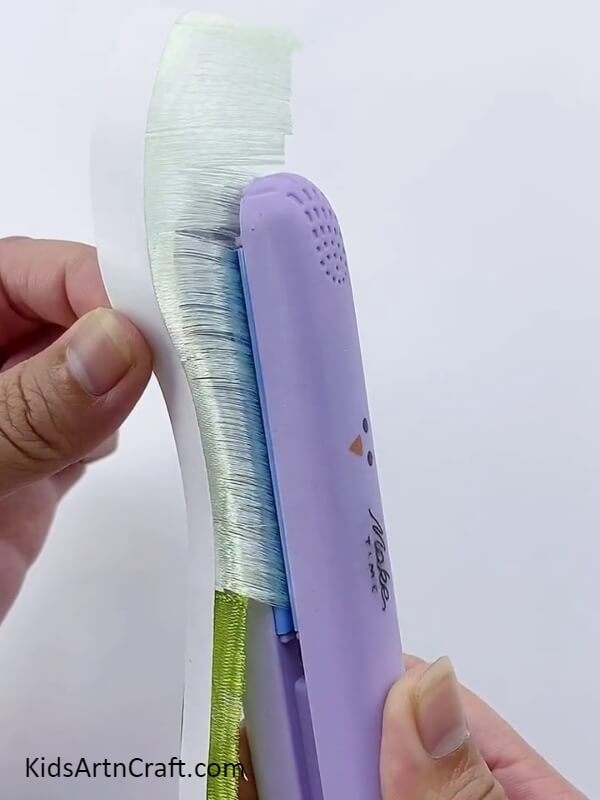
Use a hair straightening iron to smoothen the fringes that we have made.
Step 12: Removing The Liner Of The Tape
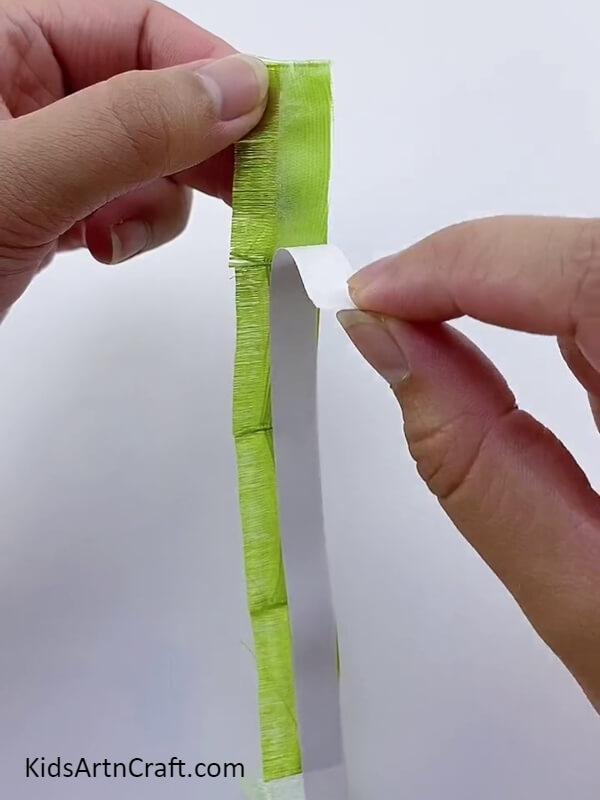
Let us now remove the liner of the double sided tape stuck on the ribbon pieces.
Step 13: Fixing The Stem Of The Flower

Take a small piece of metal wire (aluminium or copper) for making the stem of the flower. Now, place this wire at the starting edge of the ribbon. Use a tape to stick the metal wire to the ribbon.
Step 14: Rolling The Flower
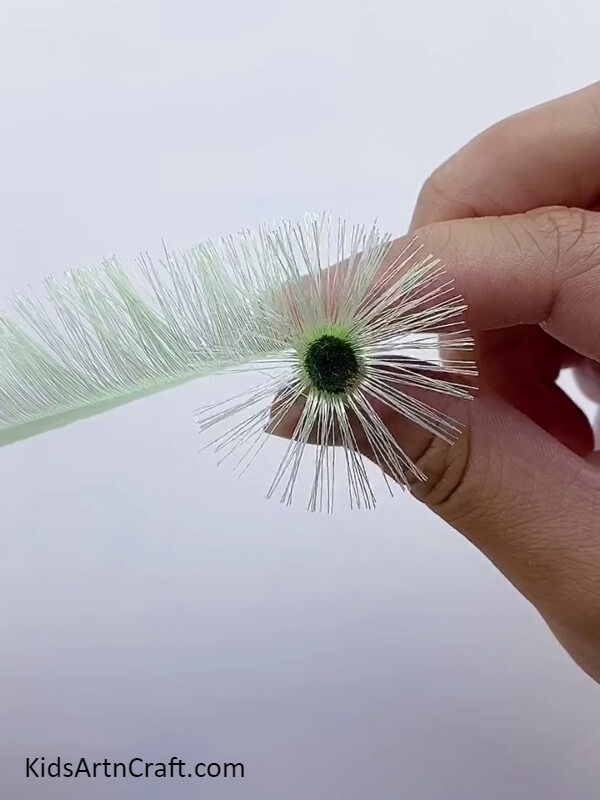
Slowly roll the metal wire to make the flower.
Step 15: keeping On Rolling The Ribbon
Keep on rolling the ribbon until you reach the other end. Secure the edges by using some fevicol.
Step 16: Making The Leaves
Take out some green crepe paper for making the leaves.
Step 17: Cutting The Leaves
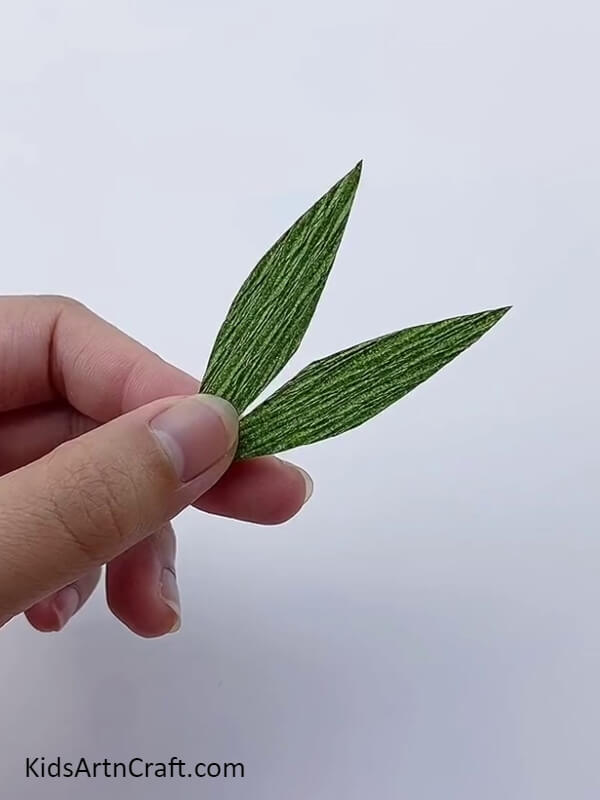
On the green crepe paper, draw and cut two leaves.
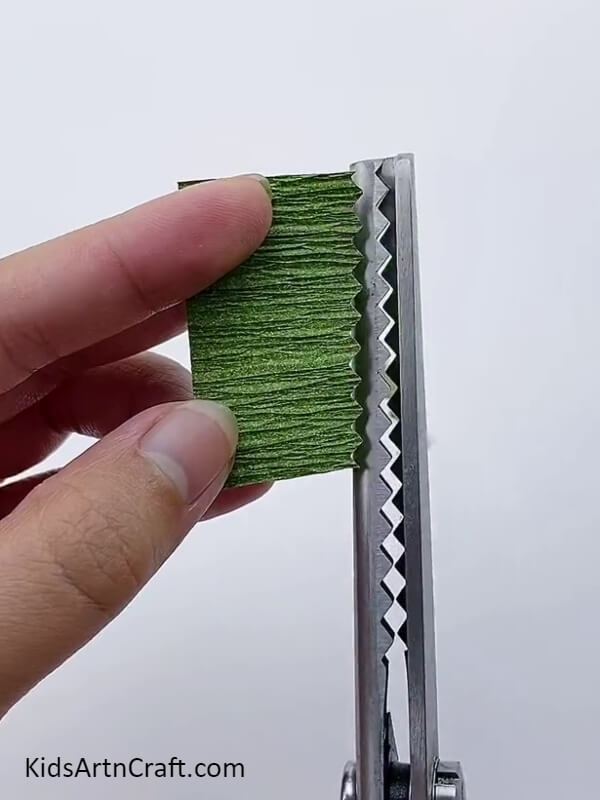
Step 18: Making The Sepals Of The Flower
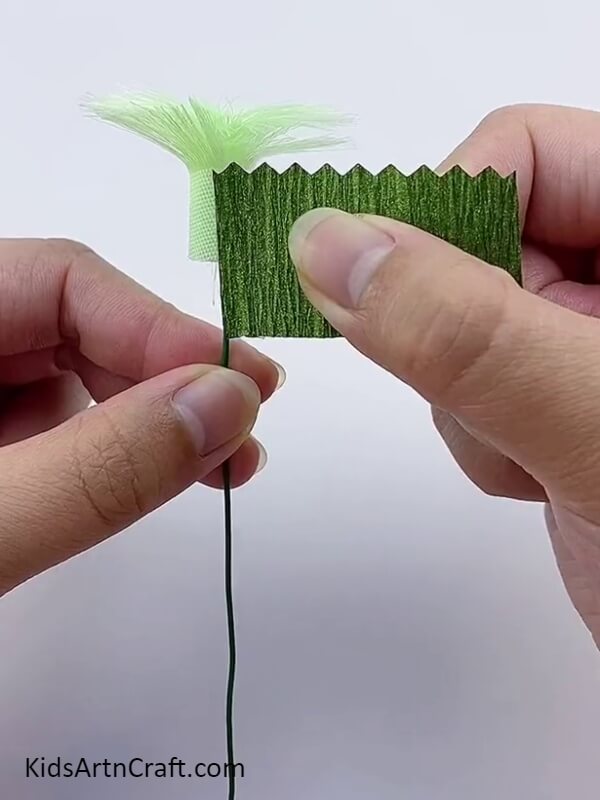
Take a small piece of green crepe paper and cut its edges to make the flower’s sepals.
Step 19: Wrapping The Green Crepe Paper
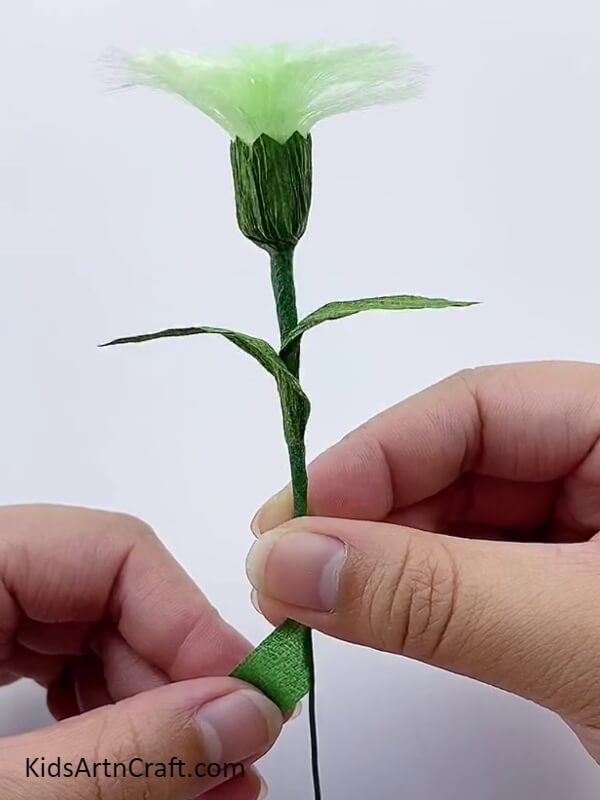
Stick the leaves. Now as the final step, take a narrow strip of green crepe paper and wrap it around the metal wire.
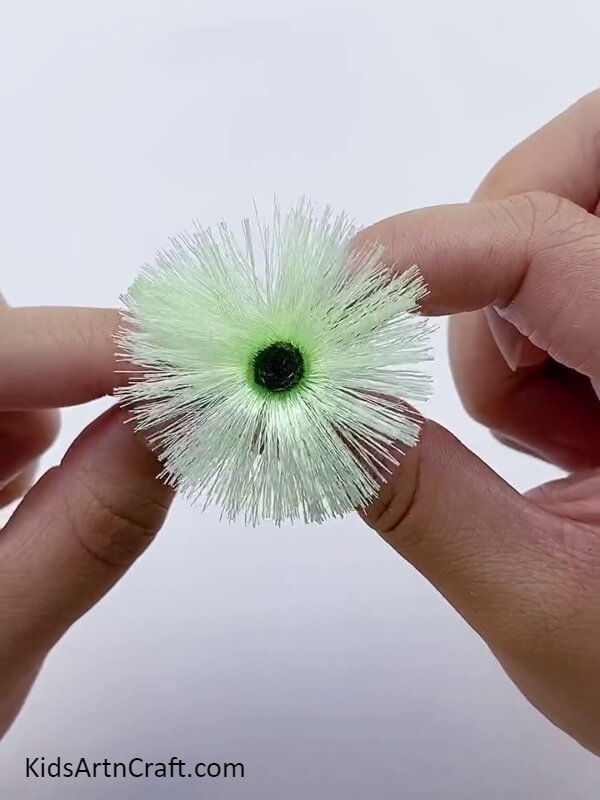
Step 20: Our Flower Is Now Ready
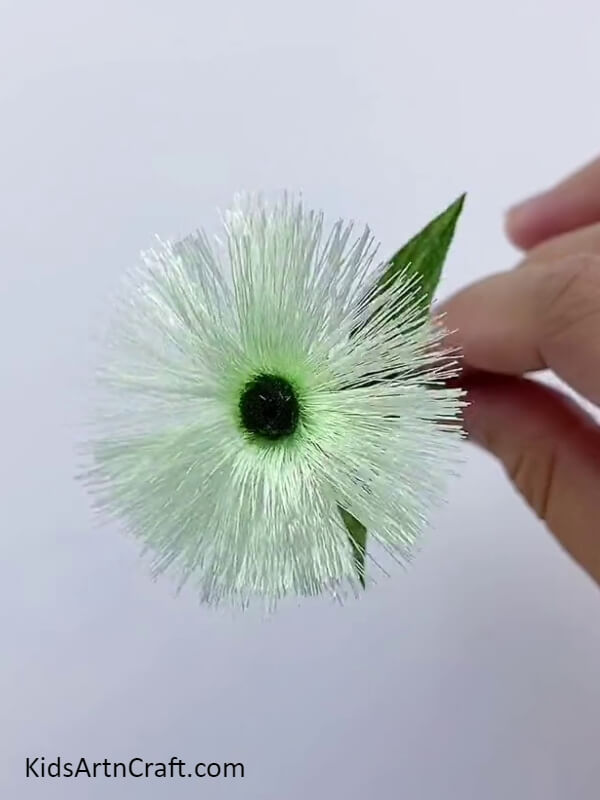
Your simple ribbon flower craft is ready.
Your Craft Is Ready!!
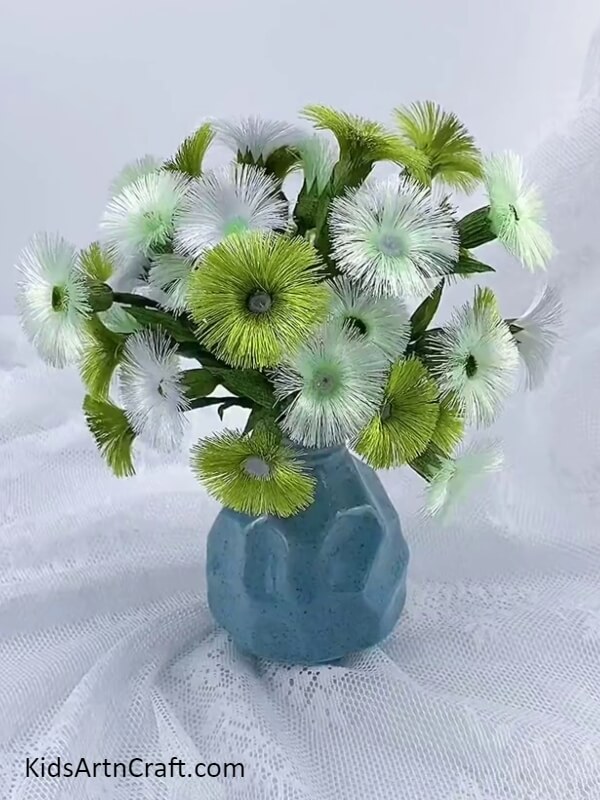
The flowers are perfect to be flaunted over a beautiful vase. You can add more flowers of different colours to make your bouquet look more prettier. This simple DIY is highly engaging for all. Why not leave all your stress aside for a while and engage in this creative, stress releasing activity?
Hope you will try out these simple ribbon flowers. Let us know what you think about through comments.
Thank you for visiting our website. Also, don’t forget to check out our new DIY craft ideas.
Follow us on Youtube for art and craft tutorials and much more.
More Articles from Kids Art & Craft
- DIY Paper Flower Hanging Craft Step-by-Step Tutorials
- Unique Hand Outline Tree Drawing Step by Step Tutorial
- Beautiful Lotus Hanging Paper Craft Decoration For Diwali
- How to Make Clay Flower Easy Tutorial for Kids
- Paper Bunny & Carrot Hanging Craft For Kids