Recycled Crafts
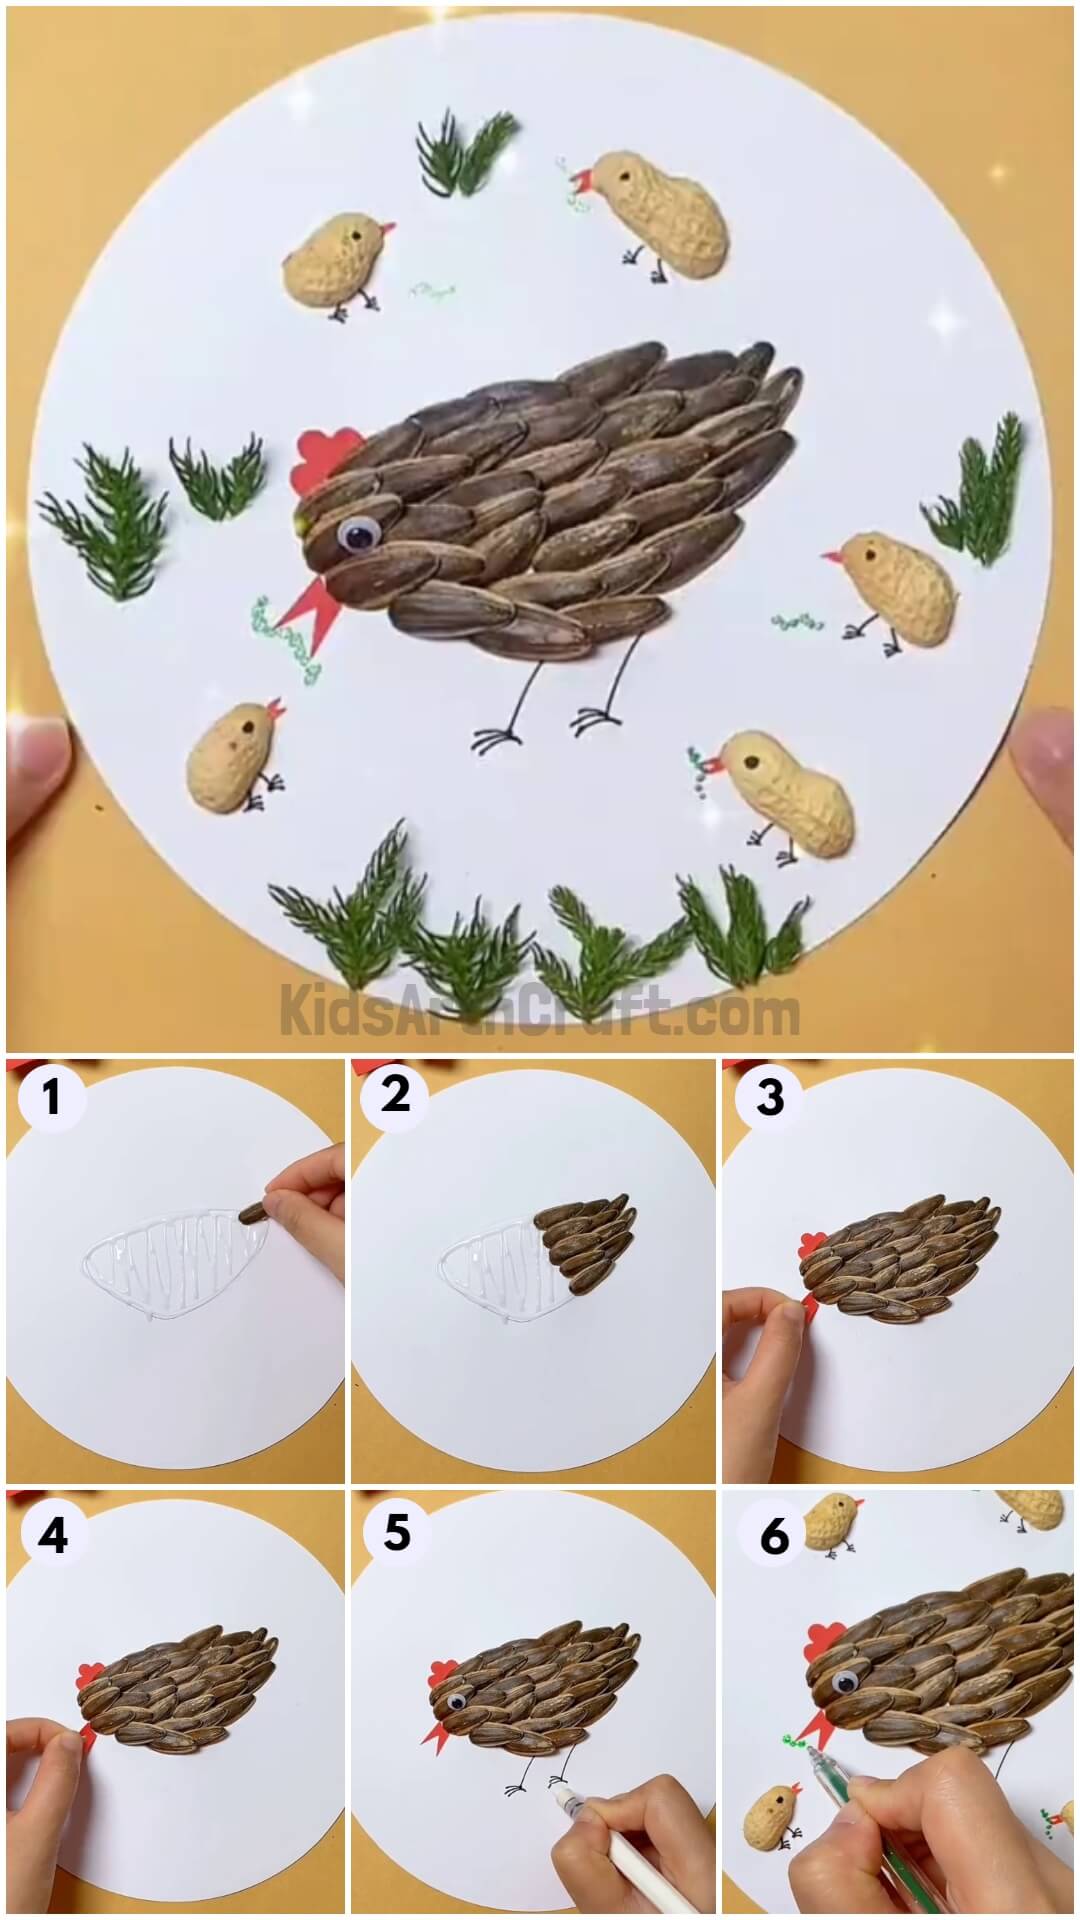
Sunflower Seeds And Peanut Shells Hen & Chicks Craft Tutorial

This step-by-step tutorial brings you an amazing nature scenery craft using up very unique and easy materials that you won’t even think of!
A warm welcome to you in this amazing tutorial for making a hen and chicks in a garden craftwork! If you are lacking the basic craft materials then this craft can be the piece to try out! This will definitely broaden the scope of your crafting skills and can even improve your skills! A craft activity is a perfect fun learning activity for boring hours and explores and drives the motor skills of a little one! This step-by-step tutorial will guide you to make this craft in no time like a pro! Read on to know the steps!
DIY Sunflower Seeds And Peanut Shells Hen & Chicks For Kids

Read More: DIY Foam Net Home Craft For Kids
Materials Required
- White Circular Paper Sheet
- Glue
- Pencil
- Sunflower Seeds
- Peanut Shells
- Black Pen
- Green Glitter Pen
- Orange Sketch Pen
- Googly Eye
- Christmas Tree Leaves
- Orange Paper Sheet
Procedure
Step 1: Drawing A Rounded Triangle Shaped Body
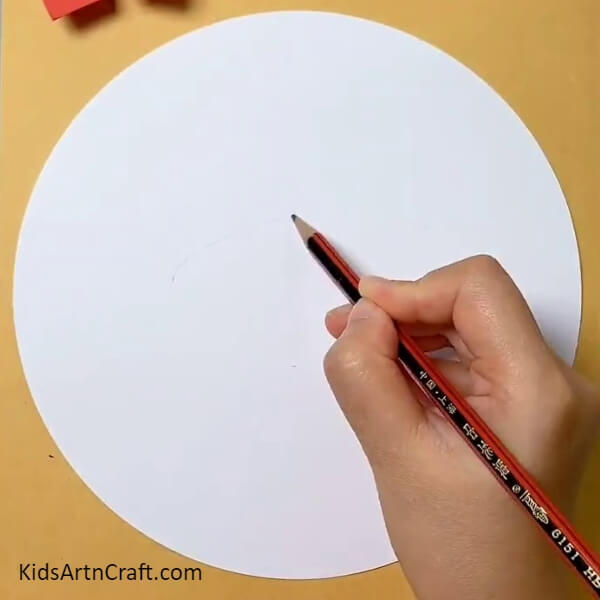

To begin this craft, take a white circular paper sheet as the base of your craft and a pencil. Using the pencil, draw a triangular-shaped body of the hen over the base, in the center.
Step 2: Applying Glue Over The Drawn Body
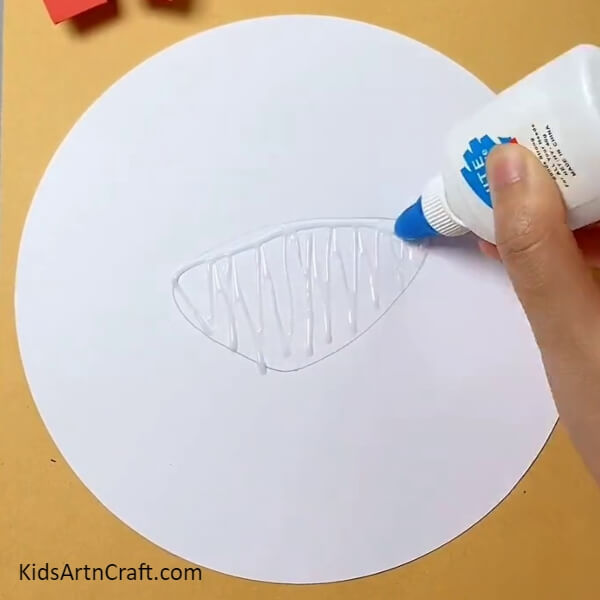
Apply glue inside the drawn body of the hen, evenly, covering the whole.
Step 3: Pasting A Sunflower Seed
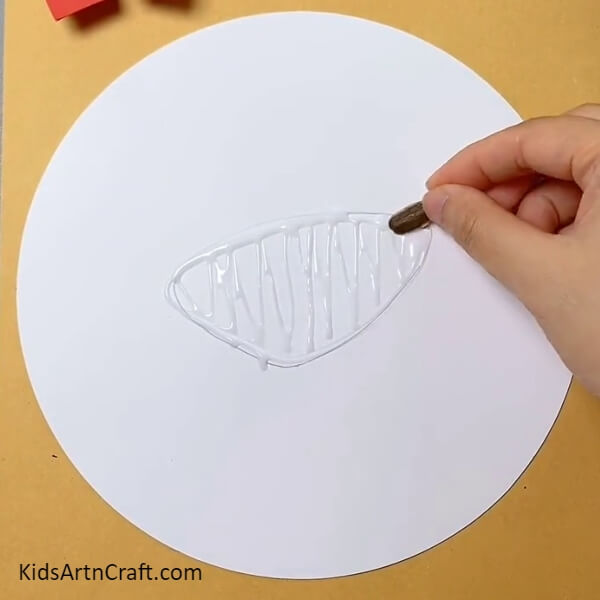
From the right of the drawn body, paste a sunflower seed at the back corner, horizontally tilted.
Step 4: Pasting More Sunflower Seeds
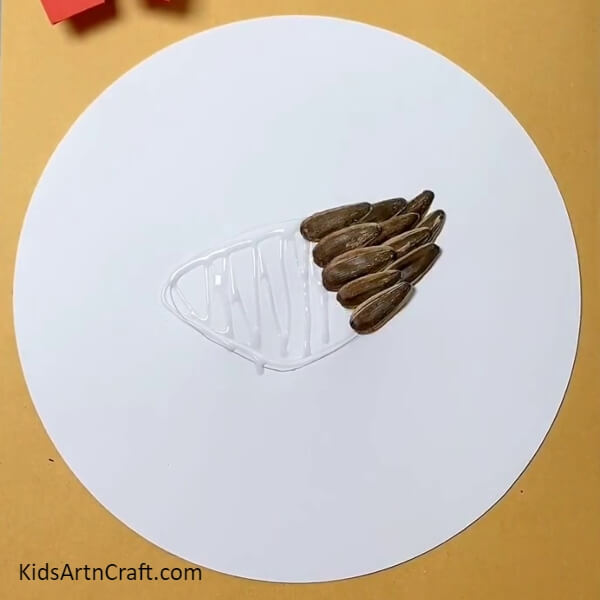
One by one paste sunflower seeds beside the first one in a line and make sure to keep the seeds a little over each other to give a 3D look of the hen.
Step 5: Completing Pasting Sunflower Seeds

Completely paste the sunflower seeds all over the glued hen base as shown in the image.
Step 6: Adding Comb And Beak Of The Hen
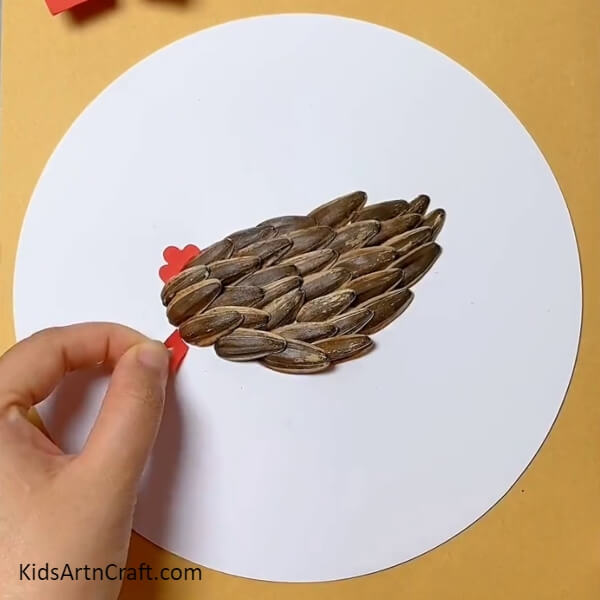
From a red paper sheet, cut out an opened beak and a curved comb of the hen and paste the beak on the left side of the body and the comb over the left top of the hen using glue.
Step 7: Pasting A Googly Eye
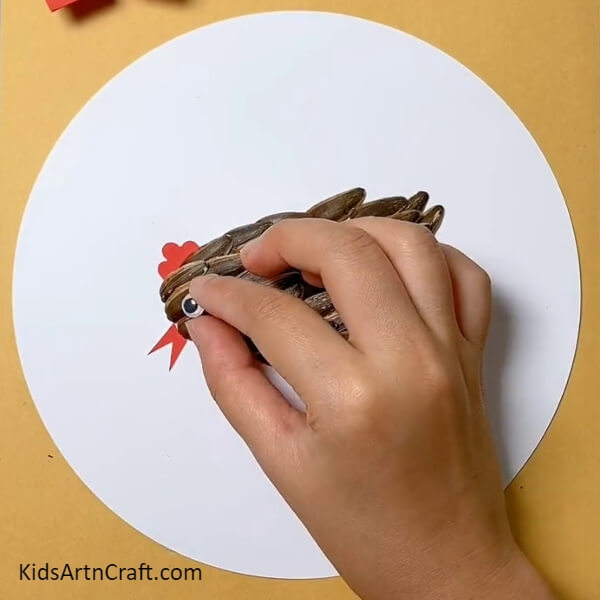
Using glue, paste a googly eye beside the beak over the body of the hen.
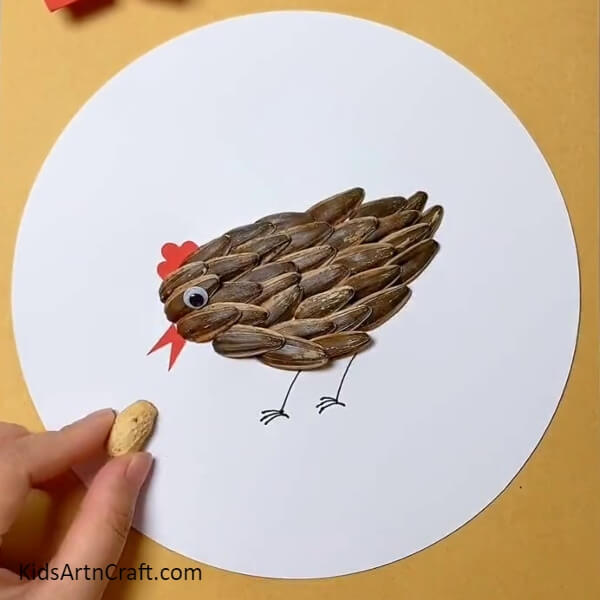
Step 8: Drawing Legs Of The Hen
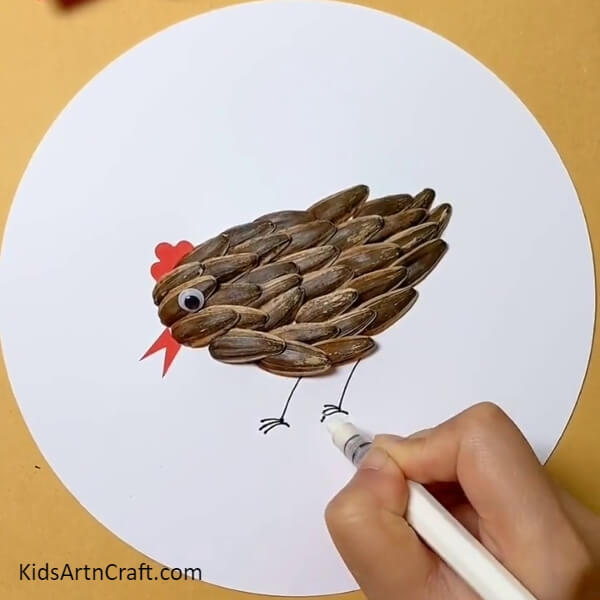
Using a black pen, draw the legs of the hen beneath its body with 3 curvy claws in each.
Step 9: Applying Glue To The Peanut Shell
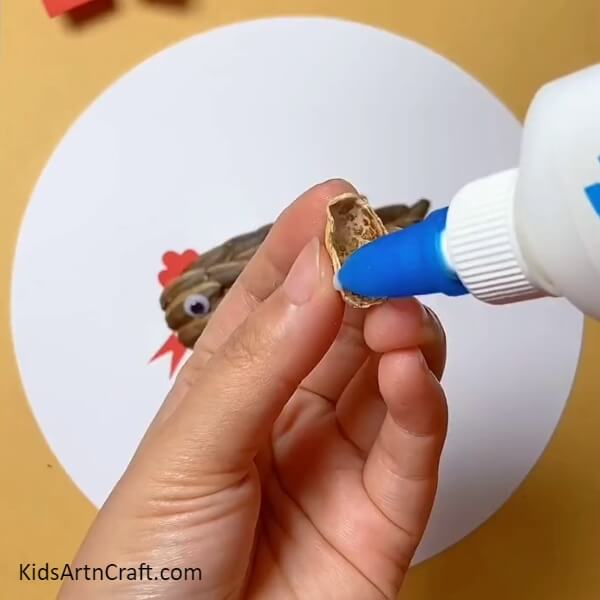
Take a half peanut shell and apply glue to the inner portion of it.
Step 10: Pasting The Peanut Shell
Paste the peanut shell on the left bottom side of the white base. This will be the body of a chick.
Step 11: Making More Chicks And Adding Their Features
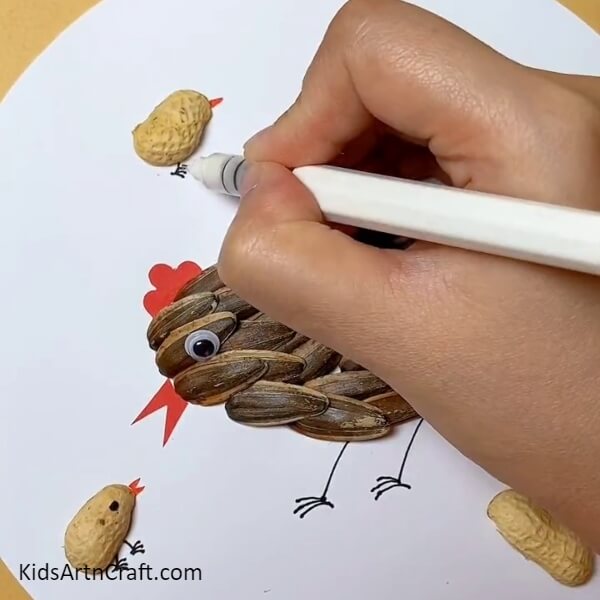
Following the previous steps, paste more of the chick’s bodies on the white base randomly. Now, using the black pen, make their legs and curved claws beneath their bodies and also make a dotted eye over them. Using an orange sketch pen, make their beaks too.
Step 12: Making Worms In The Beaks Of Hen And Chicks
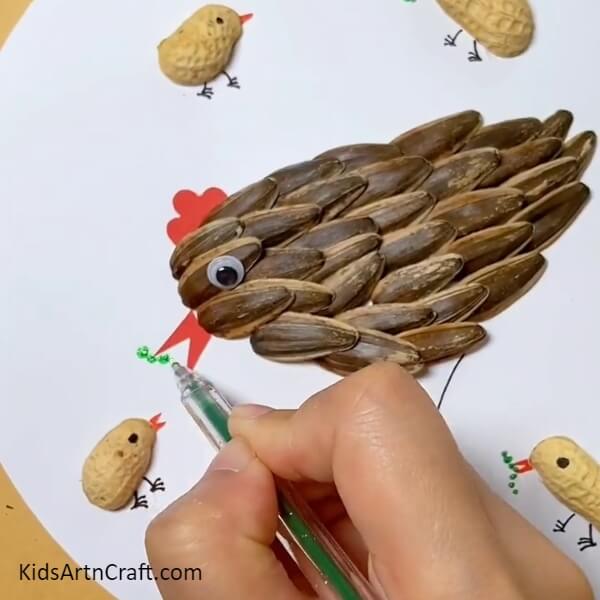
Using a green colored glitter pen, make dotted worms into the beaks of the hen and chicks. Make sure to make the worms curvy.
Step 13: Pasting Tree Leaves
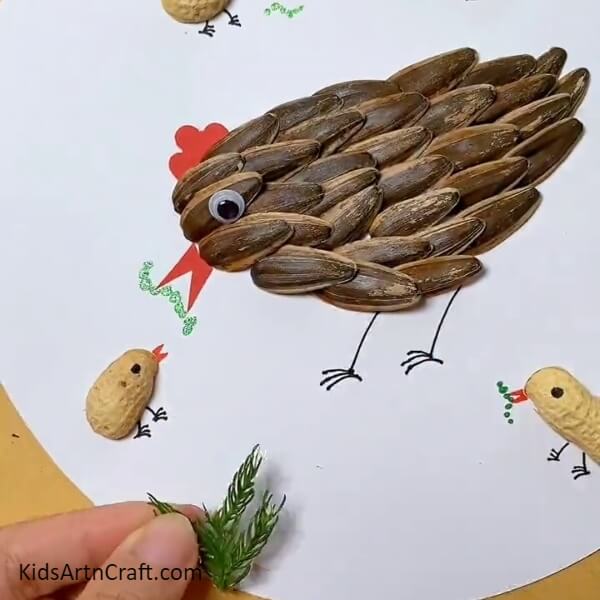
Take some Christmas tree spiky leaves and paste them onto the white base randomly using glue to make the craftwork look like a real garden.
This Is The Final Look Of Your Hen & Chicks Craft!
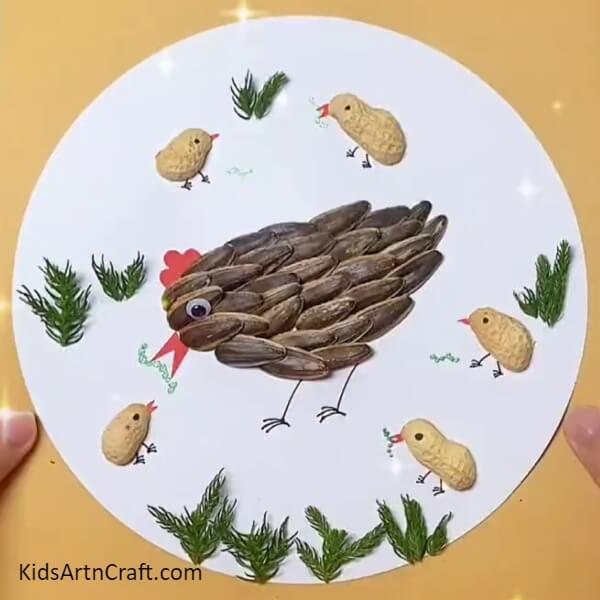
Woohoo! Your hen and chicks are happily eating up the worms in the pretty garden!
This craft will definitely be a hit addition to your craft collection! Show off your amazing creation to your friends and family and let them admire your innovation and crafting skills! This realistic craft can be decorated up the child’s room to keep the motivated in order to keep exploring the creative side of them! You can even encourage them to customize this craftwork in any way possible or in the way they imagine! Make it as unique as you are!
Hope you liked the article and the craft description in it! Do give it a like and share it as much as possible to keep us motivated in bringing more such amazing crafts to you!
Some More Hen Craft Tutorial
Creating Hen And Egg Using Clay for Children


Image Source/Tutorial: Kids Art & Craft
Creating a Hen And Egg Using Clay for Children is a fun and creative activity. It is a great way to teach children about animal life cycles. With this activity, children can learn how to make a clay hen and egg and explore their artistic side.
Create a Handprint Hen Craft with Kids

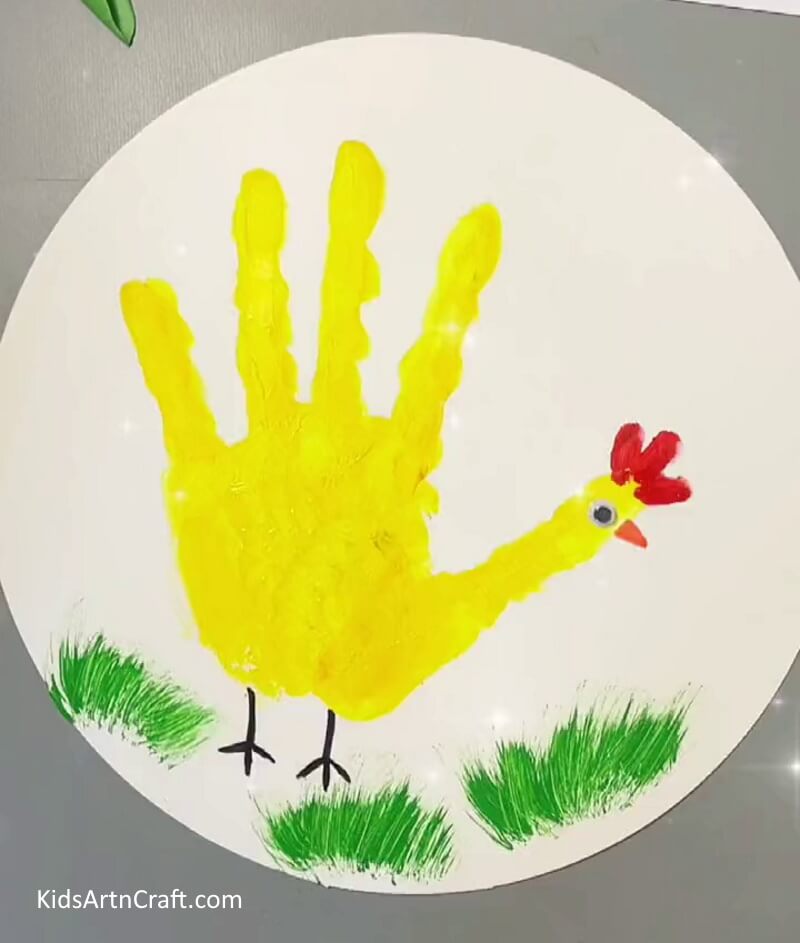
Image Source/Tutorial: Kids Art & Craft
This fun and easy craft is perfect for kids of all ages. Create a handprint hen with the help of some construction paper, paint, and a few simple tools. Kids will have a blast creating their own unique designs and will be proud to show off their work.
Follow us on Youtube for art and craft tutorials and much more.
More Articles from Kids Art & Craft
- Recycled Chick Pattern Pencil Stand Craft Step by Step Tutorial
- Easy Peanut Shells Giraffe Art and Craft For Kids
- How to make Sunflower From Paper Cup Craft
- Plastic Straws Flower Making Craft Tutorial For Kids
- Cycle Making From Paper Cup And Plastic Straw