Paper Crafts
3D Snowman Paper Easy Craft Tutorial For Kids

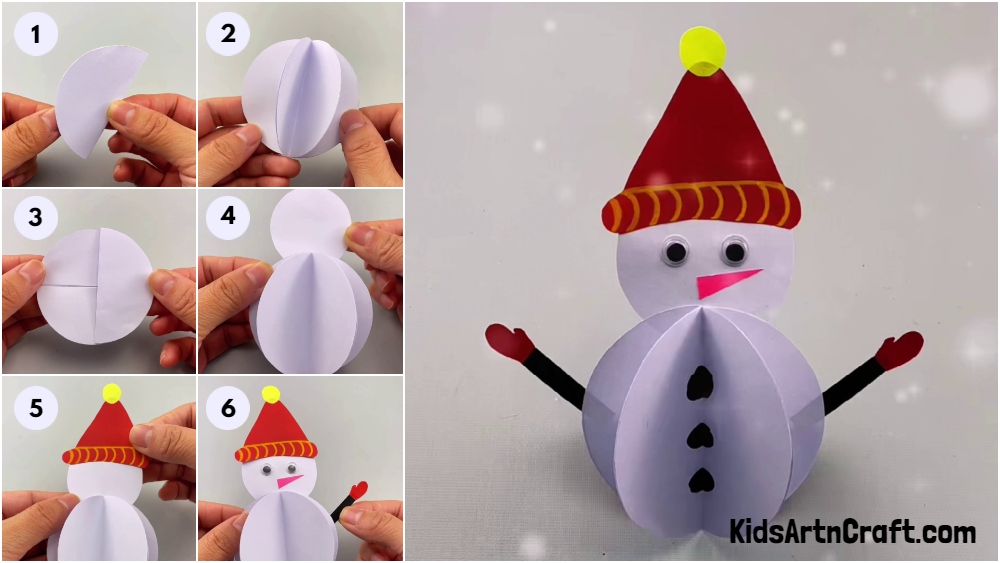
Make a 3D snowman craft with your kids! This easy tutorial will guide you step-by-step through the process of creating an adorable 3D snowman out of paper. Perfect for a fun winter-themed activity!
We all love winters, snowfalls, and cold weather. And the most fun activity that you can do with snow is building a strong and lovely snowman. But it’s neither winter nor is it snowing anytime soon. So, what should we do to make one without snow or even winter? We can create one through craft!
This tutorial is going to use paper sheets to create a three-dimensional snowman. You will enjoy making this craft thoroughly, in the same way as you would be, making a real snowman. So, turn the air conditioner on to the highest speed to get the feels of winter, and let’s get started with making this three-dimensional paper snowman.
3D Snowman Paper Craft Tutorial For Kids To Make
Read More: Paper Butterfly Craft Easy Tutorial for Kids
Materials Required
- Colored Sheets
- Yellow Sketch Pen
- Googly Eyes
- Glue Stick
- Scissors
Procedure
Step 1: Making a Circle
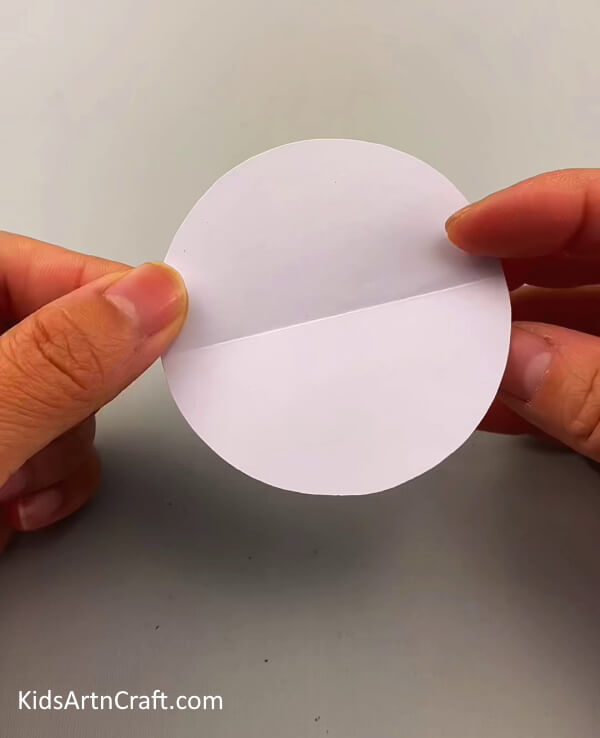
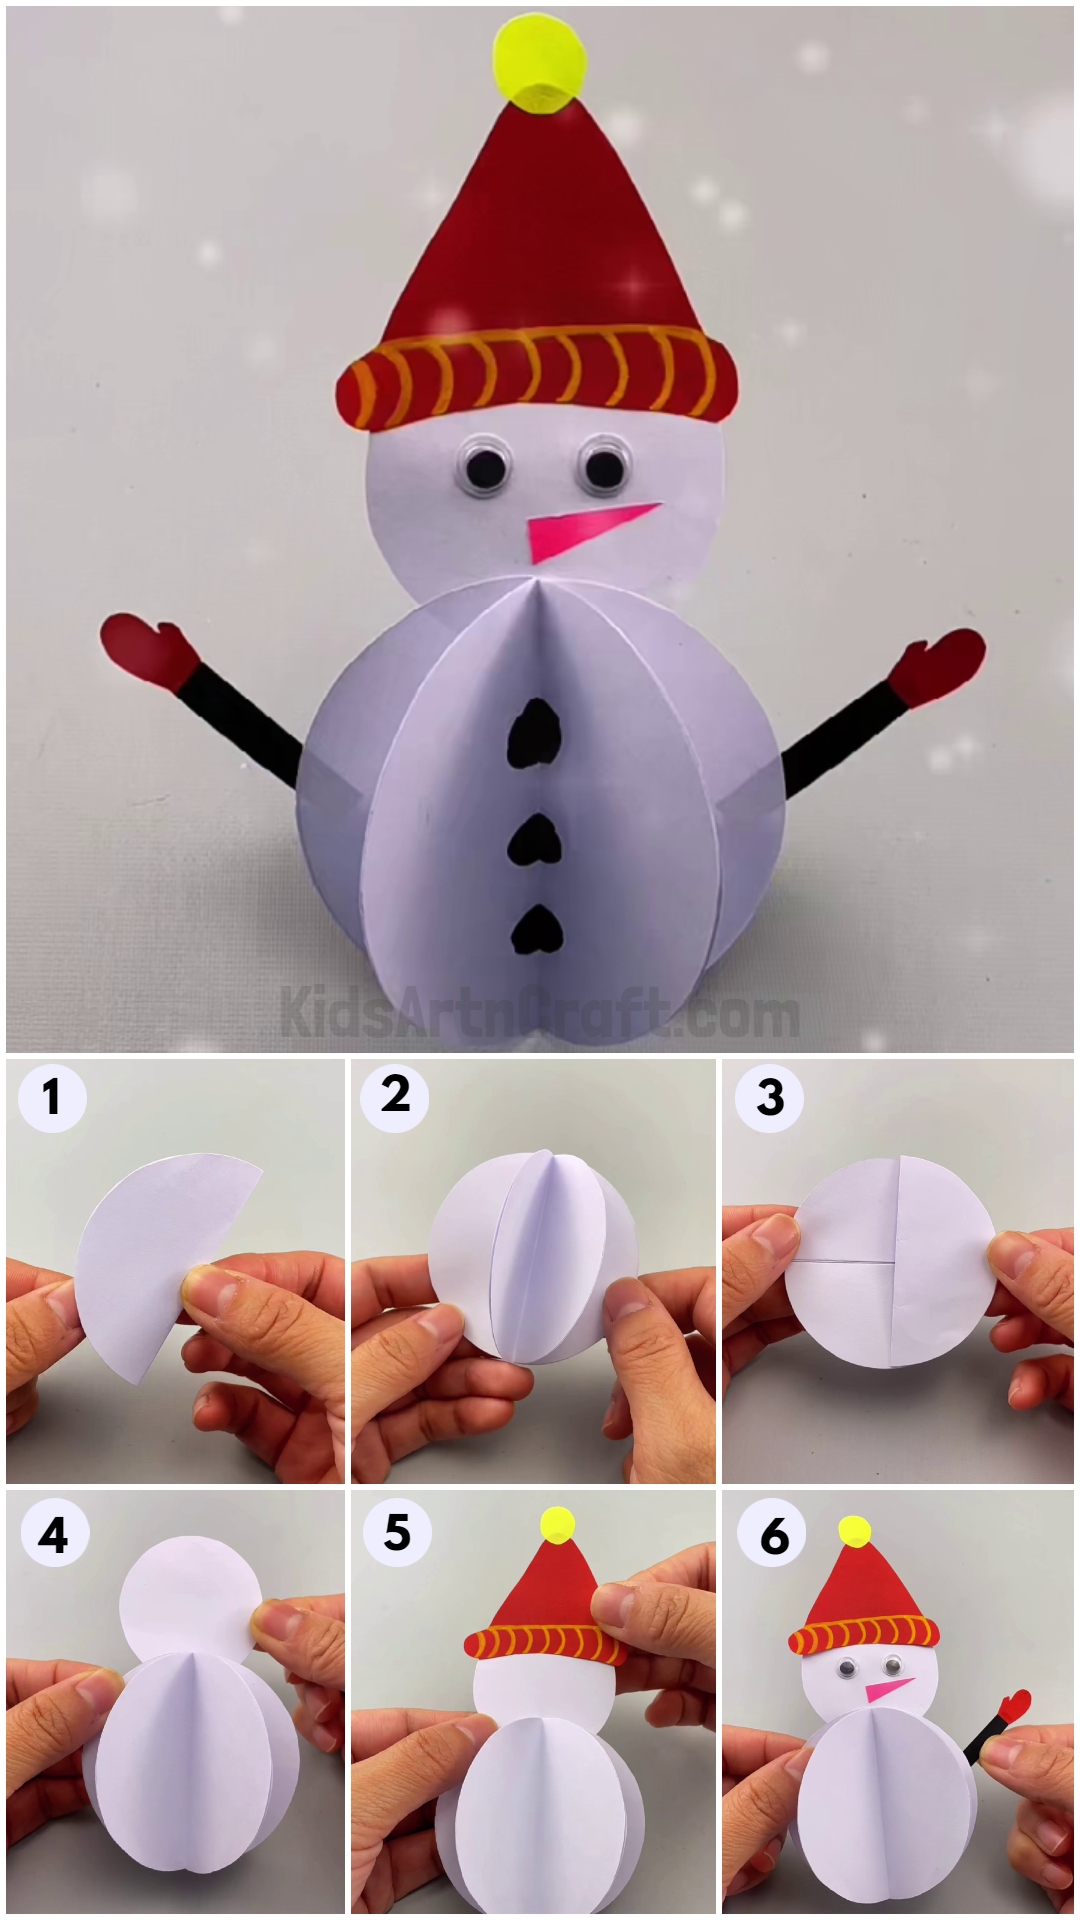
Take a white sheet of paper and with a compass make a medium-sized circle and cut it out using a pair of scissors, as shown in the picture.
Step 2: Folding The Circle Into Half
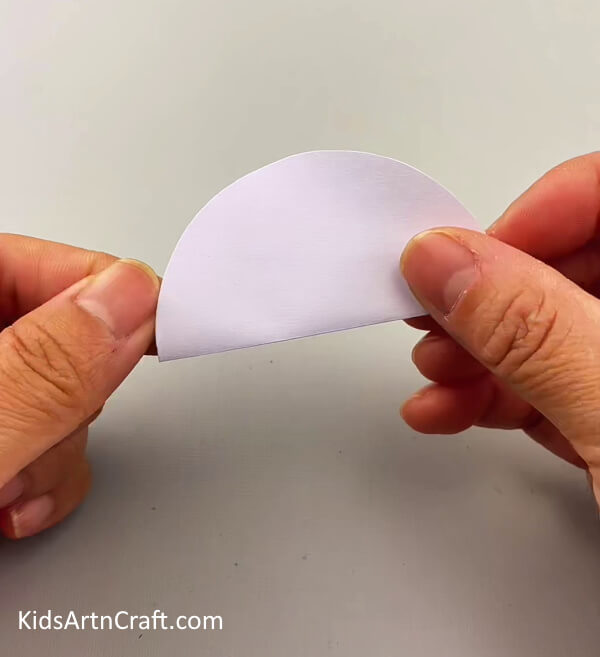
Fold the circle into half making a semi-circle out of it. Join the circumference properly as shown in the picture below.
Step 3: Perfecting The Shape
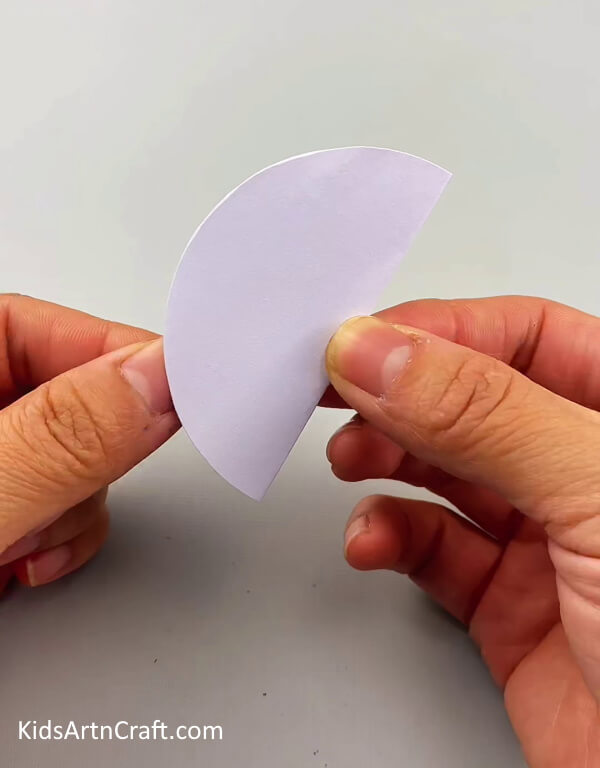
Press on the flat surface line of this newly formed shape with your fingernail to perfect the shape.
Step 4: Making More Similar Circles
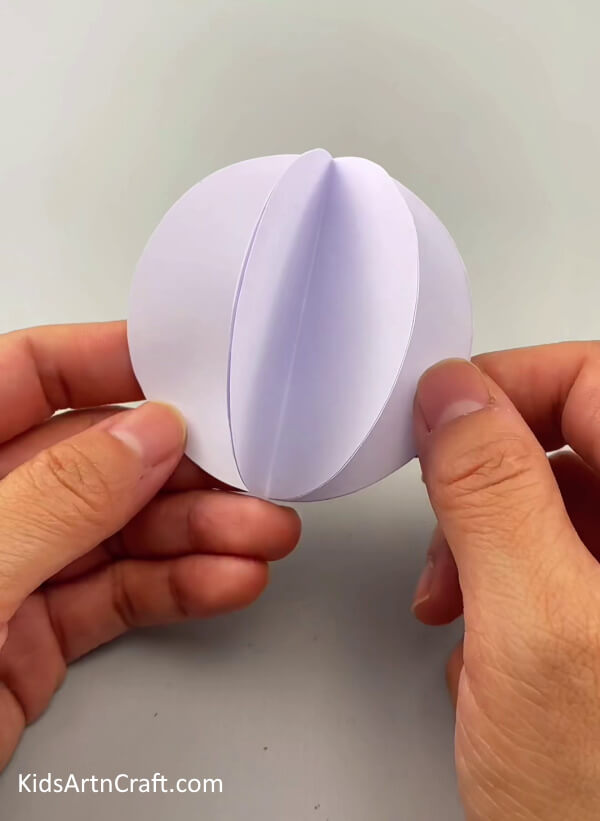
Make three more circles and fold them exactly like you did in the previous steps. Open them a little and hold them together right next to each other to check if the sides are of the same size. See the picture below for reference.
Step 5: Adjusting the Shapes Together
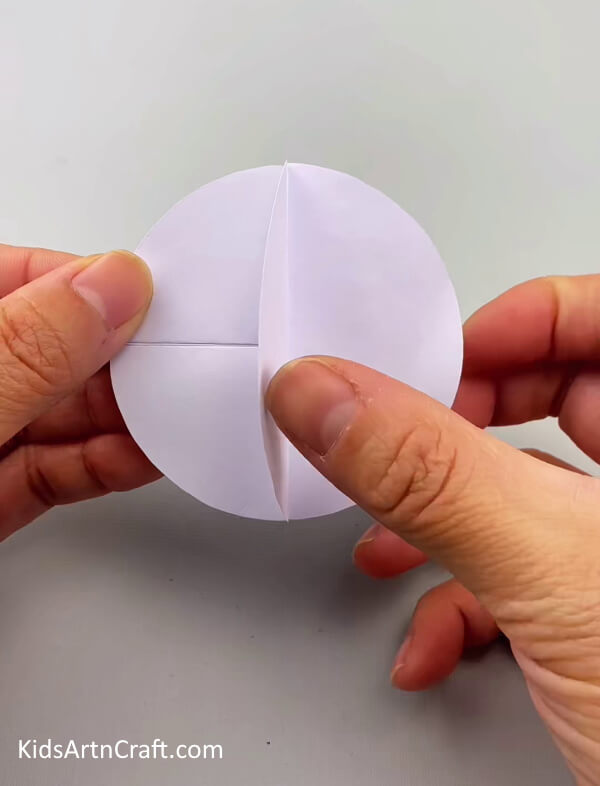
Take one of the semi-circular shapes and apply some glue on one of its outer sides. Place it on the table, horizontally. Paste the two semicircular shapes vertically on this horizontal semi-circle leaving a little space in between.
Step 6: Pasting the Third Semi-Circle
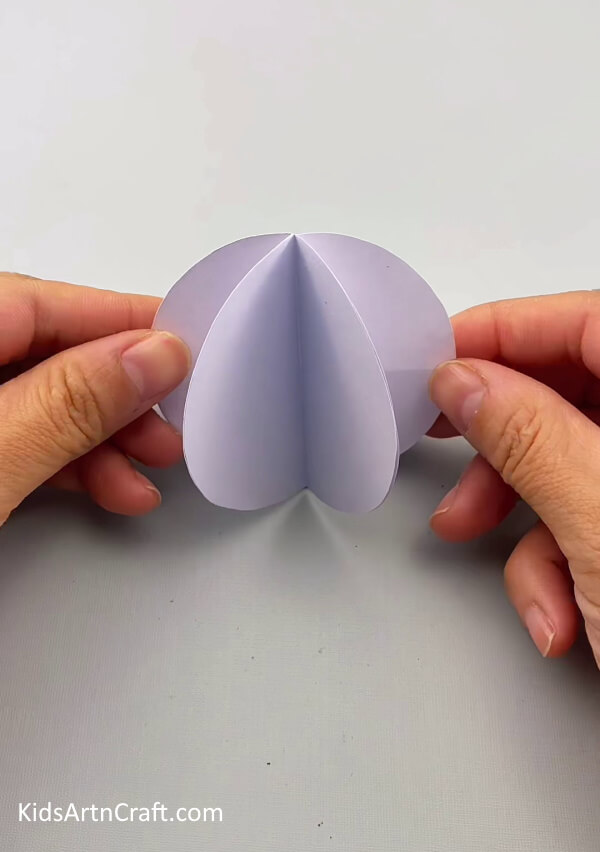
Paste the third semi-circle in the space between the two vertical semi-circles. Also, paste the sides of this semi-circle with the adjacent sides of the other two semi-circles. This will open the shapes a little as shown in the picture below.
Step 7: Making The Round Head
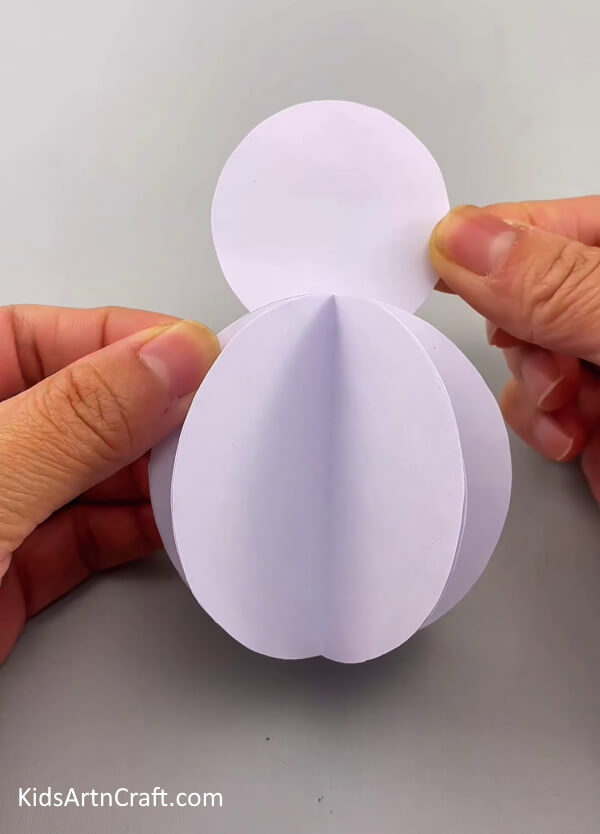
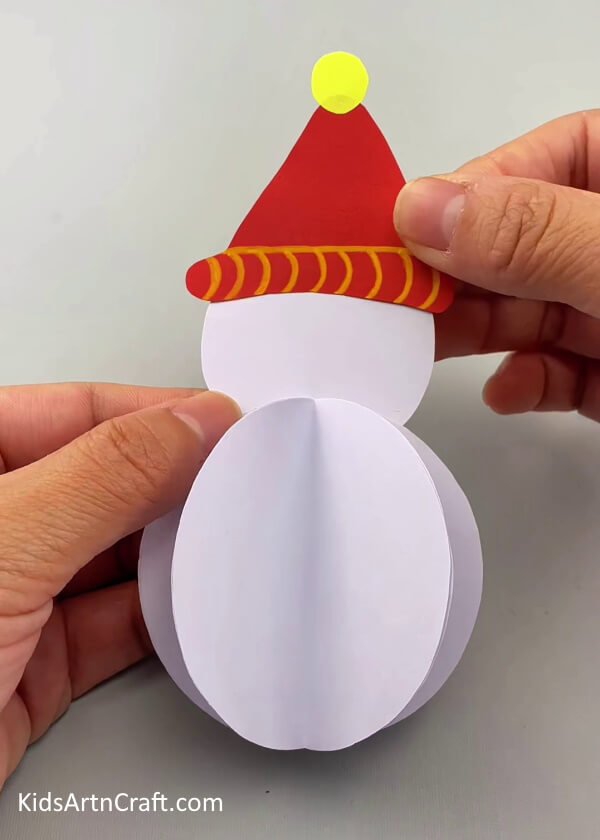
Take a white sheet of paper and using a compass, make a circle on it. Cut the process out with the help of scissors. The circle should be small than all the previous circles. Now, paste it at the top of the body sticking it on the back of the folded shapes.
Step 8: Making a Conical Cap for the Snow Man
Take a red sheet of paper and make a cone hat on it. Draw small curved lines at the bottom of the cap and a horizontal one at the top of the vertical lines. Cut out a small circle from a yellow sheet of paper and paste it on the top of the cone hat.
Step 9: Adding a Pair of Eyes
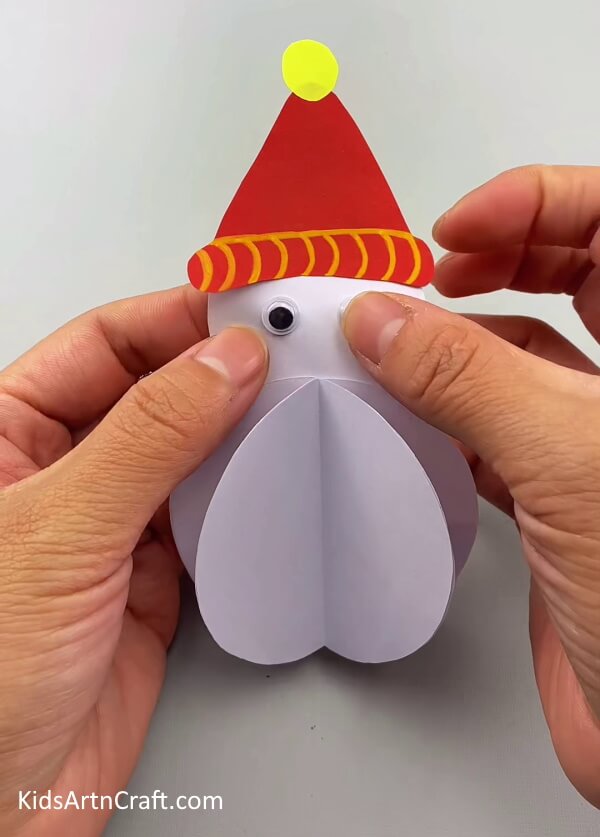
Paste a pair of googly eyes on the head next to each other.
Step 10: Adding Hands And a Nose
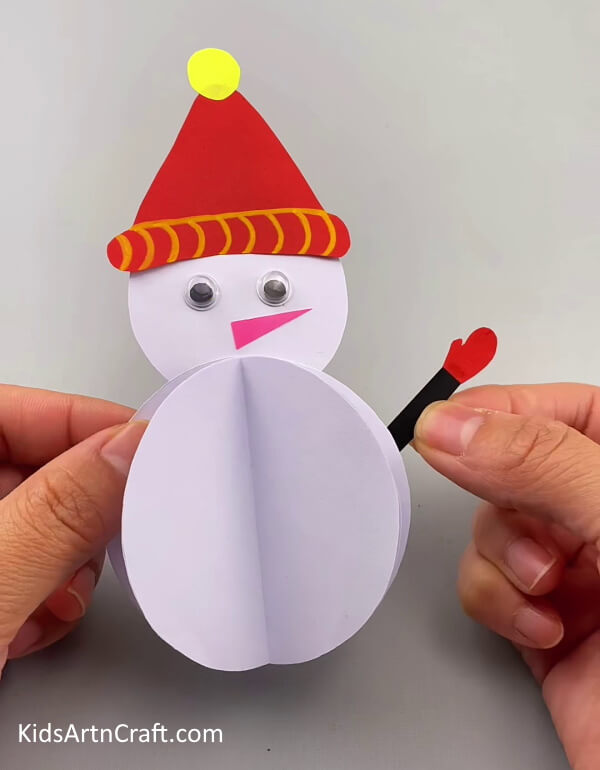
From pink paper, cut out its nose and paste it horizontally, right below the eyes. From black paper cut two small thin strips for its hands and paste them from behind. To complete the arms, from red paper make two mitten gloves, cut them out, and paste the gloves on the hands.
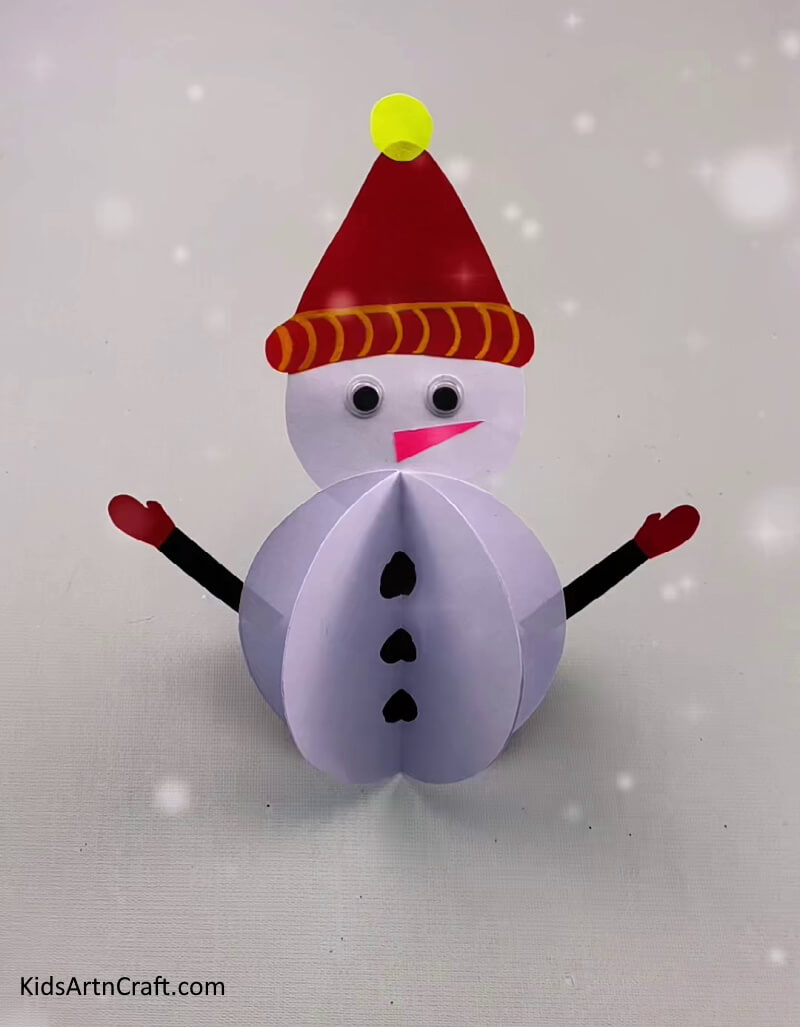
Your Paper Snowman Craft Is Ready!
For the last step, using a black marker make its buttons. Remember to make them in heart shape as shown in the picture below. Congratulations! Your Paper Snowman craft is ready in no time!
For More Snowman Paper Craft
Crafting a Snowman-Shaped Snowflake
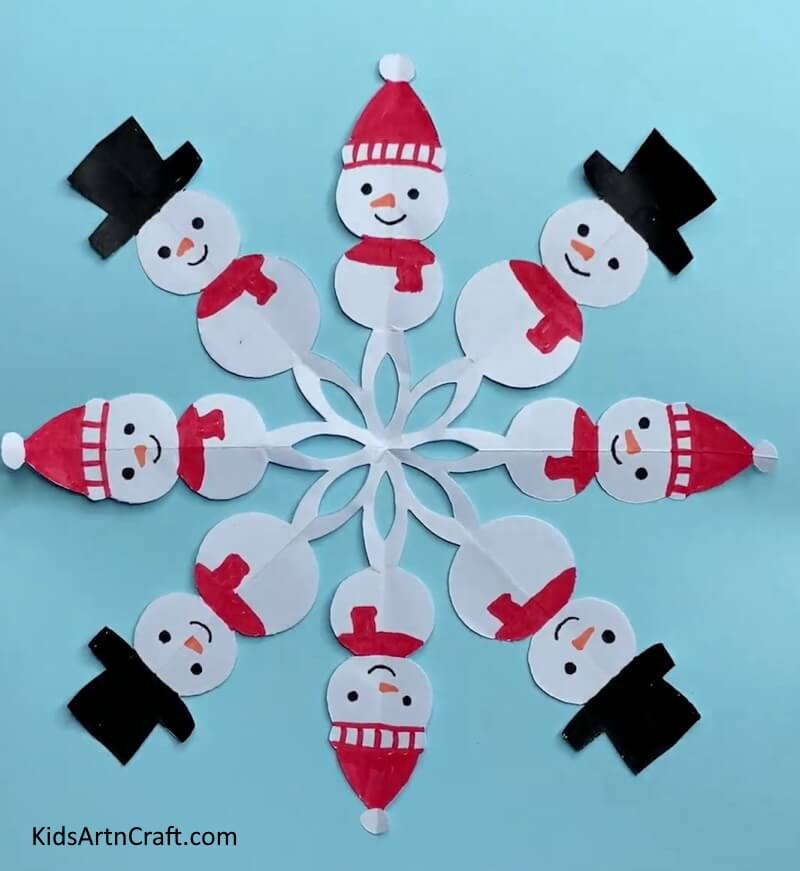
Image Source/Tutorial: Kids Art & Craft
Crafting a snowman-shaped snowflake is a fun and creative activity to do with kids. It’s a great way to get outdoors and make a unique and festive decoration for the winter season. With a few simple materials, you can make a snowman-shaped snowflake to hang in your window or on your tree.
Construct a Snowman Finger Puppet Paper Craft For Winter Season
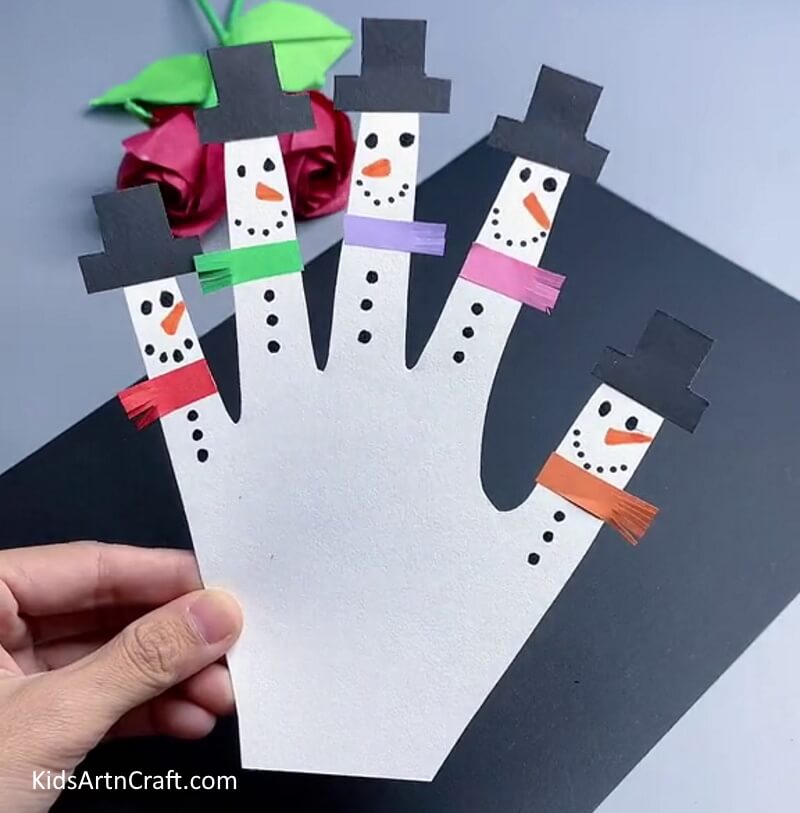
Image Source/Tutorial: Kids Art & Craft
Construct a fun winter craft a snowman finger puppet! It’s a great activity for kids and adults alike to make and enjoy. With just a few supplies, you can create a jolly snowman to bring a little extra winter cheer to your day.
You can hang it in your room right next to your window or on the mirror inside your car so that it keeps smiling at you with greeting and happy eyes, every time you travel. Continue keeping up with the tutorials as we focus on making your artistic skills more precise so that you can make a strong impression with your craft.
Follow us on Youtube for art and craft tutorials and much more.
More Articles from Kids Art & Craft
- How To Make Paper Neck-tie easy tutorial for kids
- How to Make Handmade Straw Fan Tutorial for Kids
- Learn to Make 3D Paper Fruits Craft Tutorial for Kids
- Recycled Plastic Bottle Dragon Craft Tutorial for Kids
- How to Make a Paper Peacock Easy Craft


