Clay Crafts
Pretty Clay Flower Tree Branches Artwork Step by Step Tutorial

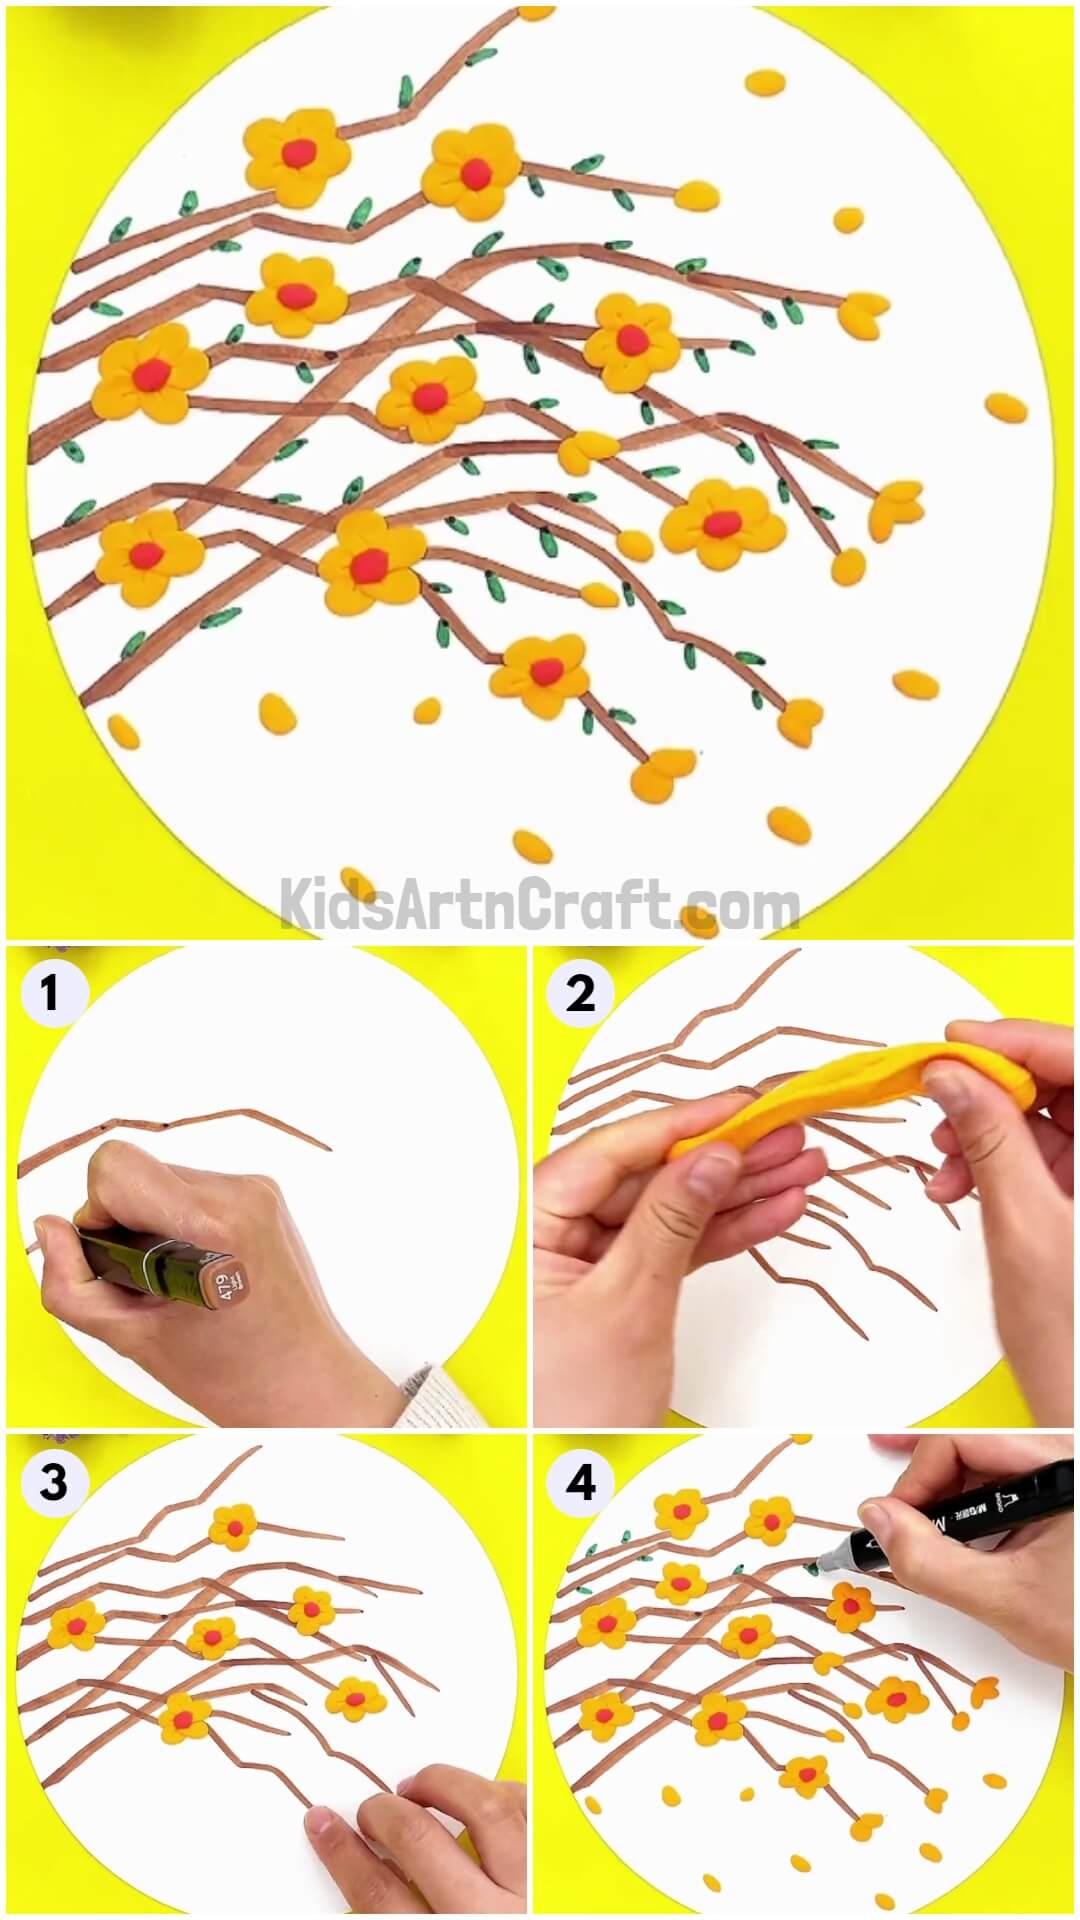
This tutorial will show you how to make a unique clay flower tree. Follow the instructions and pictures to create your own beautiful clay flower tree branches artwork.
Welcome to this step-by-step tutorial. Here we will learn how to make a pretty tree branch decorated with little clay flowers. This artwork can engage kids as well as adults. We can make this art piece by following these simple steps, with very few materials. Once completed, your artwork is a perfect piece to be put on display in your living room. Let’s get going!
Pretty Clay Flower Tree Branch Step-by-step Tutorial
Read More: Clay watermelon ice cream easy craft tutorial
Materials Required
- White paper
- Green and brown markers
- Red and yellow clay
- Scissors
Procedure
Step 1: Getting Started
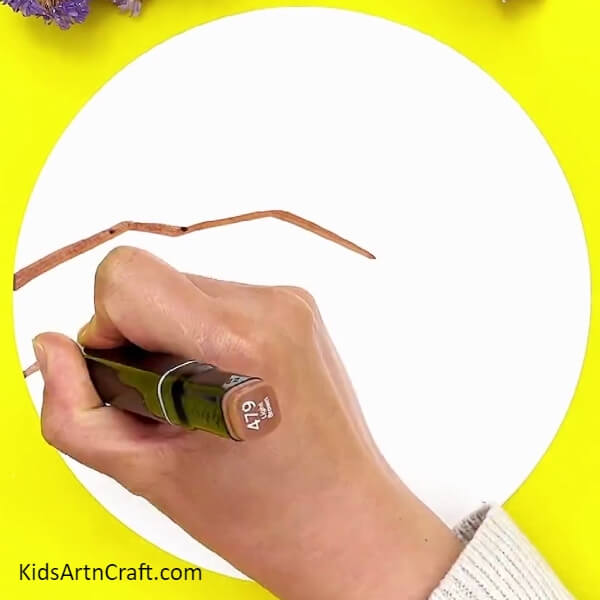
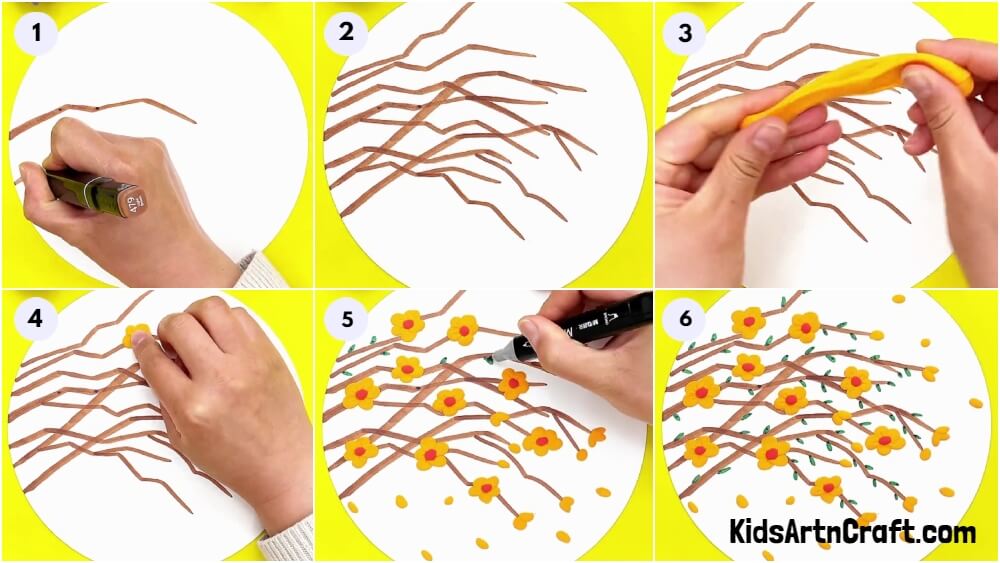
Let’s get started by cutting a circle out of white paper. Then using brown markers, start drawing the branches on the left end of the circle.
Step 2: More And More Branches
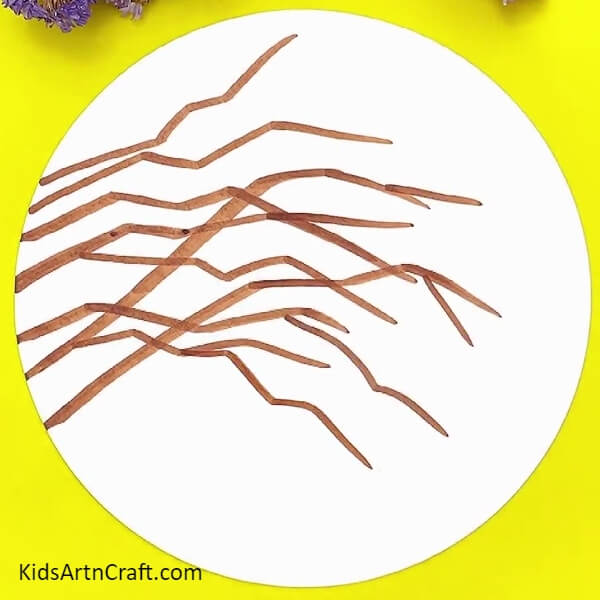
Draw more and more branches using a brown marker.
Step 3: Making Yellow Flowers
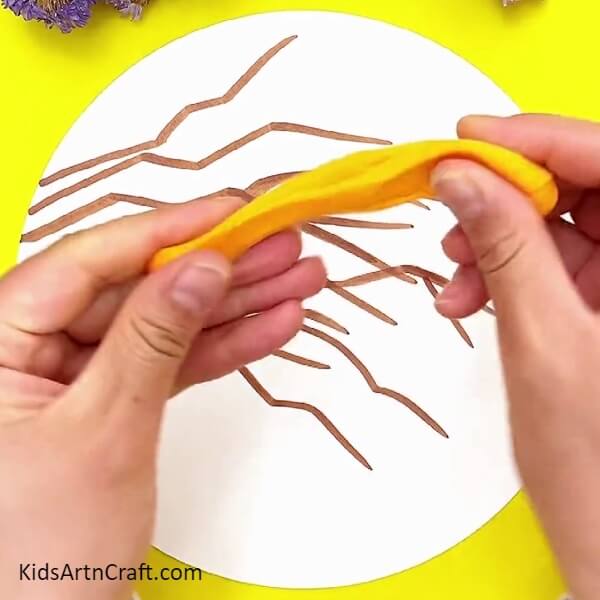
Now let’s take a small piece of yellow clay and roll it to start making flowers.
Step 4: Start Making Flowers
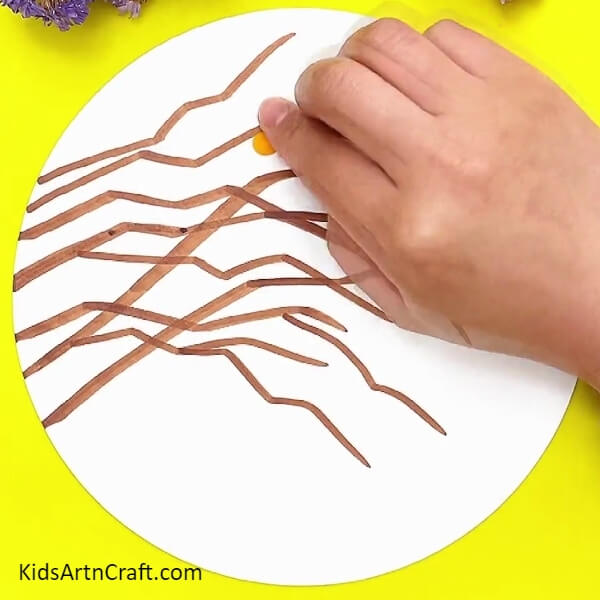
Make small balls out of the rolled yellow clay. Now press the clay balls to the branches to make flower petals.
Step 5: Adding More Color To Flowers
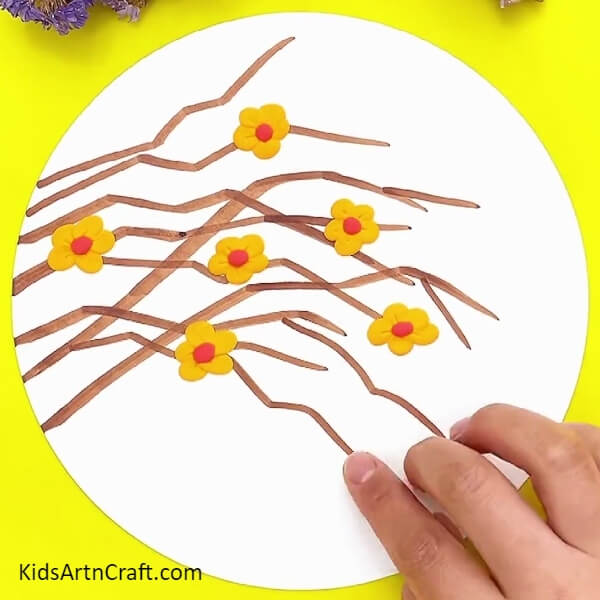
Using the red-colored clay, make the flowers more attractive.
Step 6: Make Falling Leaves
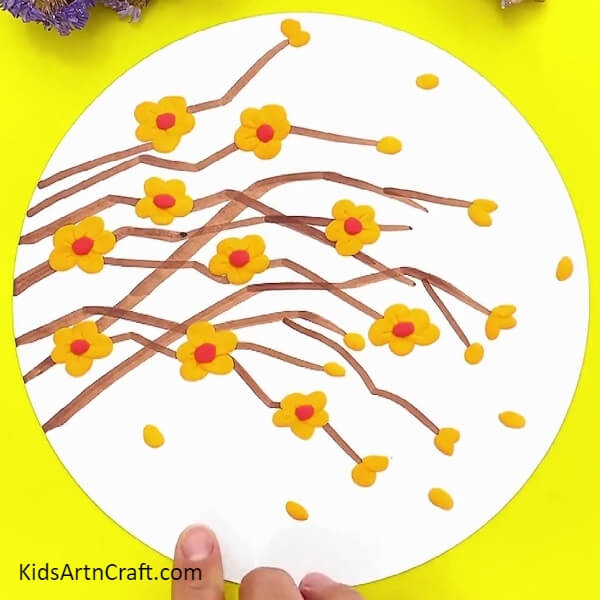
Now using yellow clay, make falling leaves.
Step 7: Filling Branches With Flowers
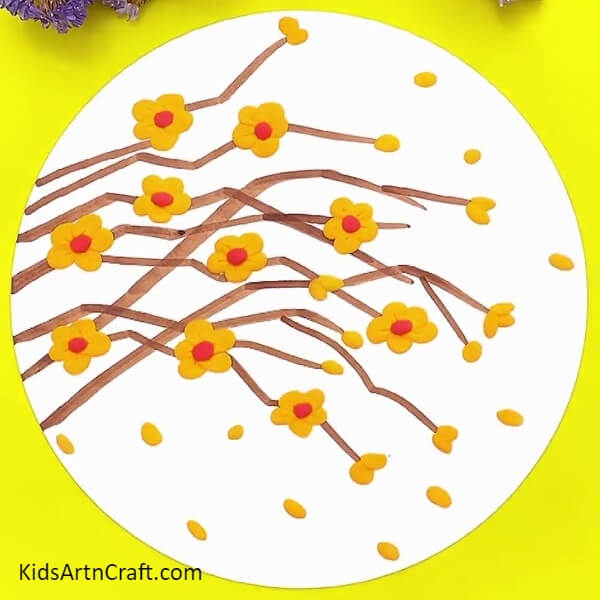
Add more flowers and leaves to make the artwork more beautiful and creative.
Step 8: Drawing Leaves
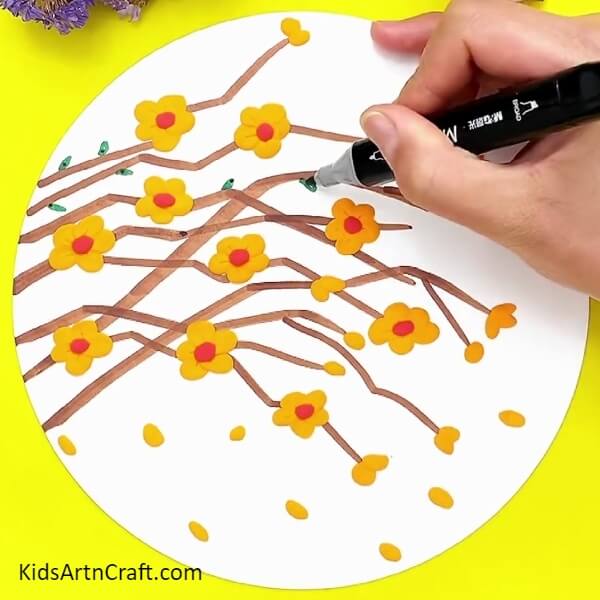
Now, using a green marker draw leaves on the branches.
Finally, Our Artwork Is Now Ready To Hang
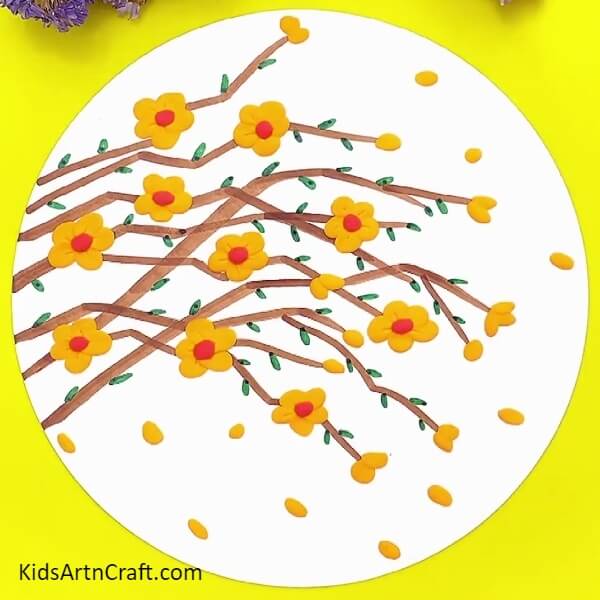
Our art piece is ready!
This is a simple tutorial that can be easily followed by children and adults alike. You can show more of your creativity by adding more detailing. This craft is simple and can be tried out by all. We would love to hear your thoughts in the comment section.
Thank you for visiting our website!
Follow us on Youtube for art and craft tutorials and much more.
More Articles from Kids Art & Craft
- How to Make a Clay Bird Easy Artwork tutorial for kids
- Easy to Make Cactus Desert Artwork Craft Using Clay
- How To Make Caterpillar Eating Apple Using Clay
- Fall Leaf Craft Tutorial for Kids
- Bubble Wrap Printed Pomegranate Craft For Kids


